 EN
 IT Italiano
 ES Español
 FR Français
 DE Deutsch
Description
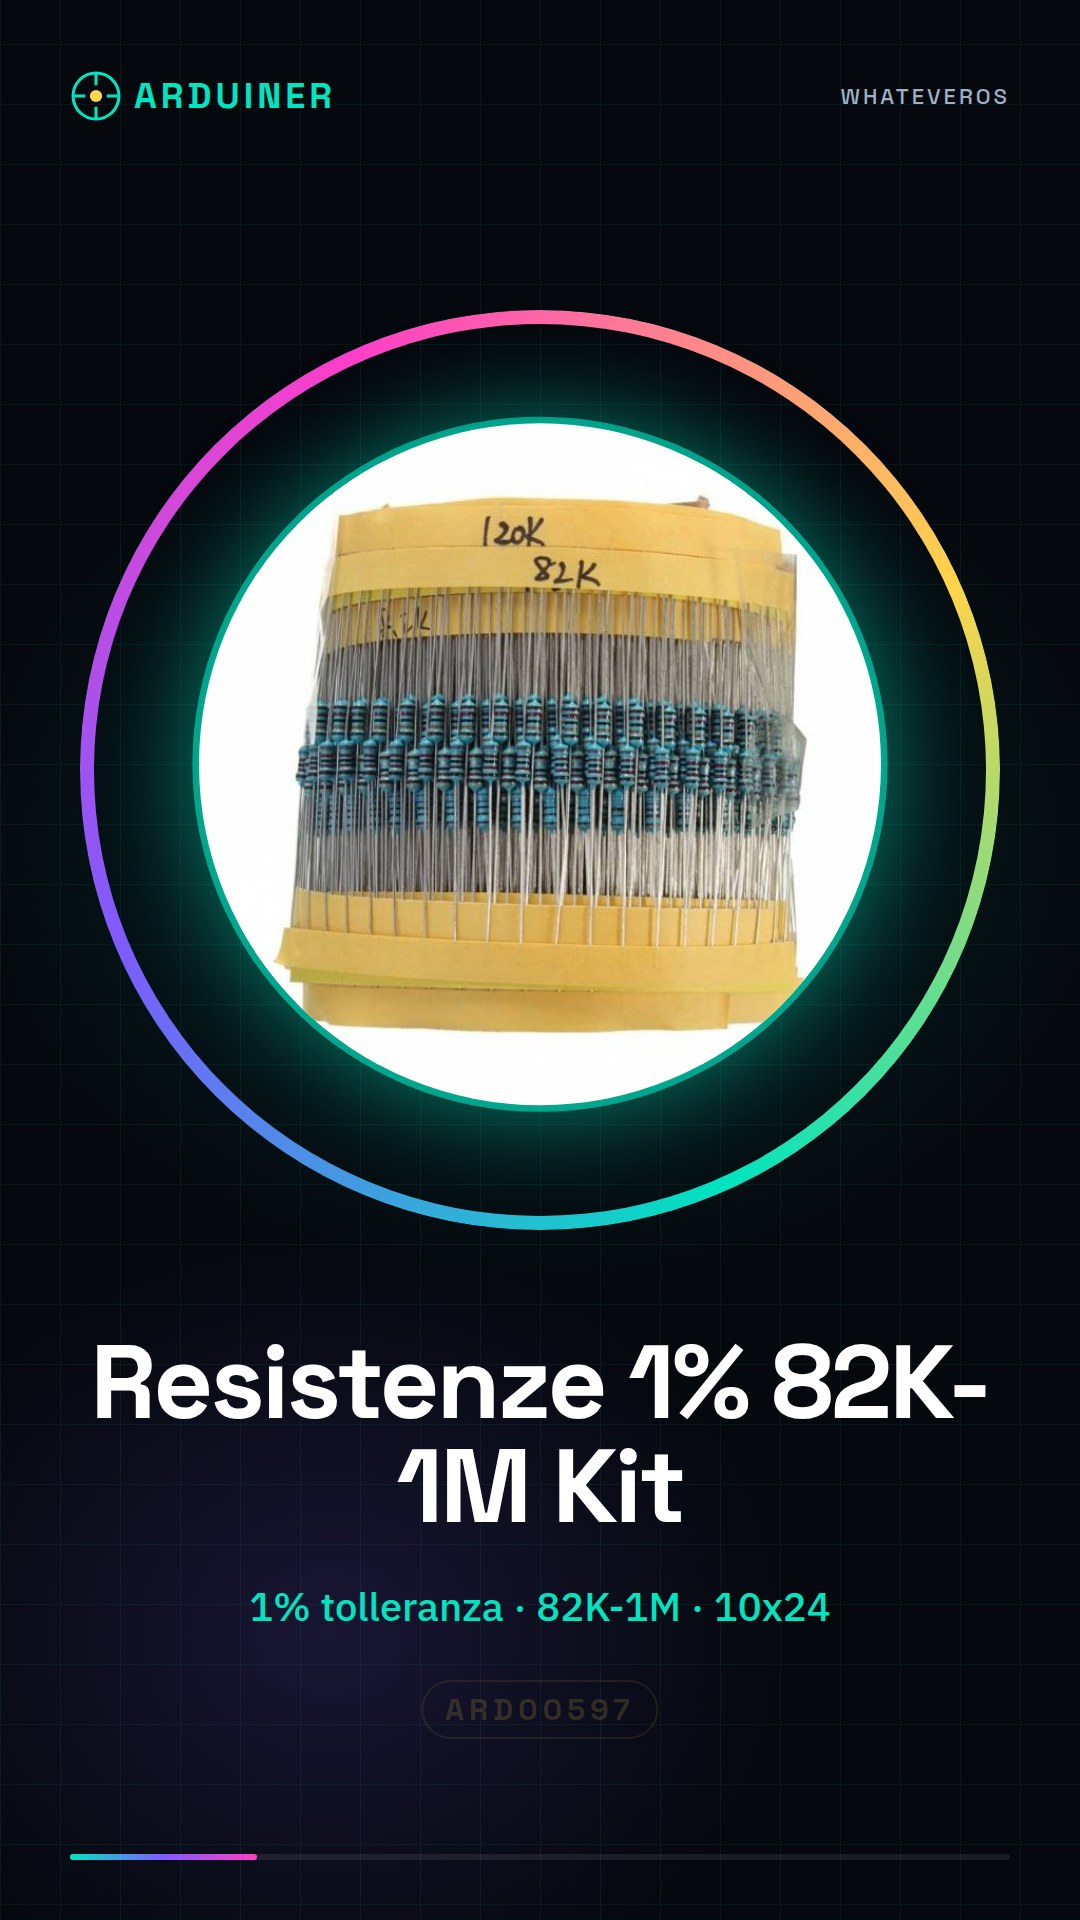
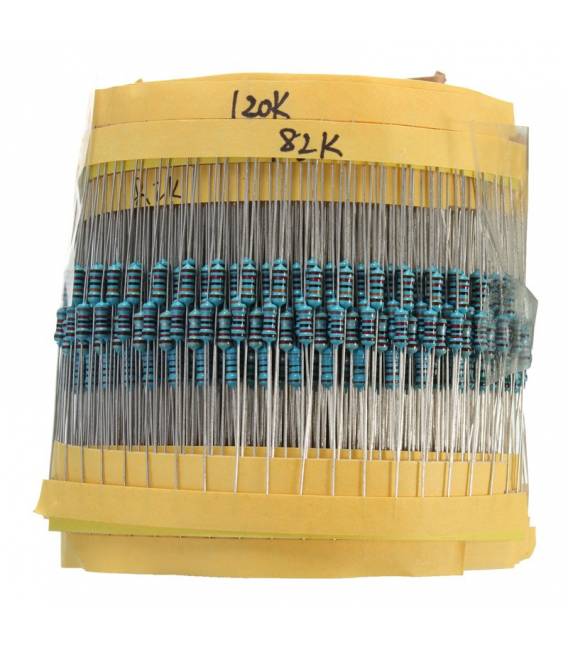
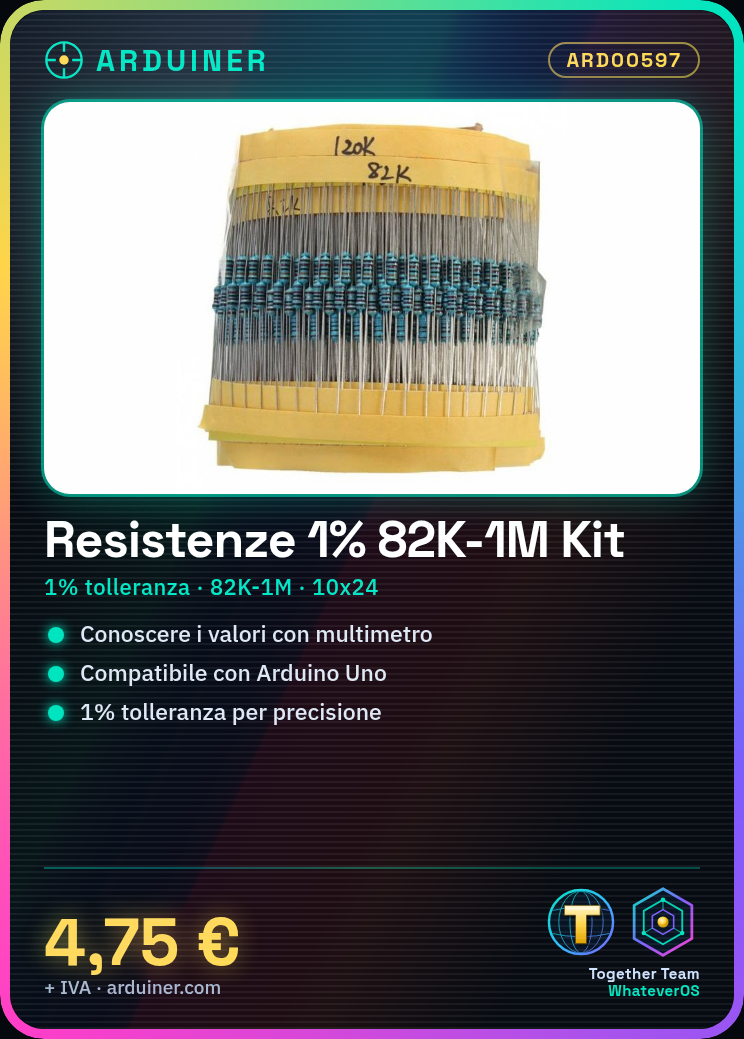
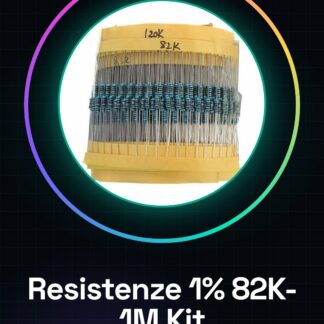
1% metal film resistor kits, 82K-1M, 10 pieces of 24 types: 75K, 82K, 91K, 100K, 120K, 150K, 180K, 200K, 220K, 240K, 270K, 300K, 330K, 360K, 390K, 430K, 470K, 510K, 560K, 620K, 680K, 750K, 820K, 1M. We have datasheets for all components, if not available in the product download sheet, please contact us via the contact form and we will publish it as soon as possible on our website. Tutorial: How to use 1% Metal Resistor Kit (82K-1M) Metal film resistor kit for electronic projects. For beginner and intermediate makers. What is needed: Arduino Uno, resistor kit ARD00597, multimeter. Steps: Verify the resistance with the multimeter, connect the Arduino to the computer via USB, write the Arduino sketch to measure the resistance, upload the sketch to the microcontroller, read the resistance values on the Arduino IDE, check that the values are within the 1% tolerance. Example code: int ledPin = 13; // connect an LED to pin 13 void setup() { pinMode(ledPin, OUTPUT); } void loop() { digitalWrite(ledPin, HIGH); // turn on the LED delay(500); // wait for 500 ms digitalWrite(ledPin, LOW); // turn off the LED delay(500); // wait for 500 ms } Mini-project: Create a circuit that turns on an LED when the resistance exceeds a certain threshold. Common mistakes: Using the resistor incorrectly, not verifying the resistance value with a multimeter, inserting the resistor backwards in the circuit. Recommended accessories: Arduino Uno, LEDs of various colours, connector and cable kit. Frequently asked questions: What is the tolerance of the resistors? 1%. How to verify the resistance value? Use a multimeter in resistance mode.
Reviews
There are no reviews yet.