 EN
 IT Italiano
 ES Español
 FR Français
 DE Deutsch

Description
Technical Specifications
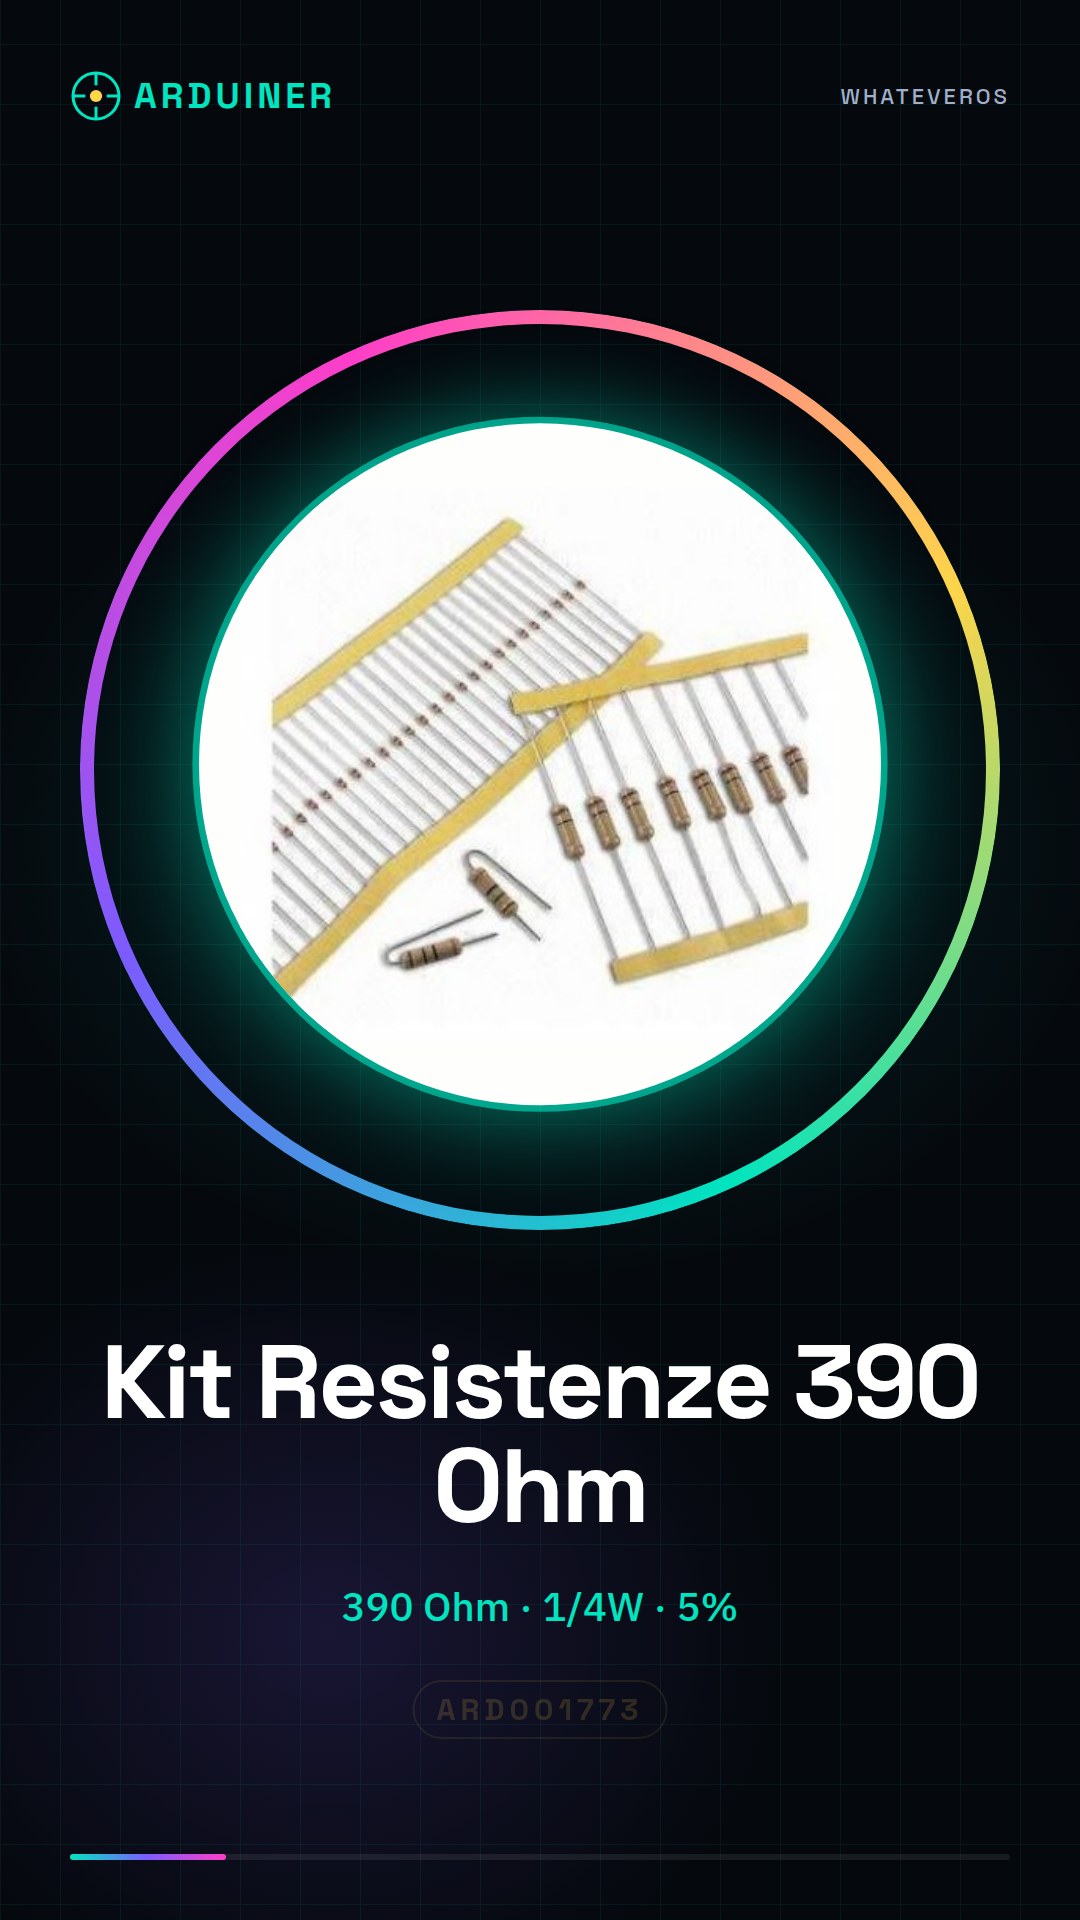
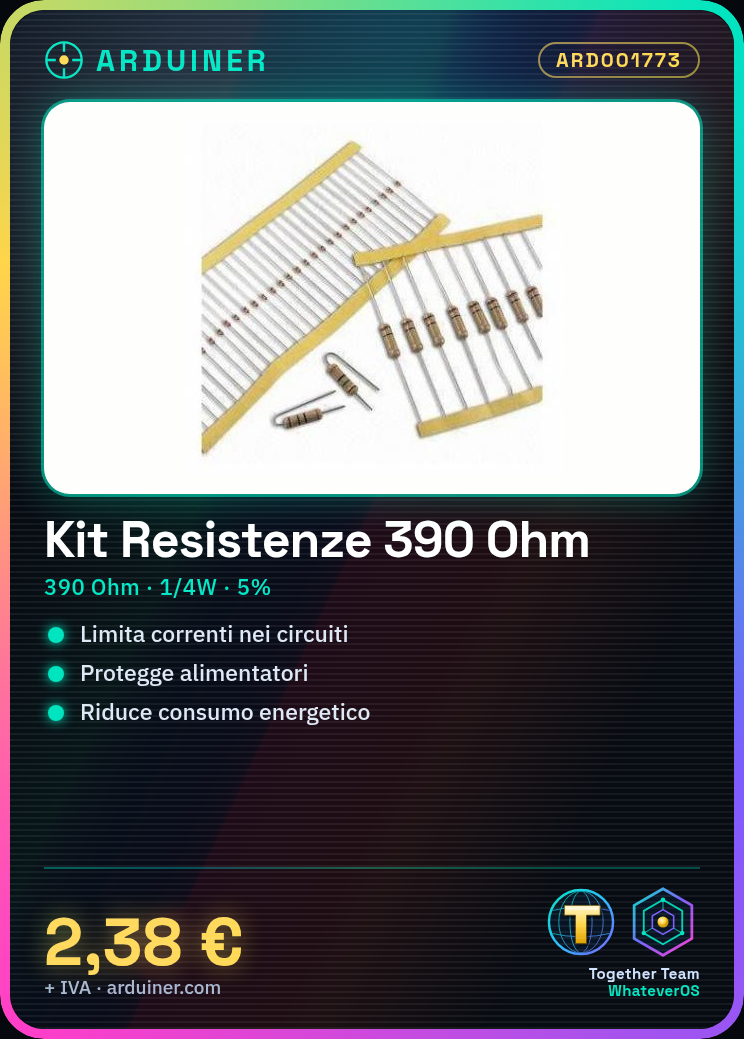
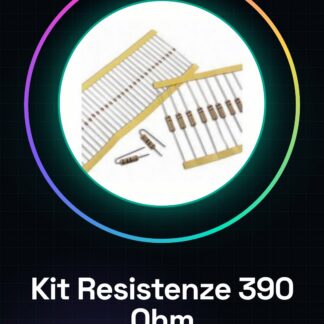
The 390 Ohm 1/4W 5% Resistor Kit contains 50 pieces of 390 Ohm resistors with a 5% tolerance and a maximum power rating of 1/4W. These resistors are used to limit electrical currents in various electronic circuits, protecting sensitive components such as LEDs and power supplies. Their application is widely spread in electronic prototyping projects, suitable for both beginners and experts.
390 Ohm resistors are useful for regulating the flow of current through circuits and reducing energy consumption. Their 5% tolerance indicates that the actual value can vary by up to 5% from the nominal value of 390 Ohm. The 1/4W power rating indicates the heat dissipation capability that the resistor can handle without damage.
For proper installation and use, it is recommended to consult the component’s datasheet to verify temperature limits and compatibility with other circuit components.
Key Specifications
| Parameter | Value |
| Model | 390 Ohm 1/4W 5% Resistor Kit |
| Quantity | 50 pieces |
| Resistance Value | 390 Ohm |
| Tolerance | 5% |
| Maximum Power | 1/4W |
| Dimensions | N/D (see manufacturer’s technical sheet) |
| Container | Plastic packaging |
Installation and Usage
- Verify the resistance value by consulting the datasheet.
- Select a 390 Ohm resistor from the kit.
- Connect one end of the resistor to the electronic circuit as required by the configuration.
- Check that the resistor is properly connected using a multimeter.
- Verify the temperature limits of the component to ensure safe operation.
Compatibility and Requirements
- The kit is compatible with various electronic circuits and Arduino projects.
- A multimeter is required to verify the resistor.
- An Arduino starter kit is required to complete projects.
- M/F jumper cables are useful for connecting components.
- 3D printing of cases for projects can be useful for prototyping.
Limits and Important Notes
- The resistor cannot handle power greater than 1/4W.
- The 5% tolerance may vary the actual value of the resistor.
- Correct operation requires a temperature below the limits specified in the datasheet.
- The resistor is not designed for high-power applications.
Troubleshooting
The resistor does not adequately limit the current.
Probable cause: Resistance value is too low.
Solution: Select a resistor with a higher value.
The resistor overheats.
Probable cause: Applied power exceeds the 1/4W tolerance.
Solution: Check the resistance value and reduce the applied power.
The multimeter does not measure the resistance correctly.
Probable cause: Incorrect connection.
Solution: Check the connection and repeat the measurement.
The resistor burns out.
Probable cause: Applied power exceeds the power dissipation limits.
Solution: Replace the resistor with one of higher power.
Use cases
Garage parking sensor
Objective: Detect car parking occupancy.
Required: 390 Ohm 1/4W 5% Resistor Kit
Steps: 1) Connect the resistor to the distance detection circuit. 2) Configure the distance sensor. 3) Verify the system’s operation.
Expected Result: The system correctly detects car parking occupancy.
Flashing Light with Arduino
Objective: Create a flashing light.
Required: 390 Ohm 1/4W 5% Resistor Kit
Steps: 1) Connect the resistor between the power supply and the LED. 2) Configure the basic circuit. 3) Verify the LED flashing.
Expected Result: The LED flashes correctly.
Audio Volume Control
Objective: Adjust the audio volume of an amplifier.
Required: 390 Ohm 1/4W 5% Resistor Kit
Steps: 1) Connect the resistor to the volume control circuit. 2) Configure the circuit. 3) Verify the volume functionality.
Expected result: The audio volume is correctly adjustable.
Protection circuit for power supply
What is needed: 390 Ohm resistor kit 1/4W 5%
Steps: 1) Connect the resistor to the protection circuit. 2) Configure the circuit. 3) Verify the power supply protection.
Expected result: The power supply is protected from overload.
Voltage regulator
What is needed: 390 Ohm resistor kit 1/4W 5%
Steps: 1) Connect the resistor to the voltage regulation circuit. 2) Configure the circuit. 3) Verify the output voltage.
Expected result: The output voltage is correctly adjustable.
Protection circuit for LED
What is needed: 390 Ohm resistor kit 1/4W 5%
Steps: 1) Connect the resistor between the power supply and the LED. 2) Configure the circuit. 3) Verify the LED protection.
Expected result: The LED is protected from overcurrent.
Protection circuit for microcontroller
What it’s for: 390 Ohm 1/4W 5% Resistor Kit
Steps: 1) Connect the resistor between the power supply and the microcontroller. 2) Configure the circuit. 3) Check the microcontroller protection.
Expected result: The microcontroller is protected from overcurrent.
Current Regulator
What it’s for: 390 Ohm 1/4W 5% Resistor Kit
Steps: 1) Connect the resistor to the current regulation circuit. 2) Configure the circuit. 3) Check the output current.
Expected result: The output current is correctly adjustable.
In the package
- 50 pieces
Complete the project
- 50 Pieces Resistance, 10000 ohm, 10k, ohm 1/4w 1/4 w 5%, Arduino compatible resistors: Used for resistance verification.
Technical FAQs
What is the maximum power that this type of resistor can handle?
Check the datasheet to obtain this information.
How can I verify if a 390 Ohm resistor is functioning correctly?
Use a multimeter to measure the resistance and compare the value with the one specified in the datasheet.
What are the temperature limits for the resistor?
Check the temperature limits specified in the component’s datasheet.
What are the allowed tolerance values for the 390 Ohm resistor?
The tolerance is 5%, the actual value can vary by up to 5% from the nominal value of 390 Ohm.
Tutorial: How to use 390 Ohm Resistor Kit
The 390 Ohm resistor kit is a fundamental component for electronic projects, ideal for both beginners and more experienced makers. These resistors are useful for limiting electrical currents in various circuits.
What you need
- Protect power supplies
- Regulate the flow of current
- Reduce energy consumption
Steps
- Check the datasheet for the component’s resistance.
- Select a 390 Ohm resistor from the kit for your project.
- Connect one end of the resistor to the electronic circuit as required by your configuration.
- Check that the resistor is correctly connected using a multimeter.
- Check the datasheet for the component’s temperature limits to ensure safe operation.
Mini project
Create a simple blinking light with Arduino and a 390 Ohm resistor. Connect the resistor between the power supply and the LED, use a basic circuit to control the blinking of the LED.
Common mistakes
- Using a resistor that is too low to adequately limit the current.
- Incorrectly connecting the ends of the resistor to the circuit.
- Not checking the component’s temperature limits.
Recommended accessories
- Arduino Starter Kit
- Analog Digital Multimeter
- Jumper Wires M/F
- 3D Print Case for Projects
Frequently asked questions
What is the maximum power that a resistor of this type can handle?
Check the datasheet to obtain this information.
How can I verify if a 390 Ohm resistor is functioning correctly?
Use a multimeter to measure the resistance and compare the value with the one indicated in the datasheet.

Reviews
There are no reviews yet.