 EN
 IT Italiano
 ES Español
 FR Français
 DE Deutsch
Description
What it is
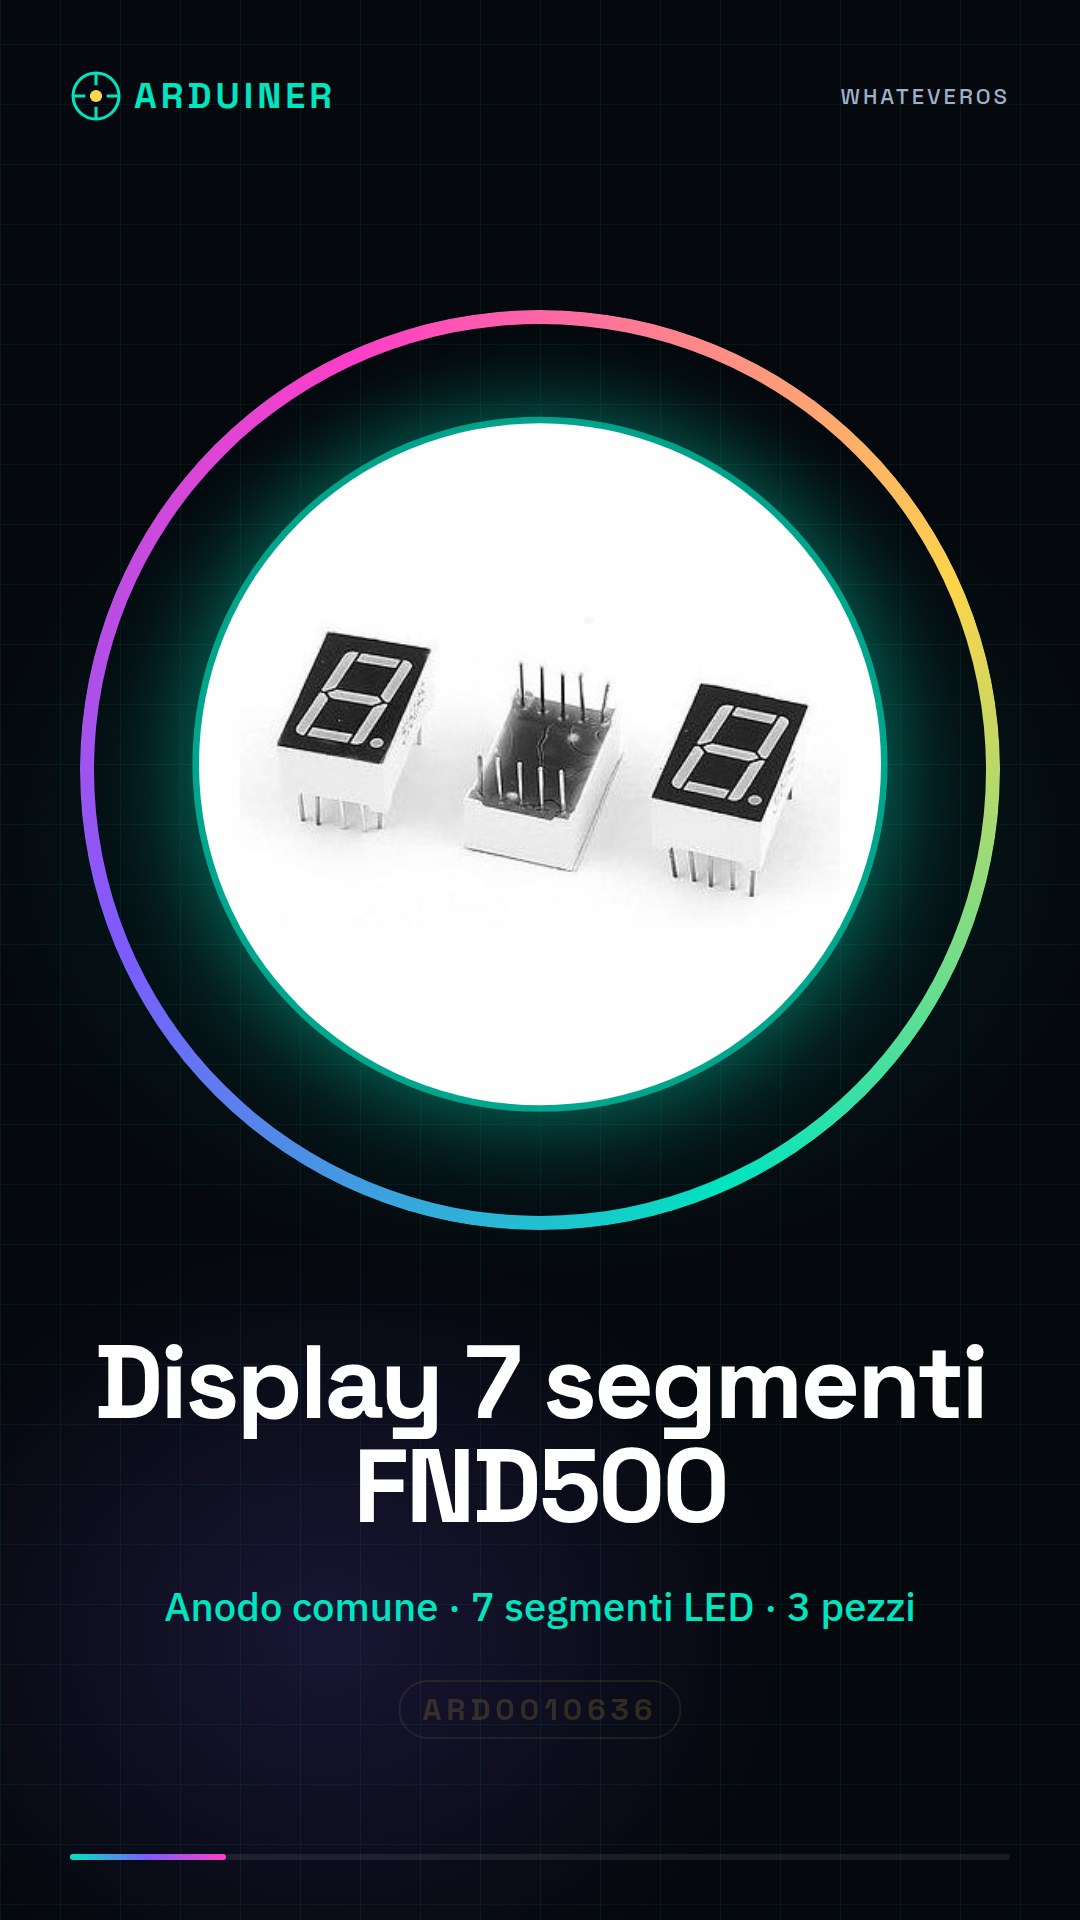
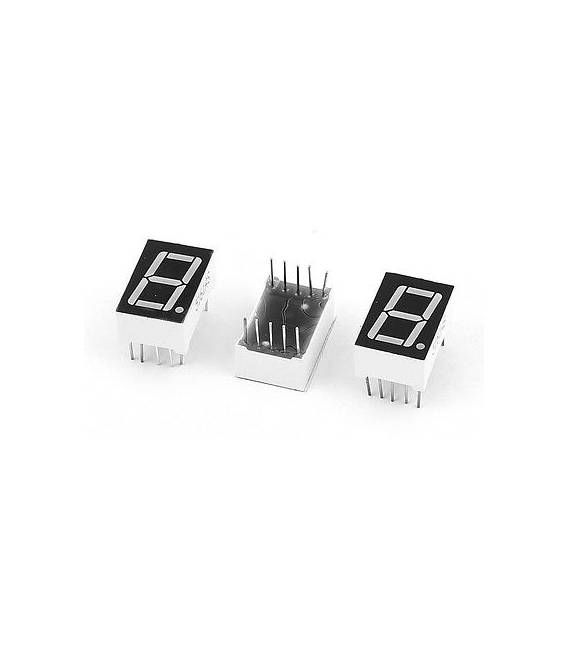
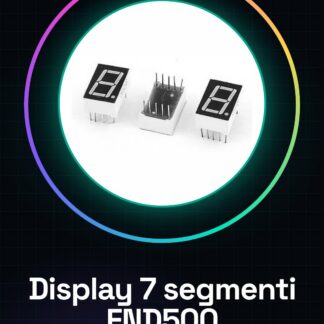
The FND500 segment LED displays are an electronic component used to display numbers and simple characters in low-cost projects. This kit contains three pieces of common anode displays, ideal for applications such as digital clocks or counters.
Features
- Type: 7-segment LED display
- Common Anode
- Kit containing 3 pieces
What it is for
The FND500 displays are ideal for Arduino or ESP projects that require the display of numbers and text. Typical examples include the implementation of a simple digital clock or counters.
Tutorial: How to use FND500 Segment Displays
Segment displays are ideal for displaying numbers and simple characters on low-cost projects. This tutorial will guide you through the installation and configuration of your 3 pieces of FND500 displays.
What you need
- Arduino Uno or compatible
- USB cable to connect Arduino to the computer
- Breadboard
- Capacitors
- Resistors
Steps
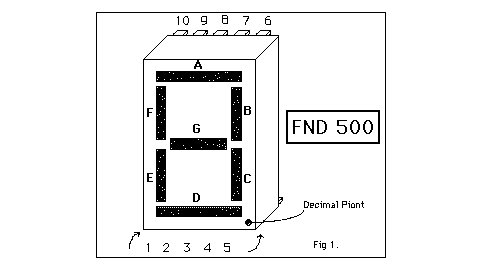
- Connect the 7-segment display to the breadboard. Check the pinout on the FND500 datasheet.
- Connect the resistors between the Arduino and the control signals for the segments of the display (A, B, C, D, E, F, G).
- Connect the capacitor to the common anode pins for the power supply chain.
- Download and install the Arduino IDE if you haven’t done so already.
- Open a new sketch in the Arduino IDE and include the necessary libraries (see code below).
- Set the digital pins to OUTPUT in the setup().
- In the loop(), write the code to display numbers or characters on the 7-segment display.
- Test the project by uploading the sketch to the Arduino and check that the display correctly shows the information.
Example code
// Esempio di codice base
void setup() {
  pinMode(A, OUTPUT);
}

void loop() {
  digitalWrite(A, HIGH); // Accende il segmento A del display
}
Mini project
Create a simple digital clock that displays the hour and minutes on two FND500 7-segment displays.
Common mistakes
- Failing to connect the correct resistors could damage the display.
- Set the control signal pin as INPUT instead of OUTPUT.
- Use power supply not conforming to the device specifications (check the datasheet).
- Write code that does not update the segment values in the loop().
Recommended accessories
- High-power variable resistors for light intensity control.
- RTC DS3231 module for precise timekeeping.
- Large breadboard for more complex projects.
- Decoupling capacitors to reduce electronic noise.
Frequently asked questions
What is the power supply voltage for the FND500?
Check the datasheet.
How much does an RTC DS3231 module compatible with Arduino cost?
The price varies, check the store for the latest offer.
Can I use these segment displays in outdoor environments?
Check the datasheet for environmental pollution resistance specifications.
Reviews
There are no reviews yet.