 EN
 IT Italiano
 ES Español
 FR Français
 DE Deutsch
Description
Technical Specifications
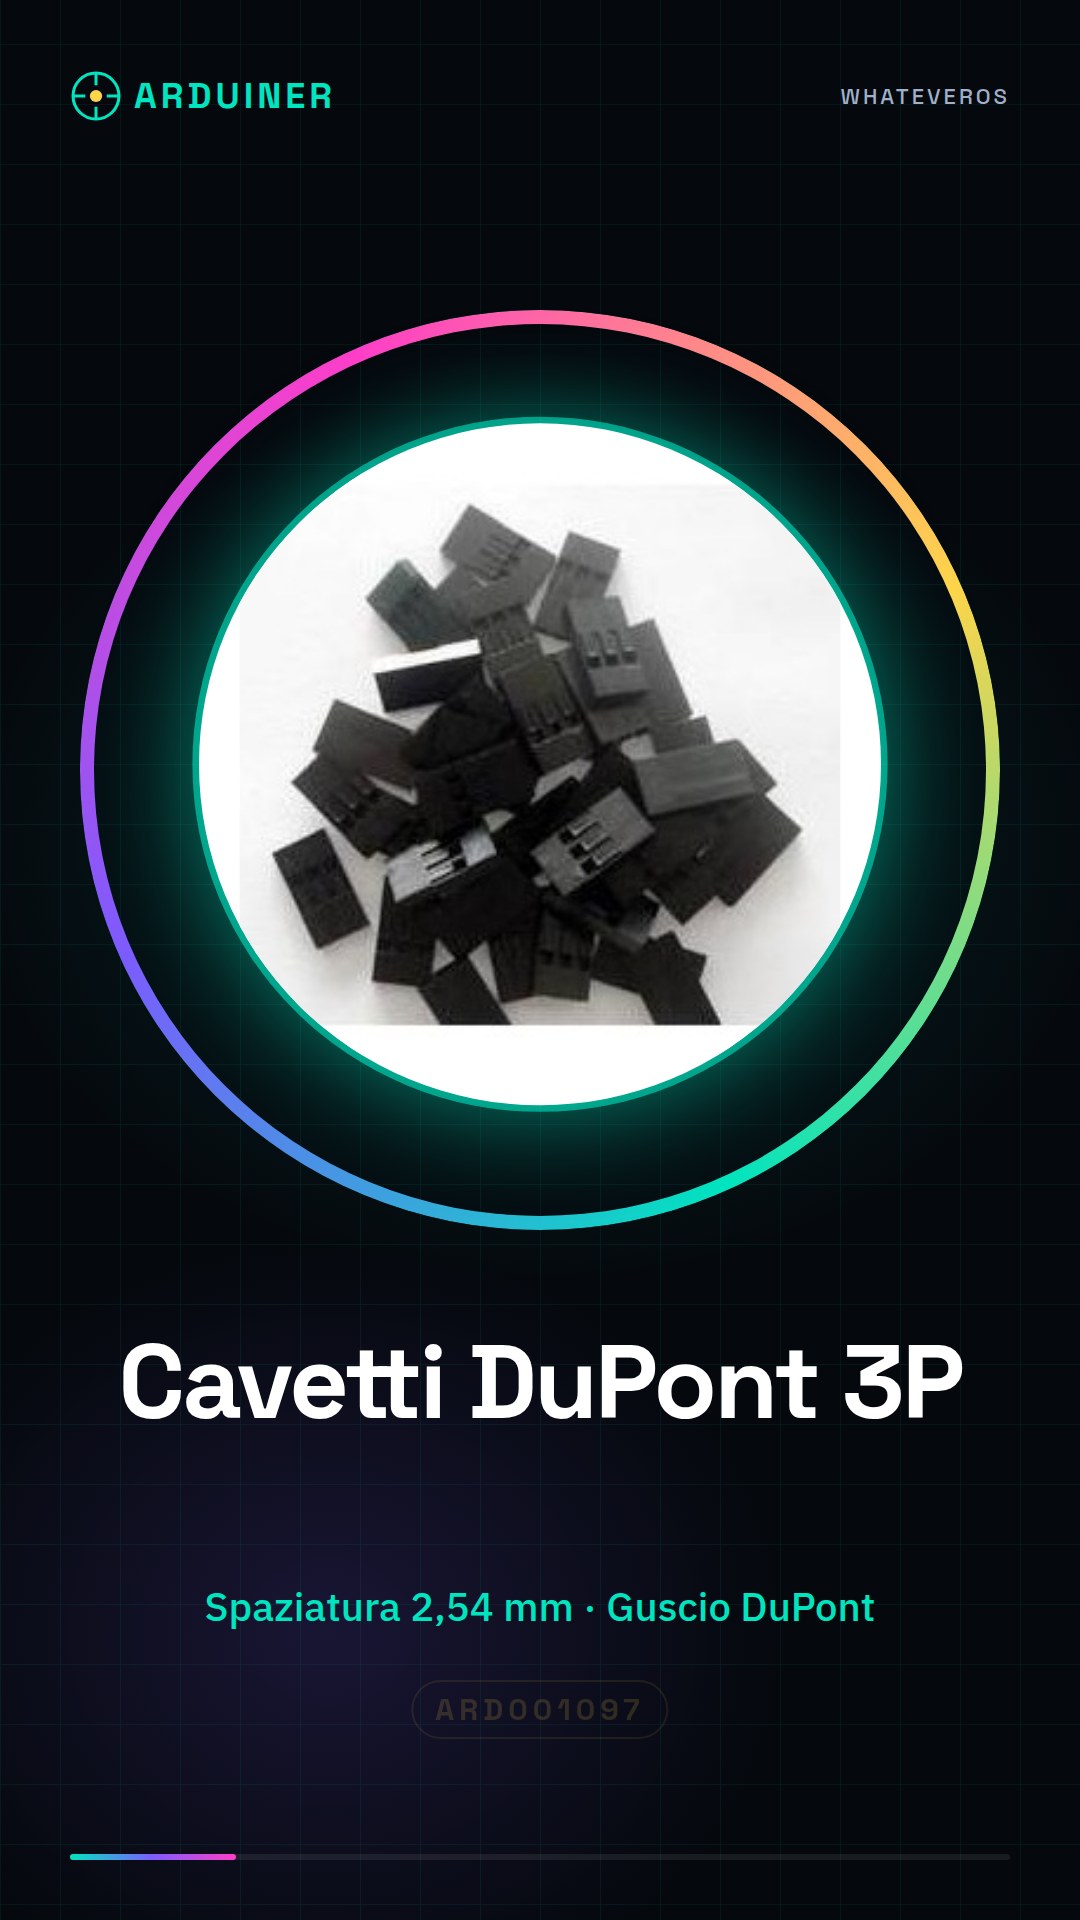
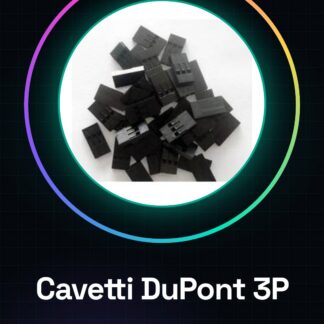
The DuPont 3P cables are used to quickly and safely connect various electronic components, such as resistors and sensors, to boards like Arduino. These cables have a spacing of 2.54mm and are equipped with caps to protect the connectors.
Each DuPont 3P cable consists of three conductors protected by a DuPont plastic sheath, ensuring electrical and mechanical protection of the internal wires.
These cables are suitable for prototyping and testing projects, allowing the creation of temporary or permanent connections between electronic components.
Key Specifications
| Parameter | Value |
| Model | 3P DuPont Connectors |
| Quantity | 25 |
| Spacing | 2.54mm |
| Shell | DuPont Connectors Plastic |
| Caps | Present |
| Interface | M3 |
| Dimensions | N/A (see manufacturer’s datasheet) |
| Container | N/A (see manufacturer’s datasheet) |
Installation and Usage
- Check the datasheet to verify the type of Dupont cable needed for your components.
- Insert the Dupont cables into your Arduino and the components to be connected, ensuring that the spacing is correct (2.54mm).
- Check the cable connections to ensure a secure and uninterrupted connection.
- If necessary, 3D print your own custom connector to improve the appearance or practicality of your project.
- Perform an initial test to verify the correct connection and operation of the circuit.
Compatibility and Requirements
- These 3P Dupont cables are compatible with most Arduino boards and other electronic components that use the standard spacing of 2.54mm.
- To use them, you need to have electronic components to connect and an Arduino board or another compatible platform available.
- It is advisable to have a datasheet available to verify the compatibility of the connectors.
Limitations and Important Notes
- These cables are not designed for permanent connections or in extreme environments.
- Ensure that the connector spacing is correct to avoid cable damage.
- DuPont Connectors cables are not suitable for connections with high voltages or high currents.
Troubleshooting
Incorrect cable connection
Probable cause: Incorrect connector spacing
Solution: Check the connector spacing and ensure it is correct.
Damaged or broken cable
Probable cause: Excessive force applied during connection
Solution: Replace the damaged cable with a new one.
Intermittent connection
Probable cause: Dirty or damaged contacts
Solution: Clean the connector contacts and check their integrity.
Component operation problems
Probable cause: Unstable connection or connector damage
Solution: Check the connection and replace damaged connectors.
Use cases
Prototype project
Objective: Quickly connect various electronic components
What is needed: 3P Dupont cables
Steps: 1) Check the compatibility of the connectors 2) Connect the electronic components 3) Perform an initial test
Expected result: Stable and secure connections between components.
Electronic circuit maintenance
Objective: Replace a damaged component
What is needed: 3P Dupont cables
Steps: 1) Remove the damaged component 2) Connect the new component 3) Check the functionality of the circuit
Expected result: Circuit working with the replaced component.
Temperature Sensor Test
Objective: Connect the sensor to an Arduino board
What you need: 3P Dupont cables
Steps: 1) Check the compatibility of the sensor 2) Connect the sensor to the Arduino board 3) Run the sensor test
Expected result: Sensor data correctly read by the Arduino board.
Home Automation Project
Objective: Connect a relay to an Arduino board
What you need: 3P Dupont cables
Steps: 1) Check the compatibility of the relay 2) Connect the relay to the Arduino board 3) Test the functionality of the relay
Expected result: Relay functioning and controlled by the Arduino board.
School Project
Objective: Connect an LED to an Arduino board
What you need: 3P Dupont cables
Steps: 1) Check the compatibility of the LED 2) Connect the LED to the Arduino board 3) Test the functionality of the LED
Expected result: LED functioning and controlled by the Arduino board.
Advanced Prototyping Project
Objective: Connect an LCD display to an Arduino board
What’s needed: Dupont 3P cables
Steps: 1) Verify the compatibility of the LCD display 2) Connect the LCD display to the Arduino board 3) Test the functionality of the LCD display
Expected result: The LCD display functioning and controlled by the Arduino board.
Prototyping Project
Objective: Connect a light sensor to an Arduino board
What’s needed: Dupont 3P cables
Steps: 1) Verify the compatibility of the light sensor 2) Connect the light sensor to the Arduino board 3) Test the functionality of the light sensor
Expected result: Light sensor data read correctly by the Arduino board.
Prototyping Project
Objective: Connect a motor to an Arduino board
What’s needed: Dupont 3P cables
Steps: 1) Check motor compatibility 2) Connect motor to Arduino board 3) Test motor functionality
Expected result: Motor functioning and controlled by Arduino board.
In the package
- 25 Pieces 3P DuPont head, Spacing 2.54MM, DuPont plastic shell, caps
Complete the project
- 25 pieces DuPont 4p head DuPont, Spacing 2.54MM, DuPont plastic shell, caps: To connect components with multiple poles in an electronic project.
- 25 Pieces 5P head DuPont, Spacing 2.54MM, DuPont plastic shell, caps: To connect components with multiple poles in an electronic project.
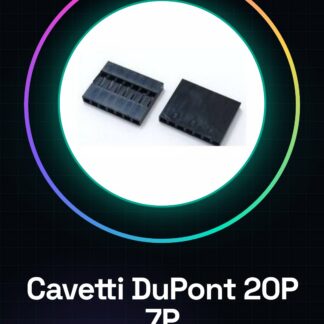
- 20 Pieces 7P DuPont head, Spacing 2.54MM DuPont plastic shell, caps: To connect components with multiple poles in an electronic project.
Technical FAQs
How can I protect my DuPont wires?
Use a 3D printed connector to keep everything organized and protected.
What is the difference between 2-pin and 3-pin Dupont cables?
3-pin cables have an additional sheath that better protects the internal wires.
What causes an intermittent connection?
Dirty or damaged contacts can cause an intermittent connection.
What causes a malfunction in the connected component?
An unstable connection or damage to the connectors can cause a malfunction in the connected component.
Tutorial: How to use 3P 2.54MM Spacing Dupont Cables
Dupont cables are essential for quick and secure connections between various components of your Arduino board or other electronic projects. Ideal for beginner and intermediate makers.
What you need
- Arduino uno
- Components to connect (e.g., resistors, sensors)
- 3D print your own connector (optional)
Steps
- Check the datasheet for the type of Dupont cable needed for your components.
- Insert Dupont wires into your Arduino and the components to be connected, ensuring the spacing is correct (2.54mm).
- Check the wire connections to ensure a secure and uninterrupted contact.
- If necessary, 3D print your own custom connector to improve the look or practicality of your project.
Mini project
Create a simple control interface with an LED and a button connected via Dupont wires to an Arduino Uno. Connect the LED to pin 13 of the Arduino and the button between pin 2 and ground.
Common mistakes
- Incorrect wire connection.
- Incorrect connector spacing.
- Damaged or broken wire.
Recommended accessories
- Variable resistors
- Temperature sensors
- Multicolor LEDs
Frequently asked questions
How can I protect my Dupont wires?
Use a 3D printed connector to keep everything organized and protected.
What is the difference between 2-pin and 3-pin Dupont wires?
Three-wire cables have a third insulation layer that allows better protection for the internal wires.
Reviews
There are no reviews yet.