 EN
 IT Italiano
 ES Español
 FR Français
 DE Deutsch
Description
What it is
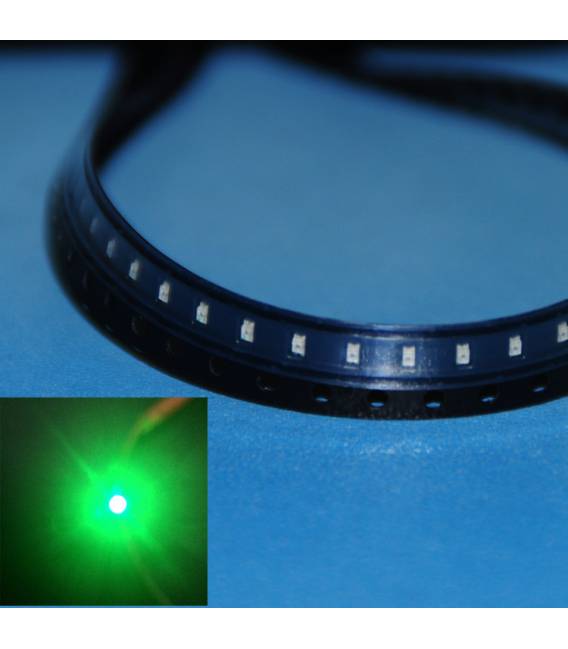
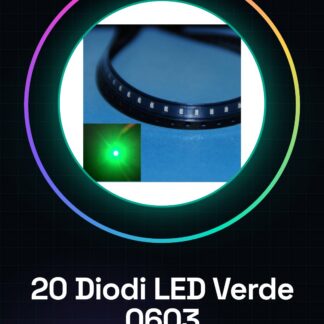
This product includes 20 high-brightness green SMD 0603 LED diodes. They are highly efficient electronic components that produce light when an electric current passes through them.
Features
- 20 pieces
- Type: LED SMD Diode
- Size: 0603
- Color: Green
- Brightness: High
What it is for
These LED diodes are ideal for lighting and data visualization projects. They can be used as light indicators, visible signals, display elements in electronic devices, or to create lighting effects in artistic projects. Their small size makes them suitable for 3D printing projects and other compact devices. They are compatible with Arduino and other microcontrollers.
Tutorial: How to Use High-Brightness Green SMD 0603 LED Diodes
The SMD 0603 green high-brightness LED diodes are ideal for projects requiring small visible lights, such as indicators or signals. This component is particularly suitable for beginners and 3D printing enthusiasts.
What you need
- Arduino Uno
- Perforated prototype board
- Soldering iron
- Soldering tweezers
Steps
- Check the polarity of the SMD LED diode (cathode towards ground)
- On the PCB, position the SMD LED diode near the Arduino pin or power source that will light it up.
- Solder the two leads of the SMD LED diode precisely using a soldering iron and soldering tweezers.
- Connect the anode (positive) of the diode to a digital pin of the Arduino, the cathode (negative) to gnd or a resistor between the digital pin and the diode.
- Verify that everything is properly soldered and connected.
- Upload the Arduino sketch to turn the SMD 0603 green LED on and off.
Example code
void setup() {
  pinMode(13, OUTPUT);
}

void loop() {
  digitalWrite(13, HIGH);
  delay(1000);
  digitalWrite(13, LOW);
  delay(1000);
}
Mini project
Create an LED clock that displays the time with green SMD 0603 LEDs. Use Arduino to control the LEDs and display the hours.
Common mistakes
- Soldering the diode backwards
- Connecting the diode without a resistor between the Arduino digital pin and the anode of the diode.
- Not checking polarity before soldering.
- Using a current too high for the diode, check on the datasheet.
Recommended accessories
- 220 Ohm resistor
- Photopolymerization printed PCB
- SMD soldering kit
- Arduino Uno
Frequently asked questions
How can I control the brightness of the LED?
You can use a transistor or a MOSFET to vary the current passing through the LED.
Can I use these LEDs in 3D printing projects?
Yes, they are perfect as internal or external lights for 3D printing.
Reviews
There are no reviews yet.