 EN
 IT Italiano
 ES Español
 FR Français
 DE Deutsch
Description
Technical Description
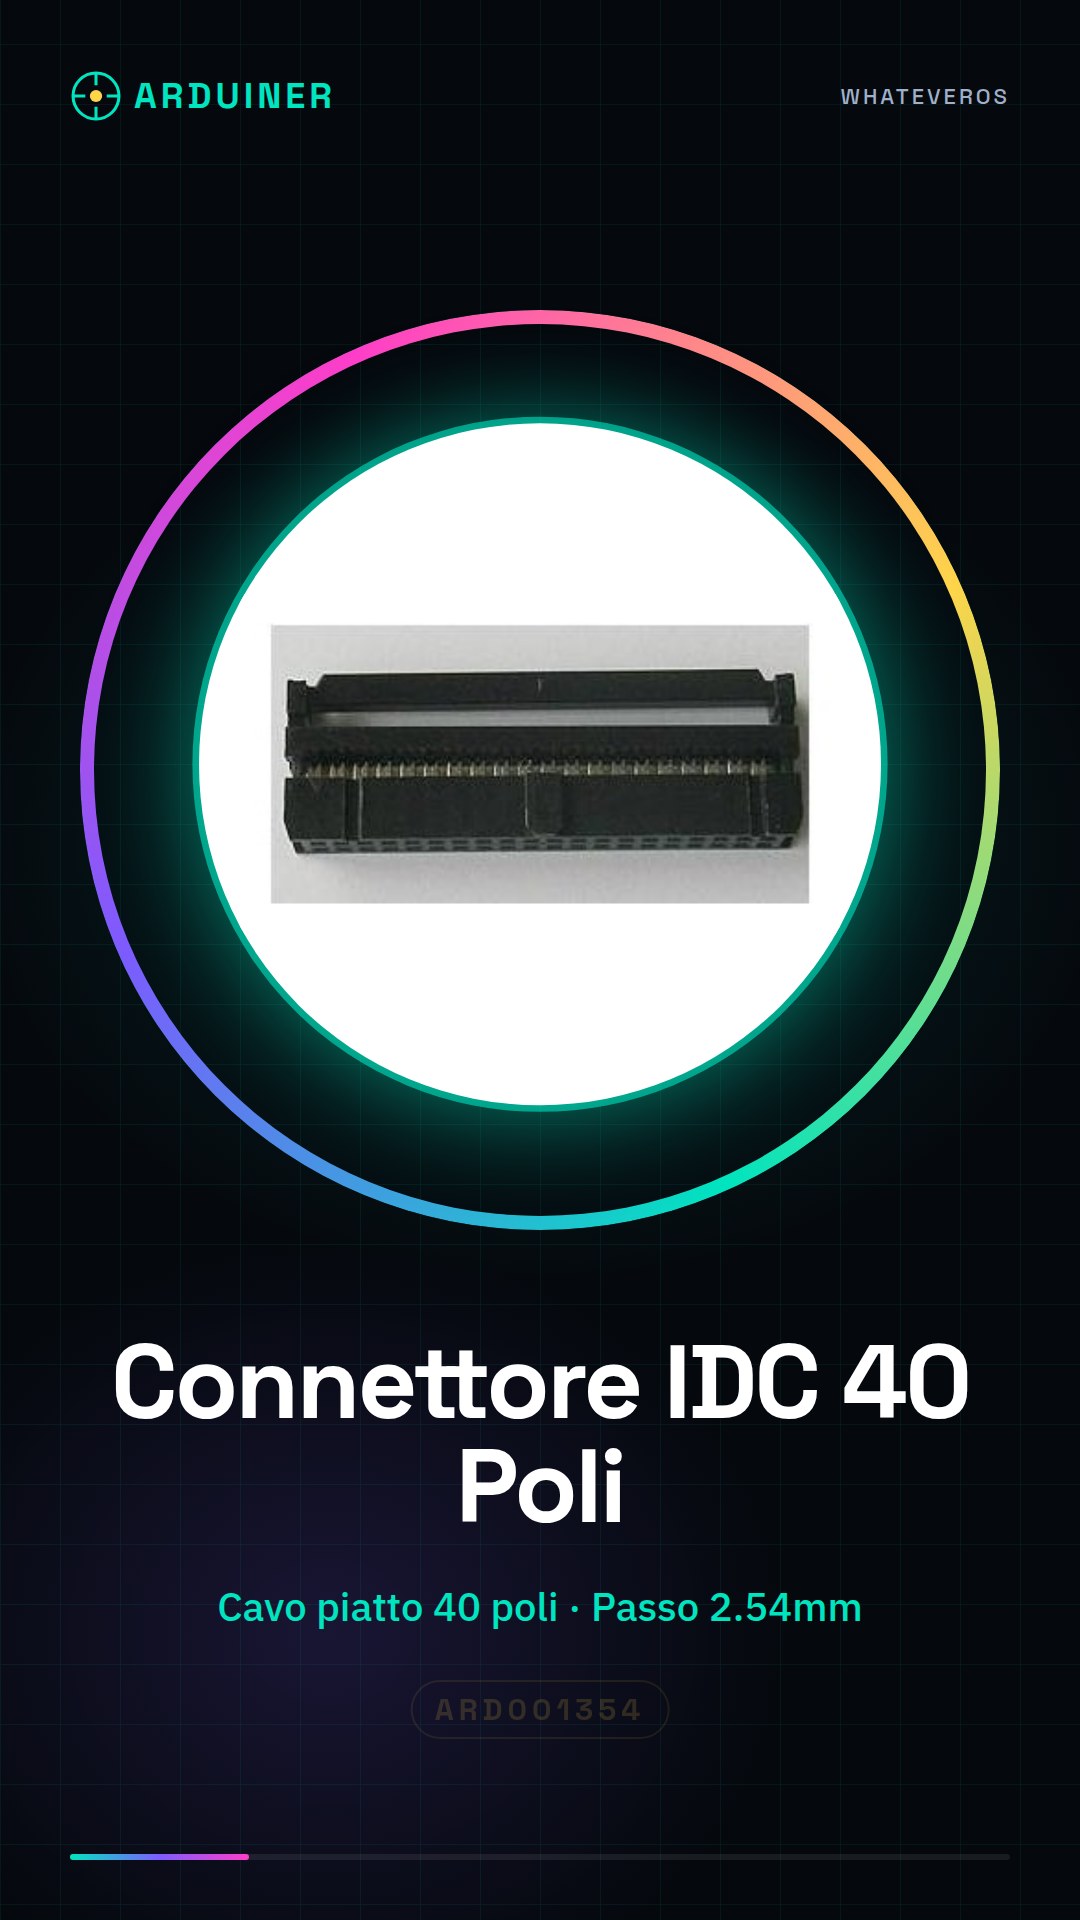
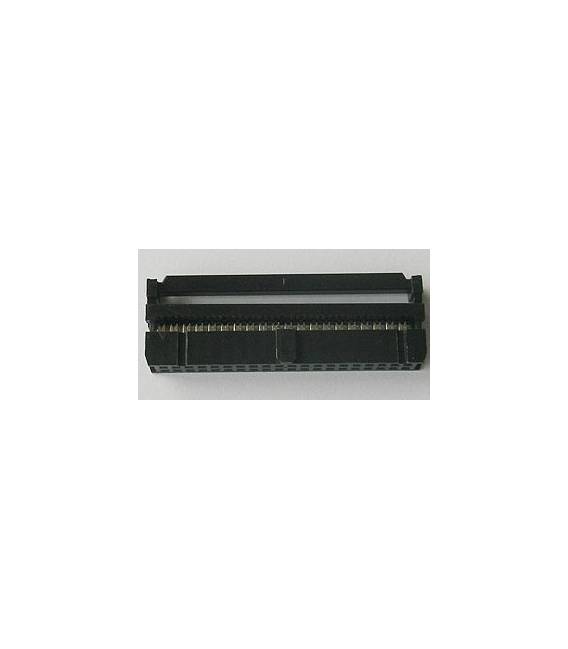
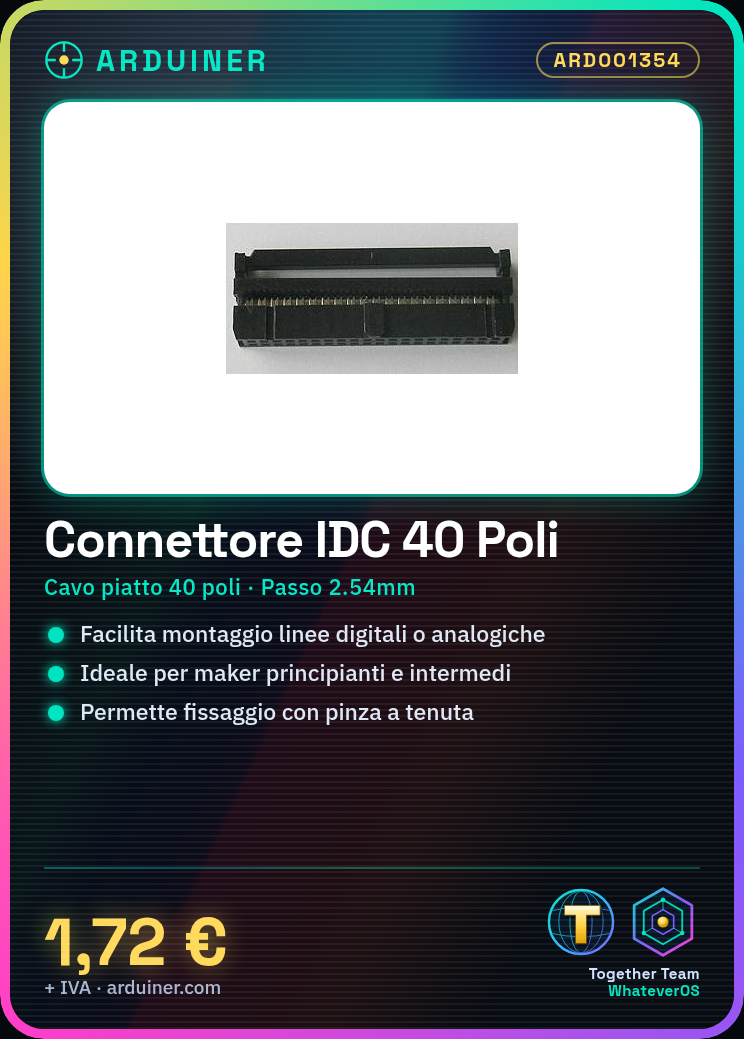
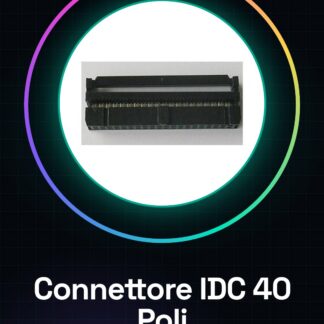
The IDC (Insulation Displacement Connector) connector for 40-pole flat cable is a component used for quick interconnection between printed circuits and cables. This type of connector facilitates the mounting of digital or analog signal lines, making it particularly useful in electronics projects where maintainability and ease of connection are important. The 40-pole IDC connector is equipped with a series of female sockets that accommodate the flat cable wires, ensuring a solid and stable contact between the wires and the metal tracks of the connector.
To use this connector, it is necessary to prepare the IDC flat cable so that the wires are inserted correctly into the connector positions. It is important to check the product datasheet for the connector dimensions and prepare the cable accordingly, using tools such as a universal cable cutter and a crimping tool to ensure a secure and reliable connection.
Key Specifications
| Parameter | Value |
| Model | FC-40P |
| Number of Pins | 40 |
| Pitch | 2.54mm |
| Connector Type | Female Socket |
| Quantity | 2 pieces |
| Dimensions | N/D (see manufacturer’s technical sheet) |
| Interface | IDC |
| Container | N/D (see manufacturer’s datasheet) |
Installation and Usage
- Check the datasheet for the connector dimensions and prepare the IDC flat cable accordingly, cutting it with a universal cable cutter.
- Gently insert the wires of the flat cable into the IDC connector, ensuring that each row is inserted into a single position of the connector.
- Use a crimping plier to lightly press the flat cable into the connector, ensuring a solid contact between the wires and the metal tracks of the connector.
- Check that each row is well inserted and does not protrude.
- Apply a small drop of plastic solder to further secure the cable to the connector.
Compatibility and Requirements
- This 40-pin IDC connector is compatible with various electronic systems that use IDC flat cables, including microcontrollers such as Arduino.
- This connector can be used in prototyping and testing projects where a quick and secure connection between printed circuit boards and cables is required.
- The connector is suitable for use in electronics labs and in home automation applications.
Limitations and Important Notes
- The connector is not designed to support high voltages and currents.
- It is important to ensure that the wires are correctly inserted into the connector to avoid short circuits.
- The connector is not designed to withstand extreme environmental conditions or continuous use in industrial environments.
- It is recommended to use a plastic clip to secure the cable to the connector to prevent accidental disconnections.
Troubleshooting
The cable does not connect properly.
Probable cause: The wires of the cable have not been correctly inserted into the connector.
Solution: Ensure that each wire is inserted into a single position in the connector and that there are no protrusions.
The connector does not maintain a solid contact.
Probable cause: The wire was not pressed sufficiently into the connector.
Solution: Use a holding plier to gently press the wire into the connector.
The connector disconnects easily.
Probable cause: A plastic saddle was not applied to secure the wire to the connector.
Solution: Apply a small drop of plastic saddle to further secure the wire to the connector.
There are short circuits.
Probable cause: The wires of the cable were inserted incorrectly.
Solution: Ensure that each wire is inserted into a single position in the connector and that there are no protrusions.
Use cases
Home lighting system
Objective: Connect an illumination circuit to a microcontroller.
What’s needed: IDC 40-pin connector, IDC flat cable, Arduino microcontroller.
Steps: 1) Prepare the IDC flat cable. 2) Insert the wires into the IDC connector. 3) Connect the connector to the Arduino microcontroller.
Expected result: The illumination system is connected to the microcontroller and can be controlled via code.
Prototype Project
Objective: Connect a test circuit to a microcontroller.
What’s needed: IDC 40-pin connector, IDC flat cable, Arduino microcontroller.
Steps: 1) Prepare the IDC flat cable. 2) Insert the wires into the IDC connector. 3) Connect the connector to the Arduino microcontroller.
Expected result: The test circuit is connected to the microcontroller and can be tested.
Temperature Control System
Objective: Connect a temperature sensor to a microcontroller.
What is needed: 40-pin IDC connector, IDC flat cable, Arduino microcontroller.
Steps: 1) Prepare the IDC flat cable. 2) Insert the wires into the IDC connector. 3) Connect the connector to the Arduino microcontroller.
Expected result: The temperature sensor is connected to the microcontroller and can send temperature data.
Home automation project
Objective: Connect a home automation circuit to a microcontroller.
What is needed: 40-pin IDC connector, IDC flat cable, Arduino microcontroller.
Steps: 1) Prepare the IDC flat cable. 2) Insert the wires into the IDC connector. 3) Connect the connector to the Arduino microcontroller.
Expected result: The home automation circuit is connected to the microcontroller and can be controlled via code.
Energy monitoring project
Objective: Connect an energy monitoring circuit to a microcontroller.
What is needed: 40-pin IDC connector, IDC flat cable, Arduino microcontroller.
Steps: 1) Prepare the IDC flat cable. 2) Insert the wires into the IDC connector. 3) Connect the connector to the Arduino microcontroller.
Expected result: The energy monitoring circuit is connected to the microcontroller and can send energy data.
Light control project
Objective: Connect a light control circuit to a microcontroller.
What is needed: 40-pin IDC connector, IDC flat cable, Arduino microcontroller.
Steps: 1) Prepare the IDC flat cable. 2) Insert the wires into the IDC connector. 3) Connect the connector to the Arduino microcontroller.
Expected result: The light control circuit is connected to the microcontroller and can be controlled via code.
Temperature monitoring project
Objective: Connect a temperature monitoring circuit to a microcontroller.
What is needed: 40-pin IDC connector, IDC flat cable, Arduino microcontroller.
Steps: 1) Prepare the IDC flat cable. 2) Insert the wires into the IDC connector. 3) Connect the connector to the Arduino microcontroller.
Expected result: The temperature monitoring circuit is connected to the microcontroller and can send temperature data.
Humidity control project
Objective: Connect a humidity control circuit to a microcontroller.
What is needed: 40-pin IDC connector, IDC flat cable, Arduino microcontroller.
Steps: 1) Prepare the IDC flat cable. 2) Insert the wires into the IDC connector. 3) Connect the connector to the Arduino microcontroller.
Expected result: The humidity control circuit is connected to the microcontroller and can be controlled via code.
In the package
- 2 pieces
Complete the project
- 4 Piece IDC Ribbon Cable 10 Pole 2.54MM Pitch Female Socket FC-10P Connector: This 10 pole IDC connector can be used for connections with a lower number of signal lines.
Technical FAQs
Why doesn’t my cable connect properly?
Check that the cable wires are inserted correctly into the IDC connector, ensuring that each wire is inserted into a single position of the connector.
How can I prevent the connector from disconnecting?
Apply a small drop of plastic solder to further secure the cable to the connector.
What tools are required for installation?
A universal cable cutter and a wire crimping tool are required to prepare and connect the IDC ribbon cable to the connector.
What are the usage limits of the connector?
The connector is not designed to support high voltages and currents and is not suitable for extreme environmental conditions or continuous use in industrial environments.
Tutorial: How to Use IDC 40-Pin Connector
The IDC (Insulation Displacement Connector) for 40-pin flat cable is an essential component for electronic projects requiring quick interconnection between printed circuits and cables. Ideal for beginner and intermediate makers, this connector facilitates the mounting of digital or analog signal lines.
What you need
- Flat IDC Cable
- Universal Cutting Tool
- Holding Pliers
Steps
- Check the datasheet for the connector dimensions and prepare the flat IDC cable accordingly, cutting it with a universal cutting tool.
- Gently insert the flat cable wires into the IDC connector. Each wire must be inserted into a single position in the connector to avoid short circuits.
- Use the holding pliers to lightly press the flat cable inside the connector, ensuring a solid contact between the wires and the metal tracks of the connector. Check that each wire is well inserted and does not protrude.
- If necessary, apply a small drop of plastic solder to further secure the cable to the connector.
Mini project
Create a simple printed circuit with LEDs and buttons. Use IDC connectors to quickly connect them to a microcontroller like Arduino.
Common mistakes
- Insert the flat cable into the connector incorrectly, causing short circuits or weak contacts.
- Do not apply plastic solder to secure the cable to the connector, increasing the risk of accidental disconnection.
- Cutting the flat cable without measuring it correctly from the connector datasheet first.
Recommended accessories
- Flat IDC cable
- Universal cutting tool
- Holding pliers
Frequently asked questions
Why won’t my cable connect properly?
Check that the wires are inserted correctly into each position of the IDC connector and verify if the pressure is sufficient.
Can I use an IDC connector to power my circuit?
Yes, but make sure that the power wires are well insulated and do not cause short circuits with other signals.
Reviews
There are no reviews yet.