 EN
 IT Italiano
 ES Español
 FR Français
 DE Deutsch
Description
Technical Description
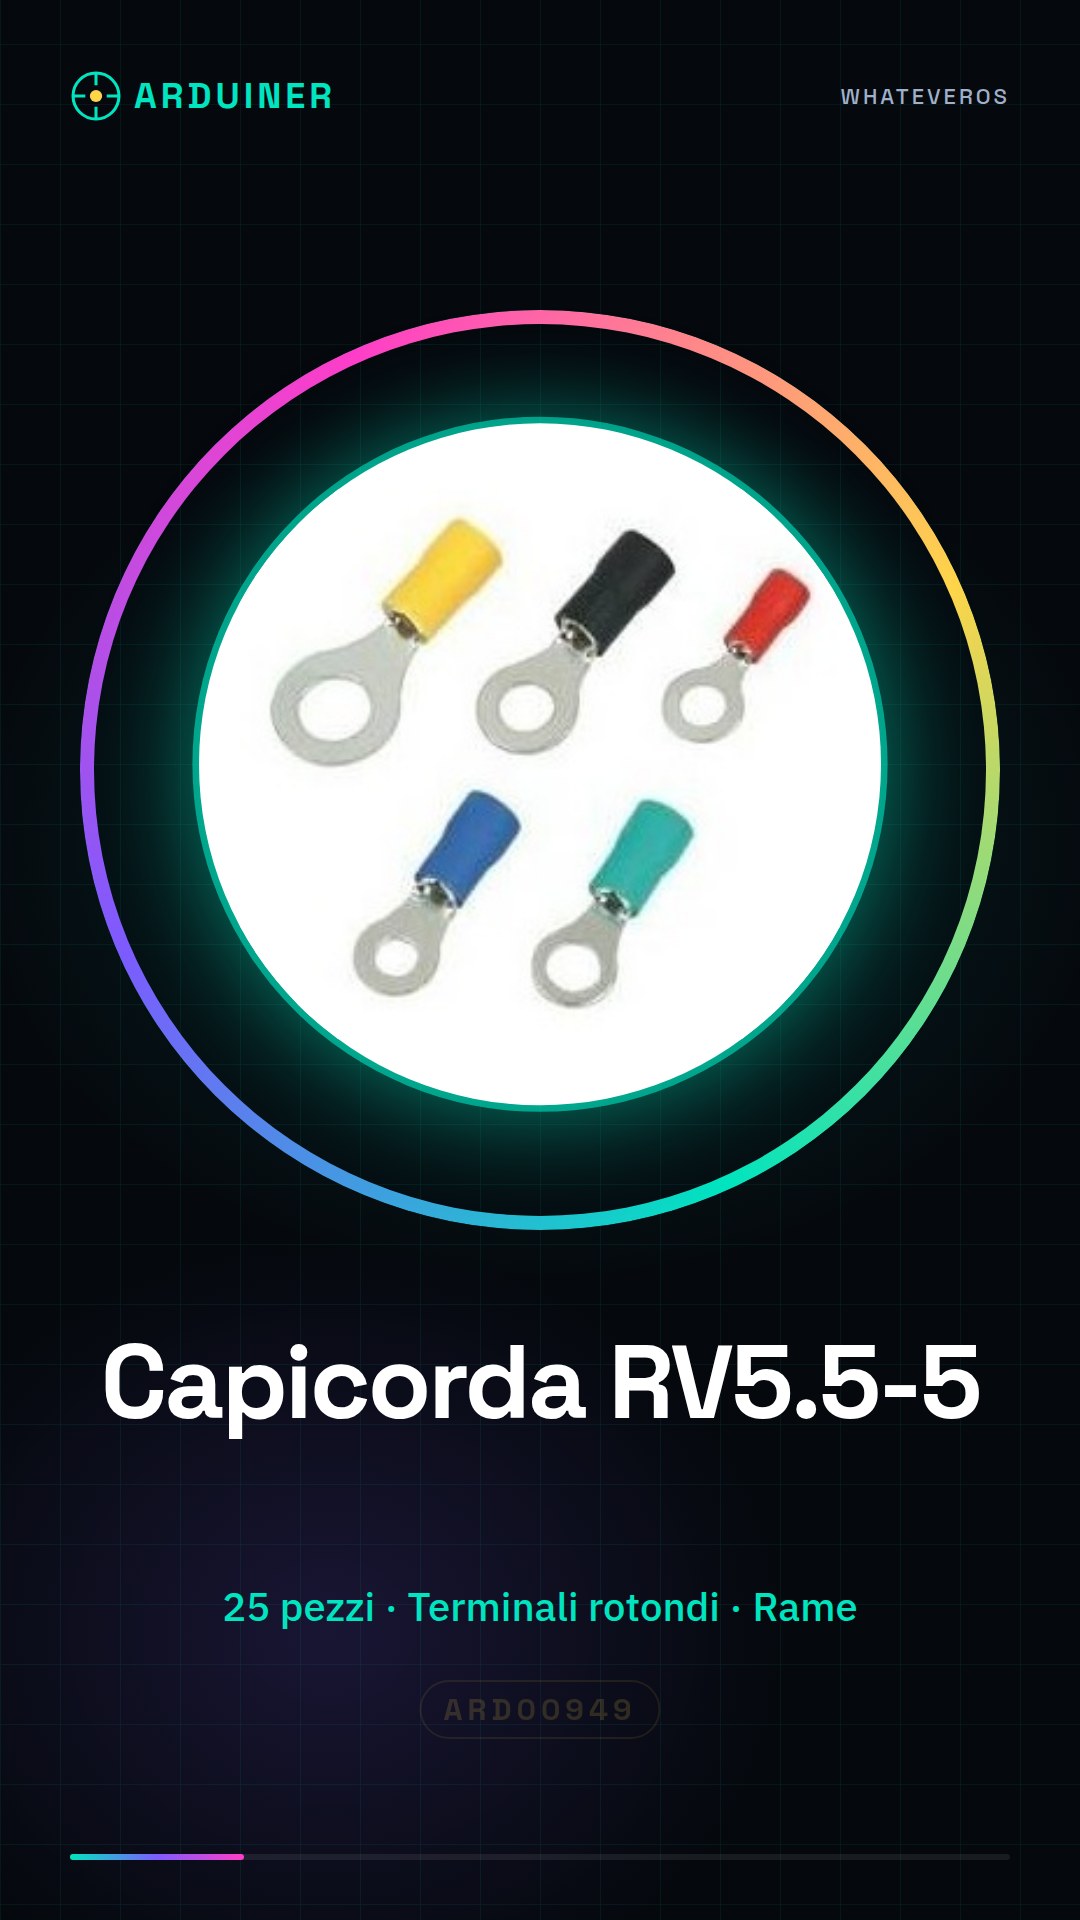
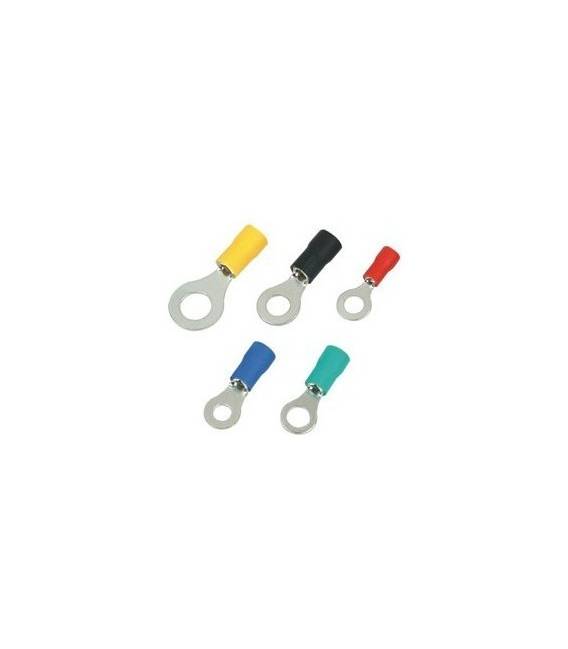
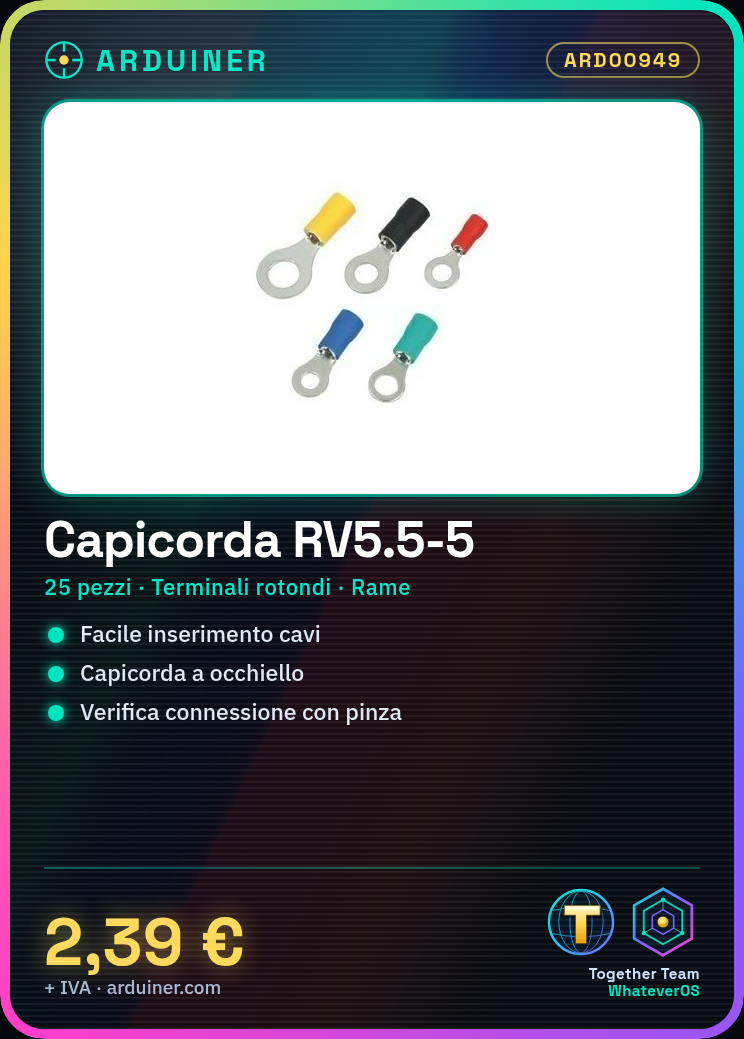
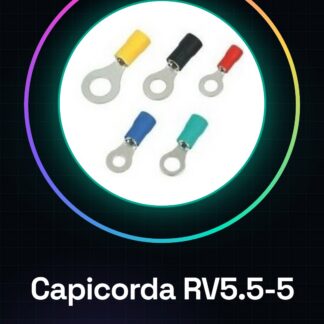
RV5.5-5 terminals are components used to stabilize and protect electrical connectors. These pre-insulated terminals are designed to facilitate the connection of electrical cables to various electronic devices, ensuring a stable and secure connection.
The ring terminal, round terminals, pre-insulated lug terminal with wiring nose in copper, is specifically designed to facilitate the insertion of wires and to protect the connection from external damage. These terminals are suitable for electronic projects and prototyping.
These terminals are used to connect cables to devices such as Arduino boards, 3D printers, and other electronic devices that require secure and stable connections.
Key Specifications
| Parameter | Value |
| Model | RV5.5-5 |
| Quantity | 25 |
| Connector Type | Ring terminal, round terminals |
| Pre-insulated | Yes |
| Materials | N/D (see manufacturer’s technical sheet) |
| Dimensions | N/D (see manufacturer’s technical sheet) |
| Container | N/D (see manufacturer’s technical sheet) |
Installation and Use
- Cut the insulated wire to the desired length.
- Remove the outer insulation of the wire to expose the internal wires, checking the necessary length.
- Insert the wire into the RV5.5-5 connector, ensuring it is securely tightened.
- Use pliers or tweezers to gently bend the end of the wire inside the connector.
- Check the connection and stability of the wires inside the connector.
Compatibility and Requirements
- The RV5.5-5 terminals are compatible with a wide range of electronic devices, including Arduino boards and 3d printers.
- These terminals can be used with wires of various sizes and materials.
- To use these terminals, insulated wires and tools such as wire cutters and pliers are required.
Limitations and Important Notes
- These terminals are not designed for high current connections.
- It is important to ensure that the wires are inserted correctly to avoid short circuits.
- Make sure that the terminals are not exposed to extreme environmental conditions that could damage them.
Troubleshooting
Unstable Connection
Probable Cause: The wire was not inserted correctly into the terminal.
Solution: Remove the wire and repeat the insertion process, ensuring it is securely tightened.
Short Circuit
Probable Cause: The wire was inserted incorrectly, causing direct contact between the wires.
Solution: Check that the wires are inserted correctly and that there are no exposed parts in contact.
Wire Movement
Probable cause: The wire was not inserted sufficiently into the connector.
Solution: Remove the wire and insert it again, ensuring it is securely tightened.
Easy to disconnect connection
Probable cause: The connector is damaged or not suitable for the wire diameter.
Solution: Replace the connector with one that is suitable for the wire diameter.
Use cases
Arduino-controlled lighting project
Objective: Connect RGB LEDs to an Arduino circuit.
What is needed: Insulated wire, wire cutter, pliers, RV5.5-5 terminals.
Steps: 1) Cut the wires to the desired length. 2) Remove the outer insulation and insert the wires into the terminals. 3) Connect the terminals to the RGB LEDs and the Arduino circuit. 4) Test the connection and stability.
Expected result: An Arduino-controlled lighting system with RGB LEDs.
3D printing project
Objective: Connect the 3D printer motor.
What is needed: Insulated wire, electric wire cutter, pliers, RV5.5-5 terminals.
Steps: 1) Cut the wires to the desired length. 2) Remove the outer insulation and insert the wires into the terminals. 3) Connect the terminals to the 3d printer motor. 4) Test the connection and stability.
Expected result: A 3d printer motor with stable connections.
Home automation project
Objective: Connect motion sensors to a security system.
What is needed: Insulated wire, electric wire cutter, pliers, RV5.5-5 terminals.
Steps: 1) Cut the wires to the desired length. 2) Remove the outer insulation and insert the wires into the terminals. 3) Connect the terminals to the motion sensors. 4) Test the connection and stability.
Expected result: A stable home security system.
Prototyping project
Objective: Connect various electronic components.
What is needed: Insulated wire, electric cutter, pliers, RV5.5-5 terminals.
Steps: 1) Cut the wires to the desired length. 2) Remove the outer insulation and insert the wires into the terminals. 3) Connect the terminals to various electronic components. 4) Test the connection and stability.
Expected result: An electronic prototype with stable connections.
Electronic test project
Objective: Connect test tools to a circuit.
What is needed: Insulated wire, electric cutter, pliers, RV5.5-5 terminals.
Steps: 1) Cut the wires to the desired length. 2) Remove the outer insulation and insert the wires into the terminals. 3) Connect the terminals to the test tools. 4) Test the connection and stability.
Expected result: An electronic test system with stable connections.
Electronic maintenance project
Objective: Repair an electronic device.
What is needed: Insulated wire, electric wire cutter, pliers, RV5.5-5 terminals.
Steps: 1) Cut the wires to the desired length. 2) Remove the outer insulation and insert the wires into the terminals. 3) Connect the terminals to the device components. 4) Test the connection and stability.
Expected result: A repaired electronic device with stable connections.
Industrial automation project
Objective: Connect sensors and actuators.
What is needed: Insulated wire, electric wire cutter, pliers, RV5.5-5 terminals.
Steps: 1) Cut the wires to the desired length. 2) Remove the outer insulation and insert the wires into the terminals. 3) Connect the terminals to the sensors and actuators. 4) Test the connection and stability.
Expected result: An industrial automation system with stable connections.
Battery prototyping project
Objective: Connect batteries to a circuit.
What’s needed: Insulated wire, electric wire cutter, pliers, RV5.5-5 terminals.
Steps: 1) Cut the wires to the desired length. 2) Remove the outer insulation and insert the wires into the terminals. 3) Connect the terminals to the batteries. 4) Test the connection and stability.
Expected result: A battery-powered circuit with stable connections.
In the package
- 25 pieces
Complete the project
- 100 Pieces RV2-4 Crimp Connectors, Round Terminals, Pre-Insulated Terminal Lug, Copper Wiring Nose: To connect wires to electronic devices such as Arduino boards and 3d printers.
- 100 Pieces PTV2-10 Crimp Connectors, Copper Ear Copper Nose, Terminals, Pin Pre-Insulated Terminals: To provide an alternative to RV5.5-5 terminals with similar features.
- 100 Pieces SV1.25-4S Insulated Crimp Connectors, Terminals, Crimped Connection Ends, U-Hooks, Clips.: For use in prototyping and electronic testing projects.
- 10 Pieces 2.8MM Spring Terminal, Cold Terminal, Copper With Silicone Housing
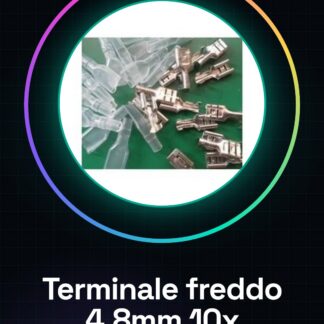
- 10 Pieces 4.8MM Spring Spade Terminal, Cold Terminal With Silicone Housing
Technical FAQ
How can I check the quality of the connection?
Ensure that the wires are securely inserted and do not move when the cable is pulled.
Can I use these terminals to connect batteries to my project?
Yes, but make sure to use a cable suitable for the current of your battery.
What tools are needed for installation?
Electrician’s knife, pliers, and electronic testing tools.
What are the usage limitations of these terminals?
These terminals are not designed for high current connections and must be protected from extreme environmental conditions.
Tutorial: How to use Pre-Insulated RV5.5-5 Terminals
RV5.5-5 terminals are useful for easily connecting electrical wires to your Arduino or 3d printer projects. They are ideal for beginner and intermediate makers looking for a simple and efficient way to create stable connections.
What you need
- insulated wire
- scissors
- toothpick
- pliers
Steps
- Cut the insulated wire to the desired length.
- Remove the outer insulation of the wire to expose the internal wires, check the necessary length.
- Insert the wire into the RV5.5-5 terminal, ensuring it is securely tightened.
- Use pliers or tweezers to gently bend the end of the wire inside the terminal.
- Check the connection and stability of the wires inside the terminal.
- Repeat the process for each wire needed for your project.
Mini project
Create an Arduino-controlled RGB LED lighting system connected through RV5.5-5 terminals.
Common mistakes
- Do not insert enough wire into the terminal.
- Insert the wire incorrectly, causing a short circuit or an unstable connection.
- Cut the outer insulation of the wire too long.
- Omit checking the stability of the connection after inserting the wires.
Recommended accessories
- Insulated wire
- Electric wire cutter
- Electronic tool kit
- Pliers
Frequently asked questions
How can I check the quality of the connection?
Check that the wires are well inserted and do not move when the wire is pulled.
Can I use these terminals to connect batteries to my project?
Yes, but make sure to use a wire suitable for the current of your battery.
Reviews
There are no reviews yet.