 EN
 IT Italiano
 ES Español
 FR Français
 DE Deutsch
Description
What it is
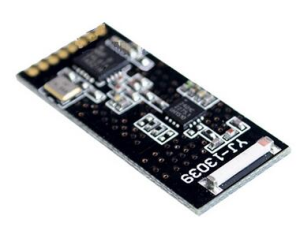
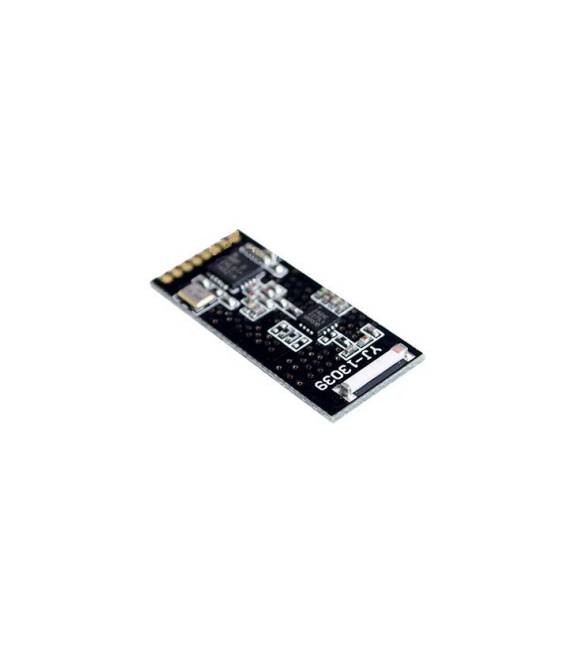
The Wireless Long Range Data Transceiver Module 2.4GHz nRF24L01 + PA + LNA is an electronic component that allows for wireless data transmission and reception at a frequency of 2.4 GHz. It integrates the nRF24L01 chip, power amplifier (PA), and low noise amplifier (LNA) for better efficiency and range.
Features
- Frequency: 2.4 GHz
- Chip: nRF24L01
- Integrates power amplifier (PA)
- Integrates low noise amplifier (LNA)
- SKU: ARD009910
- Price: 9.61 €
What it is for
This module is ideal for electronic projects that require long-range wireless connections. It can be used to transmit data between Arduino, ESP32, or other microcontroller devices. Some examples of usage include remote control systems for vehicles, drones, or robots, wireless communication between sensors and data processing devices, and creation of sensor networks for environmental monitoring.
Tutorial: How to Use the 2.4GHz nRF24L01 + PA + LNA Transceiver Module
This module is ideal for wirelessly transmitting data over long distances. Useful for remote control projects and wireless communication.
What you need
- nRF24L01 + PA + LNA Module
- Arduino or compatible
- 1kΩ Resistor
- Power Supply Cable
Steps
- 1. Install the module on a protoboard or Arduino.
- 2. Connect the module to pin 10 of the Arduino and to GND.
- 3. Connect the 1kΩ resistor between VCC of the module and GND.
- 4. Download the nRF24L01 library.
- 5. Load the provided Sketch code.
- 6. Set the 2.4GHz frequency.
- 7. Configure the transmission channels.
- 8. Test communication between a transmitter and a receiver.
Example code
```void setup() { // Inizializza il modulo nRF24.begin(); nRF24.setChannel(0x4C); nRF24.setPALevel(nRF24_PALevel_0dBm); nRF24.setDataRate(nRF24_DR_250kbps); nRF24.openWritingPipe(0xF0F0F0F0E1L); nRF24.openReadingPipe(1, 0xF0F0F0F0D2L); nRF24.startListening();}void loop() { // Invia dati nRF24.write(&messaggio, sizeof(messaggio)); delay(1000);}```Mini project
Create a remote control system for a drone using an Arduino as the transmitter and an nRF24L01 module as the receiver.
Common mistakes
- Forget to connect the 1kΩ resistor.
- Set the wrong frequency.
- Fail to properly configure the transmission channels.
Recommended accessories
- Arduino Uno
- Remote Control Drones
- nRF24L01 Receiver Module
- USB Cable
Frequently asked questions
How to set the frequency?
Set the frequency using `nRF24.setChannel(0x4C);`.
What values can `setPALevel` take?
It can take values from `nRF24_PALevel_0dBm` to `nRF24_PALevel_23dBm`.
Why is the 1kΩ resistor necessary?
It protects the module from electrical overloads.
Reviews
There are no reviews yet.