 EN
 IT Italiano
 ES Español
 FR Français
 DE Deutsch
Description
Product Description
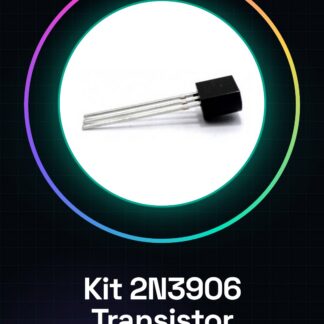
Tutorial: How to Use 2N3906 Transistor Kit
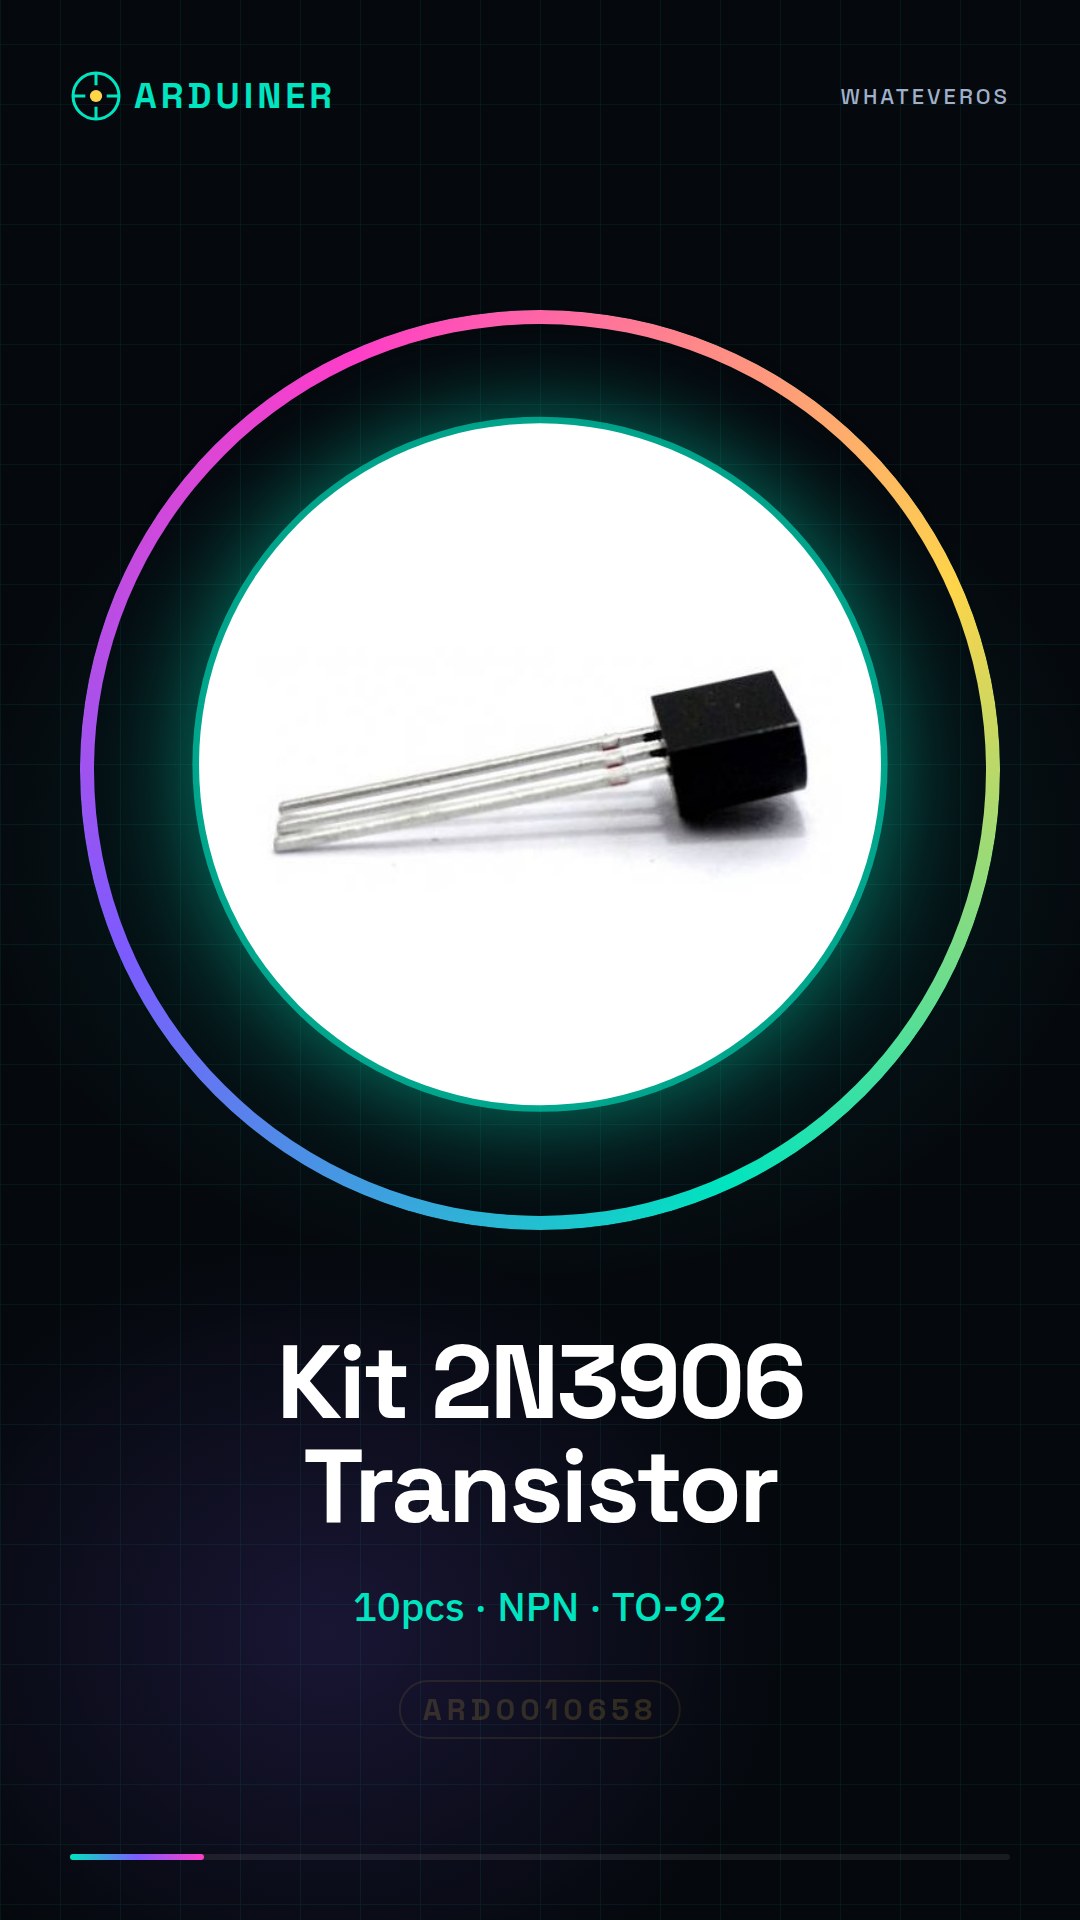
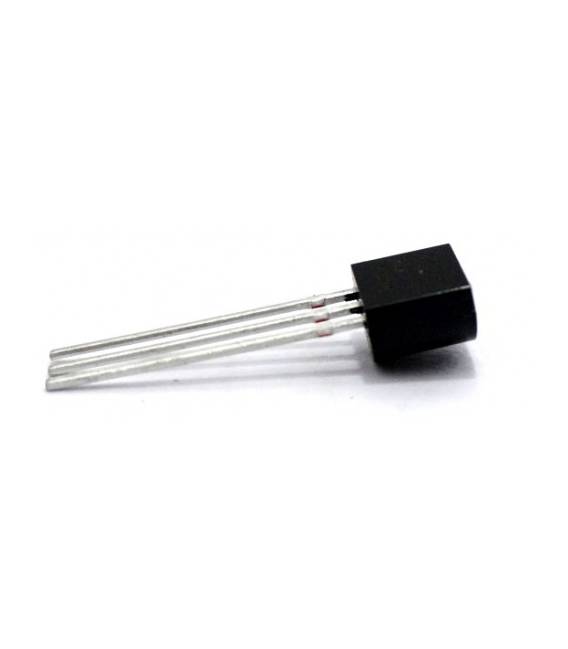
The 2N3906 Transistor Kit is essential for those venturing into the world of electronics, particularly in applications of integrated circuits where an NPN transistor is needed. This component is ideal for both Arduino projects and custom builds.
What you need
- Arduino or Microcontroller
- connection wires
- prototyping board
Steps
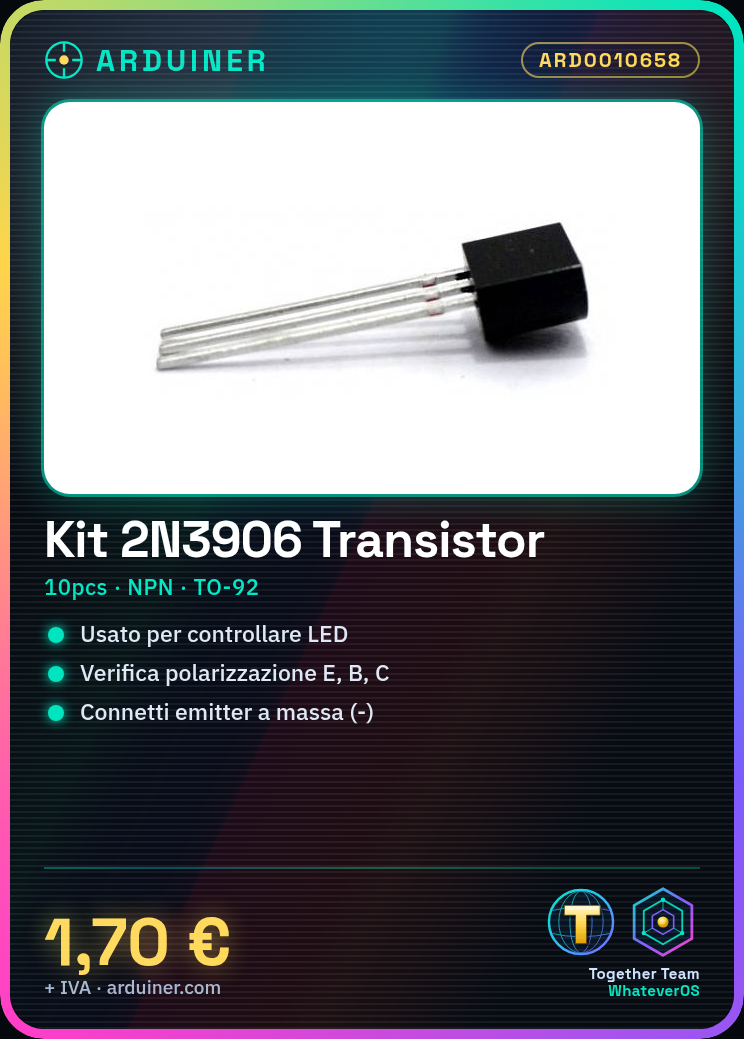
- Check the polarity of the 2N3906 transistor: Emitter (E), Base (B) and Collector (C).
- Connect the transistor to the prototyping board using wires.
- Connect the emitter to ground (-)
- Connect the base to the control pin of the microcontroller via a resistor.
- Connect the collector to the positive power supply line (+) with another resistor to limit the current flow.
- Check the transistor 2N3906 datasheet for specifications to set the resistor values.
- Test the base of the transistor by sending PWM signals from the microcontroller.
- Monitor the collector output with a multimeter or an oscilloscope.
Mini project
Create a simple control interface to turn on and off an LED using the 2N3906 transistor.
Common mistakes
- Do not verify the correct polarization of the transistor.
- Set the resistances without consulting the datasheet.
- Direct connection of the microcontroller to the collector without protection.
- Ignore the importance of adequate cooling in case of large loads.
Recommended accessories
- Variable resistors
- Multicolor LED kit
- Large prototyping board
- Digital multimeter
Frequently asked questions
Can the 2N3906 transistor be used as a PNP?
No, the 2N3906 is an NPN transistor.
What are the advantages of using this type of transistor?
Economical and easy to find. Suitable for simple amplification or control applications.
Reviews
There are no reviews yet.