 EN
 IT Italiano
 ES Español
 FR Français
 DE Deutsch
Description
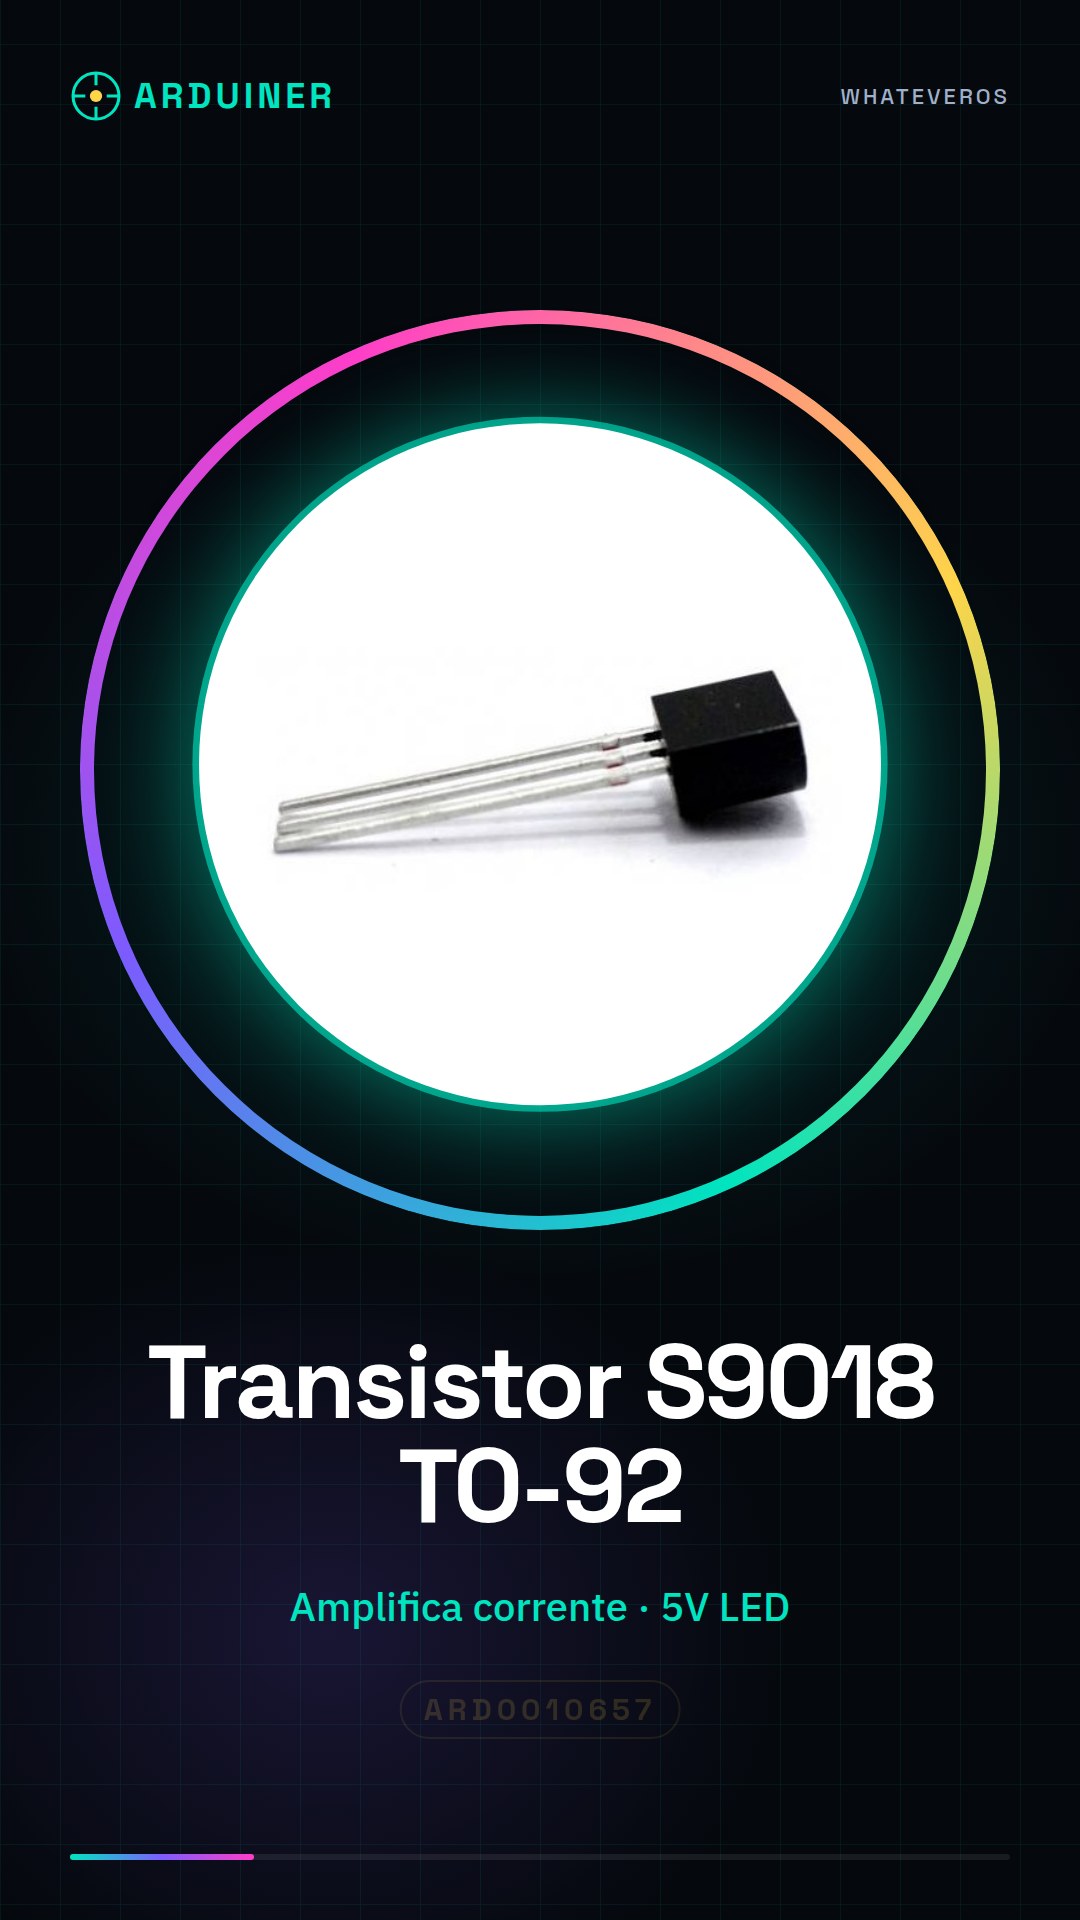
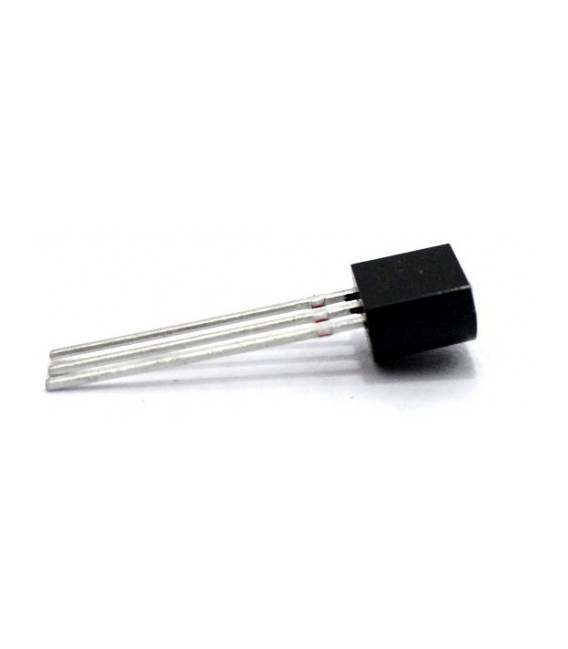
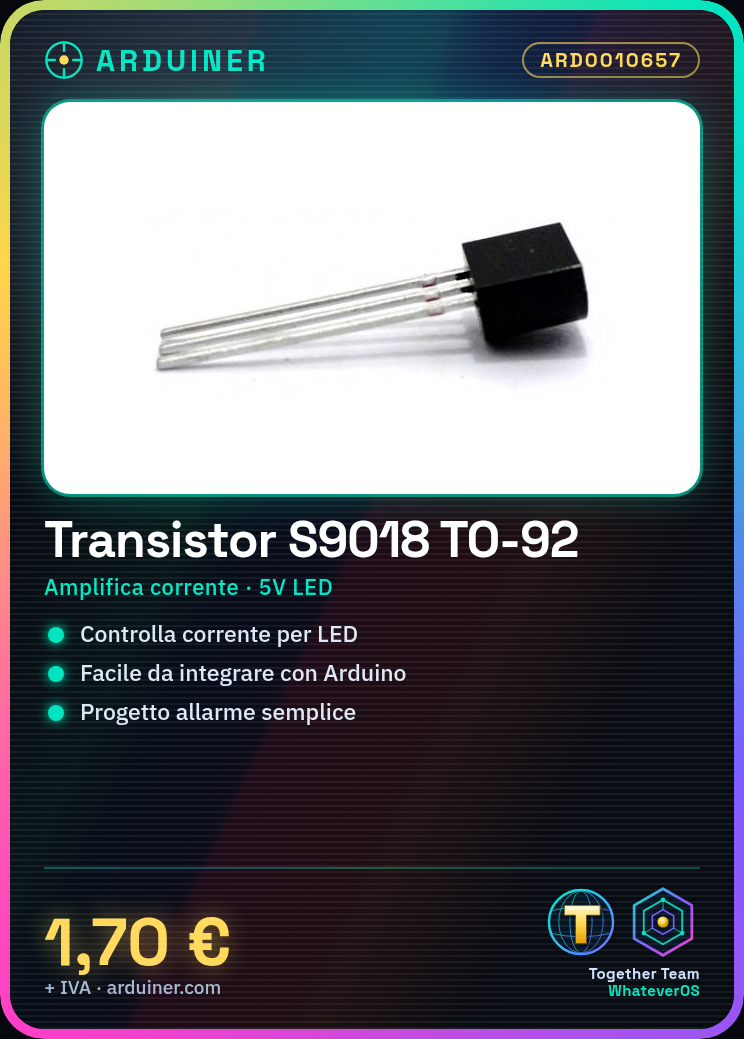
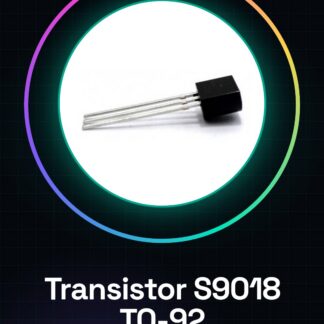
S9018 Transistor TO-92 Integrated Circuits
Tutorial: How to Use S9018 Transistor TO-92
The S9018 transistor is a fundamental component for electronic projects that require amplification or current control. It is ideal for beginners and intermediates who want to learn how to manage energy flow in circuits.
What you need
- Arduino Uno
- 5V LED
- 220 ohm Resistor
- Power Supply
Steps
- Connect the power supply to the circuit and ensure the voltage is adequate.
- Connect the S9018 transistor in common base configuration to the LED. Check the datasheet for the correct pins.
- Use a 220 ohm resistor between the Arduino and the base of the transistor to limit the current.
- Write an Arduino sketch that turns on the LED through the control of the transistor.
- Check if the LED turns on when you send a HIGH signal from the Arduino output connected to the resistor.
- Repeat the experiment with a higher supply voltage to see how the current reacts.
Example code
void setup() {
pinMode(13, OUTPUT);
}

void loop() {
digitalWrite(13, HIGH);
delay(500);
digitalWrite(13, LOW);
delay(500);}
Mini project
Create a simple alarm system that turns on a series of LEDs when a motion detector is triggered.
Common mistakes
- Do not check the polarity of the transistor.
- Using resistors that are too low or too high.
- Ignore the datasheet for crucial technical specifications.
- Do not test the circuit before final implementation.
Recommended accessories
- Arduino Uno
- PIR Motion Sensor
- Variable Resistors
- Buzzer
Frequently asked questions
What happens if I don’t use a resistor?
It could burn out the transistor or damage the Arduino.
Can it be used for other types of components?
Yes, it can control small motors or LEDs that require more current.

Reviews
There are no reviews yet.