 EN
 IT Italiano
 ES Español
 FR Français
 DE Deutsch
Description
Technical Specifications
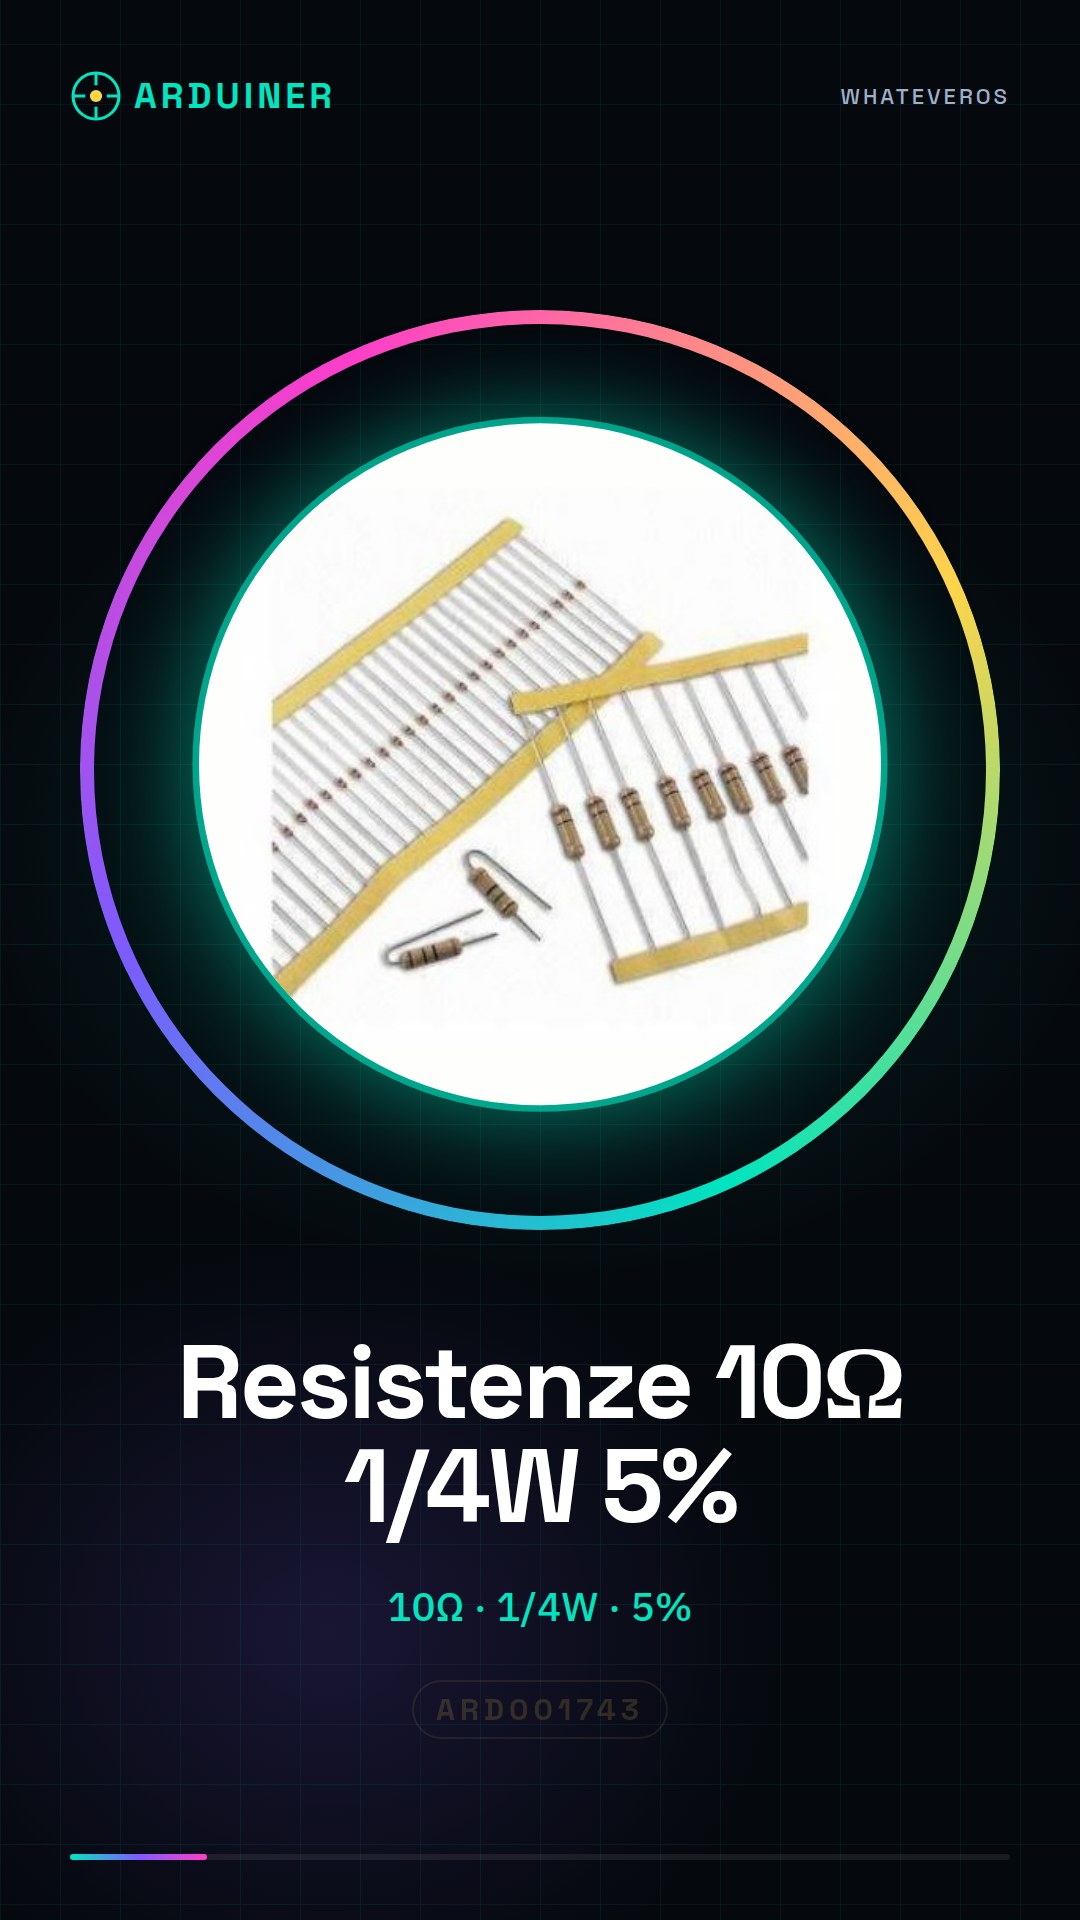
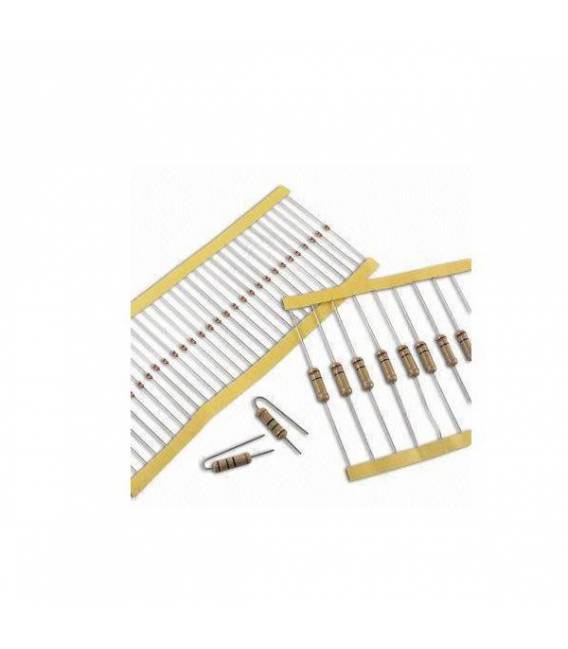
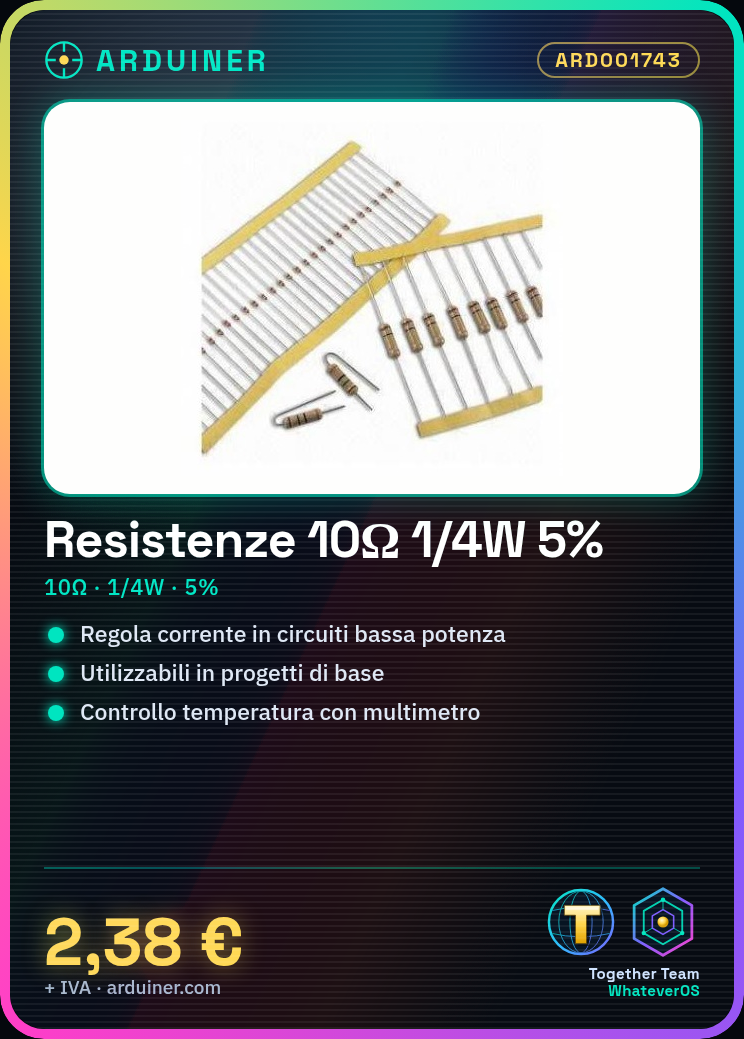
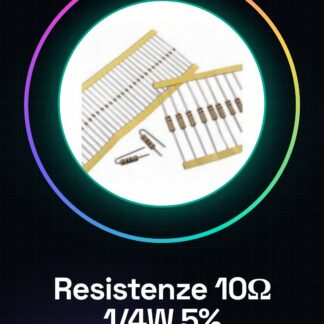
The 10 Ohm 1/4W 5% Resistor Kit – 50 Pieces consists of power resistors with a 1/4 Watt rating and a resistance value of 10 Ohm with a tolerance of 5%. These resistors are used to limit the flow of current in an electronic circuit, protecting sensitive components from current overloads. Their low resistance makes these resistors suitable for applications that require a low resistance value.
The resistors are supplied in a plastic container with an identifying code to facilitate their use and management. Their low power of 1/4 Watt makes them suitable for prototyping projects and small electronic circuits.
It is important to verify the specifications of the circuit before using these resistors to ensure they are compatible with the project requirements in terms of power and resistance.
Key Specifications
| Parameter | Value |
| Model | Resistor Kit 10 Ohm 1/4W 5% |
| Quantity | 50 |
| Resistor Value | 10 Ohm |
| Tolerance | 5% |
| Power | 1/4W |
| Container | Plastic |
| Dimensions | N/D (see manufacturer’s technical sheet) |
Installation and Usage
- Check the specifications of the electronic circuit to ensure that the resistors are compatible.
- Choose a resistor from the kit and connect it in series with other components of the circuit.
- Use a multimeter to check the resistance and current of the circuit.
- Adapt the resistor to the circuit based on requirements.
- Test the circuit and check the temperature of the resistor.
Compatibility and Requirements
- This kit is compatible with a wide range of electronic circuits and prototyping projects.
- It is suitable for use with Arduino and other electronic programming systems.
- A multimeter is required for testing and configuring the circuit.
Limitations and Important Notes
- These resistors are not suitable for high-power circuits.
- It is important to check the temperature of the resistor during use to ensure it does not exceed power limits.
- The 5% tolerance may vary the actual value of the resistor from the nominal value.
Troubleshooting
The circuit does not work as expected.
Probable cause: The resistor may not be properly connected or may have an incompatible value with the circuit.
Solution: Check the connection and compatibility of the resistor with the circuit.
The resistor overheats during use.
Probable cause: The circuit may require a higher power resistor.
Solution: Replace the resistor with a higher power one.
The measured resistance value is different from the nominal value.
Probable cause: The 5% tolerance can cause variations.
Solution: Verify the tolerance specified by the manufacturer.
The circuit appears to be damaged.
Probable cause: The resistor may not be able to handle the circuit power.
Solution: Replace the resistor with a higher power one or use a protective component such as a fuse.
Use cases
Prototype project of an electronic circuit.
Objective: Verify the compatibility and functionality of the resistor.
What’s needed: Resistor Kit 10 Ohm 1/4W 5% – 50 Pieces.
Steps: 1) Check the circuit specifications. 2) Connect the resistor. 3) Check the resistor and current. 4) Adjust the resistor to the circuit. 5) Test the circuit.
Expected result: The circuit works correctly.
Electronic circuit maintenance.
Objective: Replace a damaged resistor.
What you need: Resistor Kit 10 Ohm 1/4W 5% – 50 Pieces.
Steps: 1) Identify the damaged resistor. 2) Choose a resistor from the kit. 3) Connect the new resistor. 4) Check the circuit. 5) Test the circuit.
Expected result: The circuit works correctly with the new resistor.
Testing an electronic circuit.
Objective: Verify the circuit specifications.
What you need: Resistor Kit 10 Ohm 1/4W 5% – 50 Pieces.
Steps: 1) Check the circuit specifications. 2) Connect the resistor. 3) Check the resistor and current. 4) Adjust the resistor to the circuit. 5) Test the circuit.
Expected result: The circuit works correctly.
Home automation project.
Objective: To regulate the current flow to protect a device.
What you need: 10 Ohm 1/4W 5% Resistor Kit – 50 Pieces.
Steps: 1) Check the circuit specifications. 2) Connect the resistor. 3) Check the resistor and current. 4) Adjust the resistor to the circuit. 5) Test the circuit.
Expected result: The circuit works correctly and protects the device.
Electronic circuit prototyping project.
Objective: To verify the compatibility and functionality of the resistor.
What you need: 10 Ohm 1/4W 5% Resistor Kit – 50 Pieces.
Steps: 1) Check the circuit specifications. 2) Connect the resistor. 3) Check the resistor and current. 4) Adjust the resistor to the circuit. 5) Test the circuit.
Expected result: The circuit works correctly.
Electronic circuit prototyping project.
Objective: To verify the compatibility and functionality of the resistor.
What you need: 10 Ohm 1/4W 5% Resistor Kit – 50 Pieces.
Steps: 1) Check the circuit specifications. 2) Connect the resistor. 3) Check the resistor and current. 4) Adjust the resistor to the circuit. 5) Test the circuit.
Expected result: The circuit works correctly.
Electronic circuit prototyping project.
Objective: To verify the compatibility and functionality of the resistor.
What you need: 10 Ohm 1/4W 5% Resistor Kit – 50 Pieces.
Steps: 1) Check the circuit specifications. 2) Connect the resistor. 3) Check the resistor and current. 4) Adjust the resistor to the circuit. 5) Test the circuit.
Expected result: The circuit works correctly.
Electronic circuit prototyping project.
Objective: To verify the compatibility and functionality of the resistor.
What you need: 10 Ohm 1/4W 5% Resistor Kit – 50 Pieces.
Steps: 1) Check the circuit specifications. 2) Connect the resistor. 3) Check the resistor and current. 4) Adjust the resistor to the circuit. 5) Test the circuit.
Expected result: The circuit works correctly.
In the package
- 50 Pieces
Complete the project
- 50 Pieces Resistor, 10000 ohm, 10k, ohm 1/4w 1/4 w 5% , Arduino compatible resistors: For circuit verification and configuration.
Technical FAQs
How can I verify the resistor?
Use a multimeter in resistance measurement mode.
What are the specifications 10 ohm 1/4W 5%?
Check the datasheet for exact details.
Can I use these resistors for high power circuits?
No, use them only for low power circuits as indicated.
How can I protect an LED?
Connect a 10 ohm resistor in series with the LED.
Tutorial: How to use 10 Ohm 1/4W 5% Resistor Kit – 50 Pieces
These electronic components are fundamental to regulate the current flow in a circuit. Useful for beginners and basic projects.
What you need
- 10 ohm 1/4W 5% resistors
- Multimeter
- Electronic multimeter
- Test circumference
Steps
- Check the datasheet for the specifications 10 ohm 1/4W 5%.
- Take a resistor from the kit.
- Connect the resistor in series with other components.
- Check the current with a multimeter.
- Adapt the resistor to your circuit.
- Test the circuit.
- Check the temperature of the resistance.
- Save your project.
Mini project
Build a simple protection circuit for an LED using a 10 ohm resistor. In 30 minutes you can have an LED blinking at a regular frequency.
Common mistakes
- Connect resistors in parallel with the same voltage.
- Use resistors with power rating lower than required.
- Ignore the operating temperature.
- Do not check the current before connecting the power.
Recommended accessories
- 1k ohm resistor
- LED
- batter
- Electronic multimeter
Frequently asked questions
How can I check the resistance?
Use a multimeter in resistance measurement mode.
What are the specifications for 10 ohm 1/4W 5%?
Check the datasheet for exact details.
Can I use these resistors for high power circuits?
No, use them only for low power circuits as indicated.
How can I protect an LED?
Connect a 10 ohm resistor in series with the LED.
Reviews
There are no reviews yet.