 EN
 IT Italiano
 ES Español
 FR Français
 DE Deutsch

Description
Technical Specifications
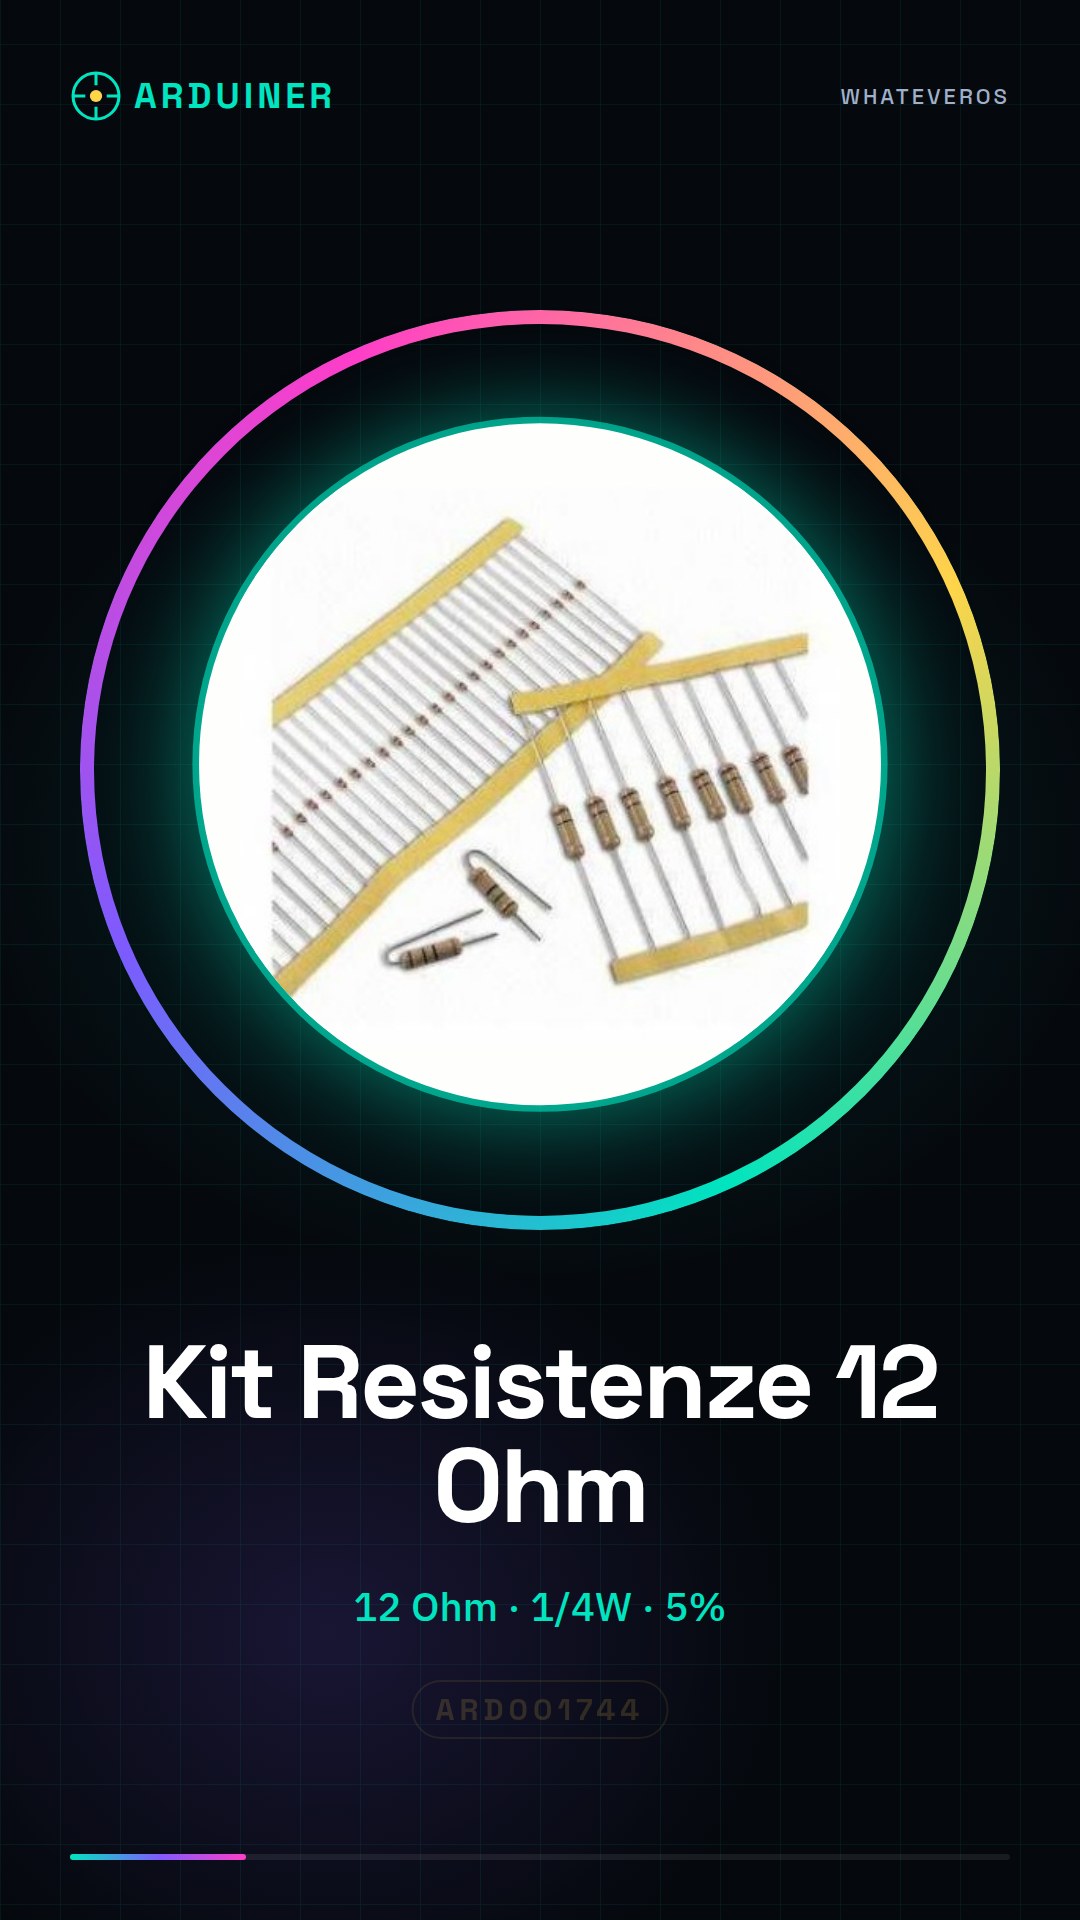
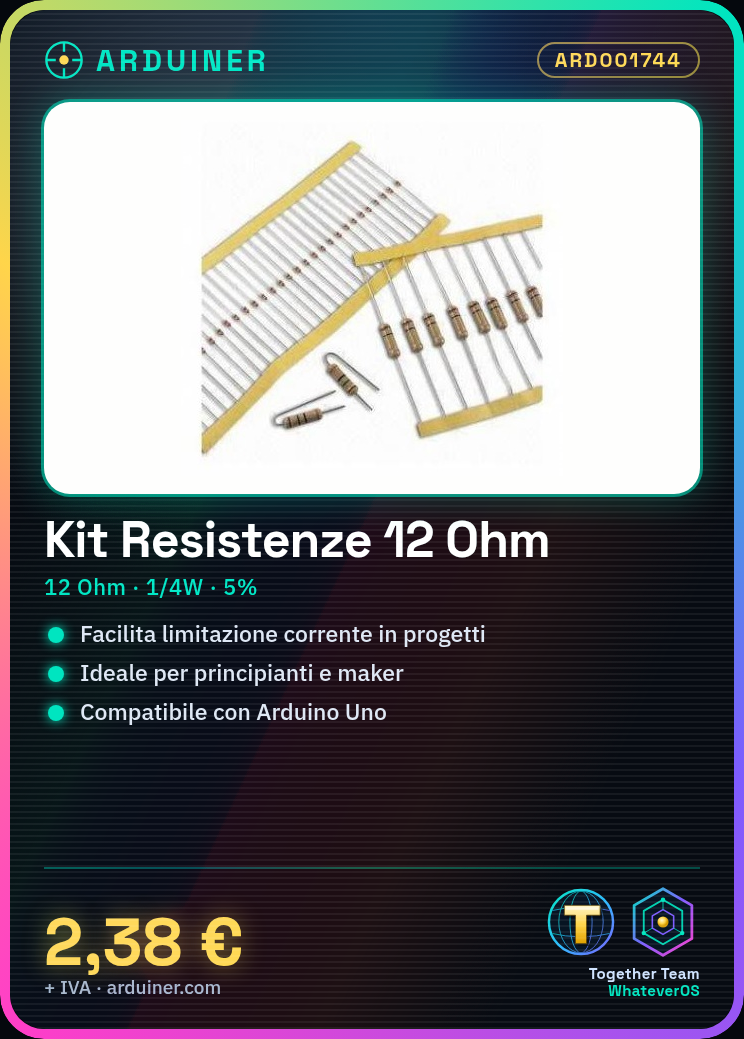
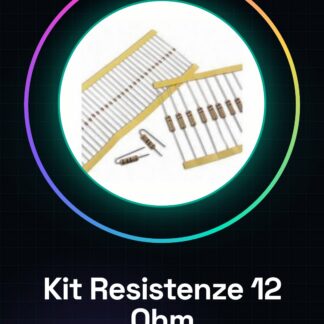
The 12 Ohm 1/4W 5% Resistor Kit is a set of 50 pieces of resistors with a value of 12 ohm, designed to limit the flow of current in electronic circuits. These resistors are useful for projects that require the protection of sensitive devices such as LEDs or sensors, ensuring that the current does not exceed the allowed limits.
The resistors are manufactured with a tolerance of 5%, meaning the actual value can vary up to ±5% from the nominal value of 12 ohm. The maximum power of these resistors is 1/4W, which requires attention during use to avoid overloading.
For proper use, it is necessary to verify the value of the resistor and its correct connection in the circuit. Use a multimeter to measure the value and ensure that the resistor is correctly inserted into the circuit.
Key Specifications
| Parameter | Value |
| Model | Resistance Kit 12 Ohm 1/4W 5% |
| Quantity | 50 pieces |
| Resistance Value | 12 ohm |
| Tolerance | 5% |
| Maximum Power | 1/4W |
| Dimensions | N/D (see manufacturer’s datasheet) |
| Container | N/D (see manufacturer’s datasheet) |
Installation and Usage
- Check the resistance value using a multimeter.
- Insert the resistance in the circuit between the power supply and the element that requires current limiting.
- Check that the resistor is properly connected and functions as intended.
- Test the circuit with a small project to verify proper operation.
- Repeat the process for all pieces in the kit.
Compatibility and Requirements
- This resistor kit is compatible with electronic circuits that require resistors of 12 ohms.
- It can be used with Arduino boards and prototyping circuits.
- A multimeter is required to check the value and connection of the resistor.
Limitations and Important Notes
- These resistors are not designed for applications requiring power greater than 1/4W.
- It is necessary to verify the value of the resistor before using it in the circuit.
- Be cautious of resistor overload which can cause damage.
- Do not use a multimeter to check the installation of the resistor while the circuit is in use.
Troubleshooting
The resistance does not work as expected.
Probable cause: The value of the resistance might be incorrect or the connection is not proper.
Solution: Verify the value of the resistance and the connection with a multimeter.
The resistance overheats during use.
Probable cause: The resistance might be overloaded exceeding the maximum power of 1/4W.
Solution: Verify the circuit power and resize the resistance if necessary.
The measured value of the resistance is different from the expected one.
Probable cause: The 5% tolerance can cause variations in the actual value.
Solution: Verify the value of the resistance with a precise multimeter.
The circuit does not respond as expected.
Probable cause: The connection of the resistance might be incorrect or the resistance damaged.
Solution: Verify the connection and replace the resistance if necessary.
Use cases
LED Lighting System
Objective: Adjust the brightness of an LED.
What’s needed: 12 Ohm Resistors Kit 1/4W 5%, Arduino Uno, LEDs in various colors, protective wires, multimeter.
Steps: 1) Check the value of the resistor. 2) Connect the resistor between the power source and the LED. 3) Adjust the brightness of the LED using Arduino. 4) Verify the operation of the system.
Expected result: The LED lighting system works correctly with adjustable brightness.
Arduino Prototyping Project
Objective: Test the operation of a prototype circuit.
What’s needed: 12 Ohm Resistors Kit 1/4W 5%, Arduino Uno, prototype circuit, multimeter.
Steps: 1) Check the value of the resistor. 2) Insert the resistor into the prototype circuit. 3) Test the circuit with Arduino. 4) Verify the operation of the circuit.
Expected result: The prototype circuit works correctly.
Home Automation Project
Objective: Adjust the brightness of a light using a switch.
What’s needed: 12 Ohm 1/4W 5% Resistor Kit, Arduino Uno, switch, LED, protective wires, multimeter.
Steps: 1) Check the value of the resistor. 2) Connect the resistor between the switch and the LED. 3) Use Arduino to adjust the brightness of the LED. 4) Verify the system’s functionality.
Expected result: The switch correctly adjusts the brightness of the LED.
Electronic Testing Project
Objective: Test the resistance value of a component.
What’s needed: 12 Ohm 1/4W 5% Resistor Kit, multimeter.
Steps: 1) Check the value of the resistor. 2) Use the multimeter to measure the resistance value. 3) Verify the correct functioning of the multimeter.
Expected result: The resistance value is correct and the multimeter is functioning properly.
Prototype project of a sensor
Objective: Limit the sensor current.
What’s needed: 12 Ohm 1/4W 5% resistor kit, Arduino Uno, sensor, protective cables, multimeter.
Steps: 1) Check the resistance value. 2) Insert the resistance between the power source and the sensor. 3) Test the sensor with Arduino. 4) Verify the sensor’s operation.
Expected result: The sensor works correctly with the limiting resistance.
Prototype project of a protection circuit
Objective: Protect an electronic circuit.
What’s needed: 12 Ohm 1/4W 5% resistor kit, Arduino Uno, prototype circuit, protective cables, multimeter.
Steps: 1) Check the value of the resistance. 2) Insert the resistance into the prototyping circuit to limit the current. 3) Test the circuit with Arduino. 4) Verify the operation of the circuit.
Expected result: The prototyping circuit works correctly with the protection resistance.
Prototyping project of a control circuit
Objective: Control the operation of a device.
What is needed: 12 Ohm 1/4W 5% Resistance Kit, Arduino Uno, device, protective cables, multimeter.
Steps: 1) Check the value of the resistance. 2) Insert the resistance into the control circuit. 3) Test the device with Arduino. 4) Verify the operation of the device.
Expected result: The device works correctly with the control resistance.
Prototyping project of a power supply circuit
Objective: Regulate the power supply of a device.
What’s needed: 12 Ohm 1/4W 5% Resistance Kit, Arduino Uno, device, protective wires, multimeter.
Steps: 1) Check the value of the resistance. 2) Insert the resistance into the power supply circuit. 3) Adjust the device’s power supply using Arduino. 4) Check the device’s operation.
Expected result: The device works correctly with the power supply regulation resistance.
In the package
- 50 pieces
Complete the project
- 50 Pieces Resistance, 10000 ohm, 10k, ohm 1/4w 1/4 w 5%, Arduino compatible resistance: Needed for projects requiring resistances of different values.
- Resistance Kit 470 Ohm 1/4W 5% – 50 Pieces: Needed for projects requiring 470 ohm resistances.
- Resistance Kit 330 Ohm 1/4W 5% – 50 Pieces
- Resistance Kit 150 Ohm 1/4W 5% – 50 Pieces
- Resistance Kit 120 Ohm 1/4W 5% – 50 Pieces
Technical FAQs
What is the maximum power of these resistances?
The maximum power rating of these resistors is 1/4W.
How do you read the value of a resistor?
Use a multimeter to measure the value of the resistor or consult the component label.
What are the usage limitations of these resistors?
These resistors are not designed for applications requiring more than 1/4W power and must be verified before use in a circuit.
What are the common issues with these resistors?
Common issues include overloading the resistor by exceeding the maximum power rating of 1/4W and incorrect connection of the resistor.
Tutorial: How to use 12 Ohm Resistor Kit
The 12 ohm resistor kit is essential for electronic projects that require current limiting. Ideal for beginners and intermediate makers.
What you need
- LED Lighting Projects
- Prototype Circuit
- Arduino Uno or compatible
Steps
- Check the desired resistance by consulting the component datasheet.
- Insert the resistance in the circuit between the power supply and the element that requires current limiting.
- Use a multimeter to verify that the resistance is correctly connected and functioning as expected.
Mini project
Create a controllable LED lamp with Arduino: connect a series of LEDs to various 12 ohm resistors to adjust the light intensity.
Common mistakes
- Connect the resistance to the circuit without first verifying the correct value.
- Overload the resistance by exceeding the maximum power of 1/4W.
- Do not use a multimeter to check the installation of the resistance.
Recommended accessories
- Arduino Uno
- LEDs of various colors
- Protective wire
- Multimeters
Frequently asked questions
What is the maximum power of these resistors?
Check the datasheet, but generally they are 1/4W.
How do you read the value of the resistance?
Use a multimeter or consult the component label.
Reviews
There are no reviews yet.