 EN
 IT Italiano
 ES Español
 FR Français
 DE Deutsch
Description
What it is
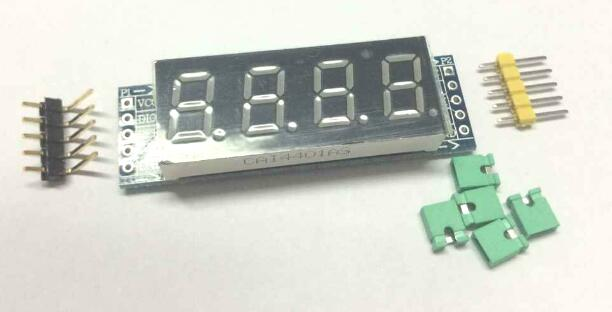
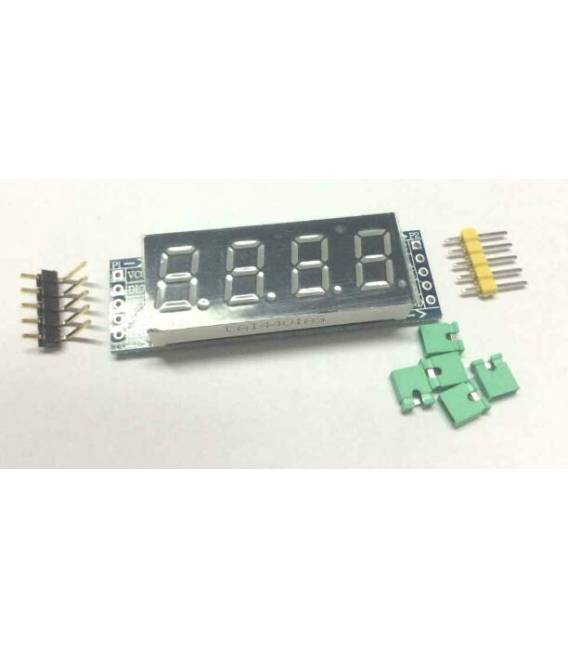
The 0.4 inch 4 Digit 7 Segment Display with 74HC595 Module is an electronic component that allows the display of numbers in 7 segment format on a small-sized display.
Features
- Display size: 0.4 inches
- Visible digits: 4
- Segment type: 7 segments
- Integrated module: 74HC595
What it is for
This display is ideal for Arduino projects that require clear and understandable number display. It can be used to create counters, minimalist screens, or to display information such as time, temperature, or values measured by sensors. Compatibility with the 74HC595 module simplifies interfacing with Arduino microcontrollers.
Tutorial: How to use 0.4 inch 4 Digit 7 Segment Display with 74HC595 Module
This display is ideal for projects that require displaying numbers clearly and understandably, perfect for beginners and intermediate makers.
What you need
- Arduino or compatible microcontroller
- Power supply cable
- 220Ω resistor for each segment of the display
Steps
- 1. Connect the VCC of the display to the VCC of the microcontroller (5V).
- 2. Connect GND of the display to GND of the microcontroller.
- 3. Connect DIO of the display to pin 2 of the microcontroller.
- 4. Connect ST_CP of the display to pin 3 of the microcontroller.
- 5. Connect SH_CP of the display to pin 4 of the microcontroller.
- 6. Connect OEO of the display to GND.
- 7. Connect the segments of the display (A, B, C, D, E, F, G) to the respective pins of the microcontroller.
- 8. Connect the dp segments (decimal point) to GND if not used.
- 9. Connect a 220Ω resistor for each segment of the display.
- 10. Load the provided Arduino code.
- 11. Check the datasheet to see if the pins are not clearly labeled.
- 12. Ensure the display is correctly powered.
- 13. Verify the connection of DIO, ST_CP, SH_CP pins.
Example code
```void loop() { byte data[] = {0x3F, 0x06, 0x5B, 0x4F}; for (int i = 0; i < 4; i++) { digitalWrite(2, LOW); shiftOut(3, 4, MSBFIRST, data[i]); digitalWrite(2, HIGH); }}```Mini project
Create a simple stopwatch displaying the elapsed seconds on this display.
Common mistakes
- Do not check pin connectivity before uploading the code.
- Power the display with a voltage different from 5V.
- Omit the resistor for the display segments.
- Accidentally connect VCC to GND.
Recommended accessories
- Arduino Uno
- 220Ω resistors
- Power cable
- Temperature sensors
Frequently asked questions
How can I display a different number on the display?
Modify the `data[]` byte in the Arduino code with the desired number value.
Does the display work with voltages different from 5V?
Check the datasheet for the maximum and minimum power supply voltage.
Which pins of the display should I connect to the microcontroller?
Connect DIO, ST_CP, and SH_CP to the respective pins of the microcontroller.
Reviews
There are no reviews yet.