 EN
 IT Italiano
 ES Español
 FR Français
 DE Deutsch
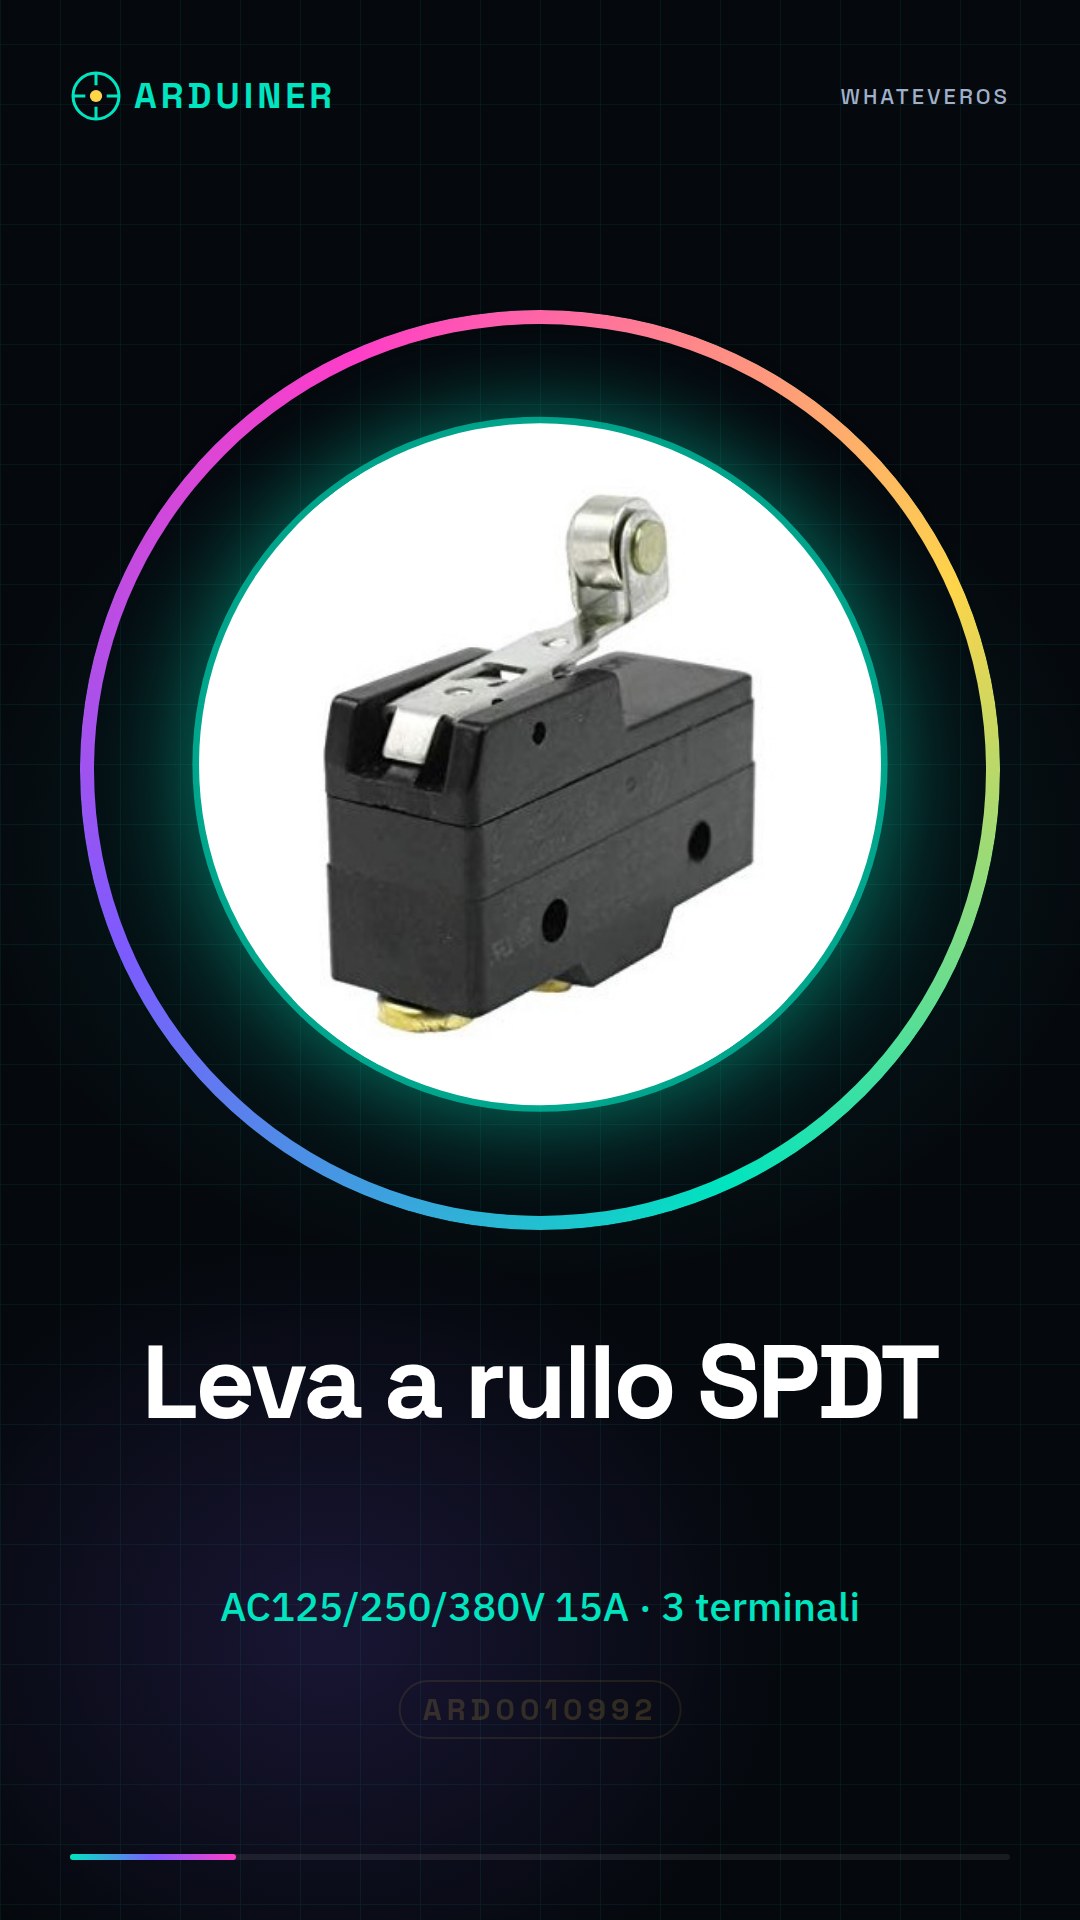
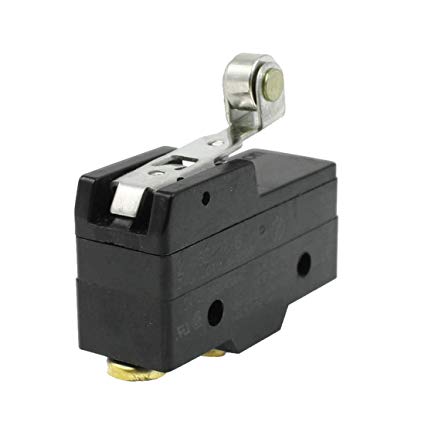
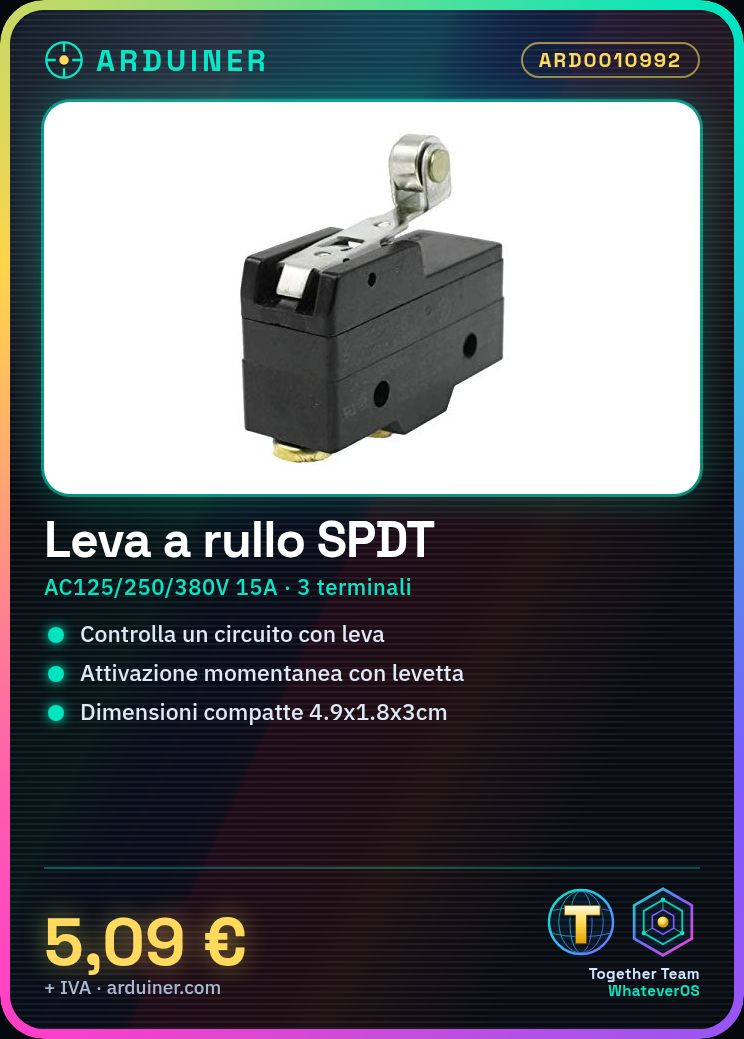
Description
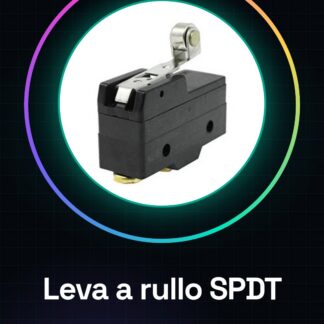
Product Name : Limit Switch;Model : XZ-15GW22-B;Material(External) : Resin, Metal;Color : Black, Silver Tone
Rating Voltage : AC125V 250V 380V 15ADC 125/250V, 0.5A/0.25A;Contact Configuration : 1NO,1NC(SPDT);Actuator Action : Momentary
Actuator Type : Short Roller Hinge Lever;Terminals : 3 Screw Terminal;Two Fixing Hole Distance : 2.5cm /1 quot;
Fixing Hole Diameter : 0.4cm / 0.16 quot;;Lever Total Length : 4.7cm /1.85 quot;;Roller Diameter : 0.93cm/ 0.4 quot;
Switch Size : 4.9x 1.8 x 3 cm / 1.9 quot; x 0.7 quot; x 1.2 quot; (L*W*H);Weight : 36g;Package Content : 1 x Limit Switch
Tutorial: How to use Z-15GW22-B Roller Lever
The Z-15GW22-B SPDT roller lever switch is ideal for anyone who wants to control mechanical or electrical devices with a manual command system. This component is particularly useful for projects that require a simple interaction between the physical environment and the digital world.
What you need
- Z-15GW22-B
- Arduino or compatible microcontroller
- Power supply suitable for the circuit voltage
Steps
- Check the correct connection of the power and control cables from the Arduino to the Z-15GW22-B, respecting the specified voltage values.
- Write an Arduino sketch that reads the state of the roller lever and manages the turning on or off of the connected device.
- Test the system by closing the lever and verifying if the circuit is closed correctly.
- Check the datasheet for any additional specifications regarding activation/deactivation times.
- If necessary, modify the sketch to implement features such as state retention or action counters.
- Install any additional electronic components required by the project (e.g., relay).
- Test the complete system with a real device load.
- Optimize the sketch and physical configuration to improve efficiency and reduce delays.
Example code
void setup() {
  pinMode(2, INPUT);
}

void loop() {
  if(digitalRead(2) == HIGH){
    digitalWrite(3,HIGH);
  }
  else{
    digitalWrite(3,LOW);
  }
}
Mini project
Design a control system for a household lamp that turns on or off manually via a toggle switch. The project takes approximately 30 minutes.
Common mistakes
- Do not adhere to the voltage and current limits of the device.
- Omit the preliminary connection test.
- Use a microcontroller incompatible with the toggle switch.
- Ignore the datasheet verification for additional specifications.
Recommended accessories
- Arduino Uno R3
- Relay 5V 10A
- Light sensors
- 24V power supply
Frequently asked questions
Which microcontroller is compatible with the roller lever?
Any microcontroller that can handle digital signals and provide an adequate logic level for controlling the lever.
How can I control multiple devices from a single lever?
Use a multi-relay or separate relays, each connected to an output of the microcontroller.
What are the advantages of using this lever compared to other types of switches?
The roller lever offers easy manual interaction and can be easily integrated into mechanical or electronic projects.
Reviews
There are no reviews yet.