 EN
 IT Italiano
 ES Español
 FR Français
 DE Deutsch
Description
What it is
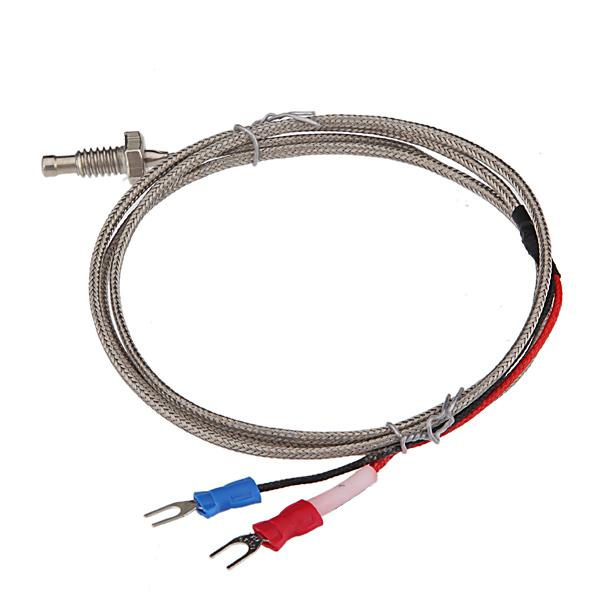
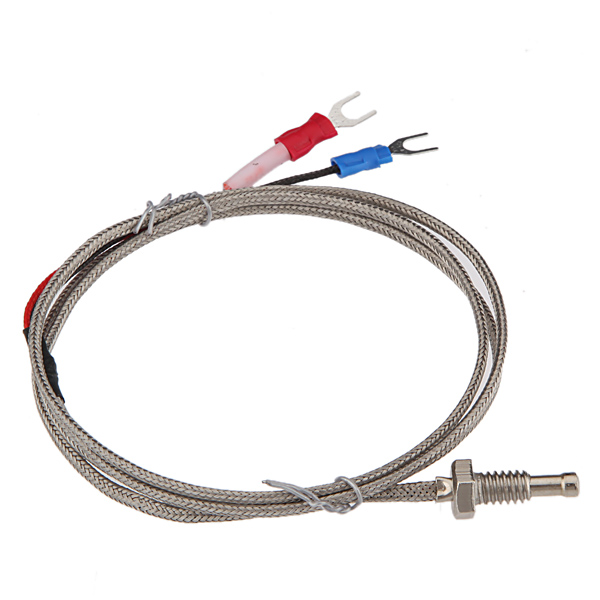
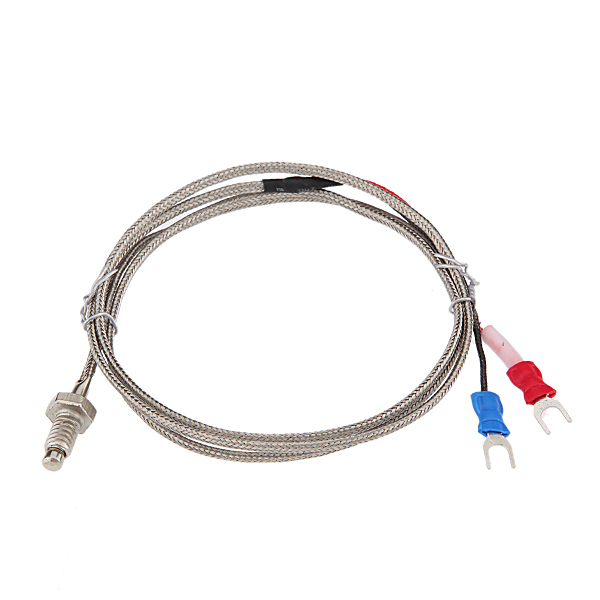
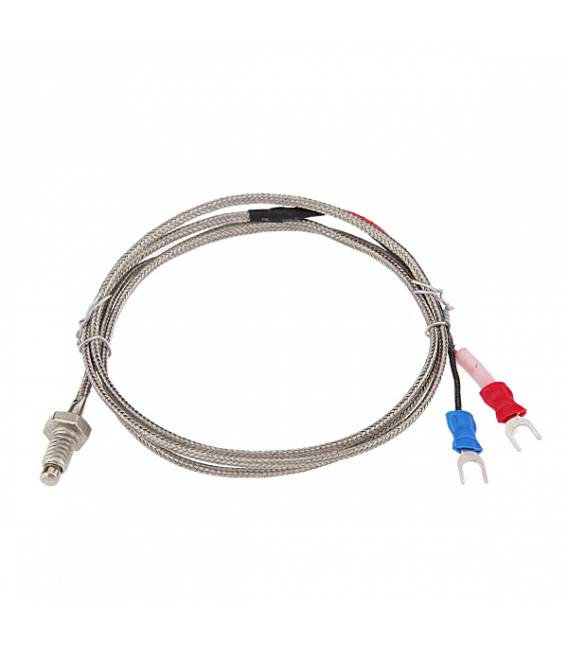
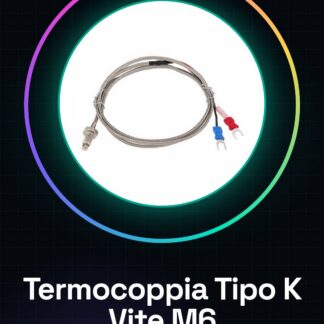
The Type K Thermocouple Temperature Sensor M6 Bolt 1MT Lead is a temperature sensor that utilizes the Type K thermocouple to detect temperature variations. It features an M6 bolt for mounting and a 1 meter lead.
Features
- Thermocouple Type: K
- Mounting Bolt: M6
- Lead Length: 1 meter
What it is for
The thermocouple is ideal for monitoring temperature in Arduino and 3D printer projects. It can be used to control the print bed temperature, filament temperature, or other components during the printing process. Compatibility with Arduino and ESP32 allows for easy integration of the thermocouple into automation and control projects.
Tutorial: How to Use Type K Thermocouple M6 Bolt
The Type K thermocouple with M6 screws and 1 meter cable is an ideal temperature sensor for monitoring temperatures during 3D printing, CNC, or any other process that requires precise temperature regulation.
What you need
- Arduino
- thermocouple amplifier
- data reading software
Steps
- Connect the thermocouple amplifier to the Type K thermocouple cable.
- Check the electrical compatibility between the amplifier and the Arduino.
- Install the necessary software to read data from the temperature sensor.
- Connect the amplifier to the Arduino following the specifications in the amplifier datasheet.
- Write an Arduino sketch that reads values from the sensor and displays them on the serial monitor.
- Verify the accuracy of the data received from the thermocouple.
- Adjust the process (e.g., temperature during 3D printing) based on the collected data.
- Constantly monitor temperature changes and adapt system settings.
Example code
// Esempio di sketch Arduino per leggere i valori dal sensore termocoppia
#include <OneWire.h>
#include <DallasTemperature.h>
// Definire i pin utilizzati dall'amplificatore termocoppia
#define ONE_WIRE_BUS 2
// Inizializzare le librerie OneWire e DallasTemperature
OneWire oneWire(ONE_WIRE_BUS);
DallasTemperature sensors(&oneWire);
void setup(void) {
  Serial.begin(9600); // Imposta la comunicazione seriale
}
void loop(void) {
  sensors.requestTemperatures();
  float temperature = sensors.getTempCByIndex(0);
  Serial.print("Temperature: ");
  Serial.println(temperature);
}
Mini project
Create a 3D printing temperature monitoring system that alerts the user when the bed or filament temperature is within the desired range.
Common mistakes
- Fail to properly connect the sensor to the circuit.
- Use an incompatible thermocouple Type K amplifier.
- Ignore the importance of verifying sensor data before use.
- Fail to regularly monitor temperature during critical operations.
Recommended accessories
- Thermocouple Amplifier
- Arduino Uno R3
- LCD Display for Arduino
- Integrated Temperature Sensors
Frequently asked questions
How can I check the accuracy of thermocouple data?
Verify values with a contact thermometer or another temperature sensor.
What is the difference between a Type K thermocouple and other types?
The Type K thermocouple has a wide temperature range (-200°C to +1372°C) and is suitable for many industrial applications.
Can I connect the thermocouple directly to the Arduino?
No, you should use a specific amplifier to properly connect the sensor to the Arduino.
Reviews
There are no reviews yet.