 EN
 IT Italiano
 ES Español
 FR Français
 DE Deutsch
Description
What it is
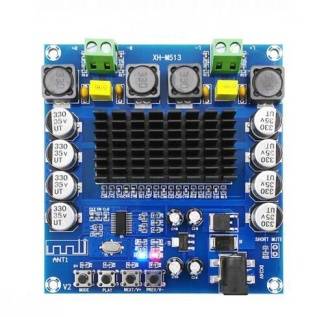
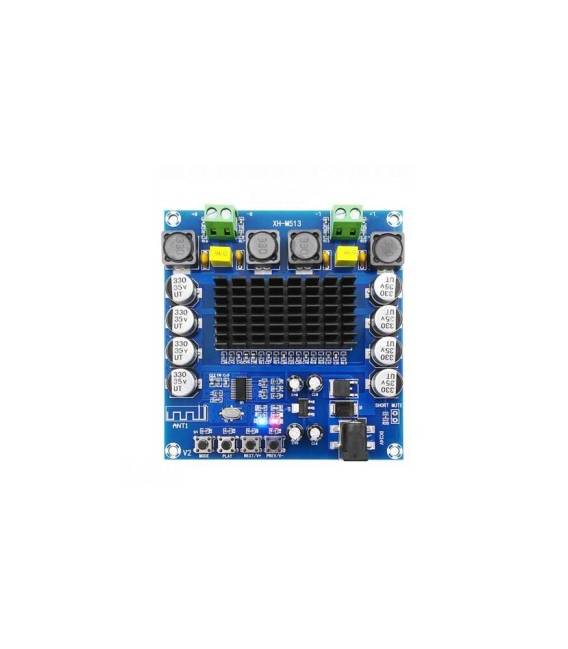
The XH-M513 audio amplifier board uses the TDA7498 chip to provide 100W+100W of power, ideal for electronic projects and audio systems. It is a Class D digital amplifier that allows you to increase the volume of your audio system without losing quality.
Features
- TDA7498
- 100W+100W power
- Class D
- Dual channel stereo
What it is for
The XH-M513 audio amplifier board is perfect for DIY projects, home theater, and speaker systems. You can use it to create a portable speaker system with an Arduino, connect a light sensor to automatically adjust the volume, or for any other project that requires a powerful and reliable audio amplifier.
Tutorial: How to use XH-M513 Class D Digital Audio Amplifier Board 100W+100W TDA7498
The digital Class D audio amplifier XH-M513 is perfect for boosting the volume of your audio system without losing quality. This component is ideal for DIY projects, home theaters, and speaker systems.
What you need
- XH-M513 Amplifier Board
- Arduino or compatible microcontroller
- Audio connections (3.5mm or RCA)
- Power supply 12V-24V
- Connection cables
- Resistors and capacitors (check the datasheet)
Steps
- Connect the 12V-24V power supply to the XH-M513 board.
- Connect the Arduino microcontroller to the XH-M513 board following the datasheet.
- Connect the audio outputs to the speaker system.
- Check the connections with a multimeter.
- Upload the Arduino sketch to control the amplifier.
- Test the audio system with an audio source.
- Adjust the volume and volume control through the microcontroller.
- Monitor the temperature and heat dissipation during use.
Example code
void setup() {
  // Imposta i pin di controllo dell'amplificatore
}

void loop() {
  // Regola il volume e controlla l'amplificatore
}
Mini project
Create a portable speaker system with the XH-M513 and an Arduino. Connect a light sensor to automatically adjust the volume.
Common mistakes
- Connect power incorrectly.
- Forget to add overheat protection.
- Use low-quality audio cables.
- Fail to properly check connections before powering on the system.
Recommended accessories
- Speakers
- Light sensor
- Breadboard prototype
- Resistors and capacitors for filtering
Frequently asked questions
What voltage power supply is required?
The board requires a power supply from 12V to 24V. Check the datasheet for details.
How to adjust the volume?
The volume can be adjusted via the microcontroller connected to the amplifier.
Can I use this amplifier with any type of speaker?
Yes, but make sure your speakers are compatible with the amplifier’s output.
Reviews
There are no reviews yet.