 EN
 IT Italiano
 ES Español
 FR Français
 DE Deutsch
Description
What it is
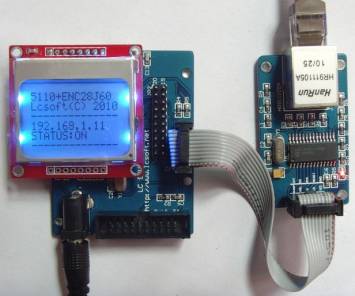
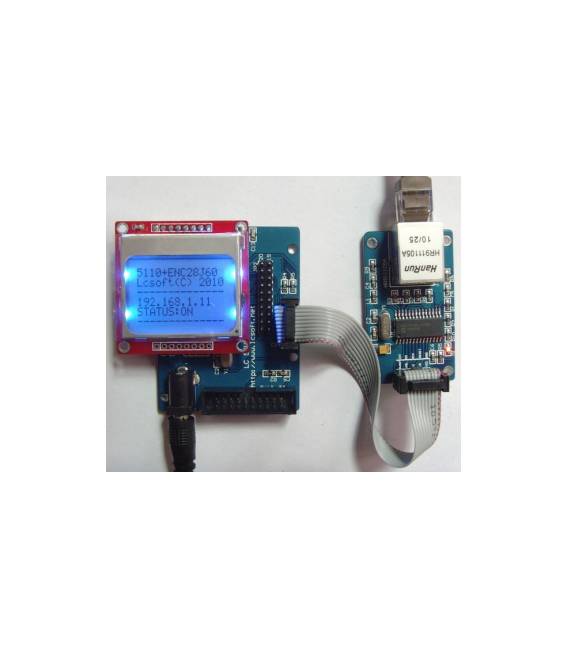
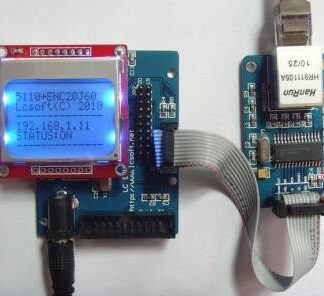
The LPC2103 ENC28J60 LCD5110 Web Development Kit (SKU: ARD0011083) is a kit designed for creating IoT web applications with LPC2103 microcontrollers. It includes an ENC28J60 Ethernet interface for connectivity and an LCD5110 display for visualization.
Features
- LPC2103 Microcontroller
- ENC28J60 Ethernet Interface
- LCD5110 Display
- Price: 25.79 €
- Availability: Pre-order
What it is for
This kit is ideal for developing IoT web applications that require Ethernet connectivity and LCD display visualization. It can be used to create simple web servers, display real-time data, and interact with users through a graphical interface. It is suitable for both expert programmers and beginners.
Tutorial: How to Use LPC2103 ENC28J60 LCD5110 Web Development Kit
This package is ideal for developing IoT web applications with Ethernet connectivity and LCD display. Useful for novice and intermediate programmers and designers.
What you need
- LPC2103 ENC28J60 LCD5110 Web Development Kit
- Arduino IDE
- USB cable
- PC or laptop with compatible operating system
Steps
- 1. Download and install the Arduino IDE.
- 2. Connect the kit to your Arduino with the USB cable.
- 3. Check the datasheet for the specifications of the LPC2103 and ENC28J60.
- 4. Load the example code for Ethernet connection on Arduino.
- 5. Configure the Ethernet connectivity in the code.
- 6. Load the code for the LCD interface.
- 7. Configure the welcome message on the LCD display.
- 8. Verify the connectivity and functionality of the web interface.
Example code
```cpp
#include <SPI.h>
#include <Ethernet.h>

byte mac[] = { 0xDE, 0xAD, 0xBE, 0xEF, 0xFE, 0xED };
EthernetServer server(80);

void setup() {
  Ethernet.begin(mac);
  server.begin();
  Serial.begin(9600);
}

void loop() {
  EthernetClient client = server.available();
  if (client) {
    while (client.connected()) {
      if (client.available()) {
        char c = client.read();
        Serial.print(c);
      }
    }
    client.stop();
    Serial.println();
  }
}
```
Mini project
Create a simple web server that displays ‘Welcome to the world of IoT’ on an LCD display.
Common mistakes
- Forget to properly configure the Ethernet connectivity.
- Do not verify the hardware specifications before starting.
- Omit LCD interface configuration.
- Do not properly connect the package to the Arduino.
Recommended accessories
- Arduino Uno
- LCD 16×2 Display
- USB 2.0 Cable
- Resolve electronic connections
Frequently asked questions
How to connect to the web server?
Open a browser and type in the IP address of your Arduino.
What hardware specifications are required?
Check the datasheet for detailed specifications.
How can I test Ethernet connectivity?
Use a network testing tool or check the example code.
Reviews
There are no reviews yet.