 EN
 IT Italiano
 ES Español
 FR Français
 DE Deutsch
Description
What it is
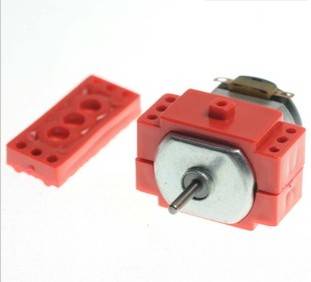
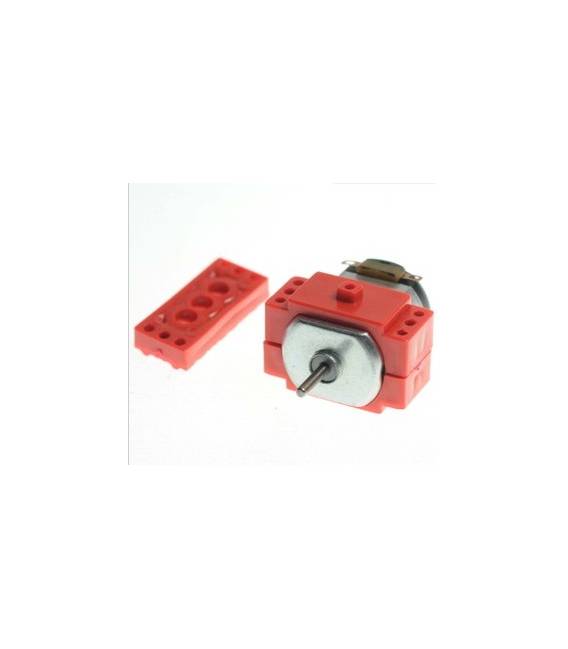
The Motor Mount 130 – Metal Bracket – 2 Pieces by Arduiner is a metal component designed to secure and stabilize motors with a 130 mm diameter in electronic and robotic projects.
Features
- Material: metal
- Quantity: 2 pieces
- Motors compatibility: 130 mm diameter
What it is for
This mount is ideal for projects requiring the secure mounting of stepper motors or servos. It provides a solid base for mounting and adjusting the motor position, improving the stability and maneuverability of the project. It can be used to build small robots, motion systems, or any other project that requires a securely and precisely mounted motor.
Tutorial: How to use Motor Mount 130 – Metal Bracket
The 130 motor mounting bracket is an essential component for makers working on projects that require the mounting of stepper motors or servos. This metal bracket provides a solid base for mounting and adjusting the motor’s position, making the project more stable and manageable.
What you need
- Motors 130
- Screws and screwdrivers
- Cutting tools
- Arduino (optional)
- Insulated wire
Steps
- Check the dimensions of the motor 130 and cut the metal brackets if necessary.
- Mount the motor 130 on the mounting bracket using screws and screwdrivers.
- Connect the motor to the Arduino circuit or control circuit.
- Check the motor operation with a simple Arduino sketch.
- Adjust the motor position if necessary, using the mounting brackets to achieve the desired position.
- Ensure the motor does not vibrate excessively during operation.
- If necessary, add insulation between the motor and the mount to reduce noise and heat.
- Test the entire project to ensure everything works correctly.
Example code
void setup() {
  pinMode(9, OUTPUT);
}

void loop() {
  digitalWrite(9, HIGH);
  delay(1000);
  digitalWrite(9, LOW);
  delay(1000);
}
Mini project
Create a small robot that moves based on the commands from the Arduino. Use the mounting bracket to secure the motor and control the robot’s movement.
Common mistakes
- Do not check the motor size before mounting it.
- Do not properly adjust the motor position.
- Do not test the motor operation before completing the project.
- Do not add insulation between the motor and the mount to reduce noise and heat.
Recommended accessories
- Motors 130
- Kit of screws and screwdrivers
- Insulation kit
- Arduino Uno
Frequently asked questions
What is the size of the mounting bracket?
Check the datasheet for the exact size.
Can it be used with other types of motors?
Check the datasheet to see if it is compatible with other motors.
How can I adjust the position of the motor?
Use the mounting brackets to adjust the position of the motor.


Reviews
There are no reviews yet.