 EN
 IT Italiano
 ES Español
 FR Français
 DE Deutsch
Description
Tutorial: How to Use W5100 IC Circuit
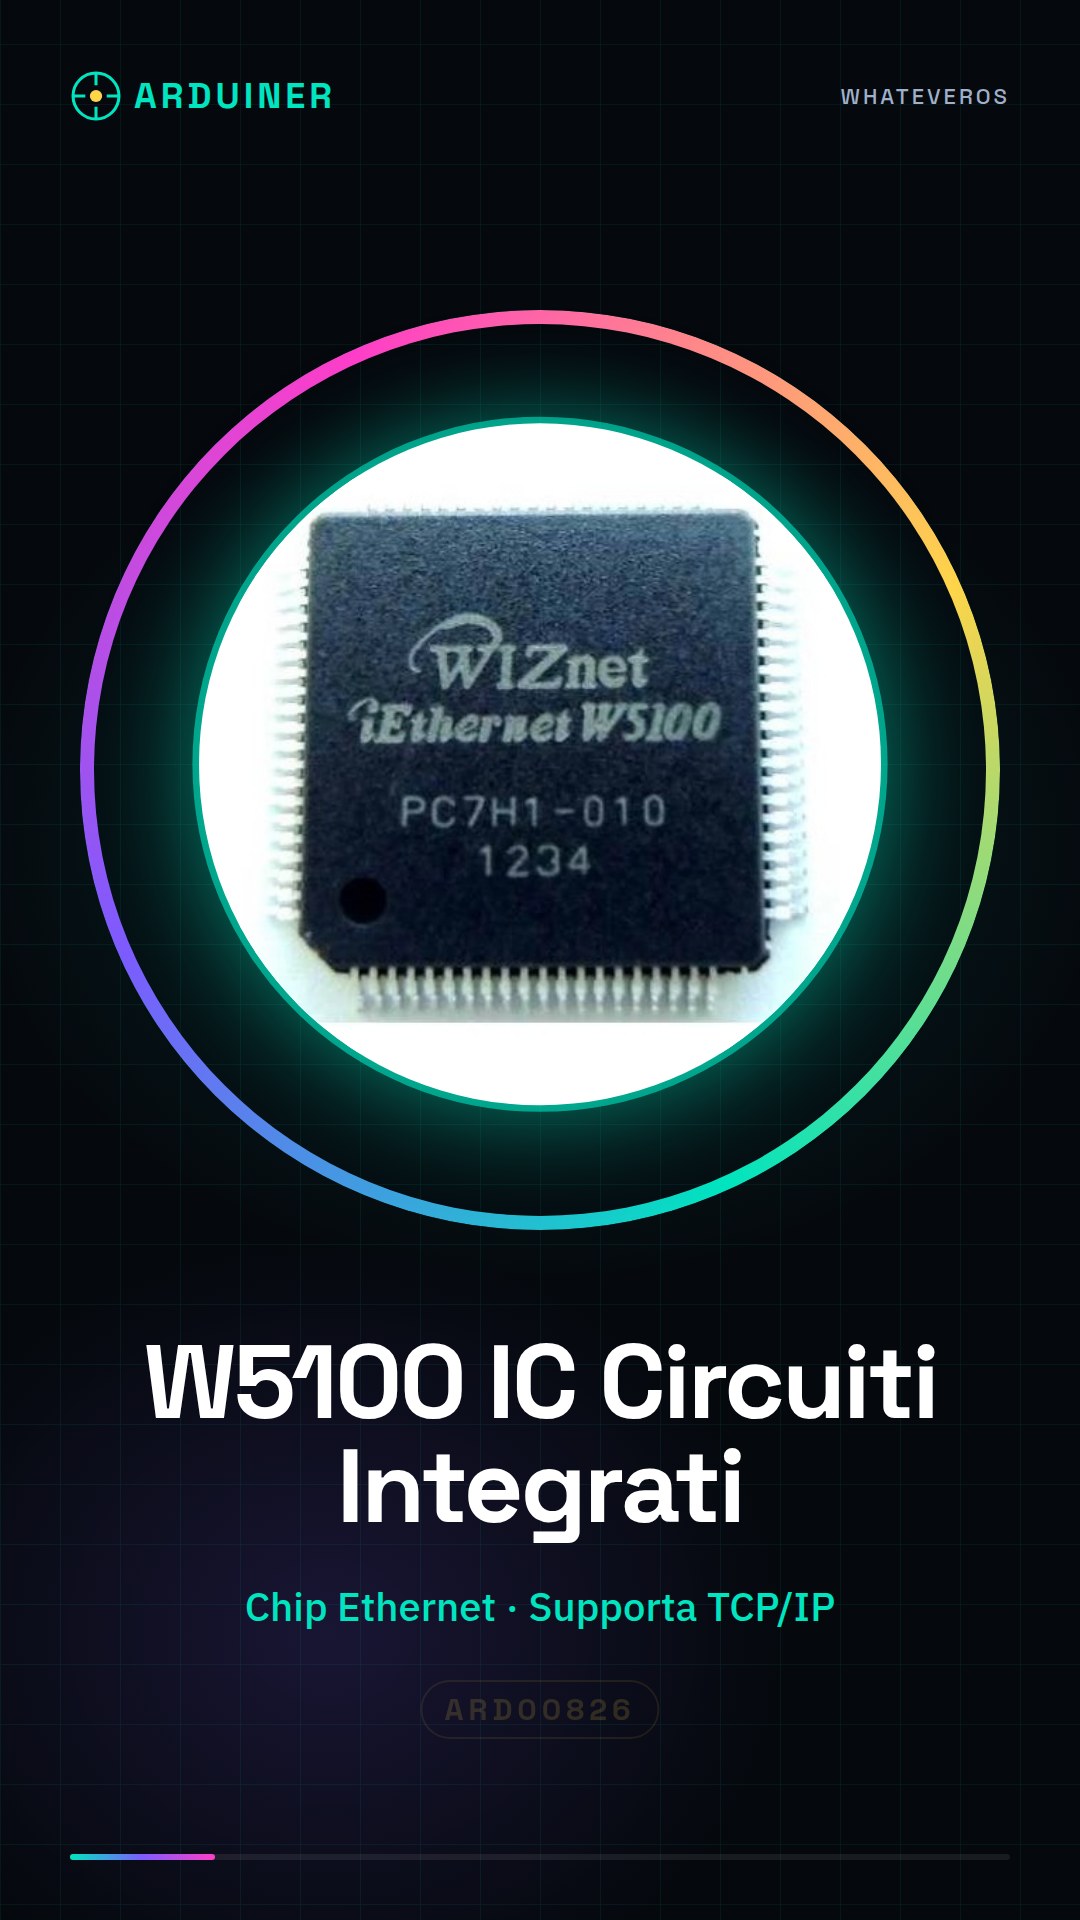
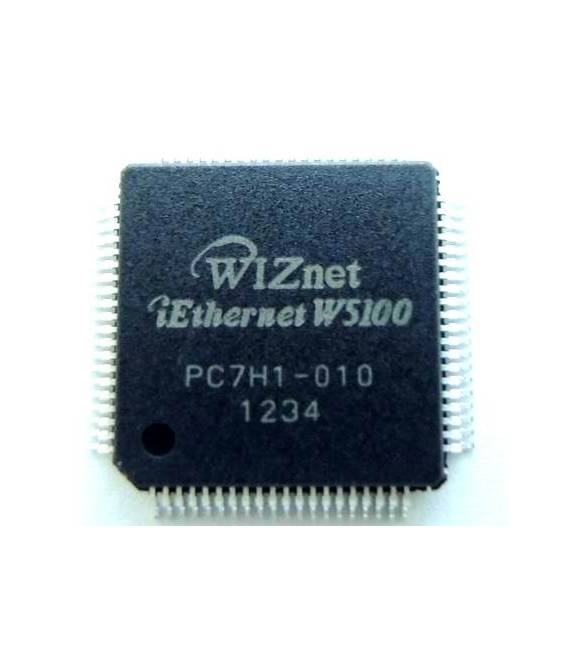
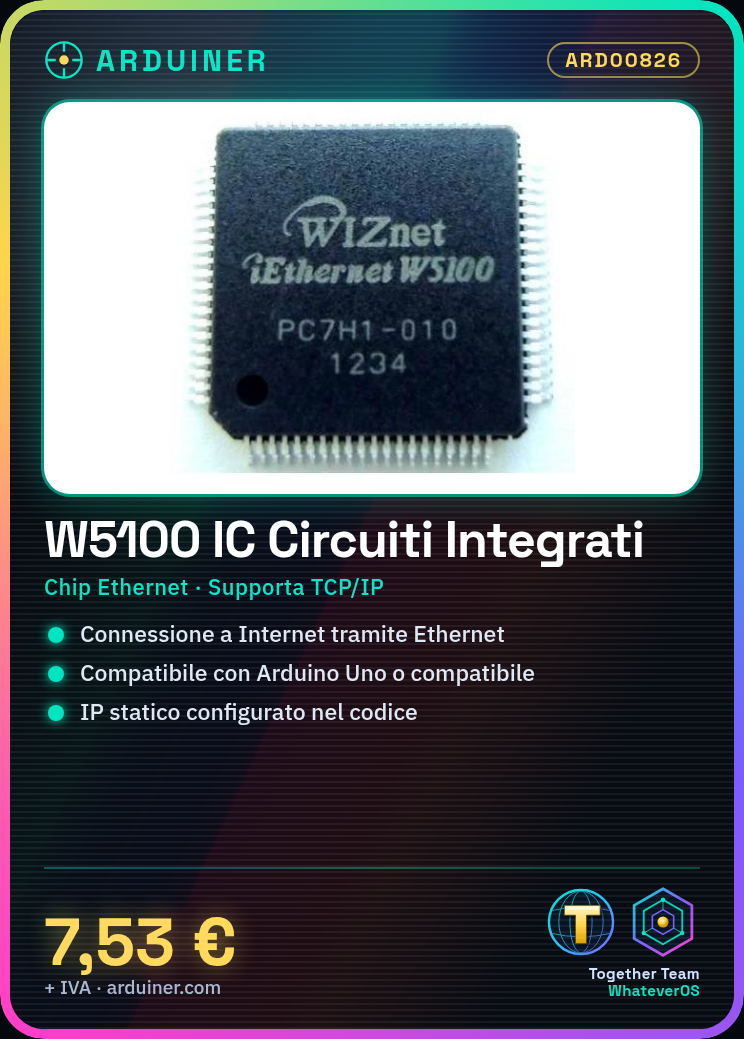
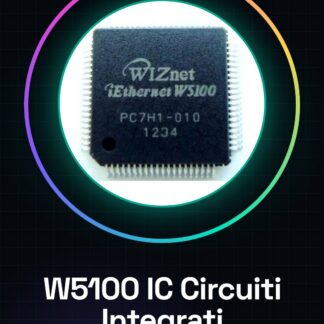
The W5100 is an Ethernet chip that allows your Arduino creations to connect to the Internet. It is ideal for beginner and intermediate makers who want to start networking without complications.
What you need
- Arduino Uno or compatible
- USB A-Micro B cable
- 5V Power Supply
Steps
- Connect the W5100 to your Arduino following the instructions in the datasheet.
- Download and install the Ethernet Shield Library from GitHub.
- Configure the W5100 control pins in your code.
- Set a static IP address for the W5100 in your Arduino code.
- Upload the sketch to Arduino.
- Check that the LED indicates a stable connection.
- Test connectivity with a web browser or a test app.
- Explore further features such as TCP/IP and UDP through examples in Ethernet Shield Library.
Example code
/* Es. di codice minimo */
#include <Ethernet.h>

byte mac[] = { 0xDE, 0xAD, 0xBE, 0xEF, 0xFE, 0xED };
IPAddress ip(192,168,1,177);
EthernetServer server(80);

void setup() {
  Ethernet.begin(mac, ip);
  server.begin();
}

void loop() {
  EthernetClient client = server.available();
}
Mini project
Create a small webserver that sends real-time sensor data. Use a temperature and humidity sensor connected to the Arduino with the W5100 to transmit the data to an HTML page.
Common mistakes
- Incorrect IP address configuration.
- Control pins not correctly configured in the Arduino code.
- Ethernet Shield Library not installed or incorrectly configured.
- Insufficient power supply for the W5100 and the Arduino.
Recommended accessories
- DHT22 Sensor
- LCD 16×2 with I2C
- Relay Module 4 Channel
- Button Switch
Frequently asked questions
How can I check if the W5100 is properly connected?
Check that the connection LED on the W5100 module is lit and stable.
What functions does the W5100 support beyond TCP/IP?
The W5100 also supports UDP and can be configured for various other features such as DHCP, DNS, etc. Check the datasheet for specific details.
Reviews
There are no reviews yet.