 EN
 IT Italiano
 ES Español
 FR Français
 DE Deutsch
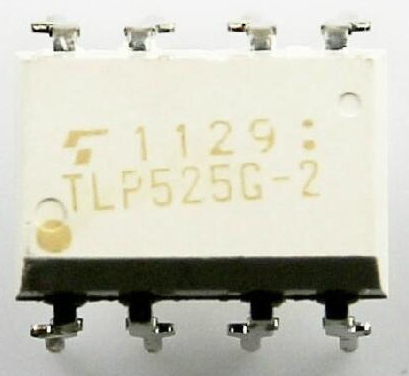
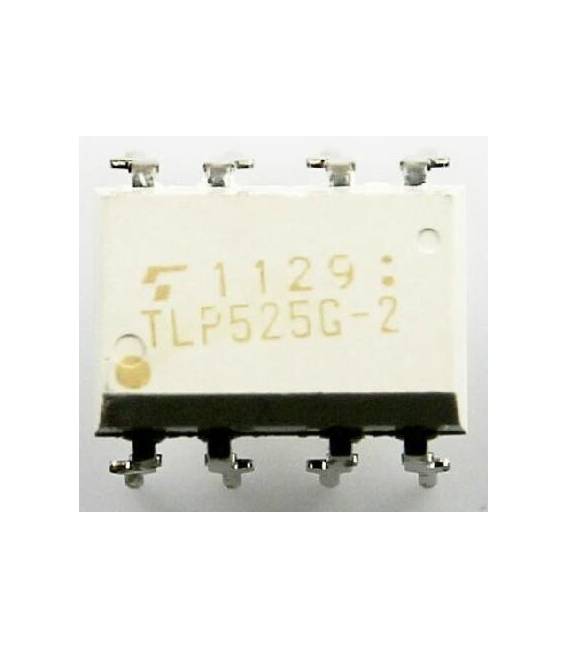
Description
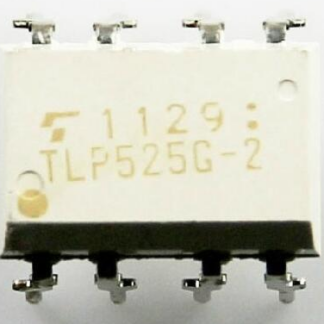
Tutorial: How to Use TLP525G-2 The TLP525G-2 optoisolator is ideal for protecting circuits from electrical interference. Useful for beginners and intermediates in electronics. What you need: TLP525G-2, Arduino, 1 kΩ resistor, test cable. Steps: 1. Install the optoisolator on a breadboard. 2. Connect pin 1 (Anode) to the Arduino’s VCC (5V). 3. Connect pin 2 (Cathode) to an Arduino I/O pin. 4. Connect pin 3 (Anode) to a 1 kΩ resistor. 5. Connect the other end of the resistor to GND. 6. Connect pin 4 (Cathode) to an Arduino I/O pin. 7. Upload the source code. 8. Test with an LED. Example Code: void setup() {} void loop() { digitalWrite(2, HIGH); delay(1000); digitalWrite(2, LOW); delay(1000); } Mini-Project: Create a simple switch based on a button and an LED. Common Errors: Connecting pins directly without a resistor, using a VCC other than 5V, forgetting to check the maximum current on the datasheet, connecting the optoisolator to the wrong GND. Recommended Accessories: Arduino UNO, breadboard, LED, button. Frequently Asked Questions: Can the optoisolator work with a power supply other than 5V? Check the datasheet for compatibility with the used power supply. Which TLP525G-2 pins to connect to the LED? Connect pin 4 (Cathode) to the LED. Which TLP525G-2 pins to connect to the button? Connect pin 2 (Cathode) to the button.
Reviews
There are no reviews yet.