 EN
 IT Italiano
 ES Español
 FR Français
 DE Deutsch
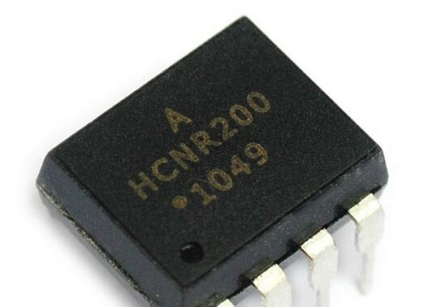
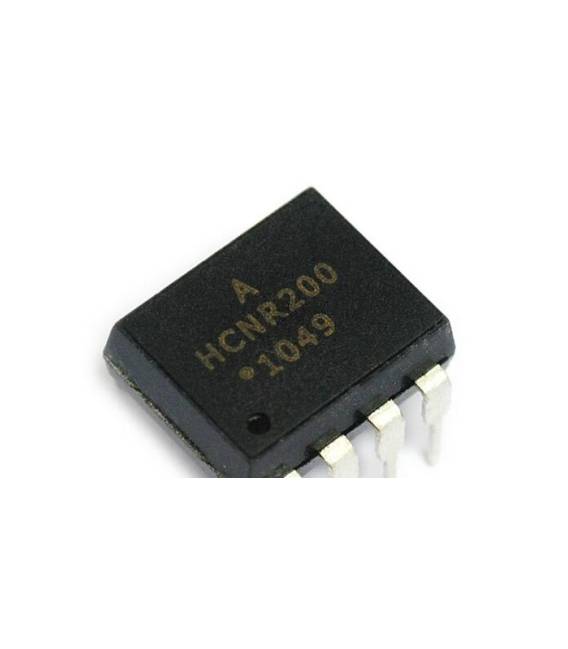
Description
HCNR200 DIP-8
Tutorial: How to use HCNR200 DIP-8
The HCNR200 DIP-8 is a high precision optical isolator used for transmitting electrical signals with galvanic isolation. It is ideal for projects requiring separation between power and signal, such as in low-power measurement and control systems.
What you need
- Arduino Uno
- Jumper wire
- Resistors
Steps
- Check the presence of the HCNR200 DIP-8 in your project.
- Connect the HCNR200 to the Arduino output pin using a jumper wire.
- Connect the input signal to the first pair of pins (A1 and A2) of the HCNR200.
- Connect a resistor between pins B1 and B2 to adjust the affinity.
- Check the datasheet for the required supply voltages for the HCNR200 and connect them to the VCC and GND pins.
- Connect an LED or another device to the output pin of the HCNR200.
- Test the signal transmission through the optical isolation.
- Adjust the resistor values based on the specifications of your project.
Mini project
[“Create a simple alarm system that sends a signal to Arduino via the HCNR200 when triggered. The Arduino can then manage the alarm and transmit the data through a WiFi or Bluetooth network.”]
Common mistakes
- Do not correctly connect the power supply voltage.
- Insert resistors that do not conform to the specifications in the datasheet.
- Omit the connection between B1 and B2, causing an erroneous activation of the signal.
- Use an HCNR200 with a signal frequency higher than the one recommended in the datasheet.
Recommended accessories
- Arduino Uno
- Jumper wire
- Variable resistors
Frequently asked questions
Can the HCNR200 be used to transmit data?
Yes, but it is more suitable for transmitting isolated analog signals.
What are the advantages of optical isolation?
Optical isolation protects the system from static electricity and other electronic disturbances.
Reviews
There are no reviews yet.