 EN
 IT Italiano
 ES Español
 FR Français
 DE Deutsch
Description
Technical Description
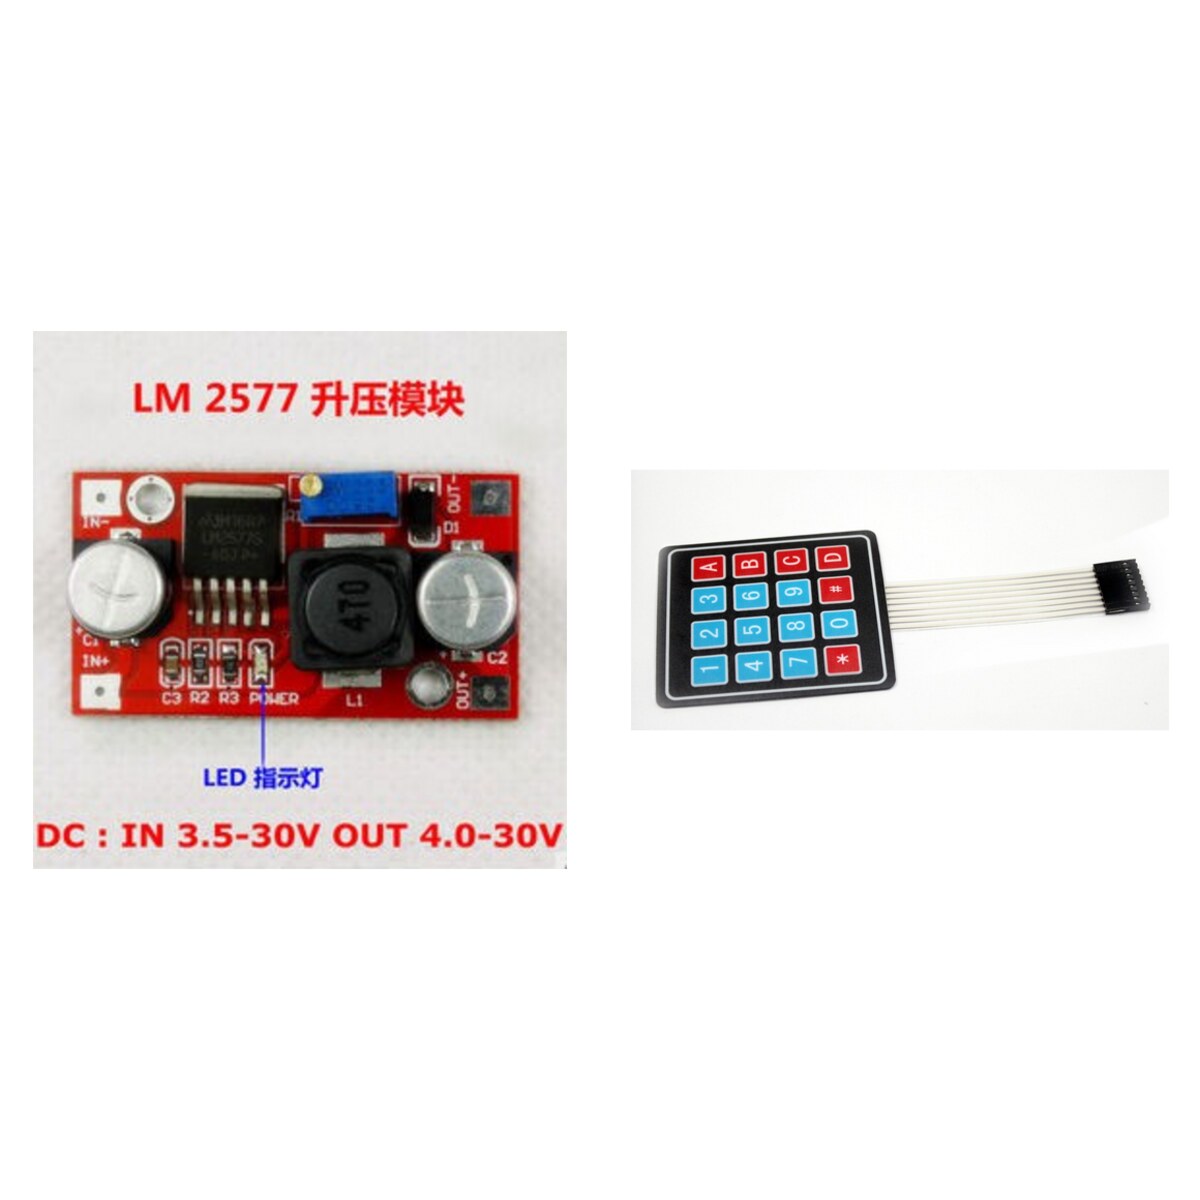
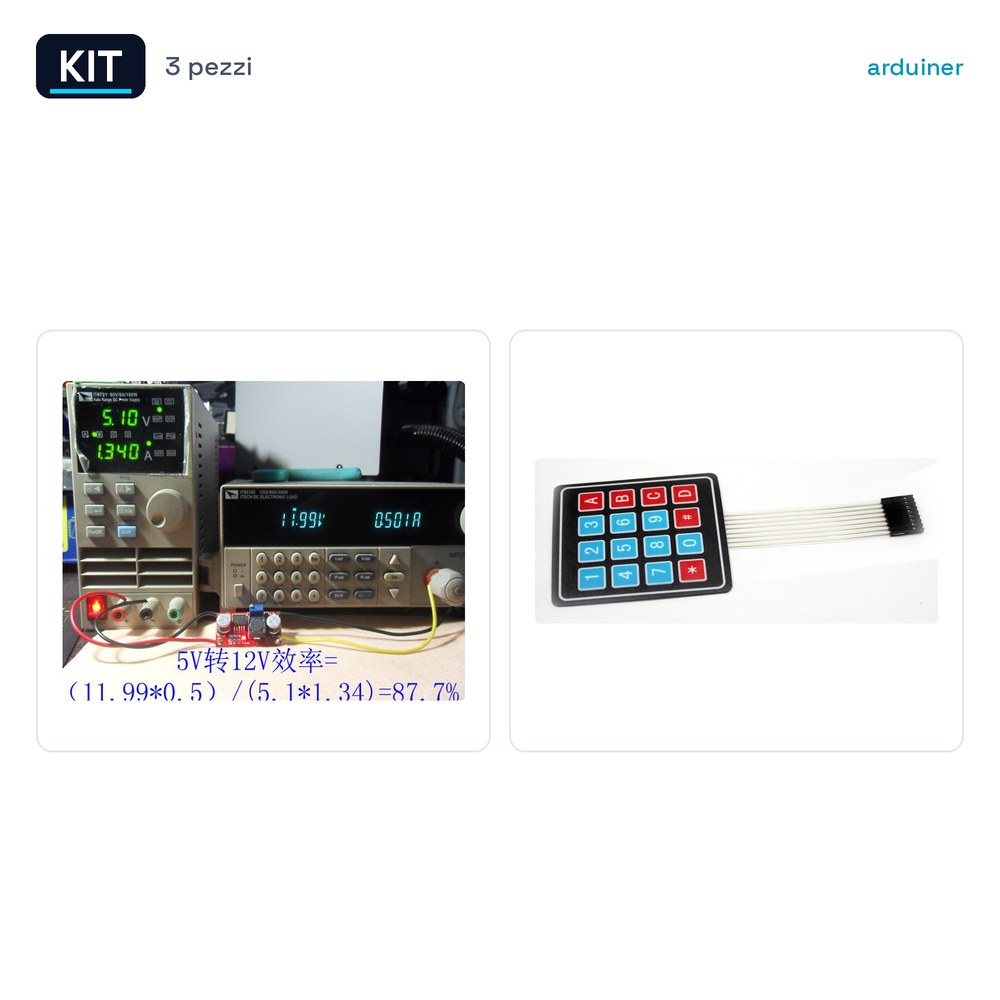
The SYV099 0-99.9V Power Supply 4.0-30V Digital Voltmeter 3 Wire with Reverse Polarity Protection for Arduino, the variable DC-DC LM2577 step up 3A ARDUINO power supply converter and the Matrix 4×4 16 keys keyboard for Arduino are three essential components for electronic projects and prototyping. The digital voltmeter allows the measurement of voltages from 0 to 99.9V with reverse polarity protection, while the LM2577 power supply converter provides an output current up to 3A. The Matrix 4×4 keyboard offers 16 configurable keys for user interaction.
These components can be used together to create prototyped circuits that require accurate voltage readings, adequate power supply, and an interactive user interface. The kit is designed to be easily integrated with Arduino systems and other microcontrollers.
The use of these components requires an understanding of the fundamental principles of electronics, such as the correct connection of pins and the management of electrical current.
Key Specifications
| Parameter | Value |
| Model | SYV099 |
| Measurement Range | 0-99.9V |
| Power Supply Range | 4.0-30V |
| Reverse Polarity Protection | Yes |
| Number of Keys | 16 |
| Keyboard Dimensions | N/D (see manufacturer’s technical sheet) |
| Power Supply Type | DC-DC LM2577 step up |
| Maximum Current | 3A |
| Container | N/D (see manufacturer’s technical sheet) |
Installation and Usage
- Connect the digital voltmeter to the power supply pins of the circuit.
- Configure the LM2577 power supply converter for the desired output.
- Connect the Matrix 4×4 keyboard to the pins of the microcontroller.
- Check the correct polarity of the connectors.
- Perform a functionality test to ensure that all components are properly connected.
Compatibility and Requirements
- The kit is compatible with Arduino and other similar microcontrollers.
- A configuration software is required to manage the Matrix 4×4 keyboard.
- The LM2577 power supply converter requires a filter circuit to reduce noise.
- The digital voltmeter can be used with any device that requires a voltage reading.
- For safe use, an overvoltage protection circuit is necessary.
Limitations and Important Notes
- The kit does not include a configuration software for the Matrix 4×4 keyboard.
- The reverse polarity protection of the voltmeter does not guarantee safety in all conditions.
- The LM2577 converter power supply may require a heat sink to dissipate the heat produced.
- The kit is not designed for industrial use without additional protection components.
Troubleshooting
The voltmeter does not display the voltage.
Probable cause: Incorrect pin connection.
Solution: Check the polarity of the connectors and repeat the connection.
The Matrix 4×4 keyboard does not respond.
Probable cause: Incorrect software configuration.
Solution: Review the software configuration and repeat the test.
The LM2577 power supply generates noise.
Probable cause: Lack of a filter circuit.
Solution: Add a filter circuit to reduce noise.
The voltmeter turns off during measurement.
Probable cause: Overcurrent.
Solution: Check the current required by the circuit and reduce the load if necessary.
Use cases
Garage parking sensor
Objective: Measure the voltage of the parking sensor.
What you need: Digital voltmeter SYV099.
Steps: 1) Connect the voltmeter to the sensor. 2) Configure the LM2577 power supply. 3) Verify the voltage reading.
Expected result: The voltmeter correctly displays the sensor’s voltage.
User interface for an Arduino prototype
Objective: Add a user interface to the prototype.
What you need: 4×4 Matrix keyboard.
Steps: 1) Configure the keyboard. 2) Connect the keyboard to the prototype. 3) Test the key responses.
Expected result: The prototype correctly responds to keyboard commands.
Powering a prototyped circuit
Objective: Provide adequate power to the circuit.
What’s needed: LM2577 power supply converter.
Steps: 1) Configure the power supply. 2) Connect the power supply to the circuit. 3) Check the output current.
Expected result: The circuit works correctly with the power supply.
Voltage measurement in a laboratory
Objective: Measure the voltage of various devices.
What’s needed: Digital voltmeter SYV099.
Steps: 1) Connect the voltmeter to the devices. 2) Configure the LM2577 power supply. 3) Check the voltage readings.
Expected result: The voltmeter provides accurate voltage readings.
User interface for a school project
Objective: Add a user interface to the project.
What’s needed: 4×4 Matrix keyboard.
Steps: 1) Configure the keyboard. 2) Connect the keyboard to the project. 3) Test the key responses.
Expected result: The project correctly responds to keyboard commands.
Powering an Arduino prototype
Objective: Provide adequate power to the prototype.
What’s needed: LM2577 converter power supply.
Steps: 1) Configure the power supply. 2) Connect the power supply to the prototype. 3) Check the current output.
Expected result: The prototype functions correctly with the power supply.
Voltage measurement in an electronics lab
Objective: Measure the voltage of various devices.
What’s needed: Digital voltmeter SYV099.
Steps: 1) Connect the voltmeter to the devices. 2) Configure the LM2577 power supply. 3) Verify the voltage readings.
Expected result: The voltmeter provides accurate voltage readings.
User interface for a prototyping project
Objective: Add a user interface to the project.
What’s needed: 4×4 Matrix keyboard.
Steps: 1) Configure the keyboard. 2) Connect the keyboard to the project. 3) Test the key responses.
Expected result: The project correctly responds to keyboard commands.
In the package
- 3 pieces
Complete the project
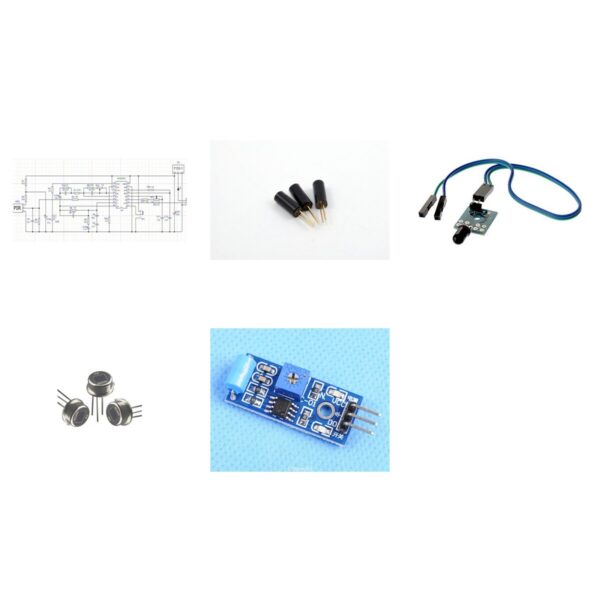
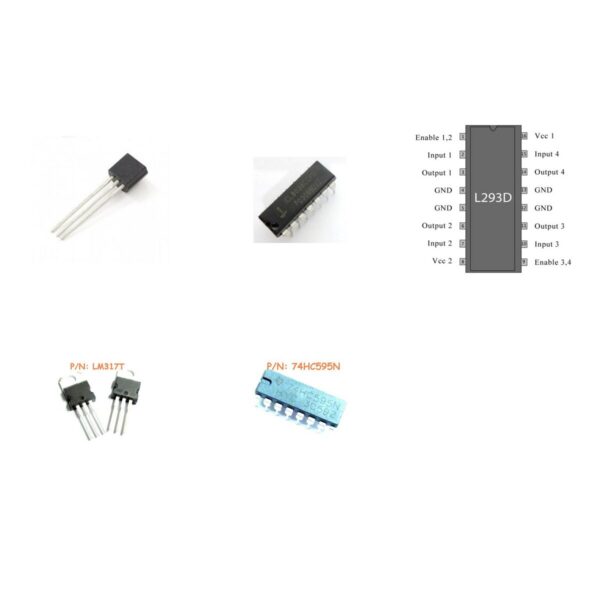
- 4×4 Matrix Keyboard 16 Keys for Arduino: It is used to power the prototype circuit.
- Variable DC-DC Converter LM2577 Step Up 3A Power Supply for ARDUINO: It is used to protect the circuit from overvoltage.
- Adjustable DC-DC Step Down Converter LM2596S Power Supply 5V 12V 2A for ARDUINO
- Membrane Keyboard DC 12V 1×4 4 Keys Adhesive Keypad Numeric Keyboard for Arduino
- PCF8591 AD/DA Converter Analog to Digital for Arduino Raspberry pi
Technical FAQs
The voltmeter does not display the voltage?
Check the polarity of the connectors and repeat the connection.
The 4×4 Matrix Keyboard does not respond?
Review the software configuration and repeat the test.
Does the LM2577 power supply generate noise?
Add a filter circuit to reduce noise.
Does the voltmeter turn off during measurement?
Check the current required by the circuit and reduce the load if necessary.
Reviews
There are no reviews yet.