 EN
 IT Italiano
 ES Español
 FR Français
 DE Deutsch
Description
What it is
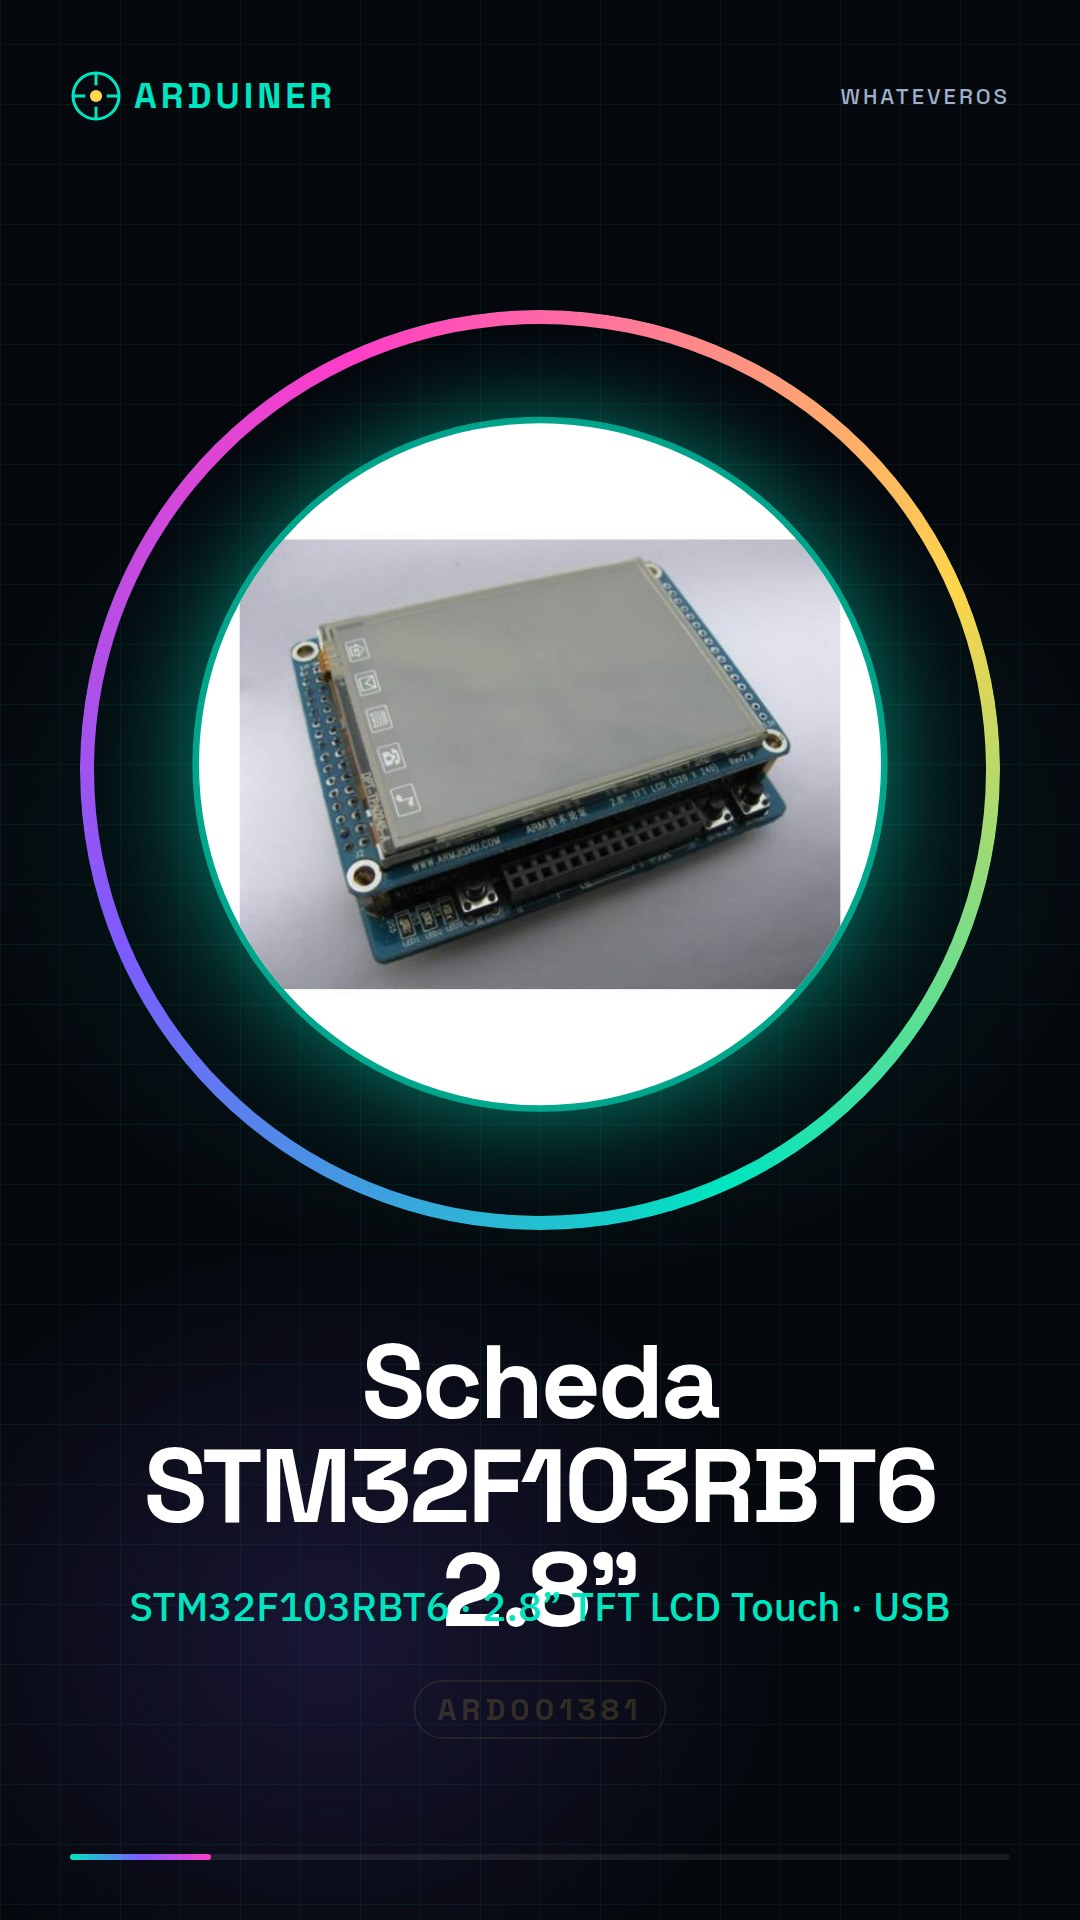
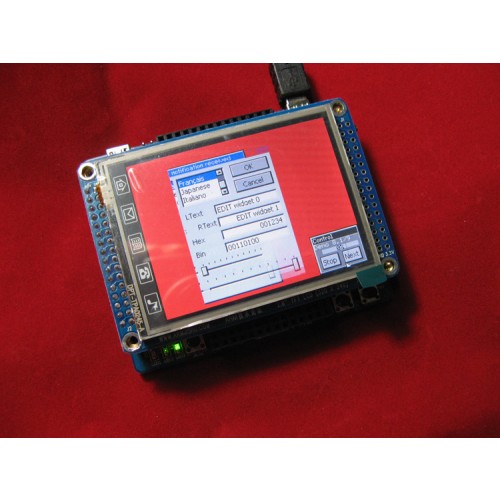
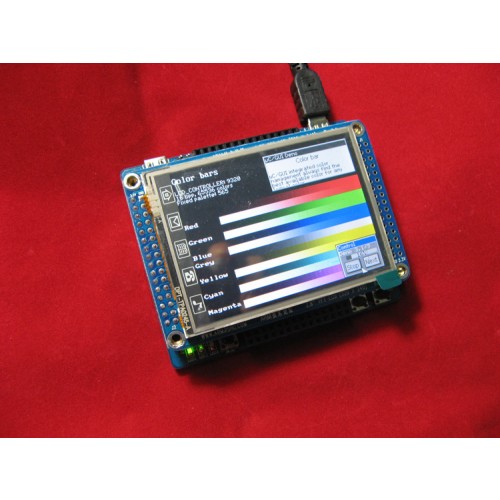
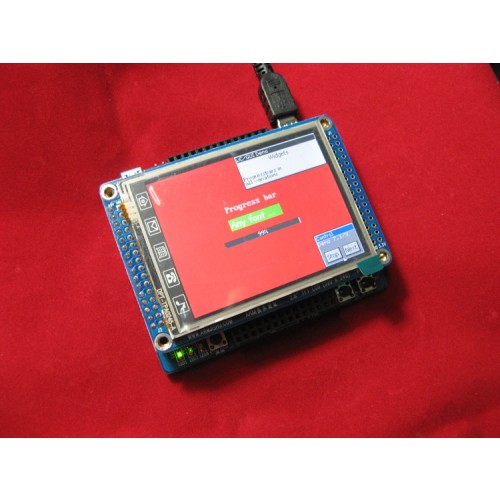
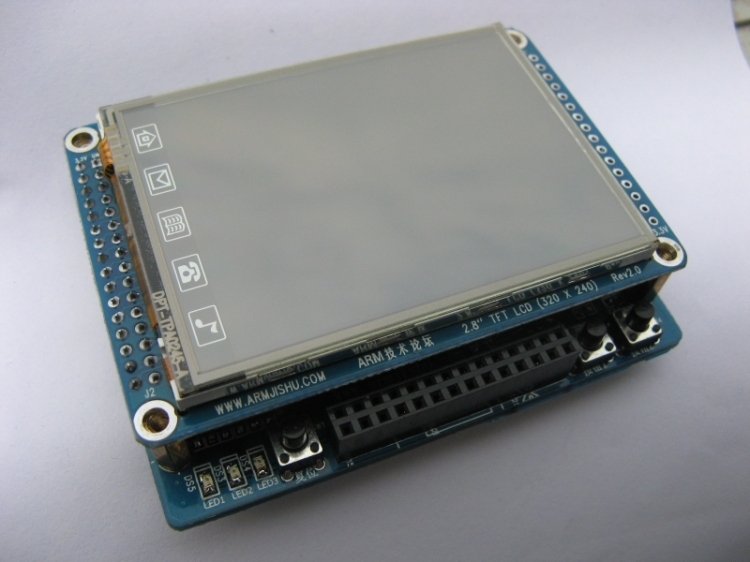
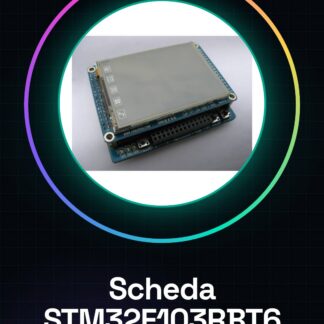
The STM32F103RBT6 board w/ 2.8″ TFT LCD Touch Screen is a robust development platform for projects requiring a powerful microcontroller and an interactive display. This device combines the STM32F103RBT6 microcontroller with a 2.8-inch TFT touchscreen, providing a solid foundation for the implementation of advanced applications.
Features
- Microcontroller-based board STM32F103RBT6
- 2.8" TFT LCD display with integrated touch screen
What it is for
This development board is ideal for projects requiring an interactive user interface and high computational power, such as small interactive digital watches or control systems. It is compatible with Arduino and can be used by beginner and intermediate makers.
Tutorial: How to use STM32F103RBT6 with TFT LCD Touch Screen
The STM32F103RBT6 development board is ideal for projects requiring computing power and interactive display. It is suitable for beginner and intermediate makers looking to explore the capabilities of the STM32 microcontroller.
What you need
- STM32F103RBT6 Development Board w/ 2.8″ TFT LCD Touch Screen
- Computer with USB connectivity
- STM32 development software (e.g., STM32CubeIDE)
- USB-A to Micro-USB cable
Steps
- Connect the board to the computer via USB cable.
- Install the STM32 development software.
- Configure the project in the software with the board specifications (check the datasheet).
- Write a simple sketch that turns on an LED connected to the board.
- Connect the TFT LCD Touch display to the SPI bus and configure it in the code.
- Test the touch screen functionality.
- Develop a small interactive application using the display and touch buttons.
- Compile and run the sketch on the microcontroller.
Example code
// Esempio di codice per accendere un LED collegato a GPIO
void setup() {
  pinMode(LED_BUILTIN, OUTPUT);
}

void loop() {
  digitalWrite(LED_BUILTIN, HIGH);
  delay(1000);
  digitalWrite(LED_BUILTIN, LOW);
  delay(1000);
}
Mini project
Create a small interactive digital clock that displays the time and allows you to set it using the touch display.
Common mistakes
- Fail to properly configure the display pins.
- Use incorrect voltage to power the board.
- Ignore the datasheet specifications during programming.
- Omit installing the necessary libraries to manage the display.
Recommended accessories
- Variable resistors
- Analog sensors
- Buzzer
Frequently asked questions
How can I upload a sketch to this board?
Using software like STM32CubeIDE, configure your virtual machine and connect it to the microcontroller via USB.
Which libraries are needed to use the TFT display?
You can use the GFX and Ticker libraries.
Reviews
There are no reviews yet.