 EN
 IT Italiano
 ES Español
 FR Français
 DE Deutsch
Description
What it is
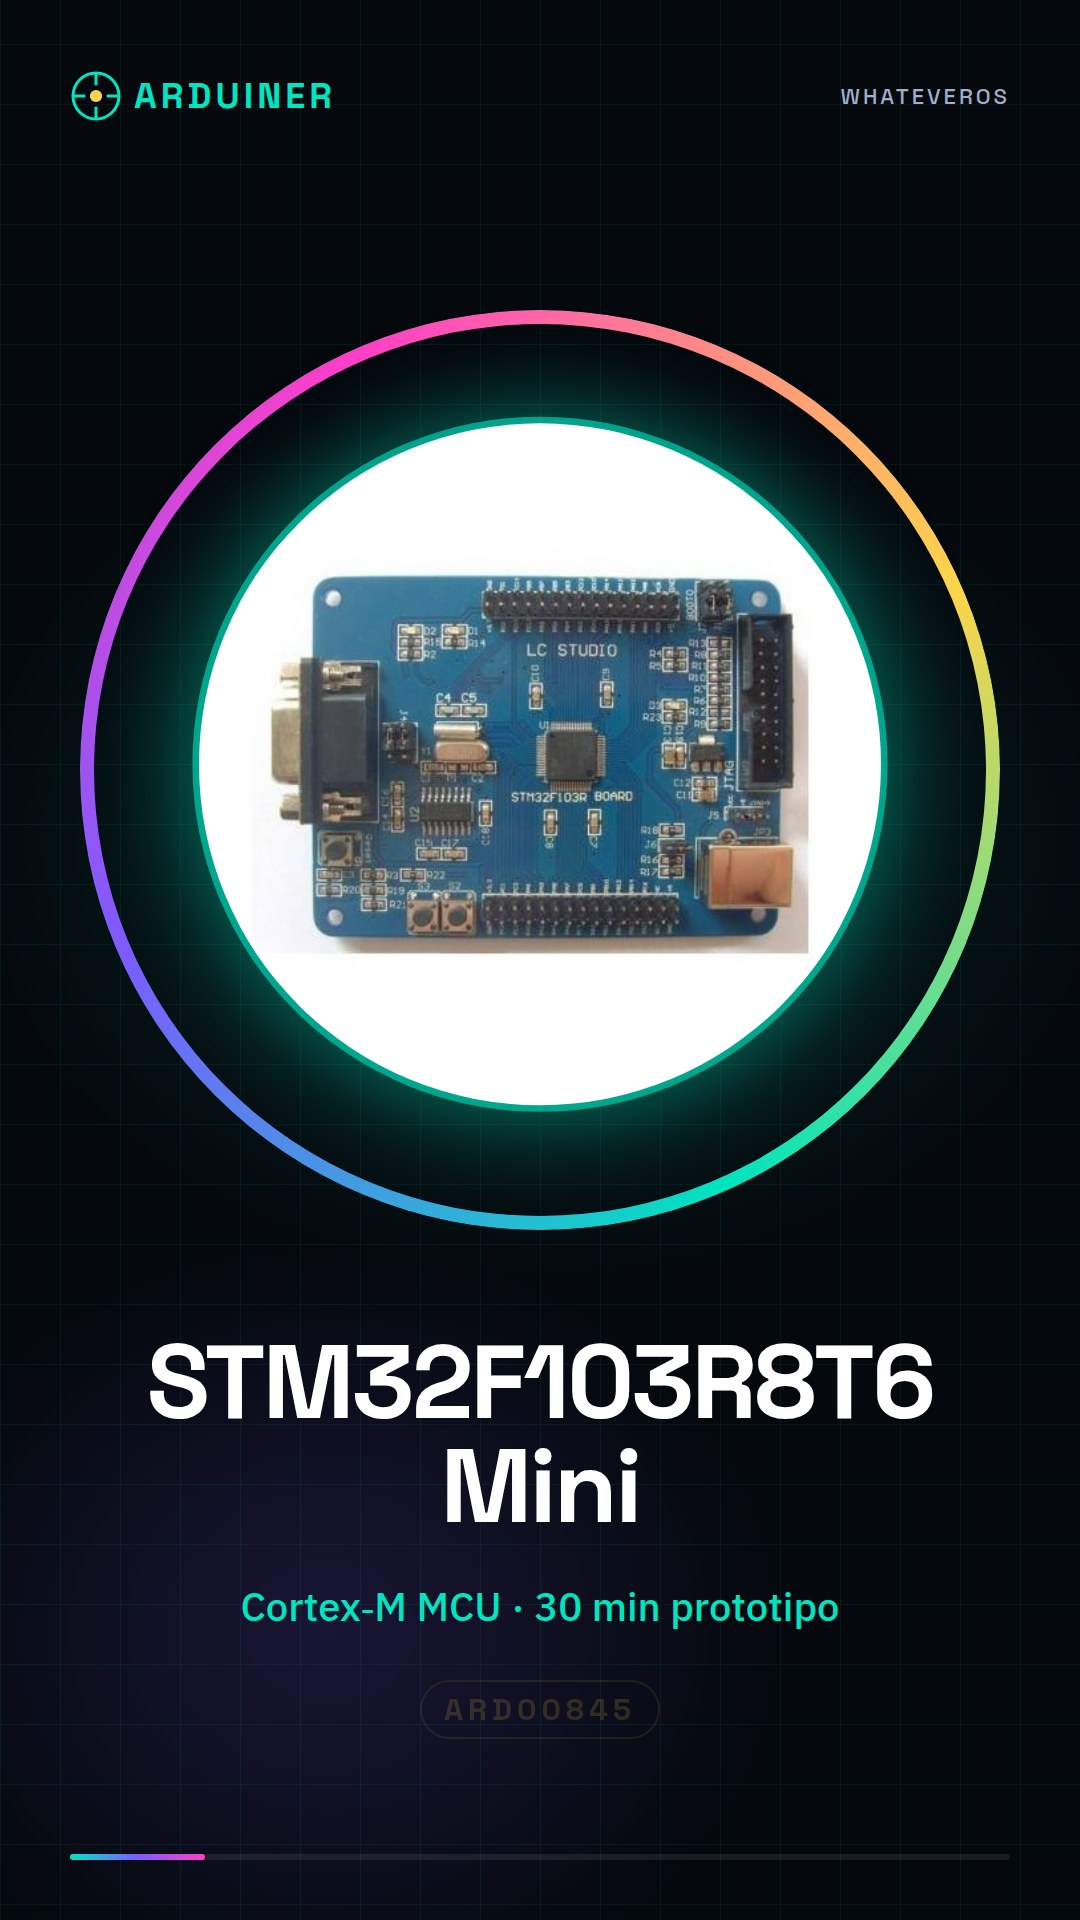
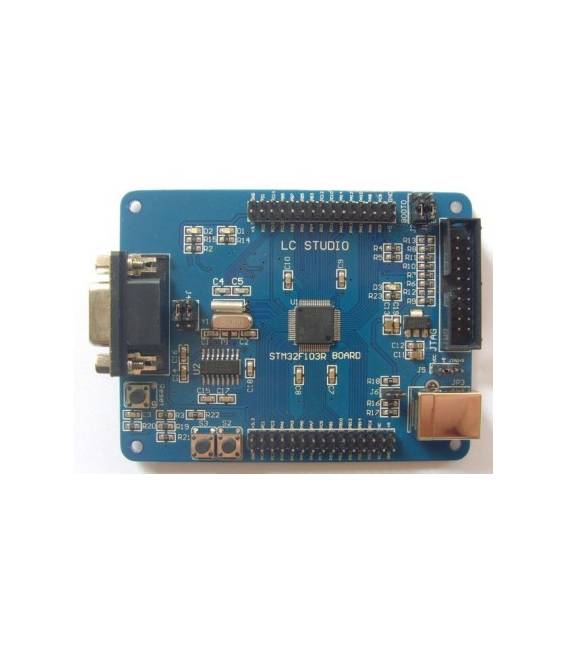
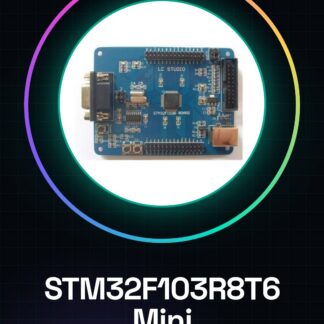
The STM32F103R8T6 is a microcontroller board based on Cortex-M, ideal for electronic prototypes. This component is designed for developers and makers looking for a versatile and powerful alternative to other platforms like Arduino or ESP32.
Features
- STM32F103R8T6 Development Board
- Ideally suited for projects requiring power and flexibility
What it is for
The STM32F103R8T6 board is used to create small control interfaces, such as adjusting the brightness of a lamp with a light sensor. The project takes about 30 minutes.
Tutorial: How to Use STM32F103R8T6 MINI
The STM32F103R8T6 development board is ideal for projects requiring power and flexibility. This component is suitable for beginner and intermediate makers who want to explore the world of Cortex-M based microcontrollers.
What you need
- Computer with Windows, macOS, or Linux operating system
- USB A-micro B cable
- Compatible development IDE (e.g., STM32CubeMX and ST-Link Utility)
Steps
- Connect the STM32F103R8T6 board to the computer via the USB cable.
- Install the compatible development IDE for the board (e.g., STM32CubeMX and ST-Link Utility).
- Configure the IDE to recognize the STM32F103R8T6 board. Check the datasheet for necessary configuration details.
- Create a new project in the development software and select the correct microcontroller (STM32F103R8T6).
- Write or load a simple sketch to test the functionality of the board. For example, a loop that turns on and off an LED connected to a GPIO pin.
- Compile the sketch in the development software.
- Upload the code to the microcontroller via the IDE or a compatible tool like ST-Link Utility.
- Verify the correct execution of the sketch through the observation of the behavior of the connected LED.
Example code
void setup() {
  pinMode(LED_BUILTIN, OUTPUT);
}

void loop() {
  digitalWrite(LED_BUILTIN, HIGH);   // Accende la LED
  delay(1000);                       // Attende un secondo
  digitalWrite(LED_BUILTIN, LOW);    // Spegne la LED
  delay(1000);                        // Attende un secondo
}
Mini project
Create a small control interface to adjust the brightness of a lamp using the STM32F103R8T6 board and a light sensor. The project should take approximately 30 minutes.
Common mistakes
- Unable to upload the sketch to the microcontroller
- Incorrect development IDE configuration
- Board power supply issues
- USB connection error
Recommended accessories
- USB A-micro B cable
- Light sensor
- Resistor and LED
- Portable battery for testing wireless functionality
Frequently asked questions
How can I configure the IDE to recognize the board?
Follow the installation instructions in the IDE manual, make sure the USB driver is correctly installed.
What software tools do you recommend for developing on STM32F103R8T6?
We recommend using STM32CubeMX and ST-Link Utility, they are very useful and community-supported tools.
Reviews
There are no reviews yet.