 EN
 IT Italiano
 ES Español
 FR Français
 DE Deutsch
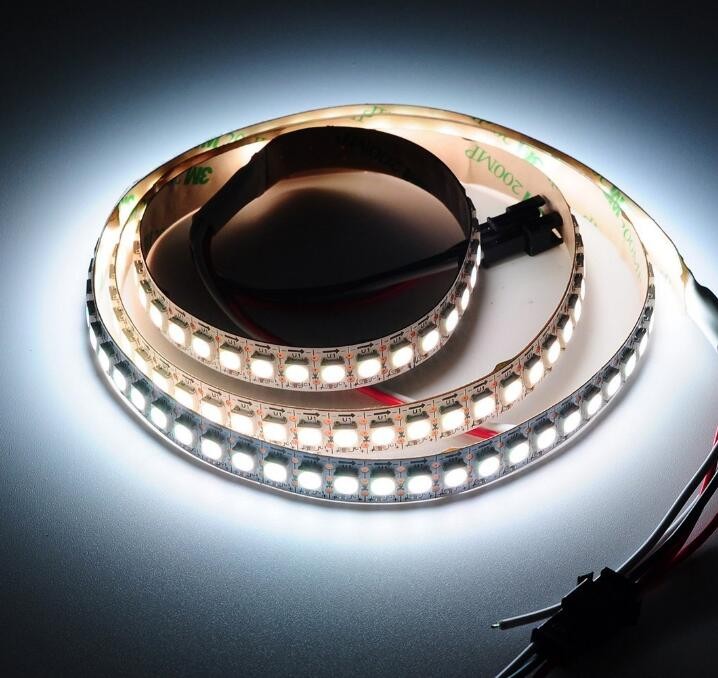
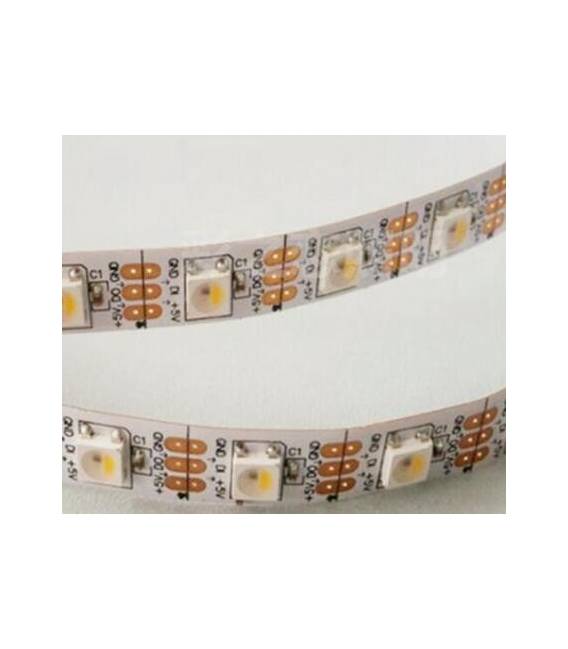
Description
What it is
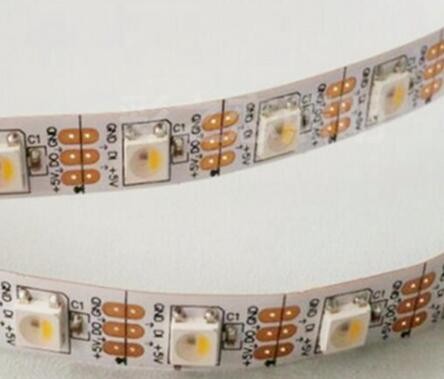
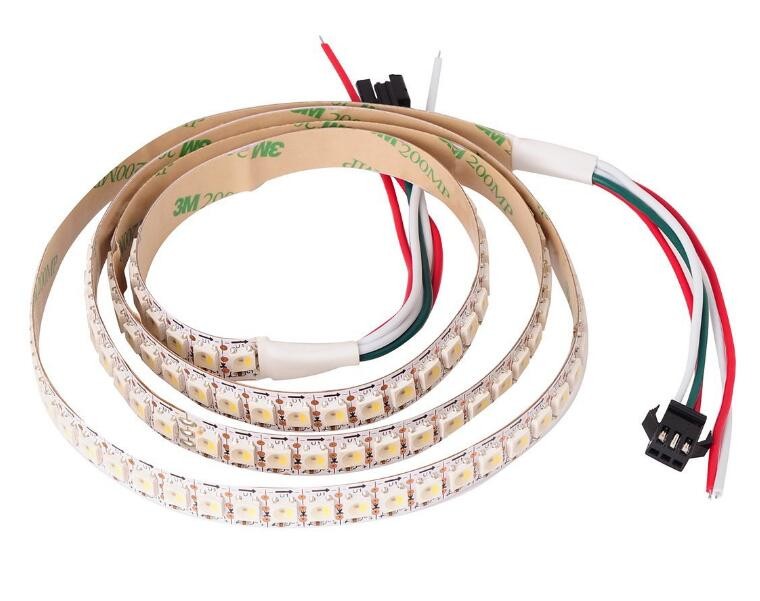
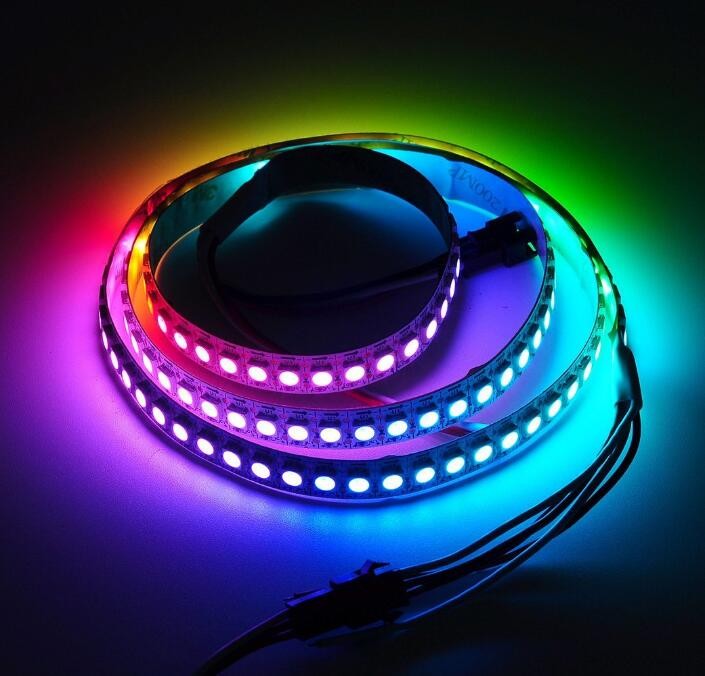
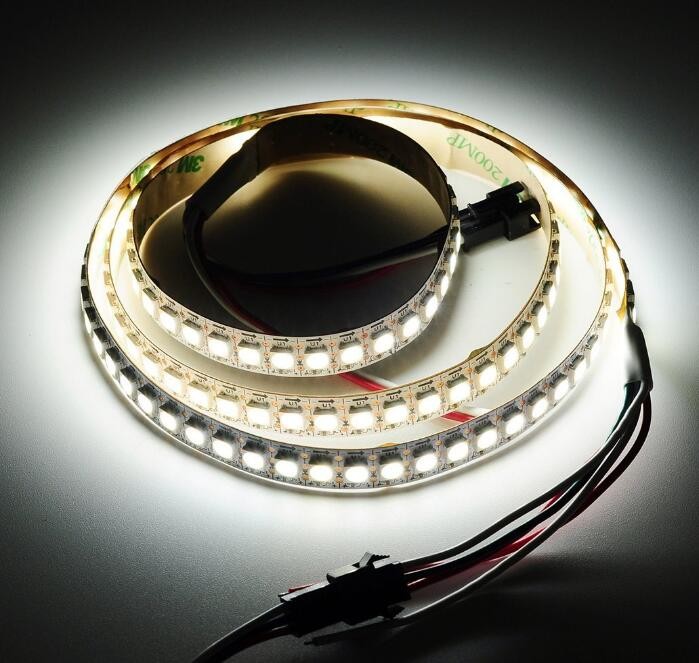
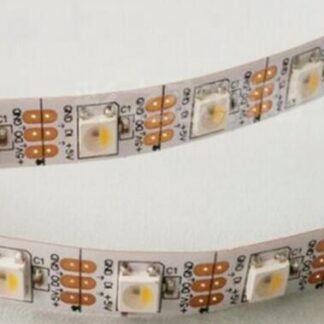
The SK6812 RGBW 60LED/IP67 is a waterproof LED strip with multicolor illumination. Each LED is RGBW, meaning it consists of three LEDs (red, green, blue) and one white LED, allowing for a wide range of colors and tones.
Features
- LED Type: SK6812 RGBW
- Density: 60 LEDs per meter
- Waterproof Rating: IP67
- Operating Voltage: 5V
What it is for
The SK6812 RGBW 60LED/IP67 is ideal for electronic and Arduino projects that require custom lighting effects. It can be used to create LED displays, decorative lighting, light signals, and much more. Its waterproof rating makes it suitable for outdoor projects as well.
Tutorial: How to Use SK6812 RGBW LED Strip
The SK6812 RGBW LED strip is a versatile component for RGB and temperature lighting, ideal for Arduino projects requiring custom lighting effects. This tutorial will guide you through the installation and configuration of the LED strip.
What you need
- Arduino Uno
- USB and JST Connections
- 5V Voltage Regulator
- Current Limiting Resistors
Steps
- Connect the Arduino to your machine via the USB cable.
- Connect the LED strip to the 5V voltage regulator using the JST connections.
- Check the datasheet for the specific pins required to control the LED strip (GND, VCC, DIN).
- Connect the GND of the regulator to the GND of the Arduino. Connect the VCC of the regulator to the 5V of the Arduino.
- Connect the data line (DIN) of the LED strip to pin 6 of the Arduino to start with a simple example.
- Download and upload the provided sketch in the ‘Code’ section.
- Achieve various lighting effects by changing the RGBW values in the code.
- Check the datasheet for the total number of LEDs to calculate the correct length of the strip.
Example code
const int ledPin = 6; // pin in cui è collegato il DIN
#include <Adafruit_NeoPixel.h>
#define NUMPIXELS 60 // numero totale di LED nella strip
Adafruit_NeoPixel pixels = Adafruit_NeoPixel(NUMPIXELS, ledPin, NEO_GRBW + NEO_KHZ800);
void setup() {
pixels.begin();
}
void loop() {
pixels.setPixelColor(0, pixels.Color(255, 0, 0, 0)); // rosso
pixels.show();
delay(1000);}
Mini project
Create an LED display that changes color based on ambient temperature. Use a temperature sensor like the DS18B20 to measure temperature and change the color of the LED strip.
Common mistakes
- Do not verify the correct pins before installation.
- Omit current-limiting resistors.
- Use a voltage higher than 5V to power the strip.
- Do not correctly calculate the total number of LEDs in the strip.
Recommended accessories
- Temperature sensor DS18B20
- 5V voltage regulator with JST connectors
- Current-limiting resistors for RGBW LEDs
- USB and JST connections
Frequently asked questions
How can I control multiple LED strips?
Use a multiplexer or connect each strip to a different pin on the Arduino.
What is the recommended maximum distance between LEDs?
The distance should be less than 10 meters to ensure good signal quality.
Reviews
There are no reviews yet.