 EN
 IT Italiano
 ES Español
 FR Français
 DE Deutsch
Description
What it is
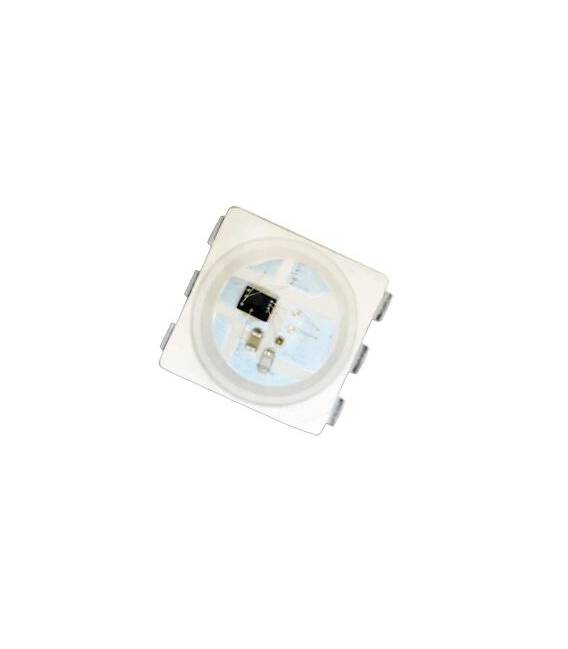
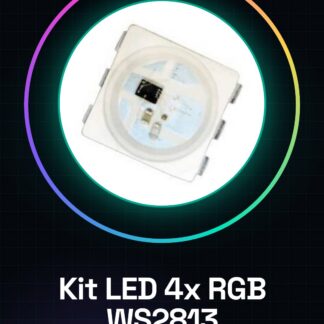
The WS2813 RGB SMD 5050 LED Kit with Integrated Controller 5V is a set of 4 RGB LEDs with an integrated controller, ideal for lighting and display projects on Arduino.
Features
- 4 WS2813 RGB SMD 5050 LEDs
- Integrated controller
- Operating voltage: 5V
- SKU: ARD0010496
- Price: 1.7 €
What it is for
This kit is perfect for RGB lighting projects, allowing for vivid colors and dynamic effects. It can be used to create color cycles, visual effects, and animations. Compatibility with Arduino makes it ideal for prototyping and development projects.
Tutorial: How to use WS2813 RGB SMD 5050 LED Kit with Integrated Controller 7V
This kit is ideal for RGB lighting projects, allowing for vivid colors and dynamic effects. Useful for beginners and intermediates in electronics.
What you need
- Arduino or compatible microcontroller
- Current limiting resistor (100 ohm)
- 5V power supply cable
- Arduino IDE software installed
Steps
- 1. Connect the WS2813 controller to pin D1 of your Arduino.
- 2. Connect the current-limiting resistor (100 ohm) between pin D0 of the controller and pin D1.
- 3. Connect the GND pin of the controller to the GND of your Arduino.
- 4. Connect the VCC pin of the controller to the VCC 5V of your Arduino.
- 5. Upload the following base code to your Arduino.
- 6. Check if the lighting changes color.
- 7. Add custom effects with the code.
- 8. Test the lighting in a basic project.
Example code
```
#include <Adafruit_NeoPixel.h>

#define PIN 1
#define NUMPIXELS 4

Adafruit_NeoPixel pixels = Adafruit_NeoPixel(NUMPIXELS, PIN, NEO_GRB + NEO_KHZ800);

void setup() {
  pixels.begin();
}

void loop() {
  pixels.setPixelColor(0, pixels.Color(255, 0, 0));
  pixels.show();
  delay(1000);
  pixels.setPixelColor(0, pixels.Color(0, 255, 0));
  pixels.show();
  delay(1000);
  pixels.setPixelColor(0, pixels.Color(0, 0, 255));
  pixels.show();
  delay(1000);
}
```
Mini project
Create a color cycle that changes every second. Connect the 4 LEDs to your Arduino and observe the effect.
Common mistakes
- If it doesn’t work, check the correct pin configuration.
- Make sure you have the correct current-limiting resistor.
- Check the firmware version of your Arduino.
- Verify in the datasheet if your microcontroller supports sufficient current.
Recommended accessories
- WS2812B LED strips for extension
- Arduino Nano Microcontroller
- USB Cable for Power Supply
- Drawing Software for Color Effects
Frequently asked questions
How can I connect multiple LED strips?
Connect the next strips to pin D0 of the previous one, using a current-limiting resistor for each strip.
Does the controller support custom color effects?
Yes, you can use libraries like Adafruit_NeoPixel to create custom effects.
What colors does the controller support?
It supports a wide range of RGB colors.
Does the controller work with power supplies other than 5V?
Check the datasheet to see if it supports other voltages.
Reviews
There are no reviews yet.