 EN
 IT Italiano
 ES Español
 FR Français
 DE Deutsch
Description
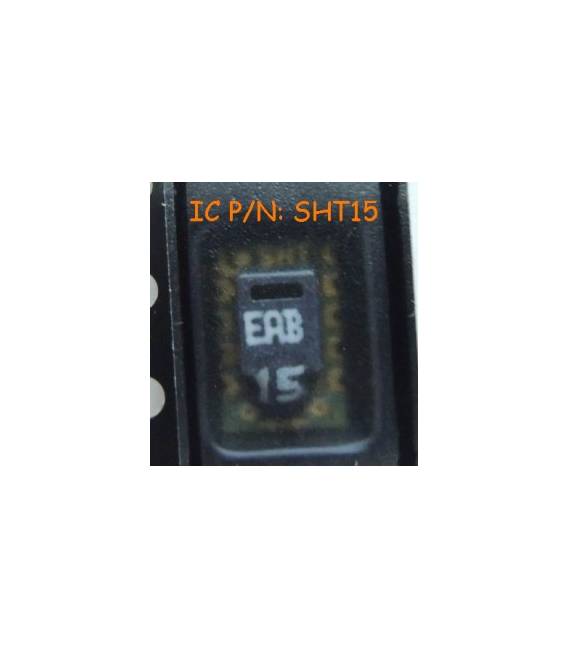
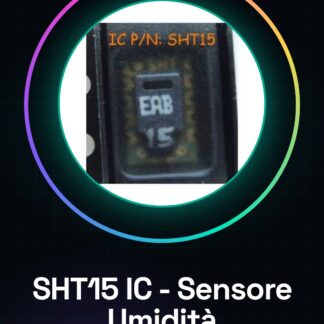
SHT15 IC Integrated Circuits
Tutorial: How to Use SHT15
The SHT15 is a digital humidity and temperature sensor for electronics projects. It is useful for beginners and intermediate makers.
What you need
- SHT15
- Arduino
- Pull-up Resistor (10kΩ)
- Connections for VCC, GND, SCK, DIO pins
Steps
- 1. Connect the VCC pin of the SHT15 to the 5V of the Arduino.
- 2. Connect the GND pin of the SHT15 to the GND of the Arduino.
- 3. Connect the SCK pin of the SHT15 to the D13 pin of the Arduino.
- 4. Connect the DIO pin of the SHT15 to the D12 pin of the Arduino.
- 5. Connect a pull-up resistor (10kΩ) between VCC and SCK.
- 6. Load the provided Arduino code.
- 7. Run the code to display the data in the Arduino IDE.
- 8. Check the datasheet for further configurations.
Example code
```cpp
#include <SHT1x.h>

SHT1x sht1x(D12, D13);

void setup() {
  Serial.begin(9600);
}

void loop() {
  float temperature = sht1x.readTemperature();
  float humidity = sht1x.readHumidity();
  Serial.print("Temperatura: ");
  Serial.print(temperature);
  Serial.print("°C, Humidità: ");
  Serial.print(humidity);
  Serial.println("%");
}
```
Mini project
Create a temperature and humidity monitor for your apartment or office in 30 minutes.
Common mistakes
- Ensure the pull-up resistor is correct.
- Make sure the SCK and DIO pins are correctly connected.
- Check that the Arduino code is correct and compiles properly.
- Verify the VCC and GND connection.
Recommended accessories
- Arduino Uno
- 10kΩ pull-up resistor
- Connection cable
- Humidity and temperature sensor
Frequently asked questions
How can I check the connection?
Check that the SCK and DIO pins are correctly connected and that VCC and GND are properly powered.
Does the SHT15 work with Arduino Nano?
Yes, the SHT15 is compatible with Arduino Nano. Make sure the SCK and DIO pins are correctly connected.
What are the temperature and humidity limits?
Check the datasheet for the maximum and minimum temperature and humidity values supported.
Reviews
There are no reviews yet.