 EN
 IT Italiano
 ES Español
 FR Français
 DE Deutsch
Description
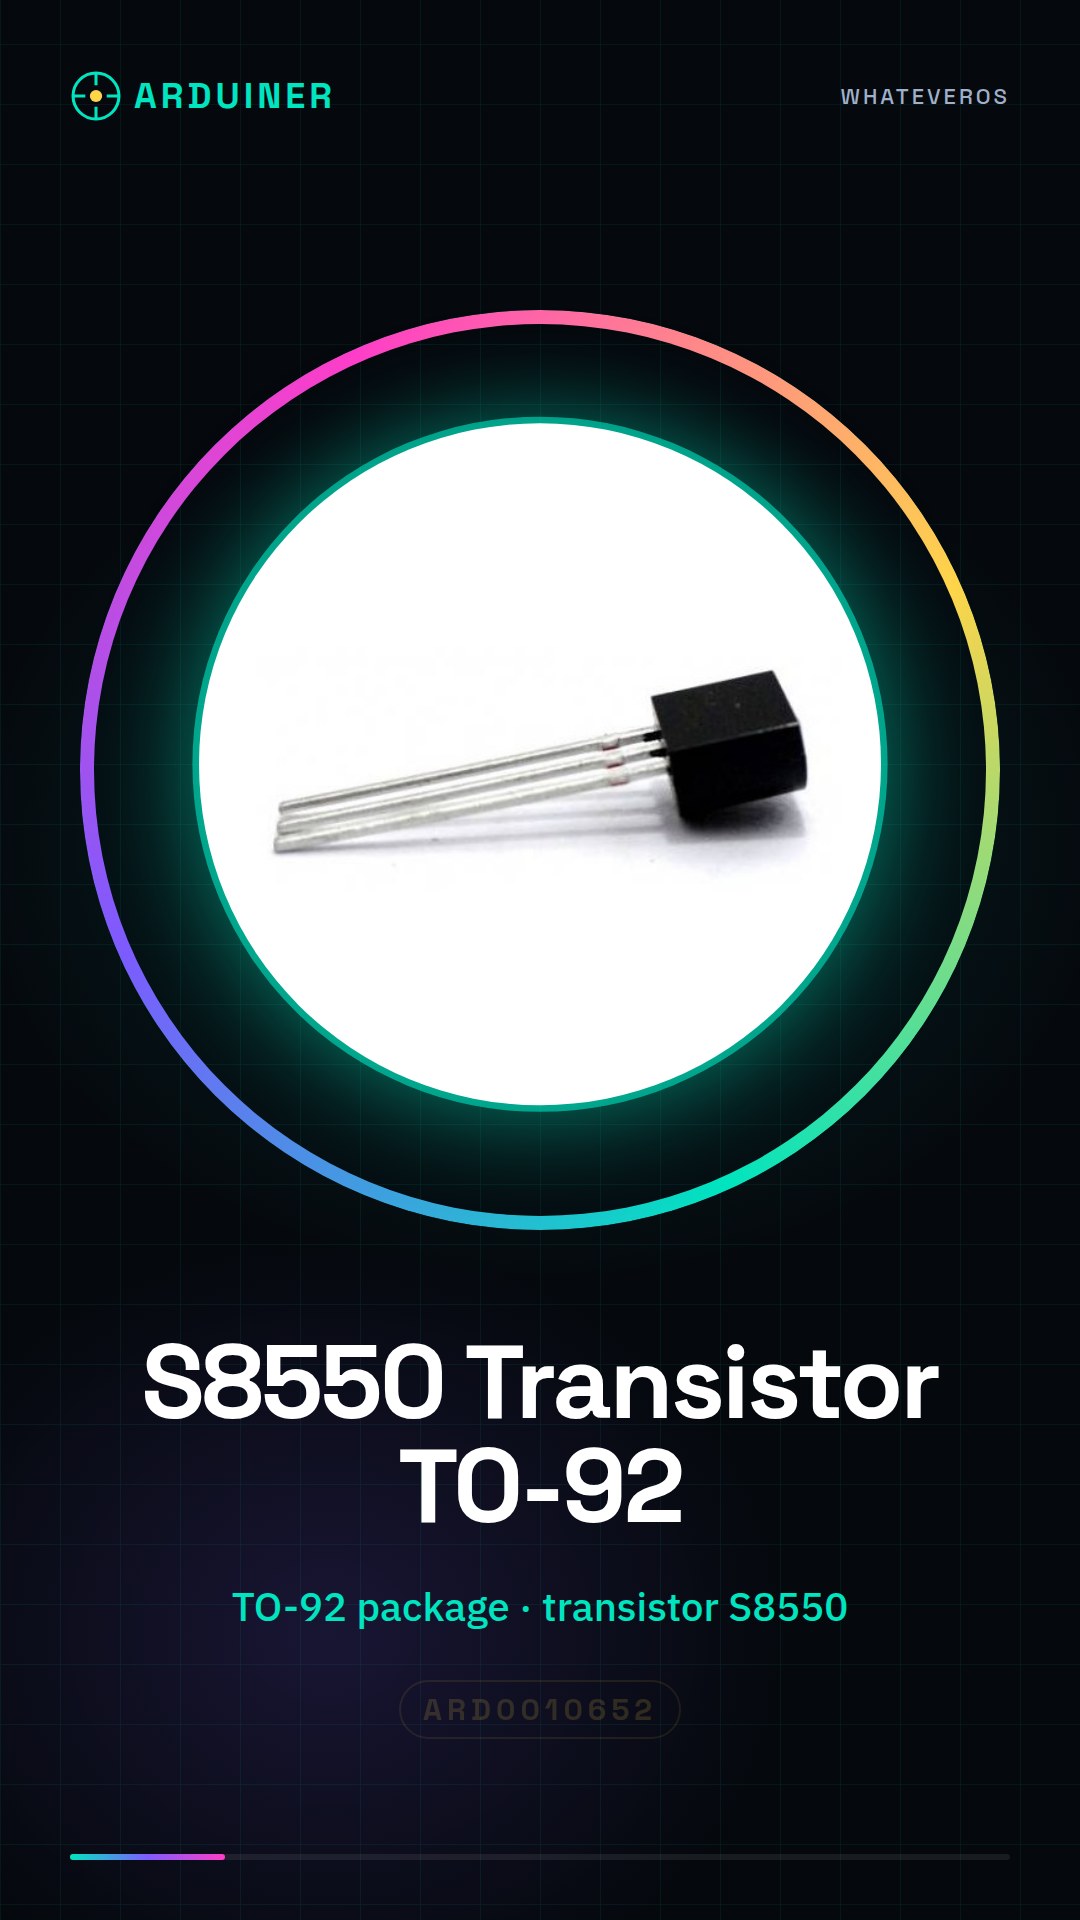
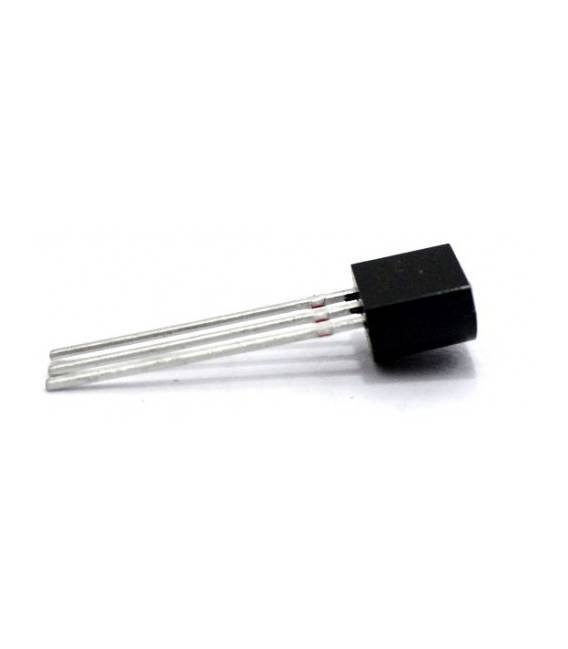
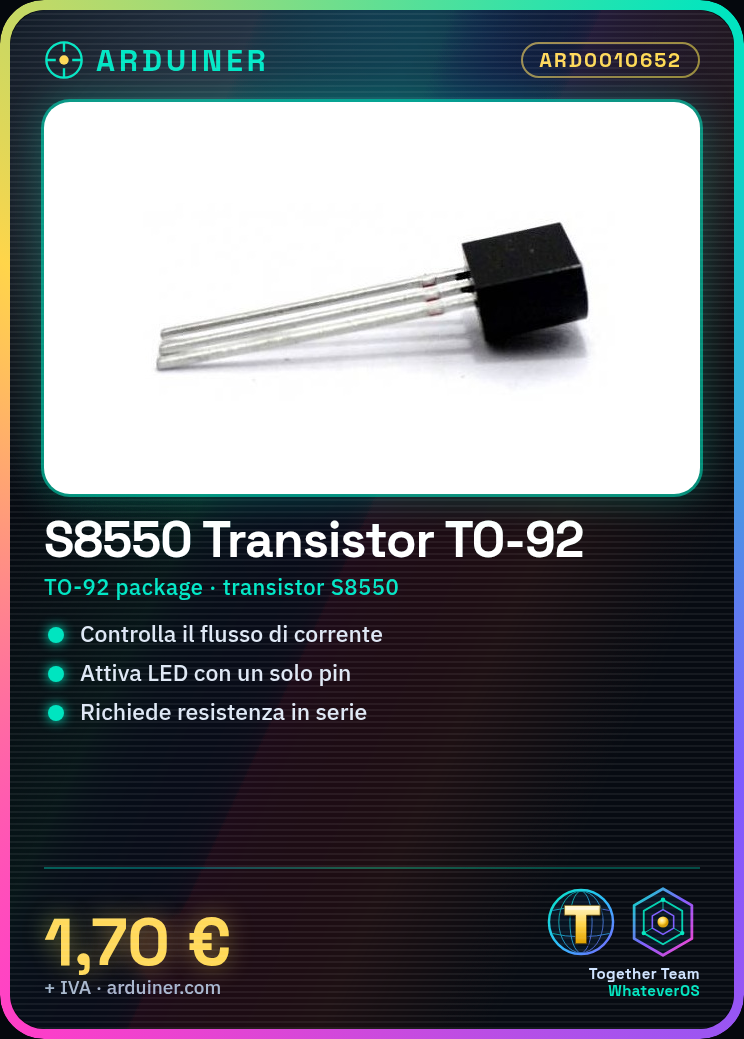
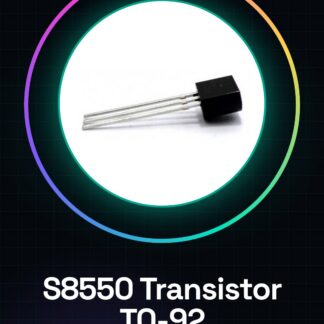
S8550 Transistor TO-92 IC Integrated Circuits
Tutorial: How to Use S8550 Transistor TO-92
The S8550 transistor is a fundamental component for those approaching the world of electronics. It is mainly used to control the flow of current in electrical circuits, making it essential for projects that require the activation of devices such as LEDs or motors.
What you need
- Arduino Uno
- LED
- Resistor
Steps
- Check the polarity of the S8550 transistor: E (emitter) is slightly wider than C (collector) and B (base).
- Connect the resistor between the Arduino output and the base of the transistor.
- Connect the LED to the collector of the transistor, making sure to have a resistor in series with the LED to limit the current.
- Write an Arduino sketch that controls the state of the pin connected to the base of the transistor.
- Upload the sketch to your Arduino and test the circuit.
Example code
const int ledPin = 13; // definisci il pin dell'Arduino
const int transistorBase = 2; // definisci il pin della base del transistor
void setup() {
  pinMode(ledPin, OUTPUT);
pinMode(transistorBase, OUTPUT);}
void loop() {
digitalWrite(transistorBase, HIGH); // accendi il LED
delay(1000);
digitalWrite(transistorBase, LOW); // spegni il LED
delay(1000);}
Mini project
Create a glowing projectile: connect the S8550 transistor to control a high-intensity LED with Arduino. Try out different lighting effects.
Common mistakes
- Do not check the polarity of the transistor
- Omit the resistor in series with the LED
- Connect the wrong pin of the Arduino to the base of the transistor
Recommended accessories
- 220 ohm resistor
- High-intensity LED
- Arduino Uno R3
- USB A-Micro B cable for Arduino
Frequently asked questions
Can the S8550 transistor control any type of LED?
Yes, but it is important to add a resistor in series with the LED to limit the current.
Which pin of the Arduino should I use to activate the transistor?
Use a digital pin that can be configured as output.
Reviews
There are no reviews yet.