 EN
 IT Italiano
 ES Español
 FR Français
 DE Deutsch
Description
What it is
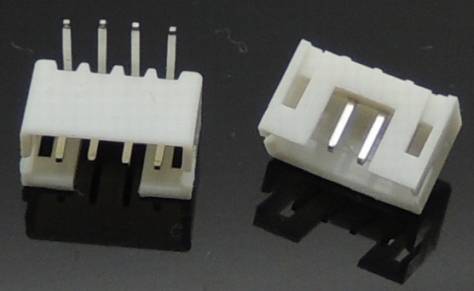
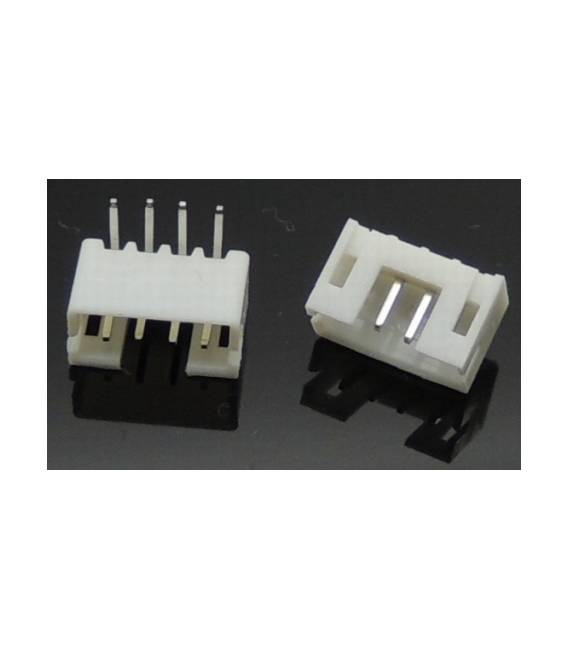
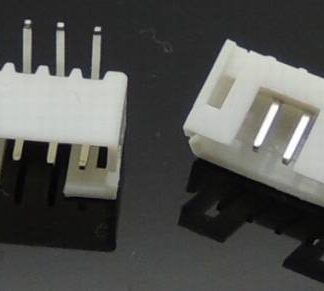
Right-angle PH2.0-4P connectors with 4 pins and a pitch of 2mm. Supplied in a set of 4 pieces.
Features
- Type: Right Angle
- Number of Pins: 4
- Pitch: 2mm
- Quantity: 4 pieces
What it is for
Ideal for connecting various components in an Arduino or 3D printing project. Can be used to create simple power circuits, such as one for an LED, controllable via an Arduino sketch.
Tutorial: How to Use Right-angle PH2.0-4P Connectors
These right-angle connectors are ideal for connecting various components in your Arduino project. Useful for beginners and intermediates.
What you need
- Right-angle PH2.0-4P connectors
- Cutting tool
- Soldering iron
- Test lead
Steps
- 1. Prepare the right-angle PH2.0-4P connectors.
- 2. Identify the pins of the component you want to connect.
- 3. Use the cutting tool to cut the cable to the precise length.
- 4. Remove the insulation from the cable with pliers.
- 5. Connect the cable pins to the connector pins using the soldering iron.
- 6. Check the pin fit on the connector.
- 7. Repeat steps 3-6 for all cables.
- 8. Check the datasheet for further details
Mini project
Build a simple power circuit for an LED using these connectors. Connected to an Arduino, control the LED through an Arduino sketch.
Common mistakes
- Do not use excessive force during connection.
- Check the pin fit on the connector.
- Ensure that the pins are fully inserted.
- Do not use cables that are too thin, they may overheat.
Recommended accessories
- PH2.0-4P rectangular connector
- Cutting tool
- Soldering irons
- Test cable
Frequently asked questions
How can I verify the pin fit?
Gently press the pins and check that they do not move.
Can I use these connectors with a different power supply?
Check the datasheet for voltage requirements.
I have lost a connector, what should I do?
Check the inventory and order a new one if necessary.
Can I use these connectors with Arduino?
Yes, they are compatible with Arduino.
Reviews
There are no reviews yet.