 EN
 IT Italiano
 ES Español
 FR Français
 DE Deutsch
Description
What it is
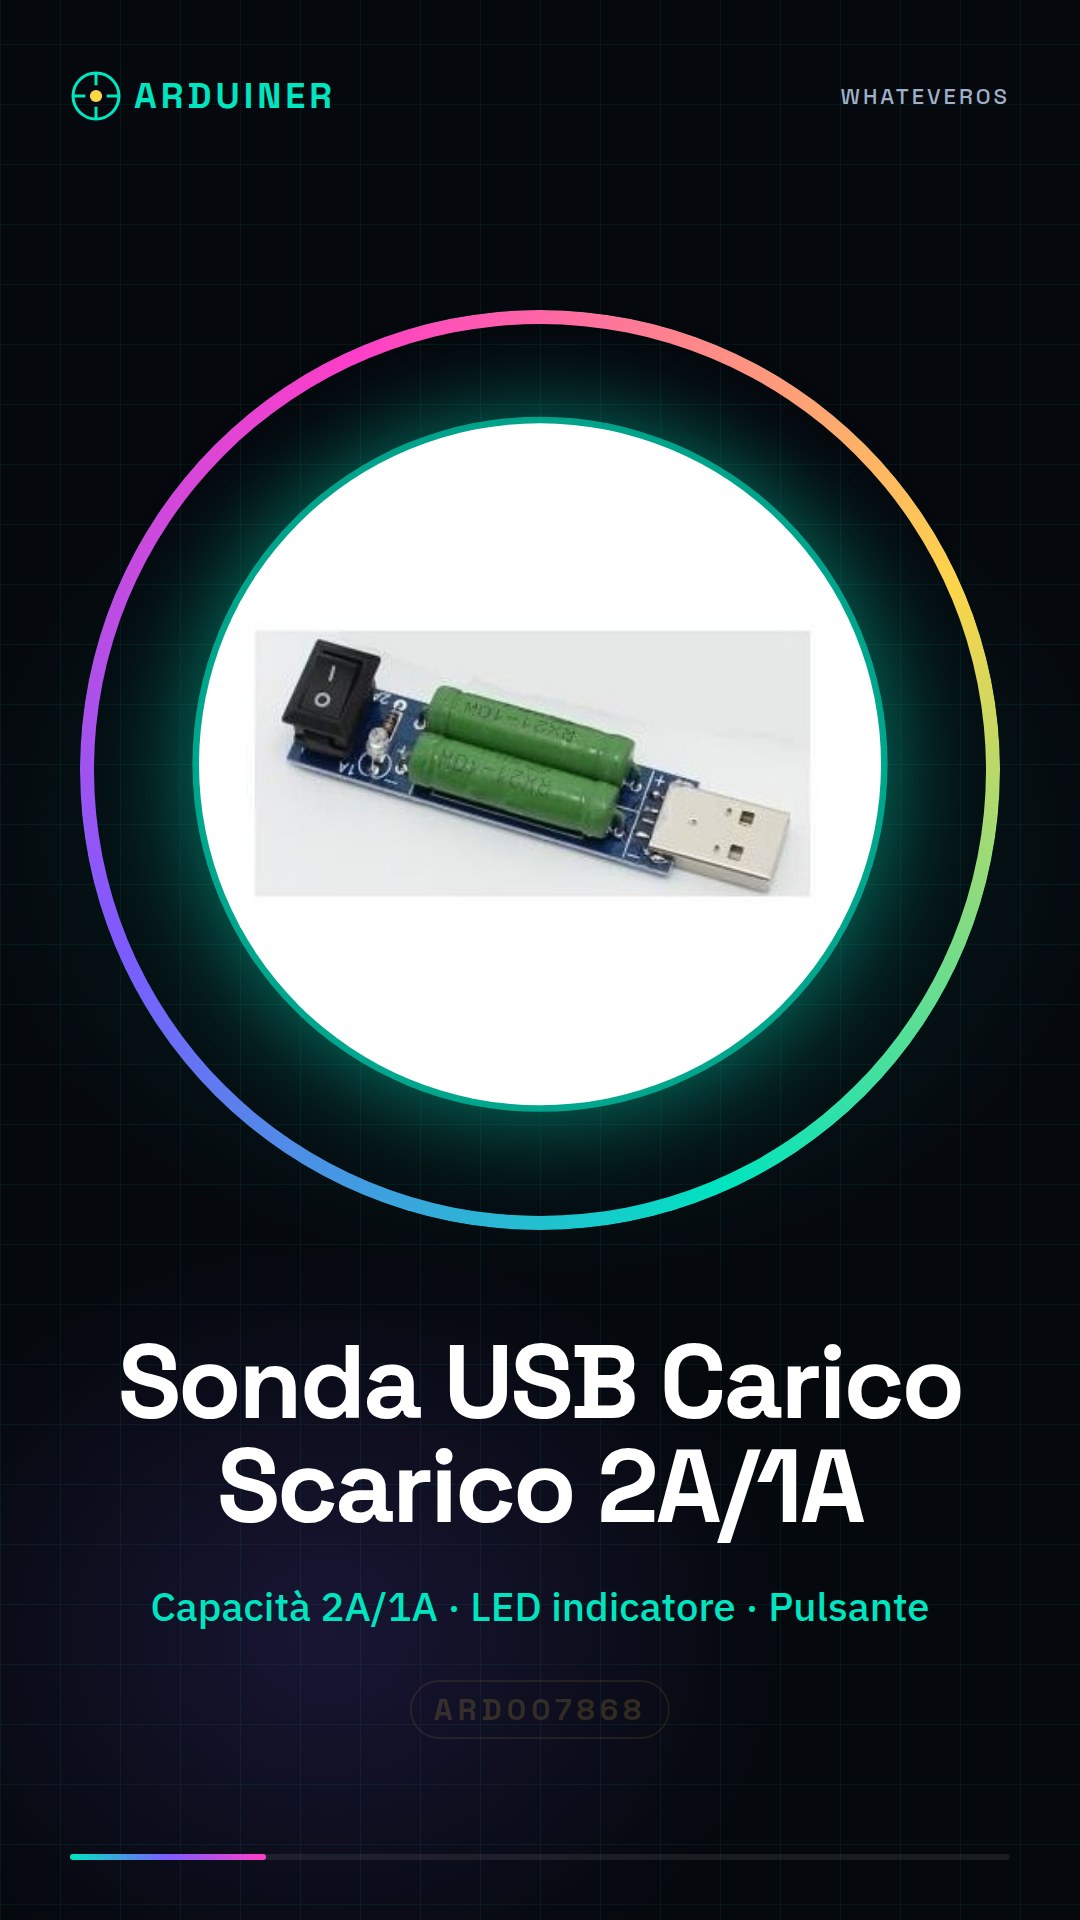
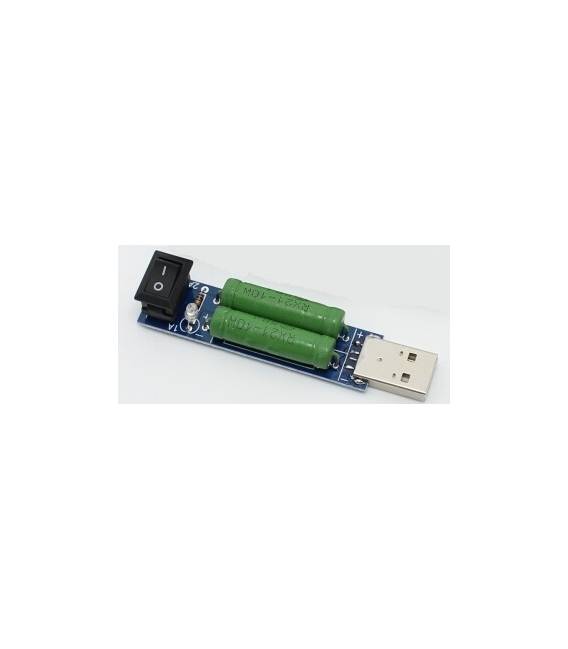
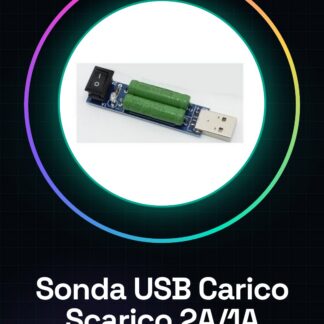
The USB resistive charge and discharge probe with button and LED is a device used to monitor current in various electronic projects, such as those based on Arduino. This tool allows makers to control the current flow in their circuits.
Features
- USB Resistive Current Monitoring Probe
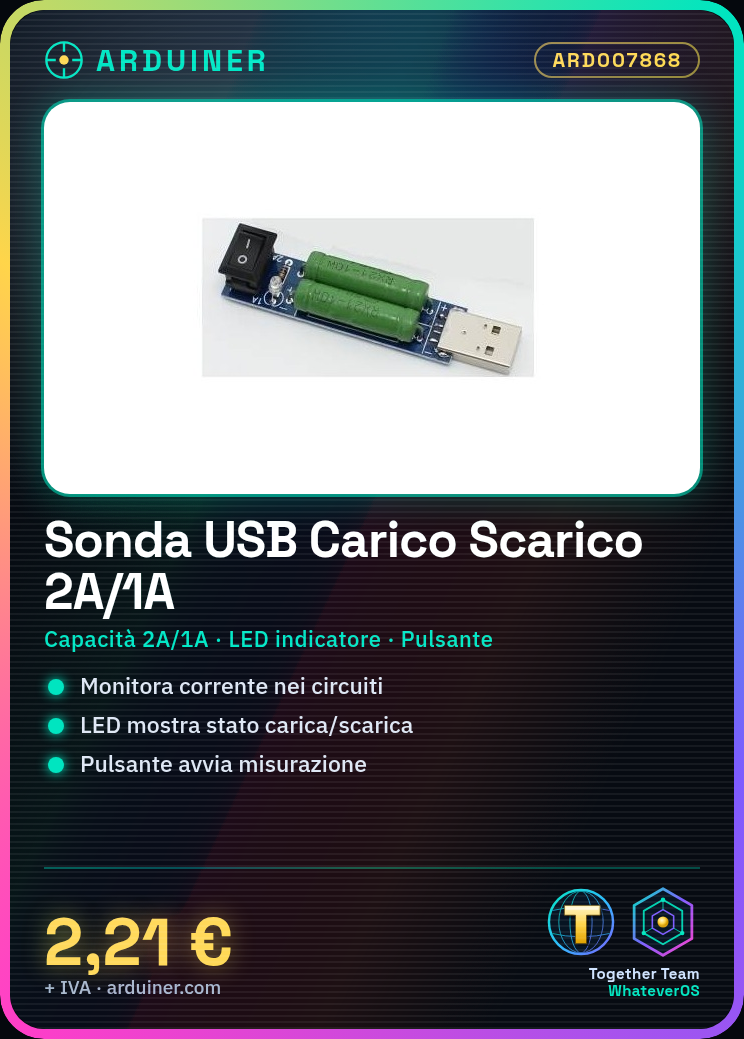
- Maximum capacity: 2A / 1A (check the datasheet)
- Integrated button
- Built-in LED to indicate charging or discharging state
What it is for
Ideal for beginner and intermediate makers, the probe can be used to create a current monitoring system in projects such as an LED lamp controlled by Arduino. Compatibility with Arduino makes this tool very useful for measurement applications.
Tutorial: How to use USB Resistive Charge and Discharge Probe
The USB charge and discharge probe is a useful device for monitoring current in electronic circuits. Ideal for beginner and intermediate makers who want to track the current flow in their projects.
What you need
- Arduino
- USB Cable
- Test Project
Steps
- Connect the micro-USB cable to the probe
- Connect the probe to the USB interface of the Arduino
- Check the datasheet for the type of connection required for the Arduino
- Write an Arduino sketch that reads the current values and prints them to the screen
- Press the button on the probe to start measuring the current
- Check the datasheet to understand how to interpret the data received from the LED
- Monitor the current flow through the Arduino development software
- Analyze the results and make any necessary adjustments to the project
Example code
void setup() {
  Serial.begin(9600);
}

void loop() {
  int currentReading = analogRead(A0); // Verifica sul datasheet per il pin corretto
  Serial.println(currentReading);
}
Mini project
Create a current monitoring system for an Arduino-controlled LED lamp. Measure the current during turn-on and turn-off.
Common mistakes
- Using the wrong USB cable
- Incorrectly connecting the probe to the Arduino
- Misinterpreting the data received from the LED
Recommended accessories
- Temperature sensors
- Batteries for portable projects
- Label printer for labeling connectors and cables
- Arduino-controlled LED lamp
Frequently asked questions
How do I connect the probe?
By connecting the micro-USB cable to the probe and then to the Arduino.
What data do I receive from the LED?
Check the datasheet to understand the specific LED indications.
Reviews
There are no reviews yet.