 EN
 IT Italiano
 ES Español
 FR Français
 DE Deutsch
Description
Technical Description
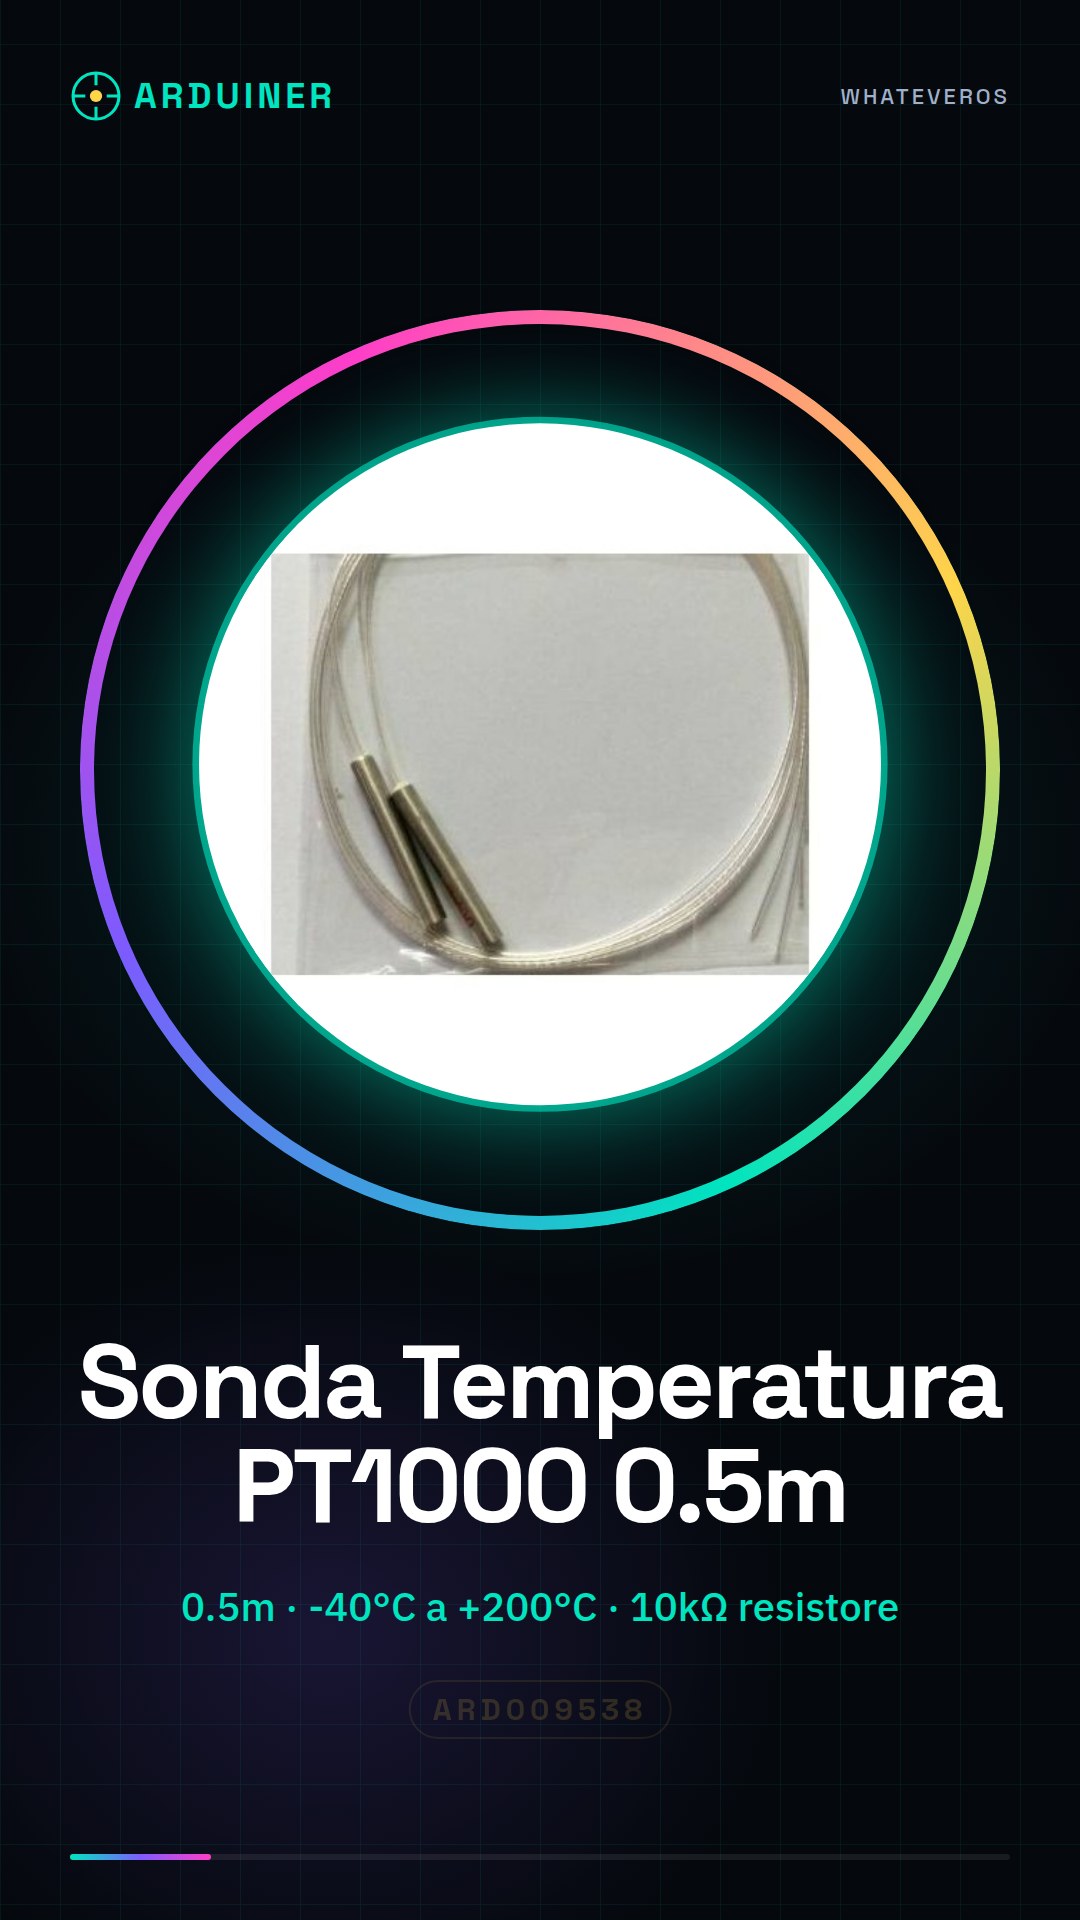
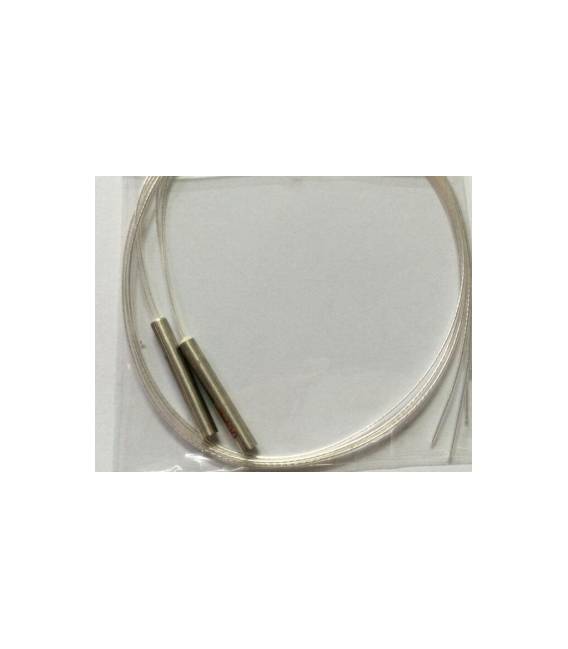
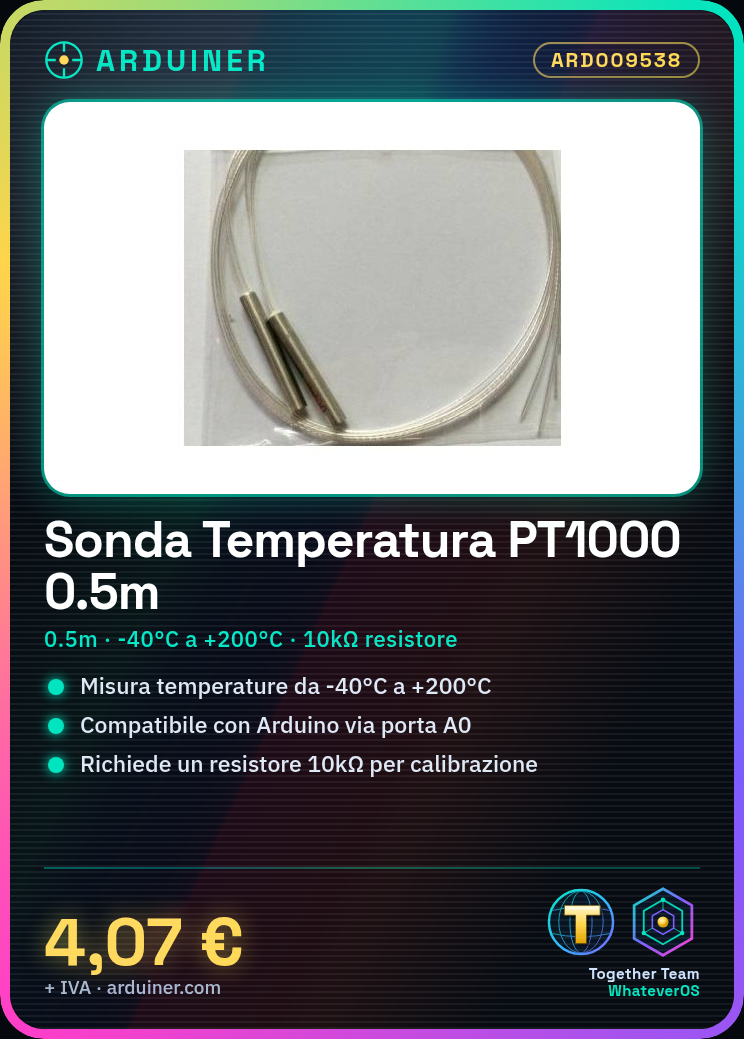
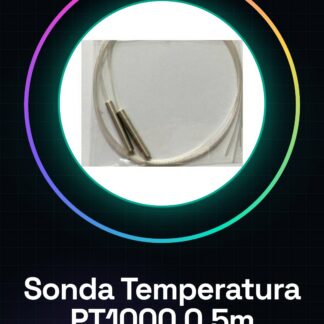
The PT1000 probe is a resistive temperature sensor in copper with impedance varying with temperature. It is suitable for measuring temperatures between -40°C and +200°C. The probe comes with a 0.5 meter connection cable. The PT1000 thermal resistance is used in heating, cooling, and environmental monitoring projects.
To use the probe, it must be connected to a pull-up circuit with a 10kΩ resistor. The probe should be connected to an analog input of a microcontroller like Arduino. Reading the temperature requires software that converts the measured resistance into degrees Celsius.
During installation, it is important to verify that the pull-up circuit is correct and that the probe is not directly connected to VCC without the pull-up resistor.
Key Specifications
| Parameter | Value |
| Model | PT1000 |
| Cable Length | 0.5 meters |
| Temperature Range | -40°C a +200°C |
| Connection Type | N/D (see manufacturer’s datasheet) |
| Container | N/D (see manufacturer’s datasheet) |
| Materials | N/D (see manufacturer’s datasheet) |
| Quantity | 1 piece |
Installation and Usage
- Check the probe specifications on the datasheet.
- Connect the probe to an analog input of Arduino (e.g., A0).
- Connect a 10kΩ resistor between the probe and GND.
- Upload the example code to your Arduino.
- Run the code and check the temperature.
Compatibility and Requirements
- The PT1000 probe is compatible with microcontrollers like Arduino.
- A 10kΩ pull-up resistor is required for proper functionality.
- To display the temperature, an LCD display can be used.
Limitations and Important Notes
- The probe cannot be directly connected to VCC without a pull-up resistor.
- Initial calibration is necessary to obtain accurate measurements.
- The probe is not suitable for measuring temperatures outside the specified range.
Troubleshooting
Incorrect temperature reading
Probable cause: Incorrect connection of the pull-up resistor
Solution: Check the connection of the pull-up resistor and try again.
Temperature does not change
Probable cause: Stuck or damaged probe
Solution: Check the probe and connection with a multimeter.
Inconsistent temperature values
Probable cause: Missing initial calibration
Solution: Calibrate the probe following the datasheet instructions.
LCD display does not show the temperature
Probable cause: Incorrect display connection
Solution: Check the LCD display connection and try again.
Use cases
Water tank temperature monitoring system
Objective: Monitor the temperature of water in a tank
What’s needed: PT1000 probe, Arduino, LCD display
Steps: 1) Connect the probe to an analog input of Arduino. 2) Connect a 10kΩ pull-up resistor. 3) Load the example code. 4) Connect an LCD display to show the temperature.
Expected result: The system monitors and displays the temperature of the water in the tank.
Temperature control in a physics lab
Objective: Measure temperature during physics experiments
What’s needed: PT1000 probe, Arduino, LCD display
Steps: 1) Connect the probe to an analog input of Arduino. 2) Connect a 10kΩ pull-up resistor. 3) Load the example code. 4) Connect an LCD display to show the temperature.
Expected result: The system monitors and records the temperature during physics experiments.
Thermal alarm system for a garage
Objective: To alarm in case of extreme temperatures
What you need: PT1000 probe, Arduino, relay
Steps: 1) Connect the probe to an analog input of Arduino. 2) Connect a 10kΩ pull-up resistor. 3) Load the example code. 4) Connect a relay to activate the alarm.
Expected result: The system alarms in case of extreme temperatures in the garage.
Temperature control in a refrigerator
Objective: To monitor the temperature of the refrigerator
What you need: PT1000 probe, Arduino, LCD display
Steps: 1) Connect the probe to an analog input of Arduino. 2) Connect a 10kΩ pull-up resistor. 3) Load the example code. 4) Connect an LCD display to show the temperature.
Expected result: The system monitors and records the temperature of the refrigerator.
Temperature control system for a heating system
Objective: Regulate the temperature of the heating system
What you need: PT1000 probe, Arduino, relay
Steps: 1) Connect the probe to an analog input of Arduino. 2) Connect a 10kΩ pull-up resistor. 3) Load the example code. 4) Connect a relay to regulate the heating.
Expected result: The system regulates the temperature of the heating system.
Temperature monitoring in a biology lab
Objective: Measure the temperature during biology experiments
What you need: PT1000 probe, Arduino, LCD display
Steps: 1) Connect the probe to an analog input of Arduino. 2) Connect a 10kΩ pull-up resistor. 3) Load the example code. 4) Connect an LCD display to show the temperature.
Expected result: The system monitors and records the temperature during biology experiments.
Water heater tank temperature monitoring system
Objective: Monitor the temperature of the hot water
What you need: PT1000 probe, Arduino, LCD display
Steps: 1) Connect the probe to an analog input of Arduino. 2) Connect a 10kΩ pull-up resistor. 3) Load the example code. 4) Connect an LCD display to show the temperature.
Expected result: The system monitors and records the temperature of the hot water in the tank.
Temperature control in a chemistry lab
Objective: Measure the temperature during chemistry experiments
What’s needed: PT1000 probe, Arduino, LCD display
Steps: 1) Connect the probe to an analog input of Arduino. 2) Connect a 10kΩ pull-up resistor. 3) Load the example code. 4) Connect an LCD display to show the temperature.
Expected result: The system monitors and records the temperature during chemistry experiments.
In the package
- 1 piece
Complete the project
- Waterproof digital thermal temperature sensor probe NTC 10K Ohm 1m: To connect the probe to Arduino
Technical FAQs
Which specifications are important for the PT1000 probe?
Check the datasheet for the reference temperature and accuracy.
Can I use any resistor for calibration?
Use a 10kΩ resistor as specified in the datasheet.
How can I calibrate the probe?
Connect to a temperature calibrator and adjust the calibration value in the Arduino code.
What are the usage limitations of the PT1000 probe?
The probe cannot be directly connected to VCC without a pull-up resistor and is not suitable for measuring temperatures outside the specified range.
Tutorial: How to use PT1000 Temperature Probe
The PT1000 temperature probe is ideal for measuring temperatures from -40°C to +200°C. It is useful for heating, cooling, or environmental monitoring projects.
What you need
- PT1000 Temperature Probe
- Arduino
- Resistor (10kΩ)
- Connection Cable
Steps
- Check the probe’s datasheet for specific specifications.
- Connect the probe to Arduino’s A0 port.
- Connect a resistor (10kΩ) between the probe and GND.
- Load the example code onto your Arduino.
- Run the code and check the temperature.
- Calibrate the probe if necessary.
- Connect to an LCD display to show the temperature.
- Check the stability of the probe in various environments.
Mini project
Build a water tank temperature monitoring system using the PT1000 probe and an LCD display.
Common mistakes
- Omit the calibration resistor.
- Connect the probe directly to VCC without resistor.
- Use an incompatible Arduino.
- Ignore initial calibration.
Recommended accessories
- LCD Display
- Arduino UNO
- 10kΩ Resistor
- Connection Cable
Frequently asked questions
Which specifications are important for the PT1000 probe?
Check the datasheet for the reference temperature and accuracy.
Can I use any resistor for calibration?
Use a 10kΩ resistor as specified in the datasheet.
How can I calibrate the probe?
Connect to a temperature calibrator and adjust the calibration value in the Arduino code.
Reviews
There are no reviews yet.