 EN
 IT Italiano
 ES Español
 FR Français
 DE Deutsch
Description
What it is
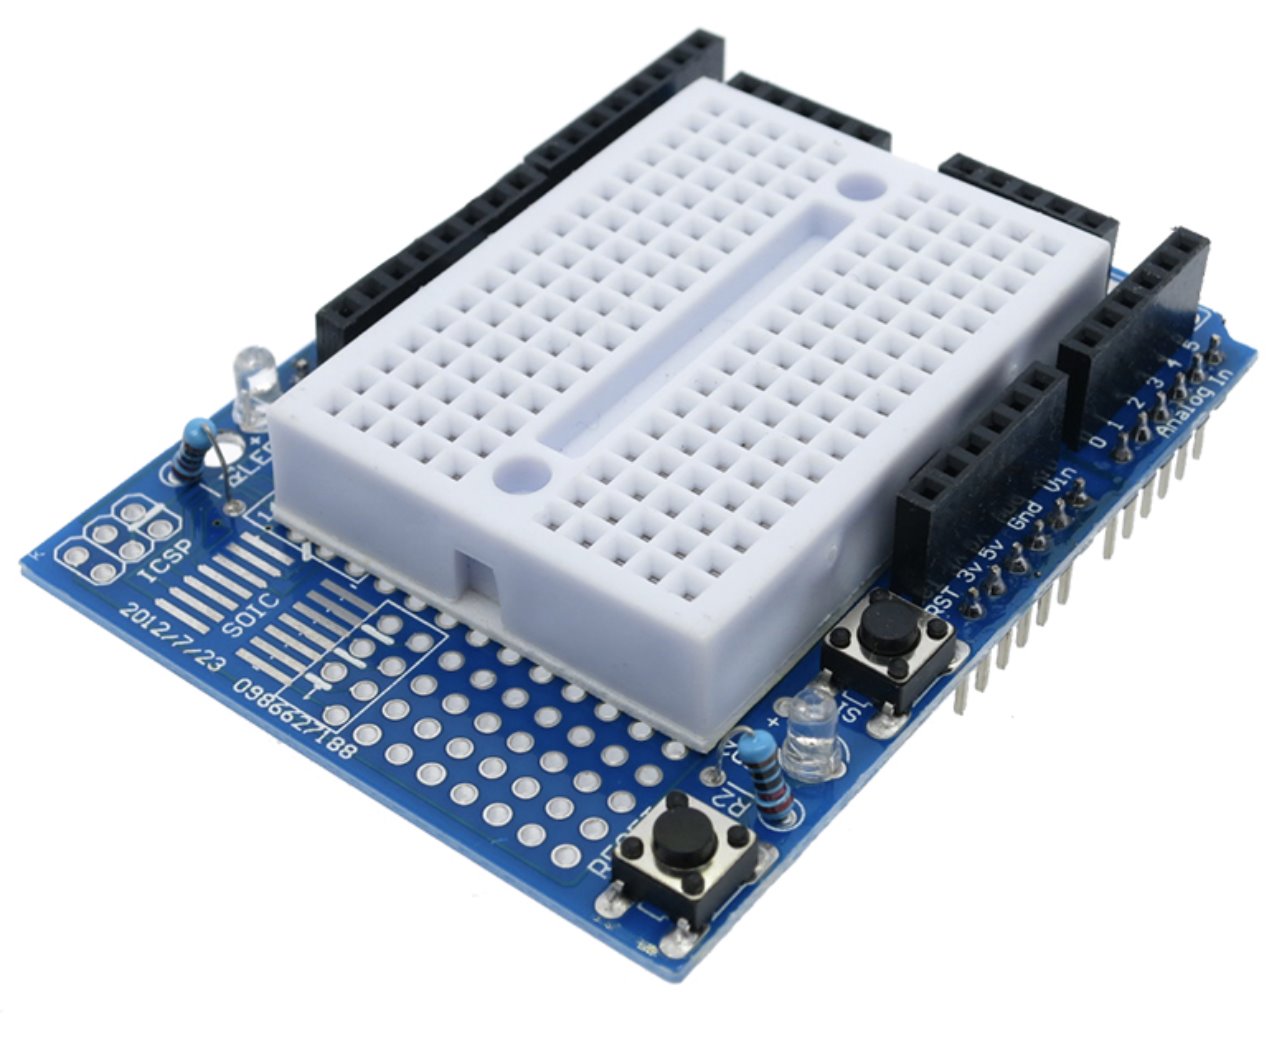
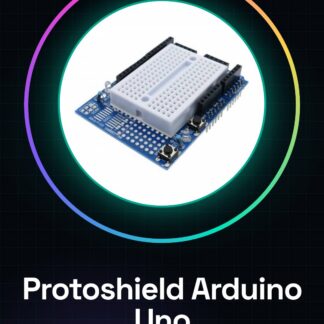
The Protoshield Prototyping Shield for Arduino UNO is a useful tool for quickly developing and testing your prototype projects. It includes a mini breadboard with 170 connection points, allowing for easy integration of components.
Features
- Mini breadboard with 170 connection points
What it is for
Protoshields for Arduino Uno are ideal for prototyping and testing projects. They allow beginners and intermediate developers to explore various applications, such as projecting a simple 7-segment display with numbers from 0 to 9.
Tutorial: How to use Protoshield Arduino UNO Shield
The protoshield for Arduino Uno with mini breadboard is ideal for prototyping and testing projects. For beginners and intermediates.
What you need
- Arduino Uno
- USB A-MicroB cable
- Connect to computer
Steps
- 1. Connect the protoshield to the Arduino Uno, ensuring that the connectors match.
- 2. Check the correct installation by verifying the pin labels on the protoshield.
- 3. Connect a simple circuit to the breadboard (e.g., LED and resistor).
- 4. Connect everything to the Arduino power supply or an external power source.
- 5. Verify the connection between the breadboard components and the Arduino using the pin labels.
- 6. Load a simple sketch to test the circuit (example: turn on an LED).
- 7. Monitor the circuit behavior with Arduino IDE Serial Monitor.
Example code
void setup() {
pinMode(13, OUTPUT);
}

void loop() {
digitalWrite(13, HIGH);
delay(500);
digitalWrite(13, LOW);
delay(500);}
Mini project
Project a simple 7-segment display showing numbers from 0 to 9 using the protoshield and Arduino Uno.
Common mistakes
- Do not verify the correct installation of the protoshield.
- Connect components without testing them separately first.
- Use incompatible voltages to power the Arduino or the circuit.
- Ignore the pin labels on the breadboard.
Recommended accessories
- Various LEDs
- Resistors of different values
- Mini 7-segment display
- Analog sensors
Frequently asked questions
How do you connect an LED?
Connect the resistor between the Arduino and the cathode of the LED, then connect the anode to VCC.
What is the difference between a protoshield and a separate breadboard?
The protoshield integrates the breadboard with direct connectors to the Arduino to facilitate prototyping projects.
Reviews
There are no reviews yet.