 EN
 IT Italiano
 ES Español
 FR Français
 DE Deutsch
Description
What it is
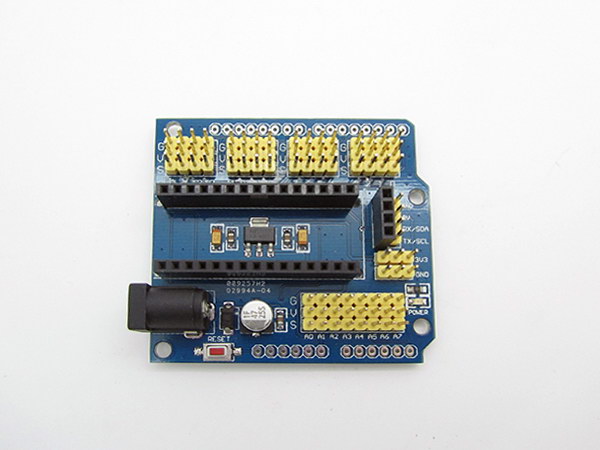
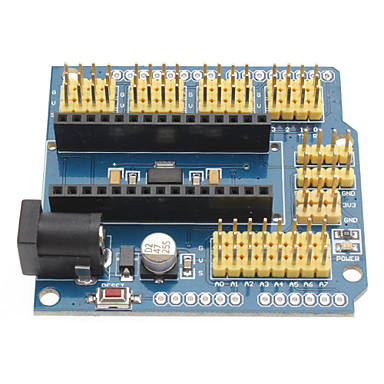
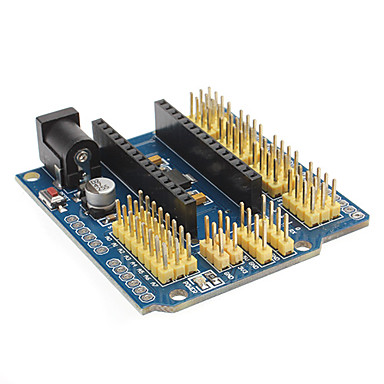
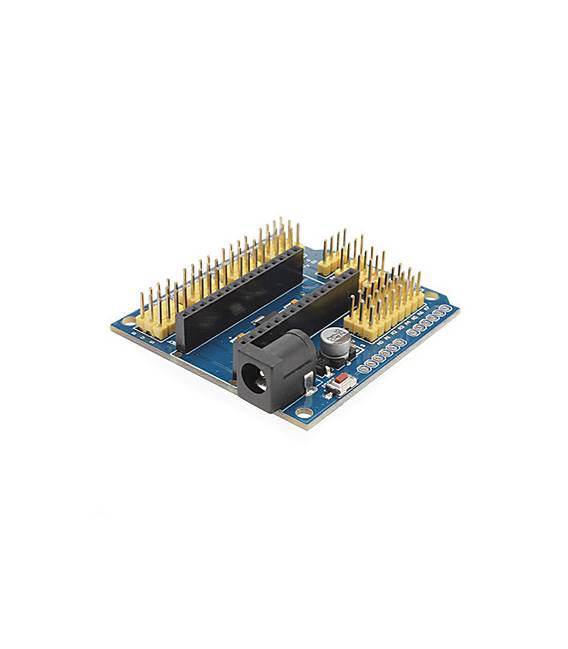
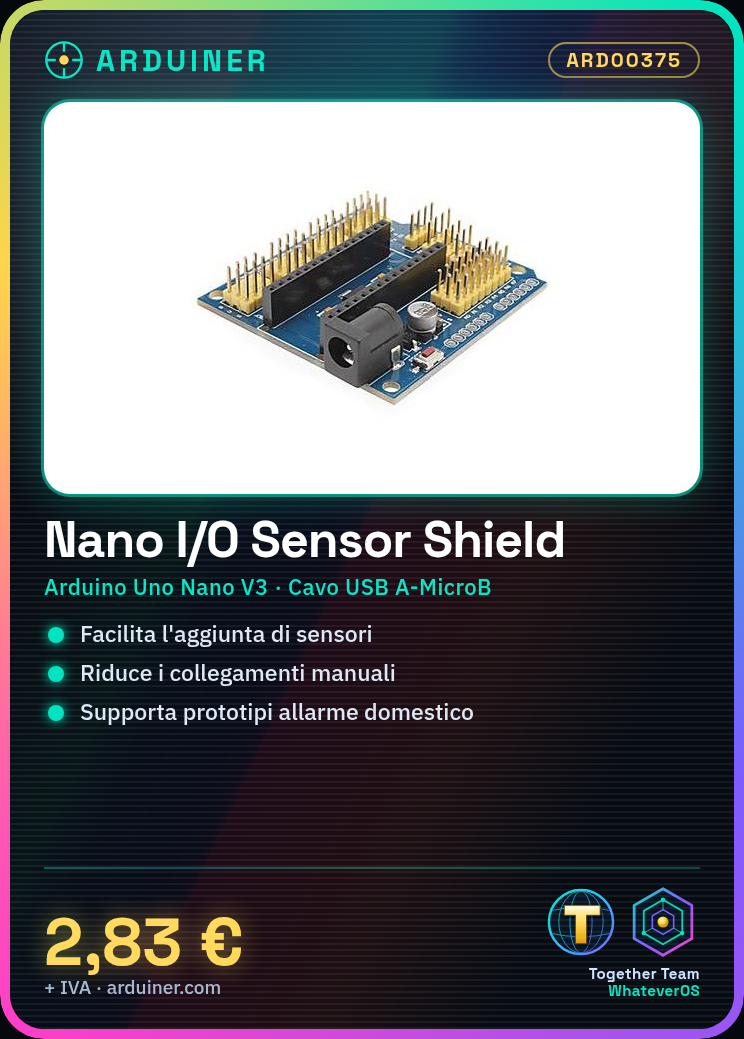
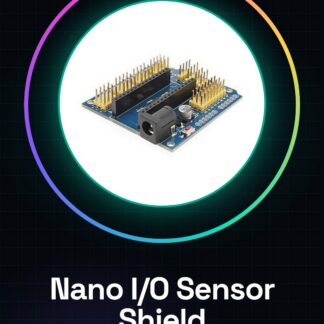
The Nano I/O Sensor Shield expansion board for Arduino Uno Nano V3 is a module that facilitates the integration of sensors and external devices into Arduino-based projects. This shield allows makers and students to create prototypes without having to manually manage many connections, making the process simpler and faster.
Features
- Expansion board for Arduino Uno Nano V3
- Ideally designed to facilitate the addition of sensors to projects
What it is for
The board is ideal for creating prototypes that use sensors, such as a home alarm system. It can be used with Arduino Uno or Nano V3 to simplify the connection and operation of various external devices.
Tutorial: How to use the Nano I/O Sensor Shield expansion board for Arduino
The Nano I/O Sensor Shield expansion board is designed to facilitate the implementation of sensors and external devices on an Arduino Uno or Nano. Ideal for beginners and makers looking to create prototypes without having to manage many connections.
What you need
- Arduino Uno or Nano
- USB A-MicroB cable
- Compatible sensors (e.g., temperature, humidity)
- Power supply for Arduino
Steps
- Connect the expansion board to your Arduino Uno or Nano using the specific connectors.
- Ensure that all connections are stable and secure.
- Select the sensor you want to connect to the board based on the available pins.
- Connect the sensor to the socket of the expansion board according to the sensor’s datasheet instructions.
- Install the necessary library to manage your sensor (check the datasheet).
- Write a simple sketch that reads data from the sensor and sends it to the serial port.
- Load the sketch onto your Arduino using the Arduino IDE.
- Open the Serial Monitor window in Arduino IDE to view the sensor data.
Example code
void setup() {
  Serial.begin(9600);
}

void loop() {
  int val = analogRead(A0); // leggi dal pin A0 (verifica sul datasheet)
  Serial.println(val);
}
Mini project
Create a home security system prototype that uses a motion sensor connected to the shield. The project should send a notification when the sensor is triggered.
Common mistakes
- Do not check the compatibility of the sensor with the shield.
- Omission of the necessary library to manage the sensors.
- Incorrect pin connection of the sensor to the shield.
- Ignore the proper power supply of the Arduino and the shield.
Recommended accessories
- PIR Motion Sensor
- DHT11/22 Temperature and Humidity Sensor
- LCD Display for Arduino
- Buzzer
Frequently asked questions
How can I know which sensors are compatible with the shield?
Check the datasheet of the shield or consult the manufacturer’s website.
Can I use multiple sensors simultaneously on the same shield?
Yes, but make sure that the pins and power supply are sufficient for all connected devices (check the datasheet).
What is the difference between this expansion board and a standard Arduino Uno/Nano Shield?
This expansion board offers specific connectors to facilitate the connection of sensors, reducing the use of jumper wires.
Reviews
There are no reviews yet.