 EN
 IT Italiano
 ES Español
 FR Français
 DE Deutsch

Description
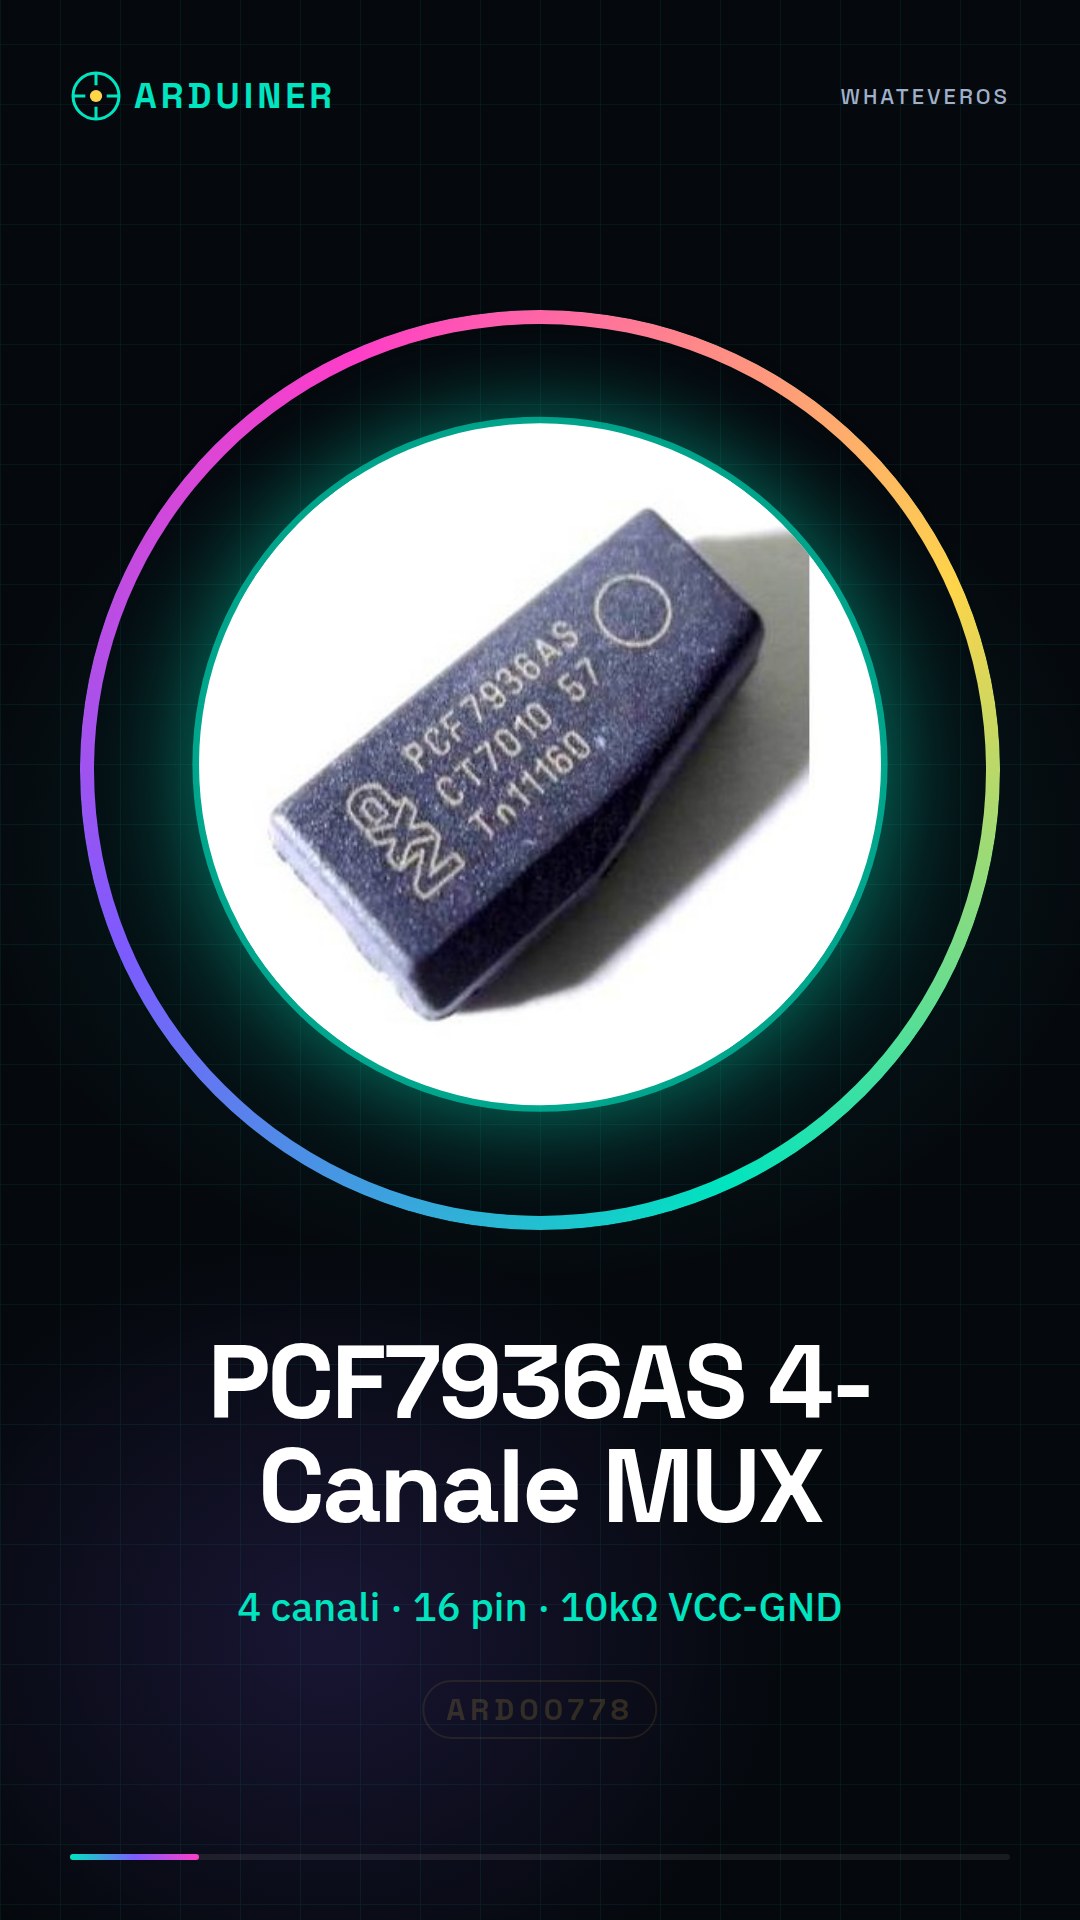
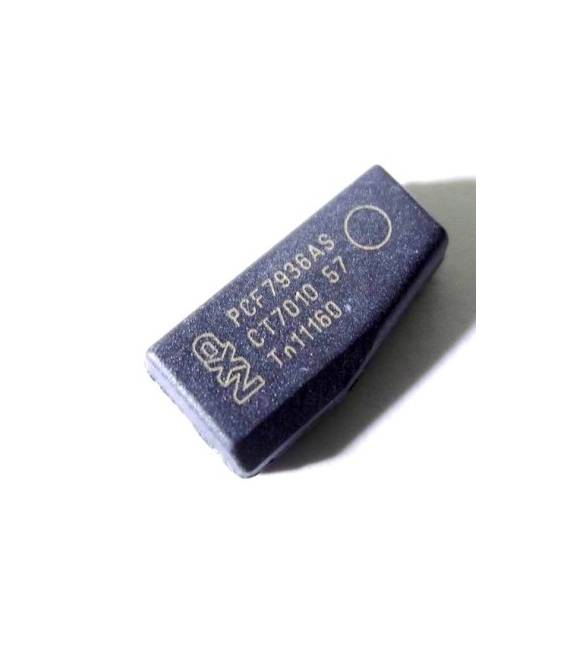
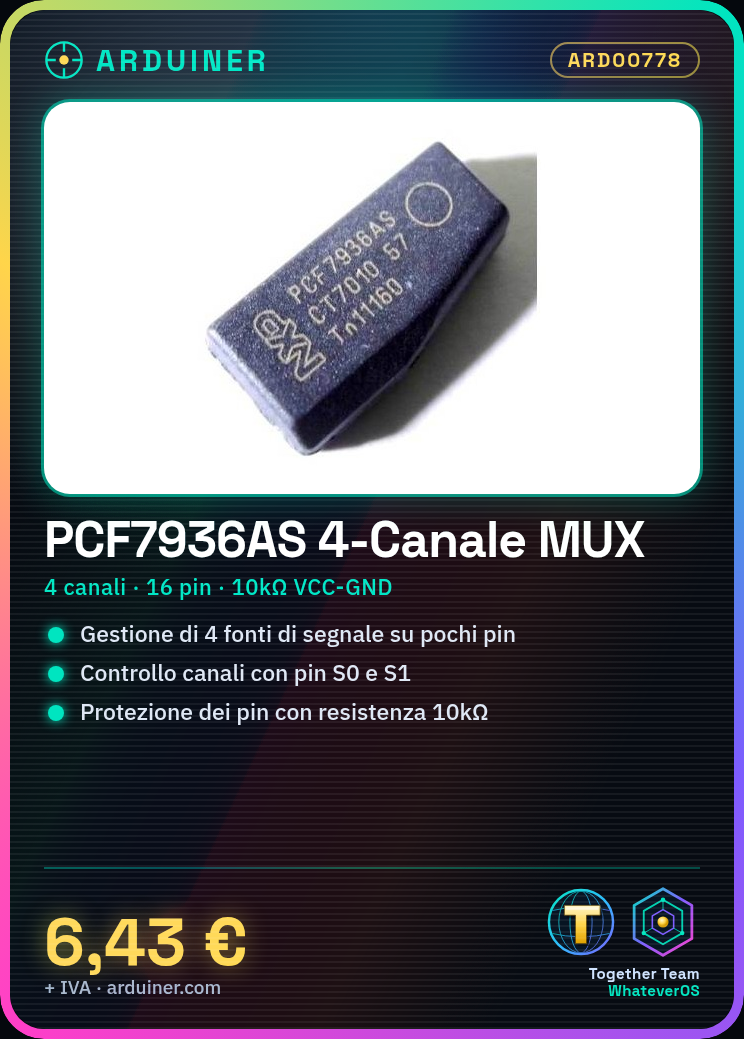
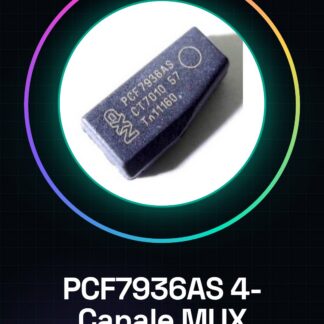
PCF7936AS IC Integrated Circuit
Tutorial: How to Use PCF7936AS
The PCF7936AS is a 4-channel integrated circuit multiplexer/demultiplexer. It is useful for managing multiple signal sources on a few pins.
What you need
- PCF7936AS
- Arduino
- Resistors (10kΩ)
- 16-pin Connector
Steps
- 1. Installation: Connect the PCF7936AS to your Arduino using a 16-pin connector.
- 2. Connect pins S0 and S1 of the PCF7936AS to two digital pins of your Arduino.
- 3. Connect pins IN0-IN3 to four digital pins of your Arduino.
- 4. Connect a 10kΩ resistor between the VCC and GND pins of the PCF7936AS.
- 5. Verify the correct pin configuration in the datasheet.
- 6. Write an Arduino code to select different channels and read signals.
- 7. Test the functionality with a simple sketch.
- 8. Test the various channels to ensure they work correctly.
Example code
```void setup() { pinMode(2, OUTPUT); pinMode(3, OUTPUT); digitalWrite(2, LOW); digitalWrite(3, LOW);}void loop() { digitalWrite(2, HIGH); delay(1000); digitalWrite(2, LOW); digitalWrite(3, HIGH); delay(1000); digitalWrite(3, LOW);}```Mini project
Create a simple signal multiplexer with 4 signal sources and select signals using a button.
Common mistakes
- Connect the S0 and S1 pins correctly.
- Verify the correct pin configuration in the datasheet.
- Use appropriate resistors to protect the pins.
- Verify the correct power supply for the PCF7936AS.
Recommended accessories
- Arduino UNO
- 10kΩ resistors
- 16-pin connector cables
- Buttons
Frequently asked questions
How can I verify if the PCF7936AS is working correctly?
Use an oscilloscope or multimeter to measure the signals on the selected pins.
Which pins should be used for IN0-IN3 signals?
Use any digital pin on your Arduino.
Does the PCF7936AS require specific power supply?
Check the datasheet for the minimum and maximum power supply voltage.
Reviews
There are no reviews yet.