 EN
 IT Italiano
 ES Español
 FR Français
 DE Deutsch
Description
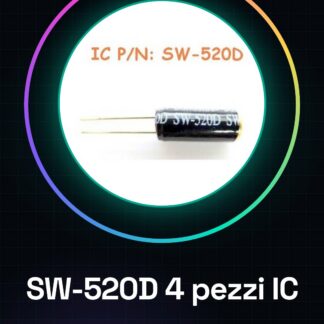
Tutorial: How to Use 4 Pieces of SW-520D IC Integrated Circuits
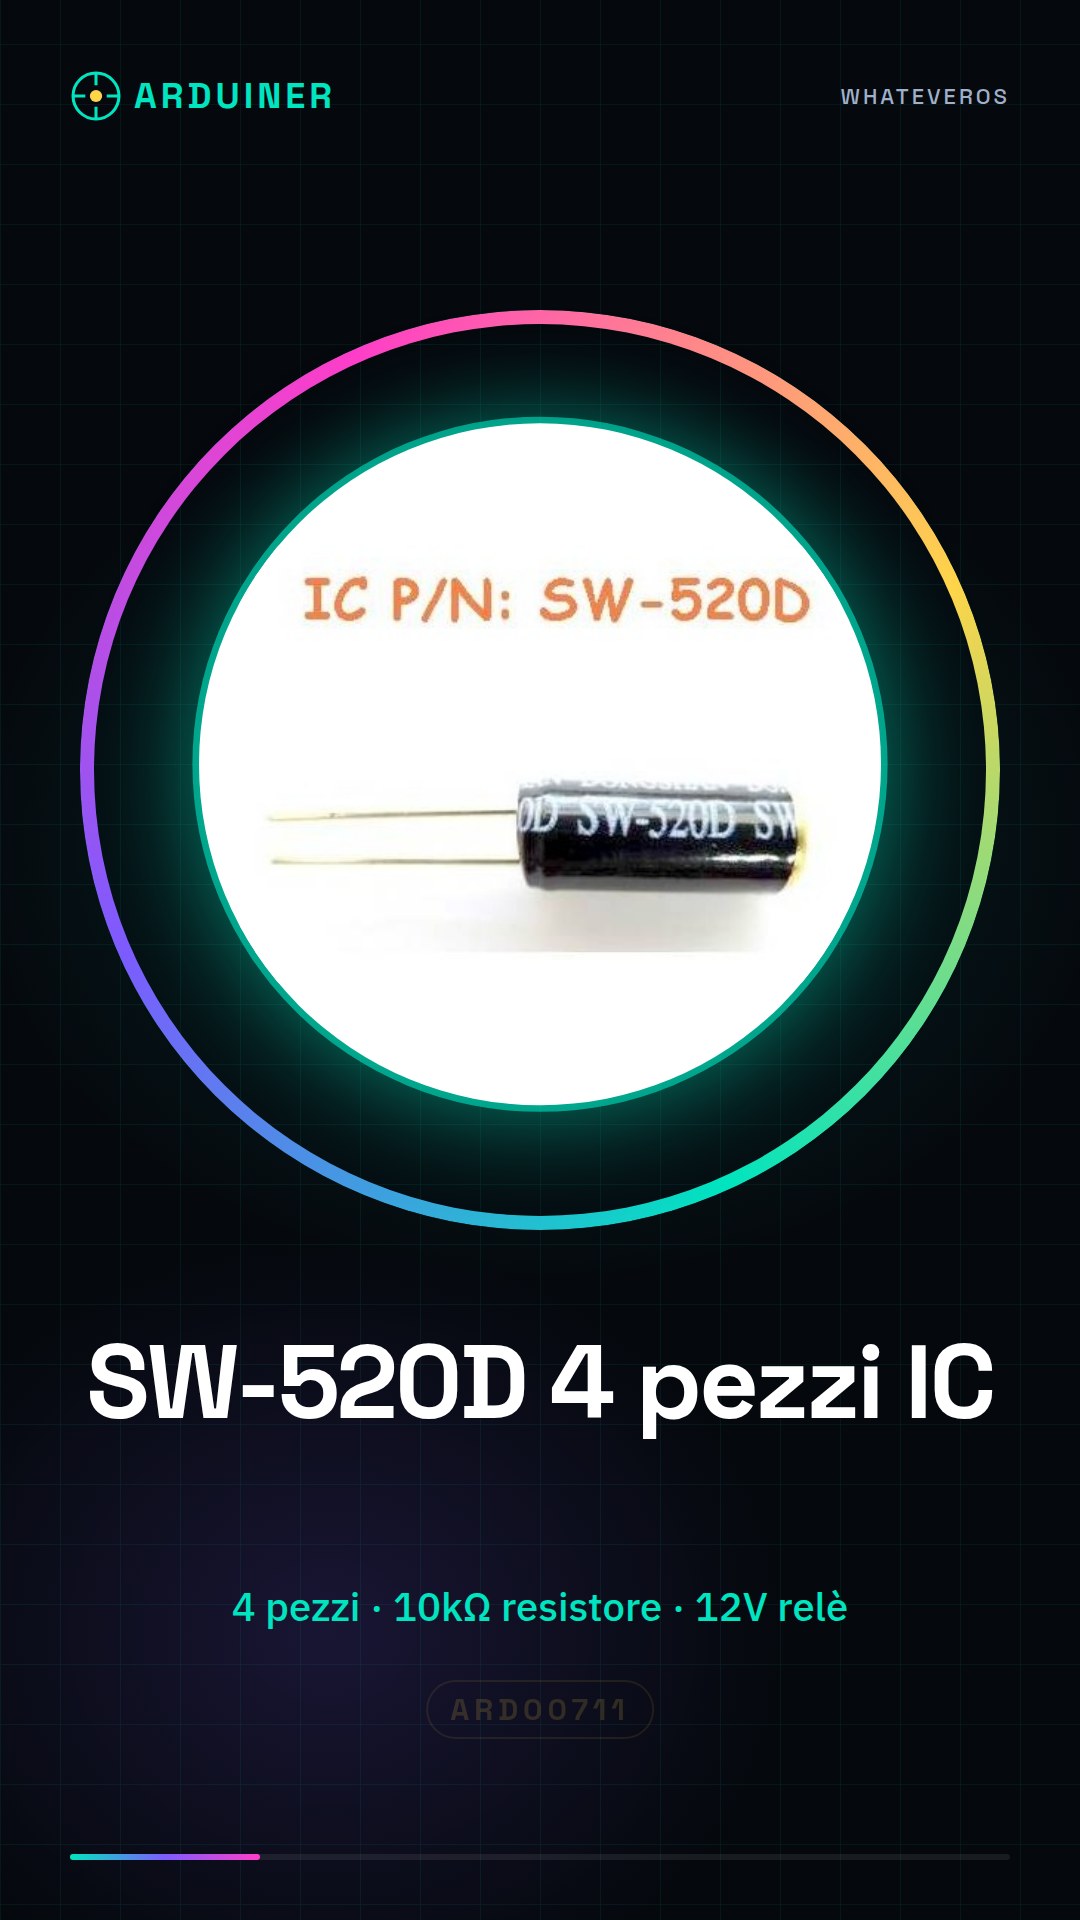
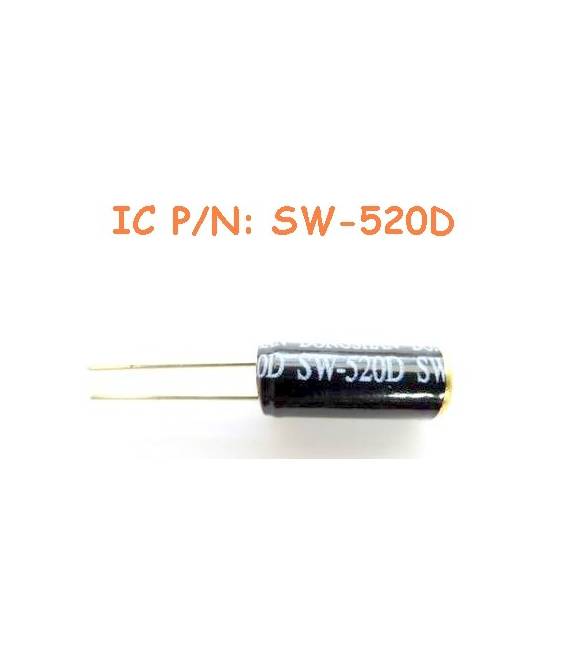
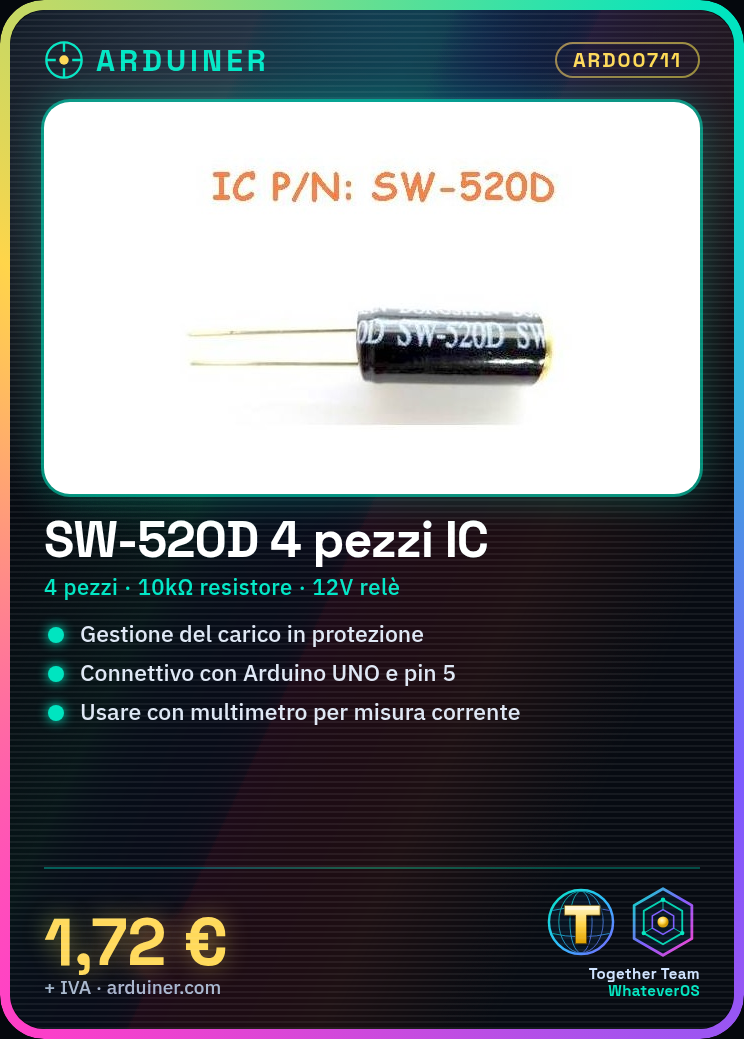
The SW-520D is a power IC used for load management in electronic protection applications. Ideal for beginners and intermediates working on electronics and Arduino projects.
What you need
- 4 pieces SW-520D IC
- Arduino UNO or compatible
- 10kΩ Resistor
- Multimeter
Steps
- 1. Check the datasheet for the specifications of the SW-520D.
- 2. Connect the Arduino to the computer for code upload.
- 3. Connect the SW-520D to pin 5 of the Arduino via a 10kΩ resistor.
- 4. Verify the correct polarity of the pins.
- 5. Connect the multimeter in current measurement mode.
- 6. Connect the output of the SW-520D to the multimeter.
- 7. Load the example code onto the Arduino.
- 8. Verify the current passing through the SW-520D.
Example code
```void loop(){}Mini project
Create a simple protection circuit for a relay using the SW-520D and a 12V relay.
Common mistakes
- Connect the SW-520D without resistor.
- Omit the verification of correct polarity.
- Do not upload the Arduino code before testing.
- Connect the SW-520D directly to a power supply without a resistor.
Recommended accessories
- 12V relay
- 12V power supply
- Connection cable
- 2×20 pin header
Frequently asked questions
Which specifications to check on the datasheet?
Check the maximum current and output voltage.
Can I use an Arduino nano?
Yes, but make sure the pin used supports the required current.
How long does the demo project take?
30 minutes.
Can the SW-520D handle continuous current?
Check the datasheet for the continuous current specification.
Reviews
There are no reviews yet.