 EN
 IT Italiano
 ES Español
 FR Français
 DE Deutsch
Description
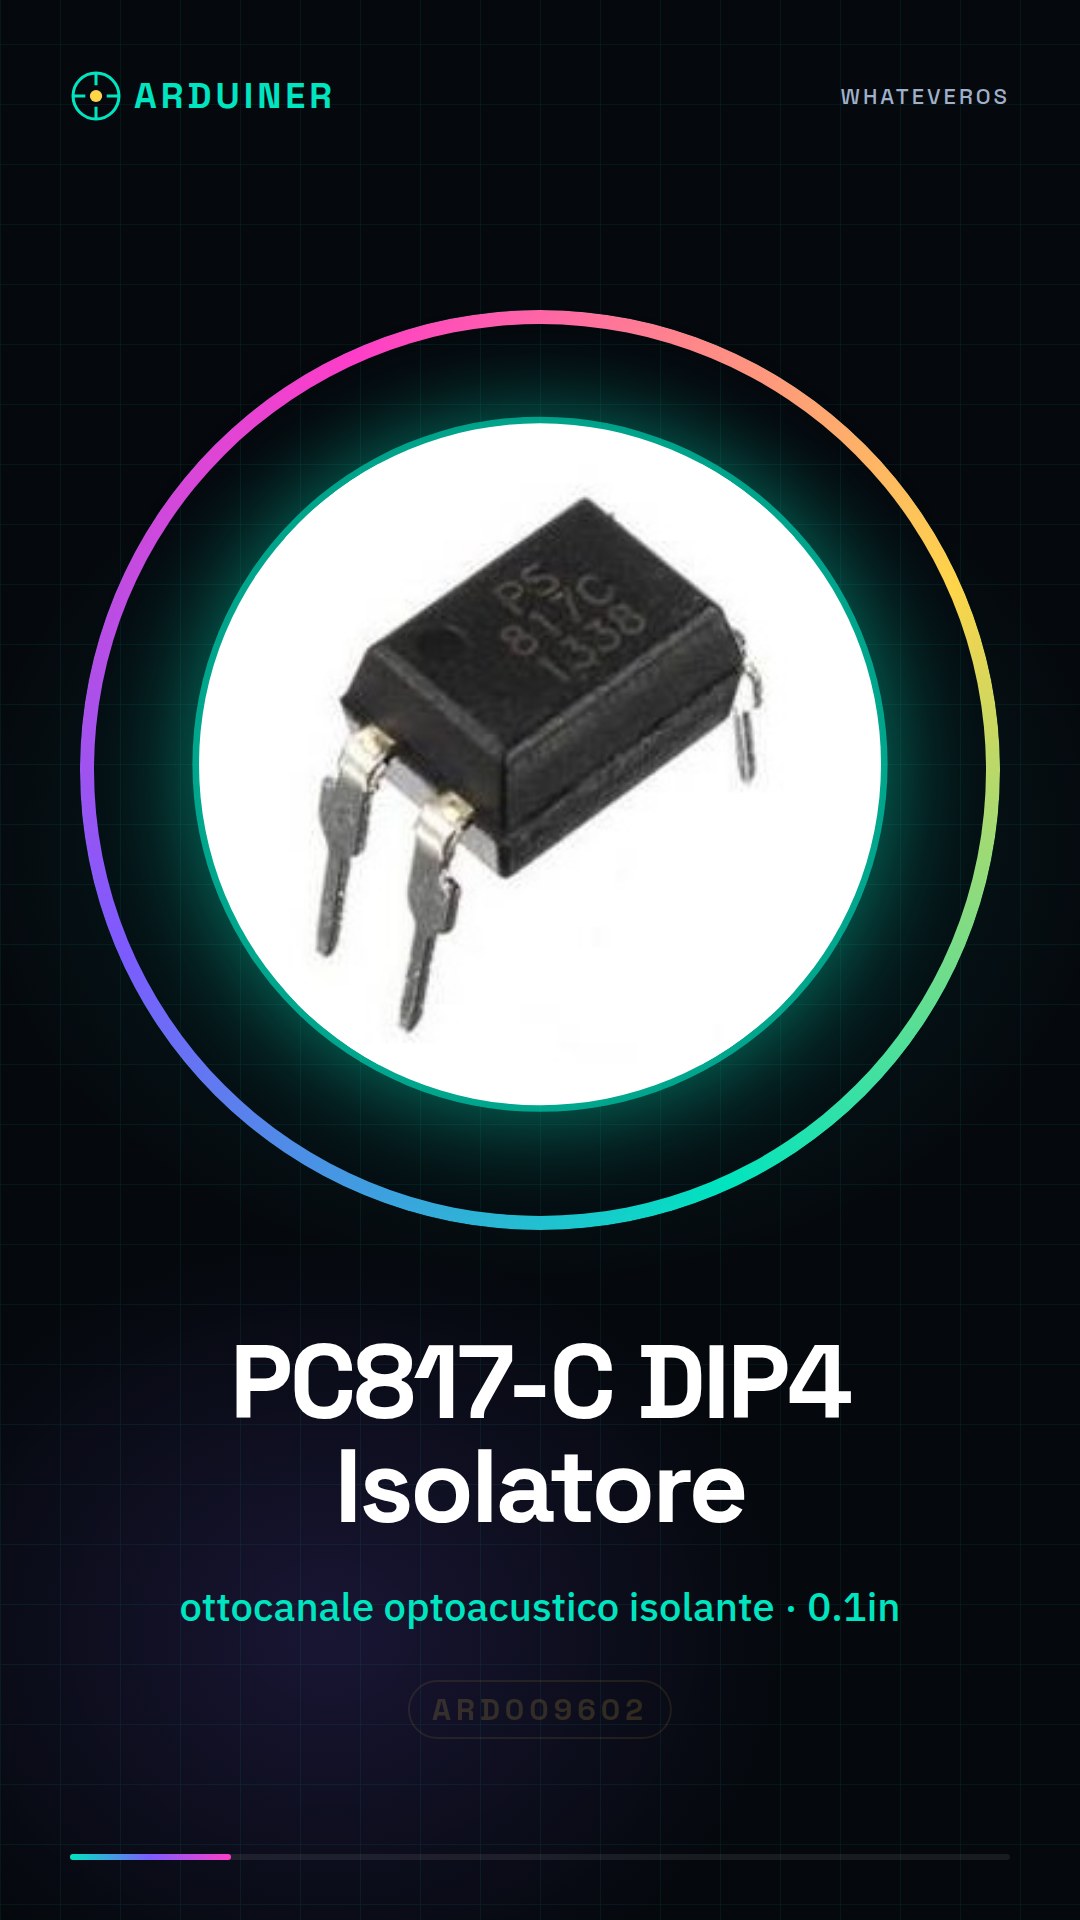
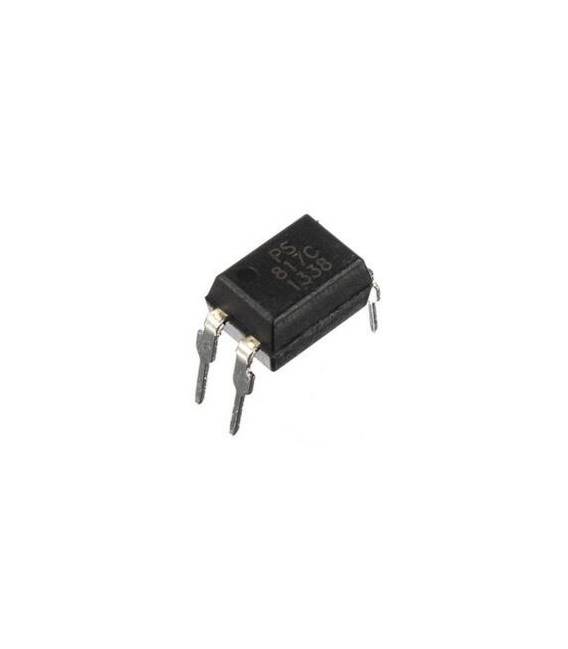
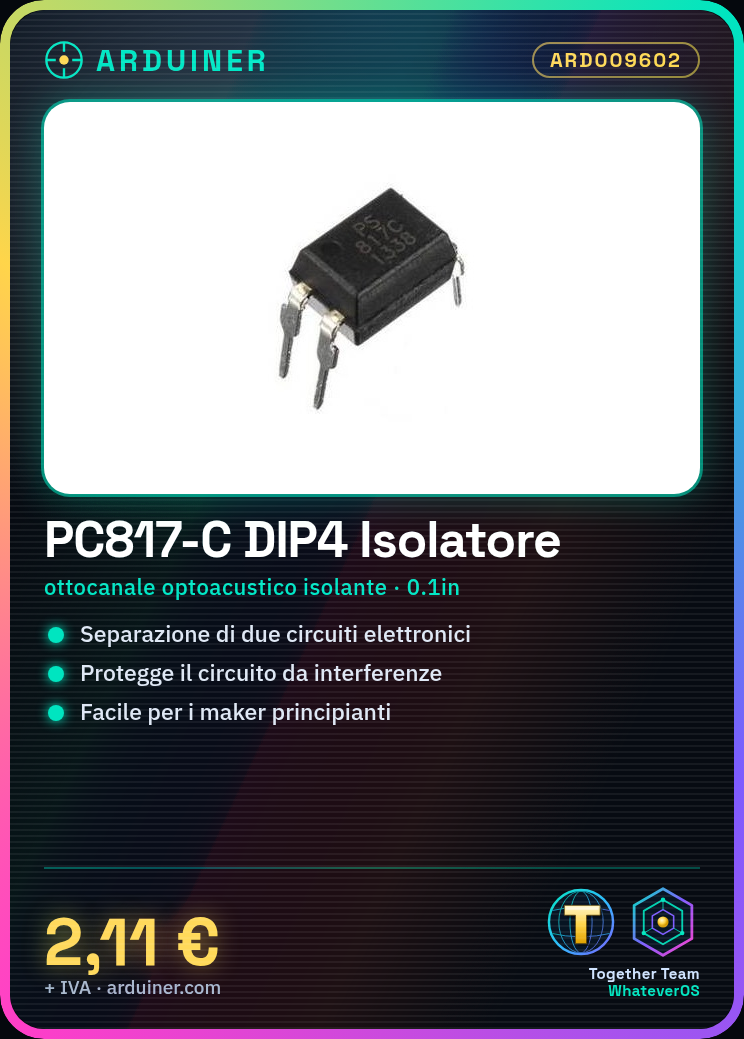
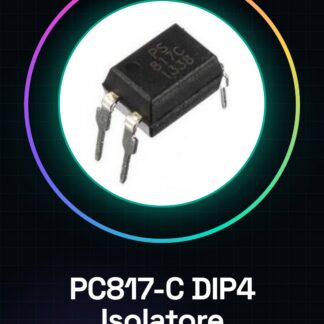
PC817-C DIP4
Tutorial: How to use PC817-C DIP4
The PC817-C DIP4 is an eight-channel optical isolation relay that allows separating two electronic circuits, protecting the first from excessive interference coming from the second. It is particularly useful for beginner makers who are learning to manage separate power supplies.
What you need
- PC817-C DIP4
- Arduino Uno or compatible
- 0.1 inch (male-female) header connection
- Resistors
Steps
- Connect the VCC pin of the PC817 to +5V of the Arduino.
- Connect the GND pin of the PC817 to GND of the Arduino.
- Connect the input IN of a channel (IN1) to a digital pin of the Arduino.
- Connect the output OUT of that channel (OUT1) to an LED and a resistor to limit the current.
- Repeat steps 3-4 for the other seven channels if necessary.
Example code
void setup() {
  pinMode(2, OUTPUT);
}

void loop() {
  digitalWrite(2, HIGH);   // accende il LED collegato a OUT1
  delay(1000);
  digitalWrite(2, LOW);    // spegne il LED collegato a OUT1
  delay(1000);
}
Mini project
Create a simple home security system with multiple sensors connected through the various channels of the PC817. Each sensor can be isolated to protect the main circuit.
Common mistakes
- Do not verify the supply voltages between the two circuits.
- Use resistors that are too low or too high.
- Reverse the input and output of the PC817.
- Ignore the isolation protection during the project.
Recommended accessories
- Arduino Uno
- 0.1 inch (male-female) header connection
- Variable resistors
- LED
Frequently asked questions
What is the main use of the PC817-C DIP4?
Its main use is to isolate electronic circuits to protect them from excessive interference.
How do you calculate the correct resistance for the LED connected to the output?
Check the datasheet of the PC817-C DIP4 to find the operating voltage and calculate the necessary resistance.
Reviews
There are no reviews yet.