 EN
 IT Italiano
 ES Español
 FR Français
 DE Deutsch
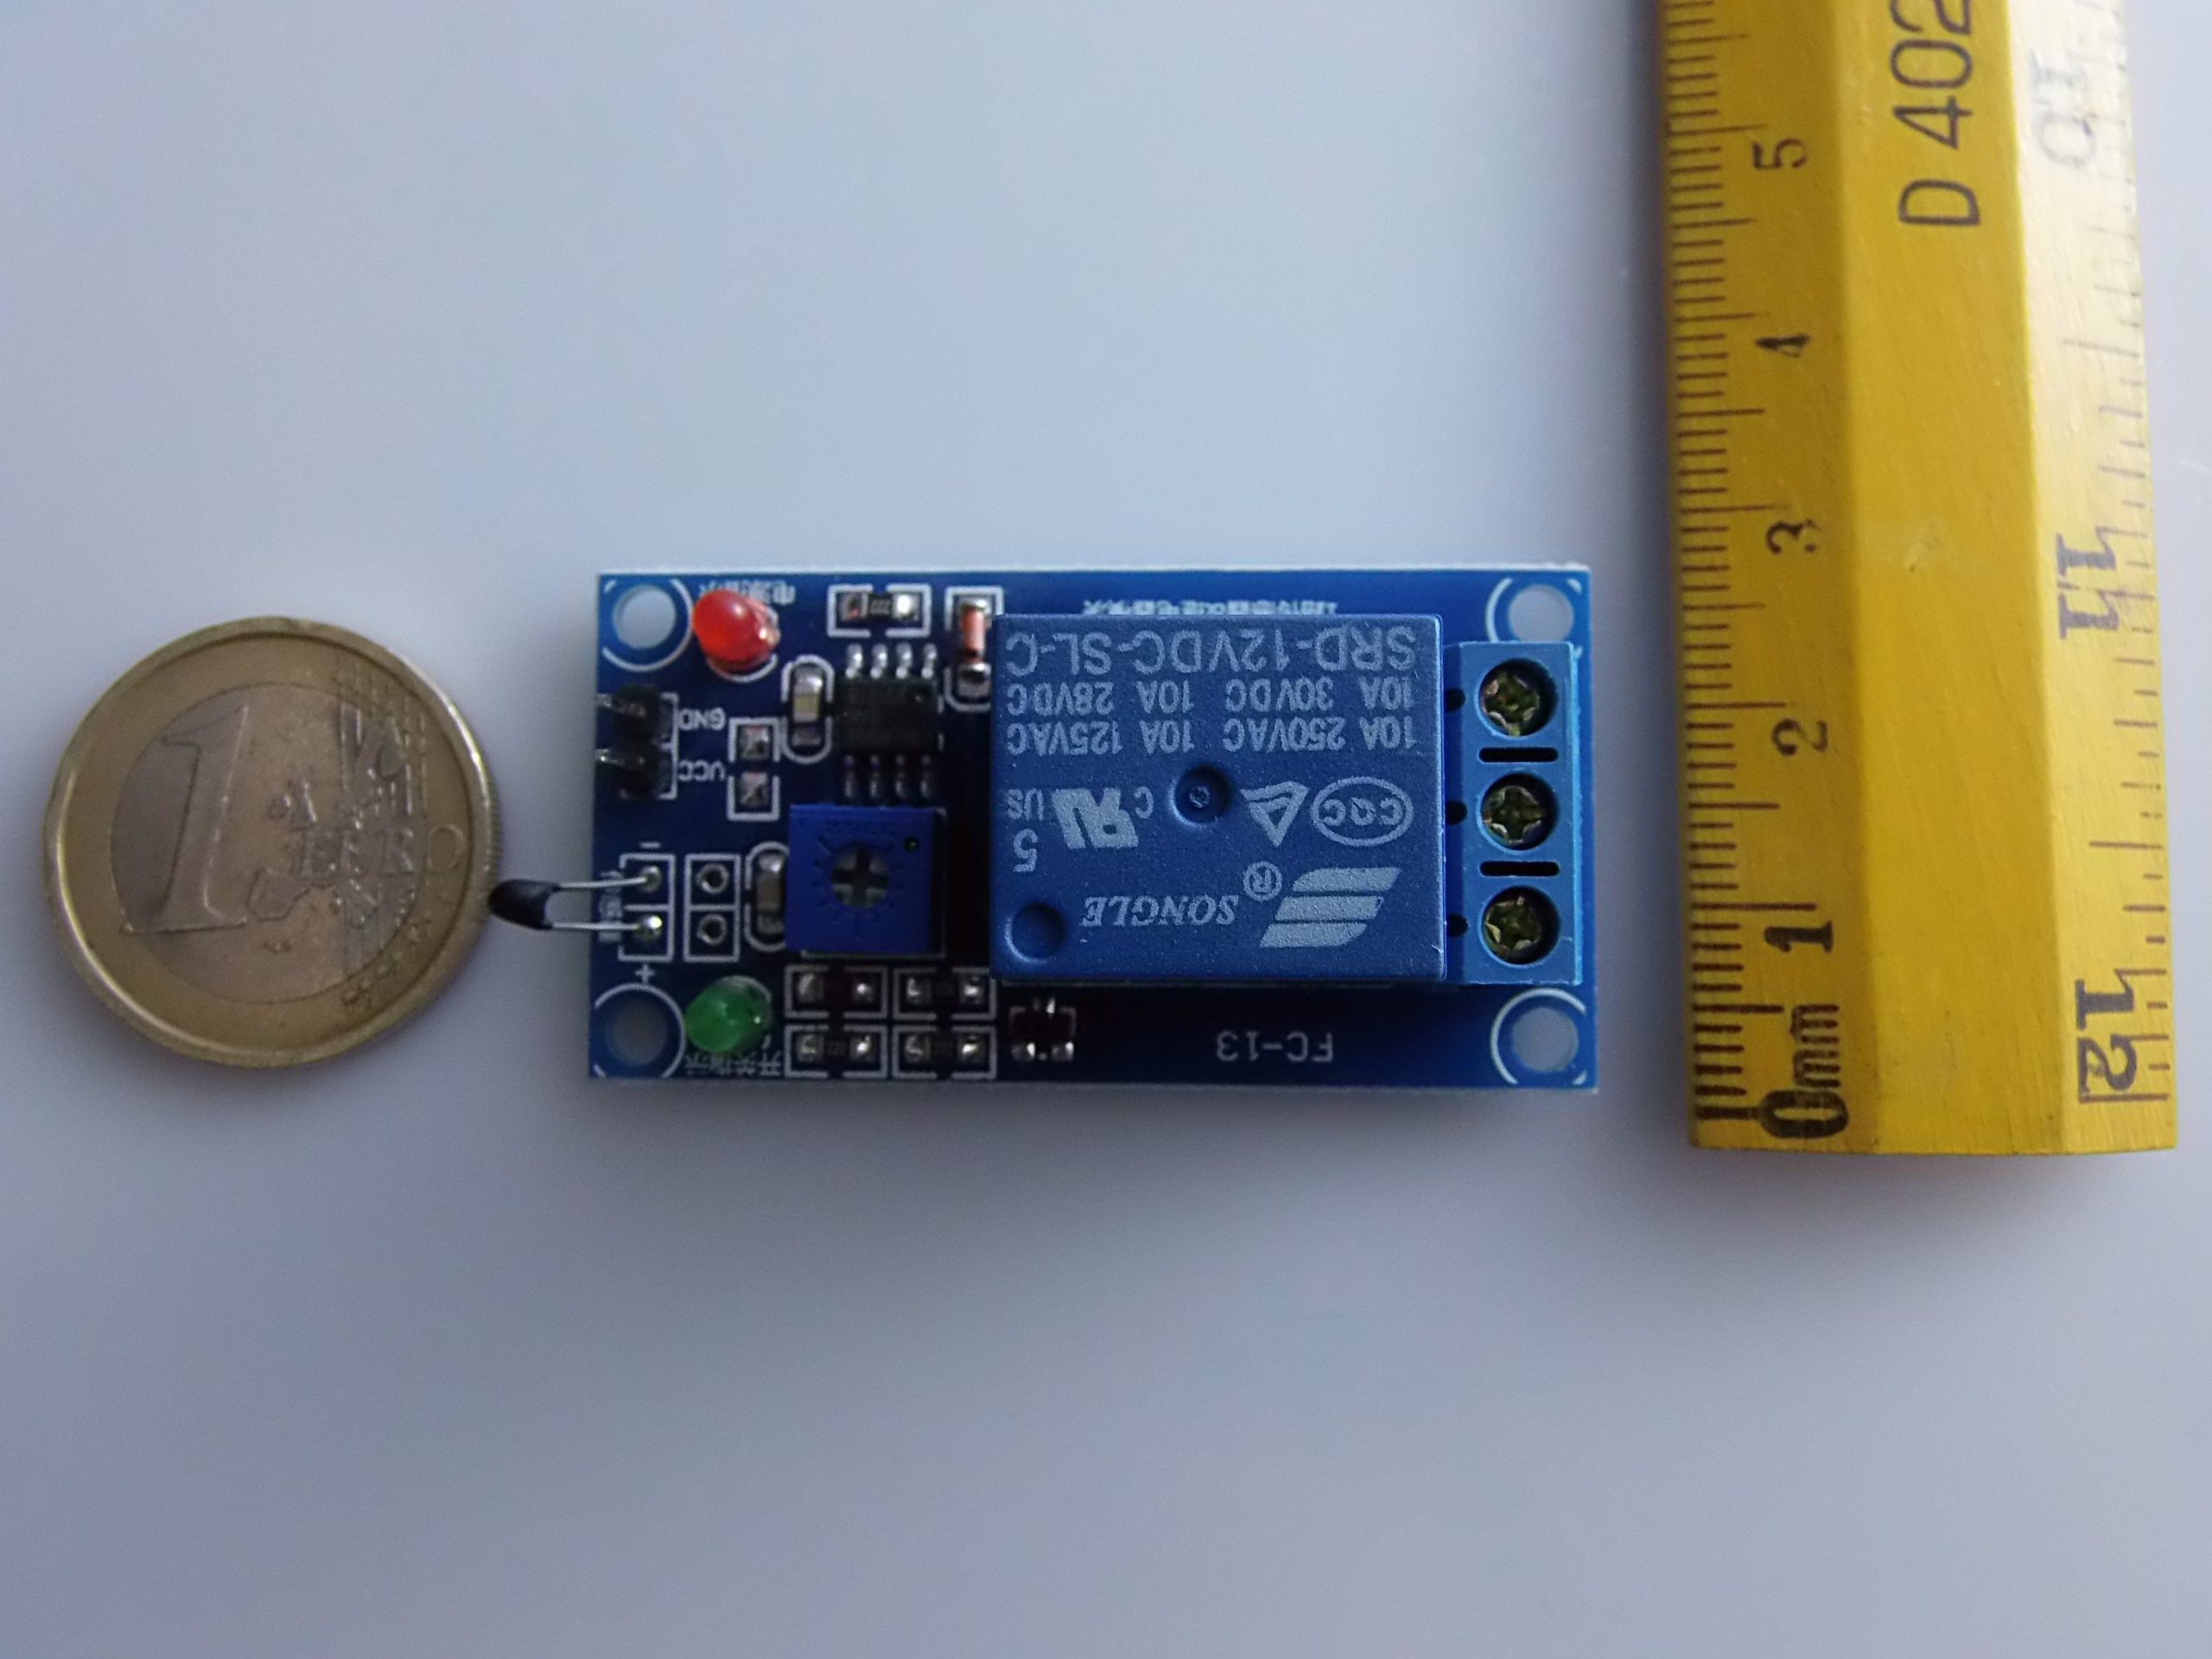
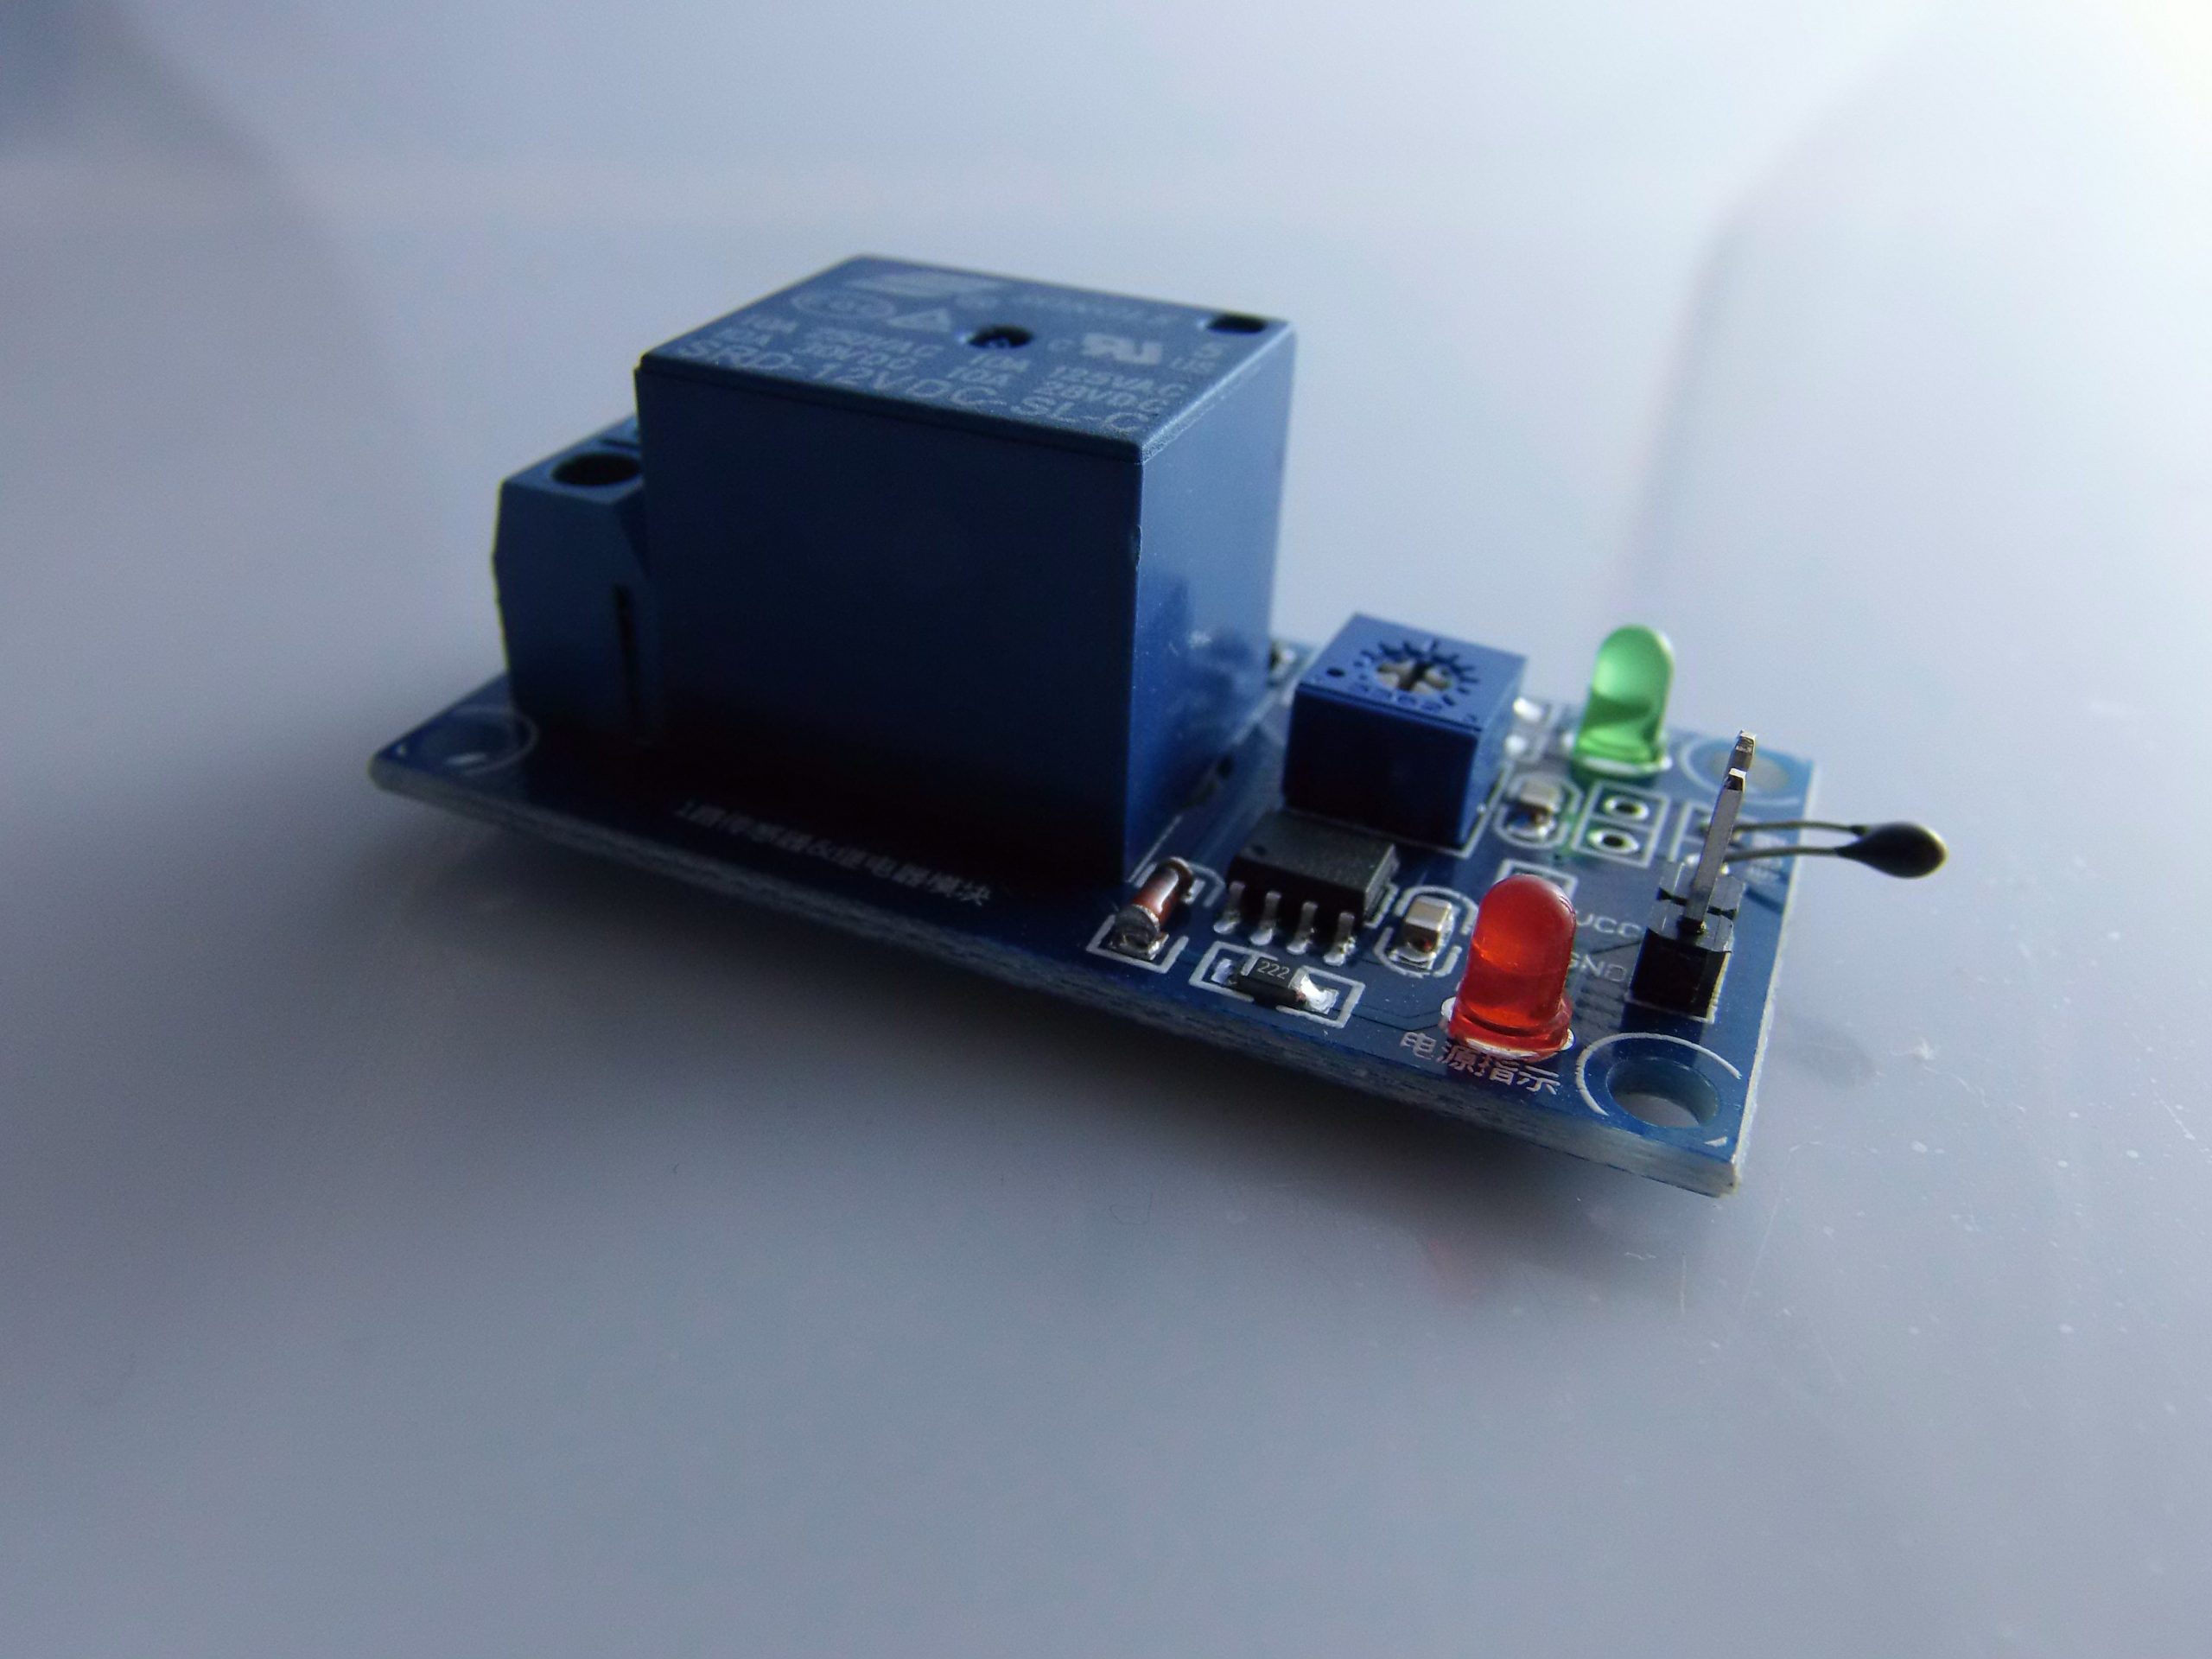
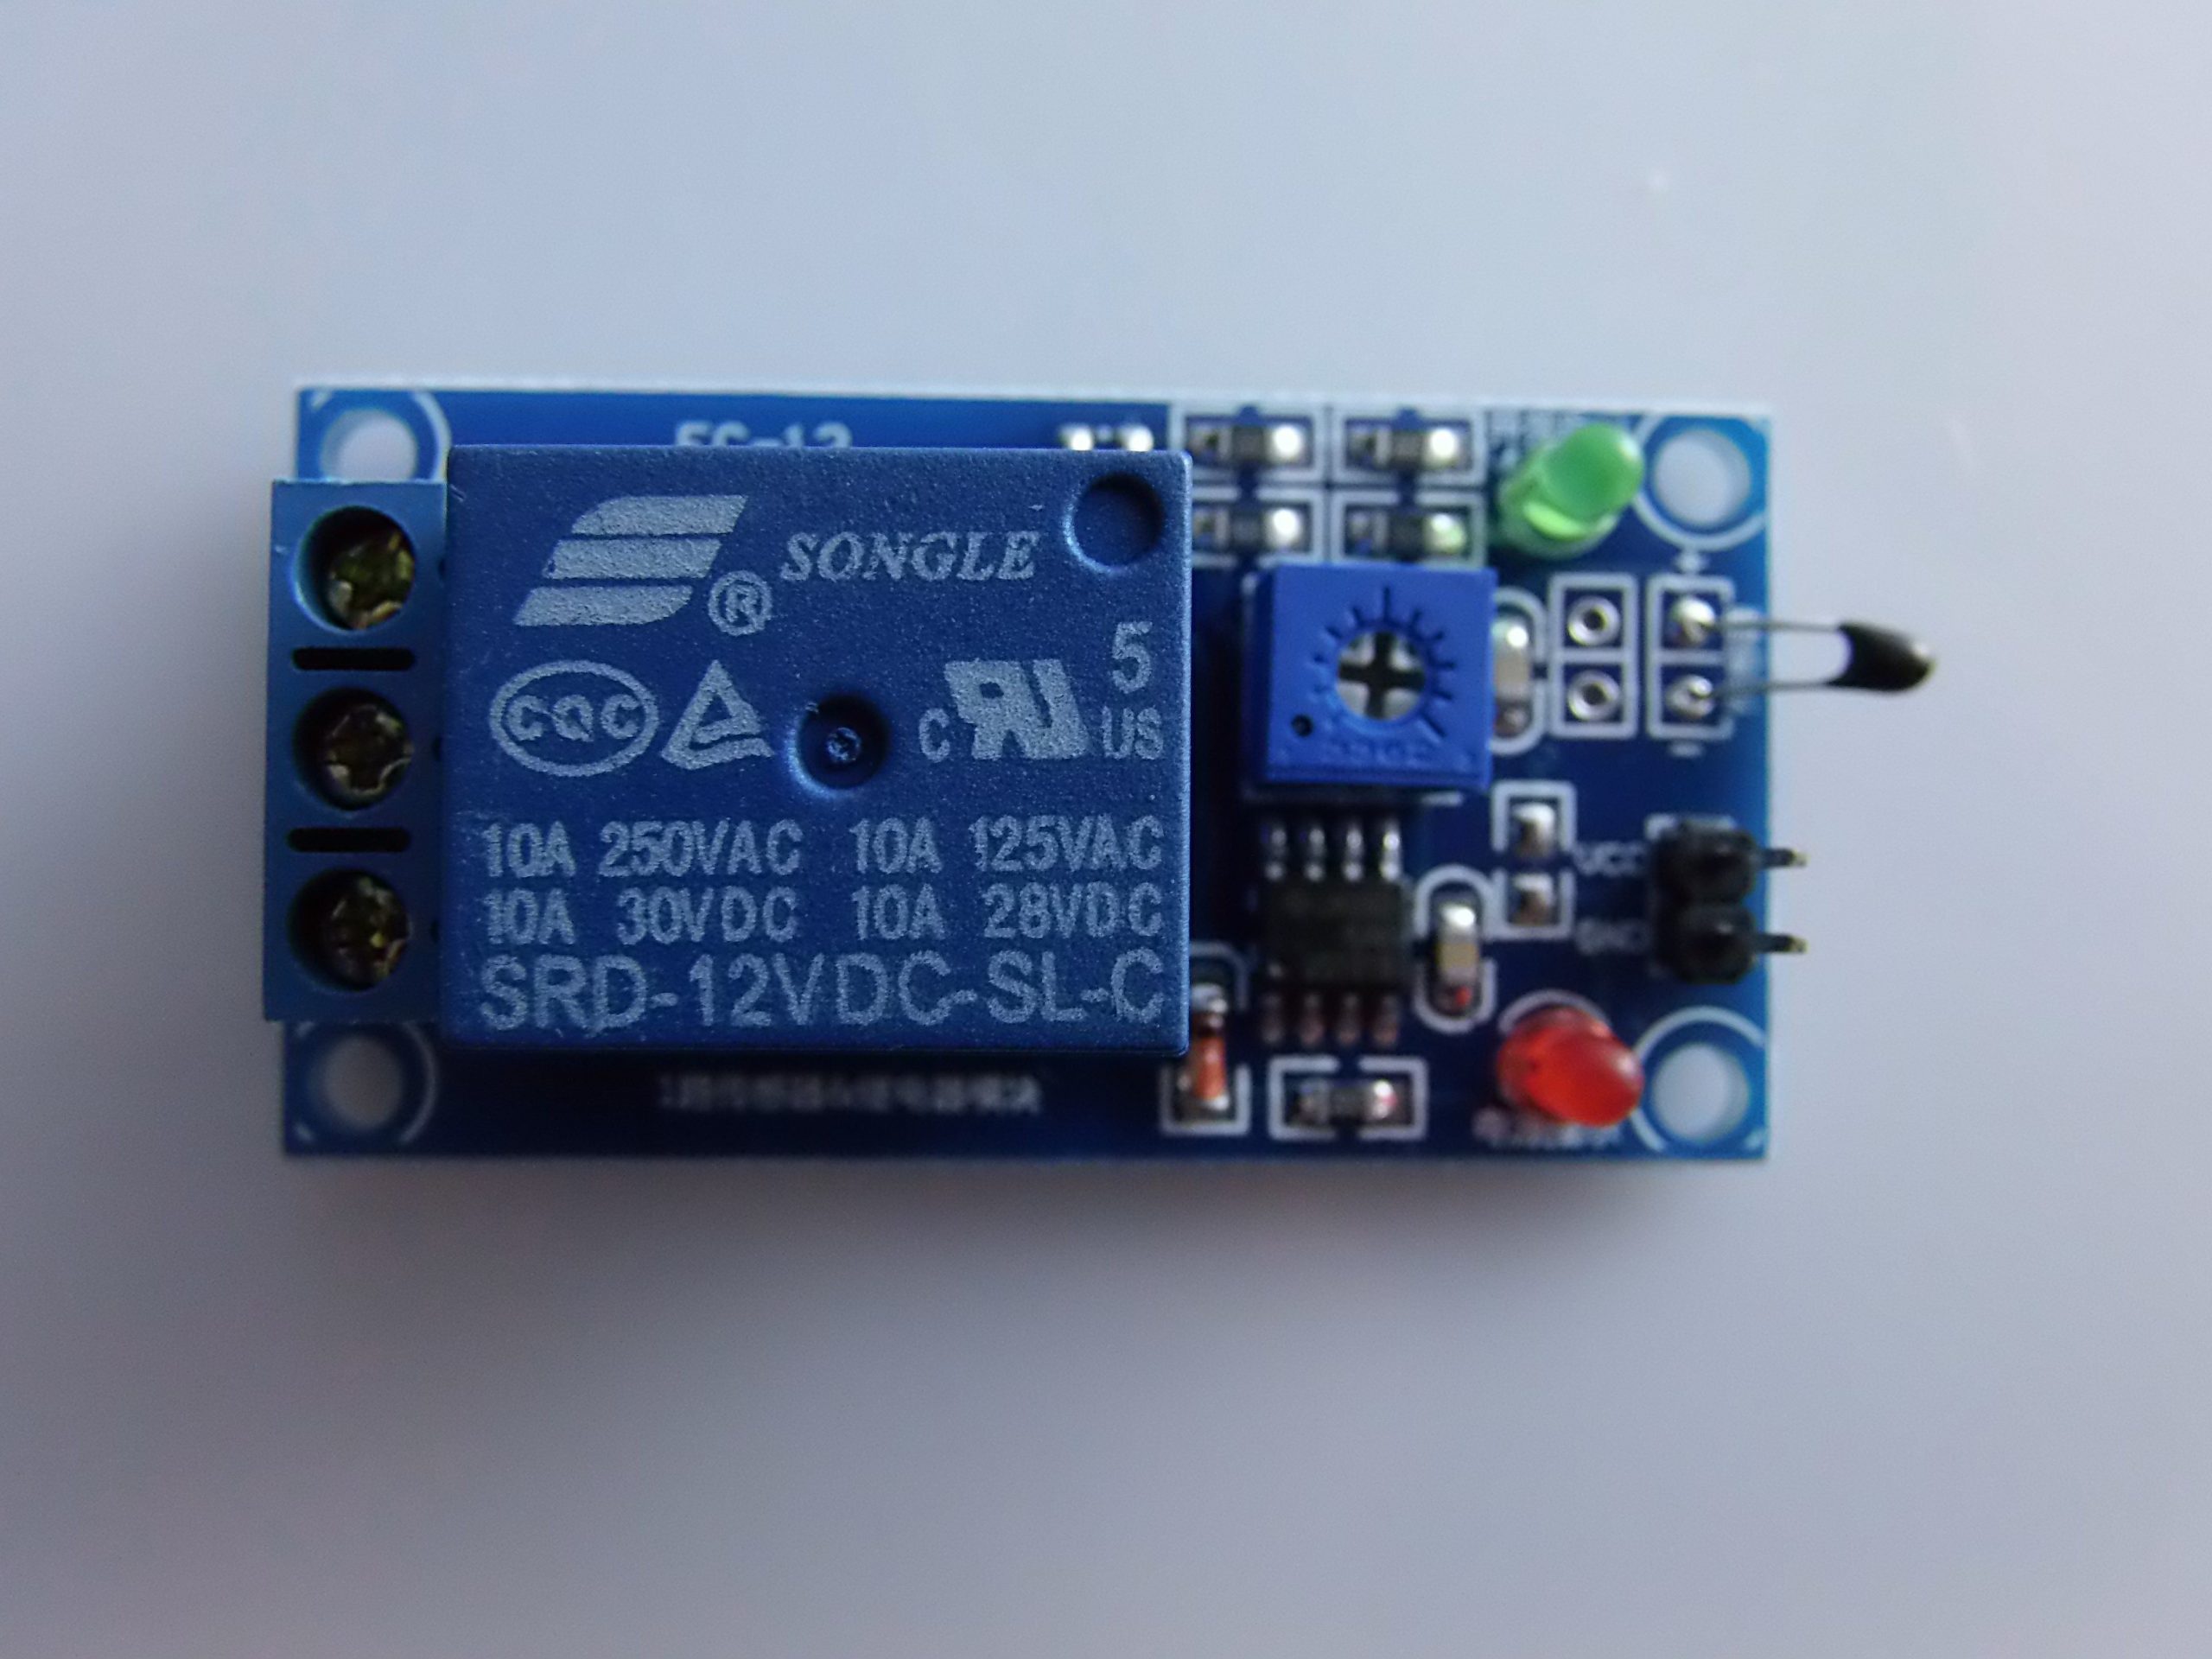
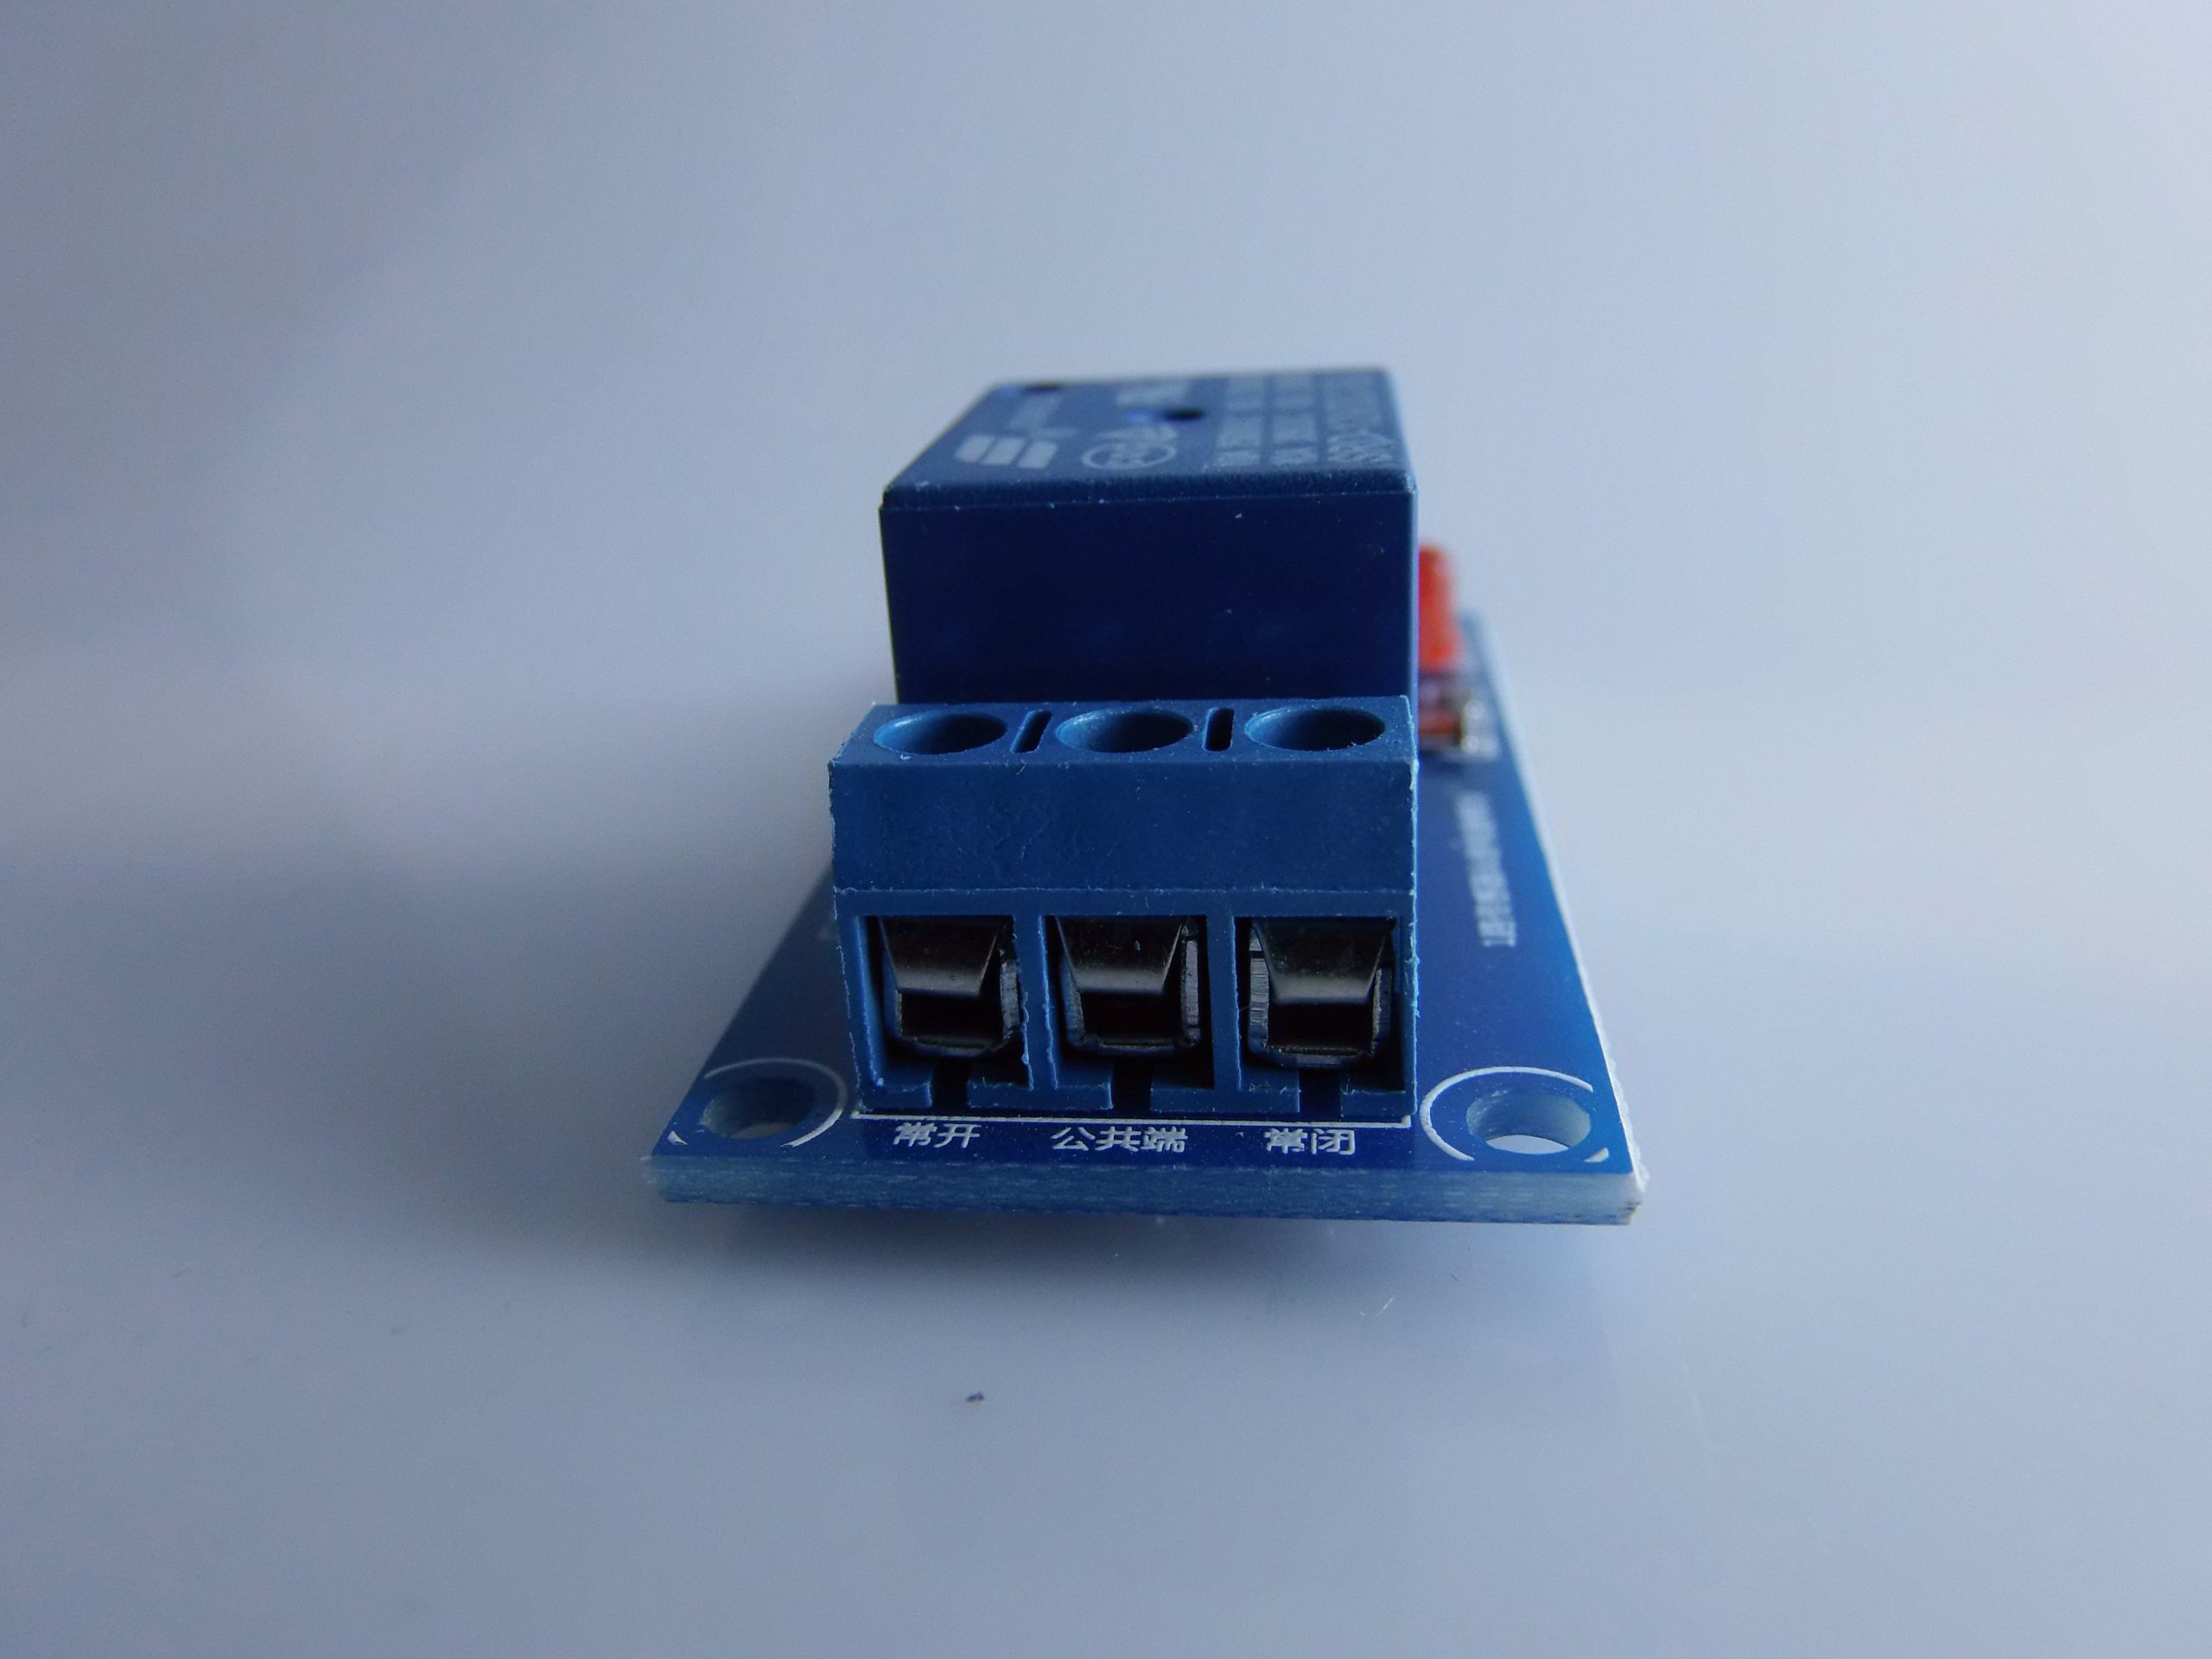
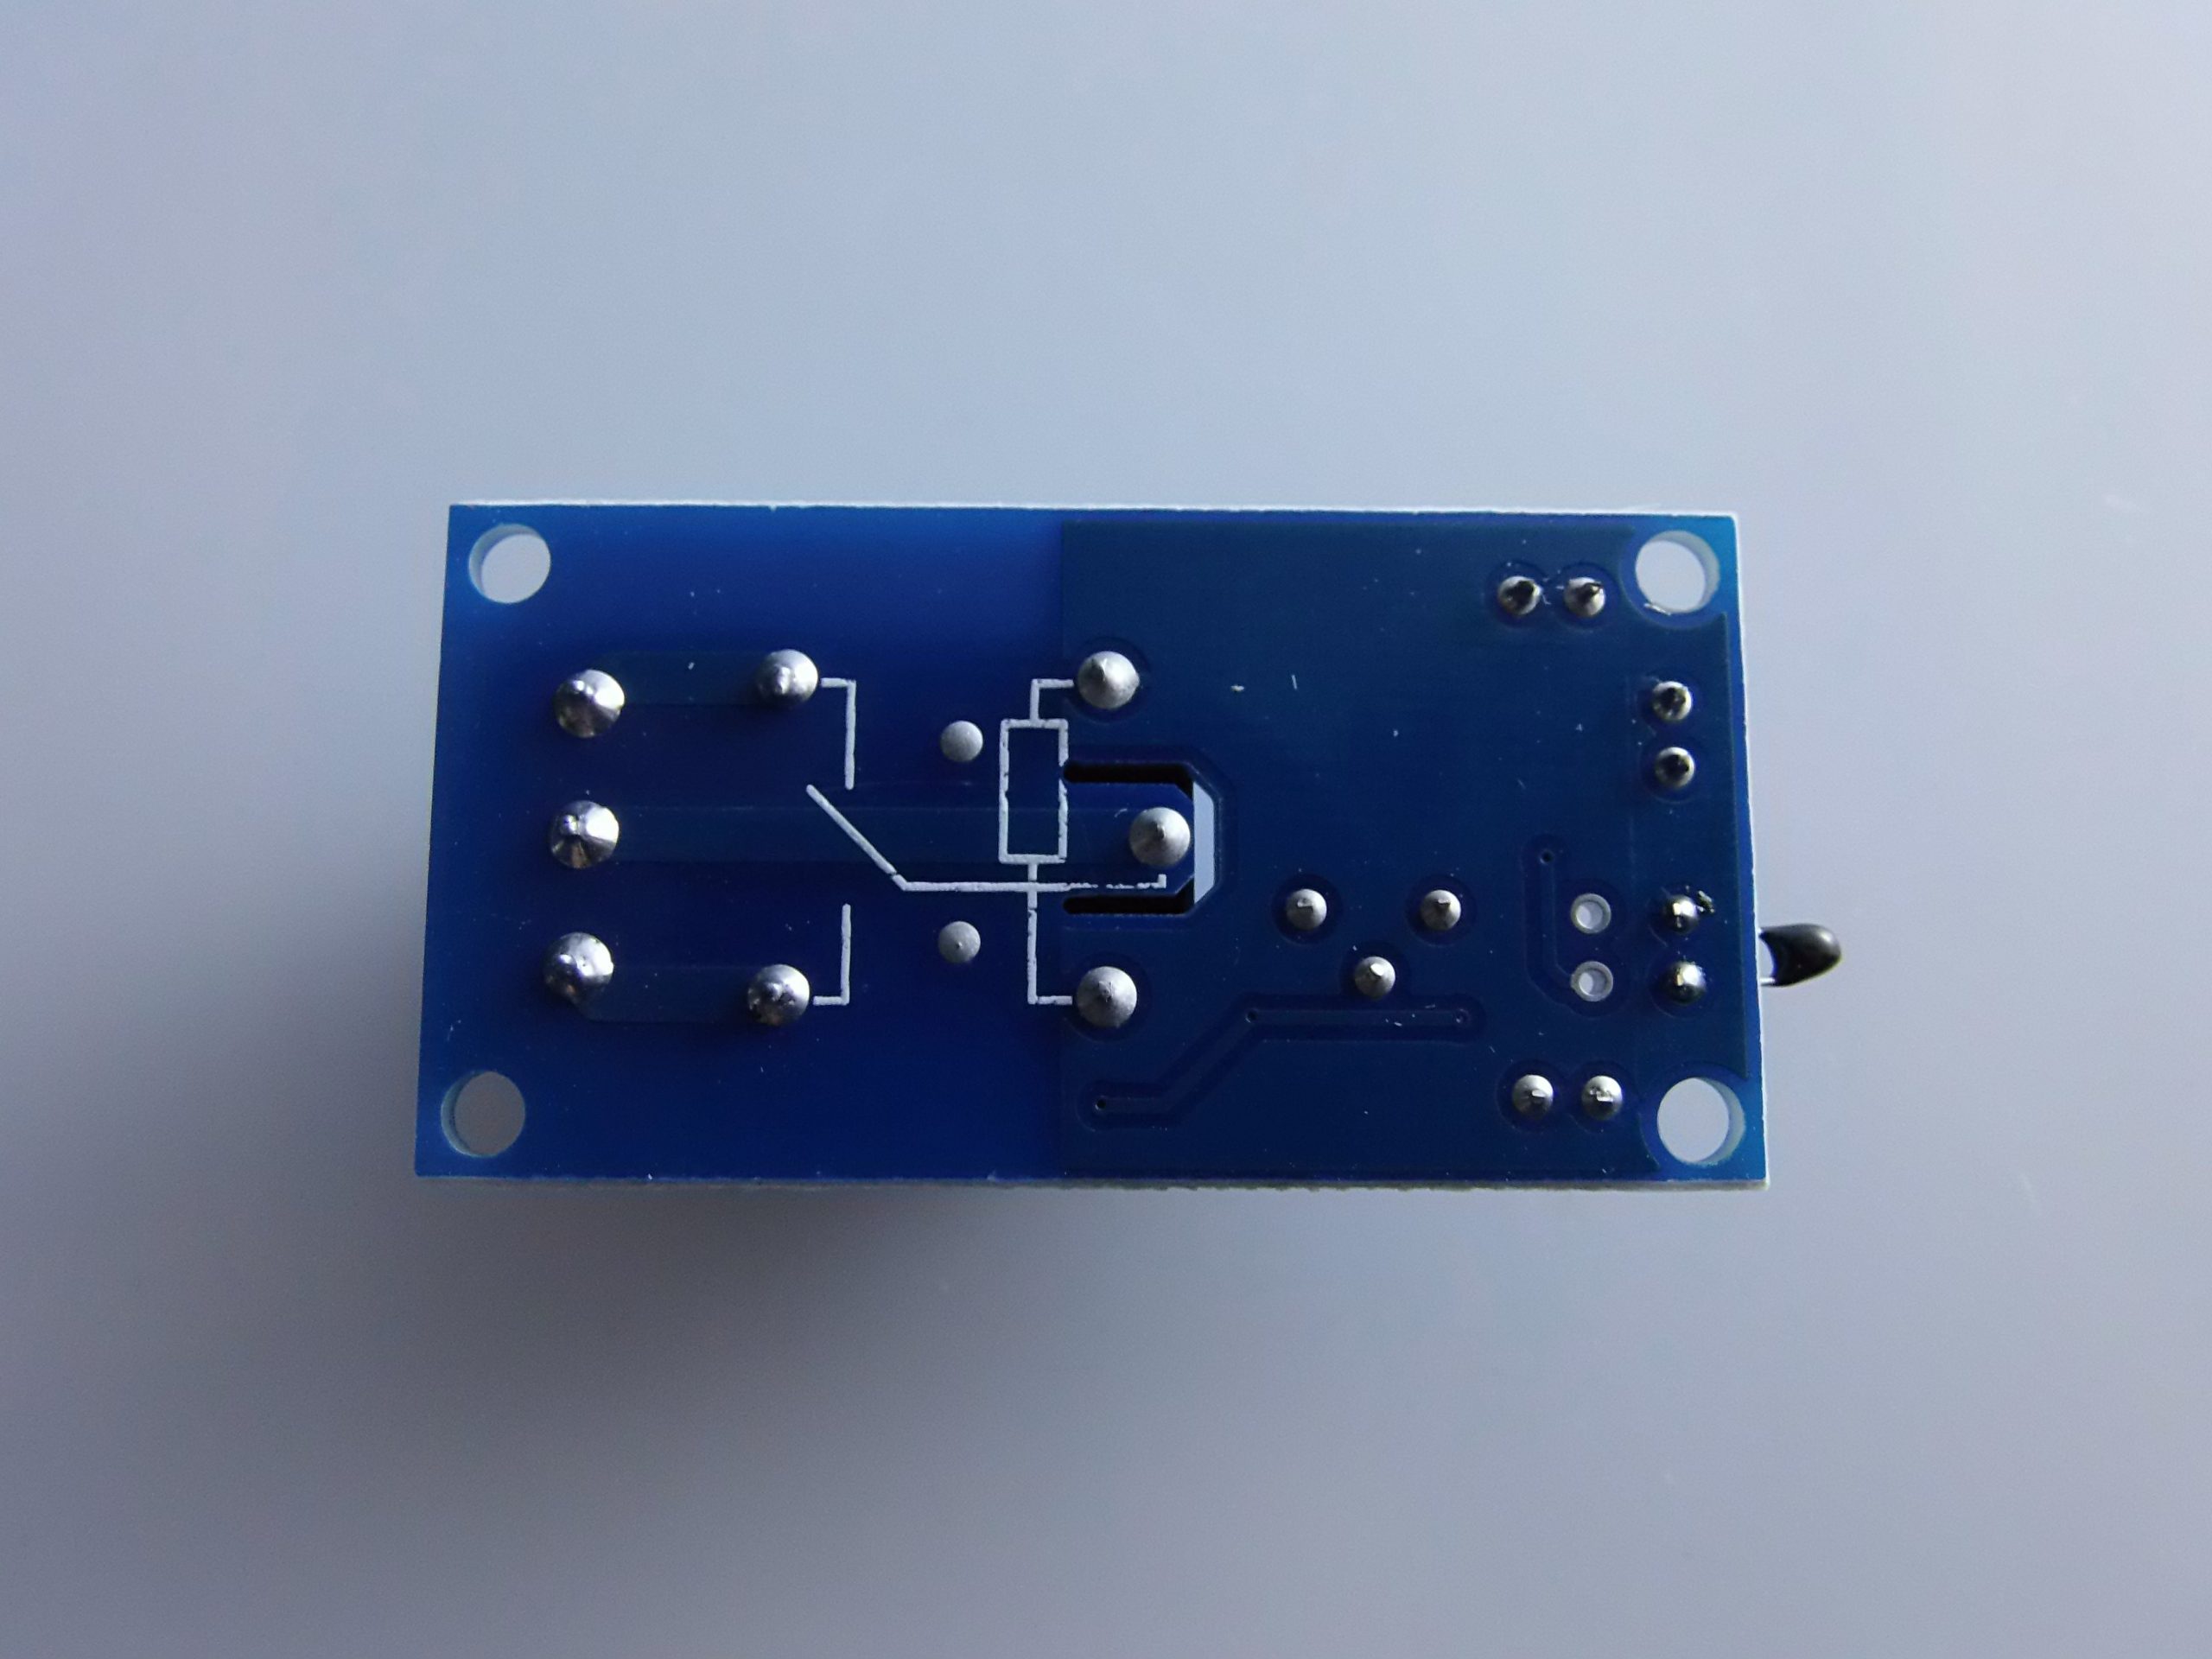
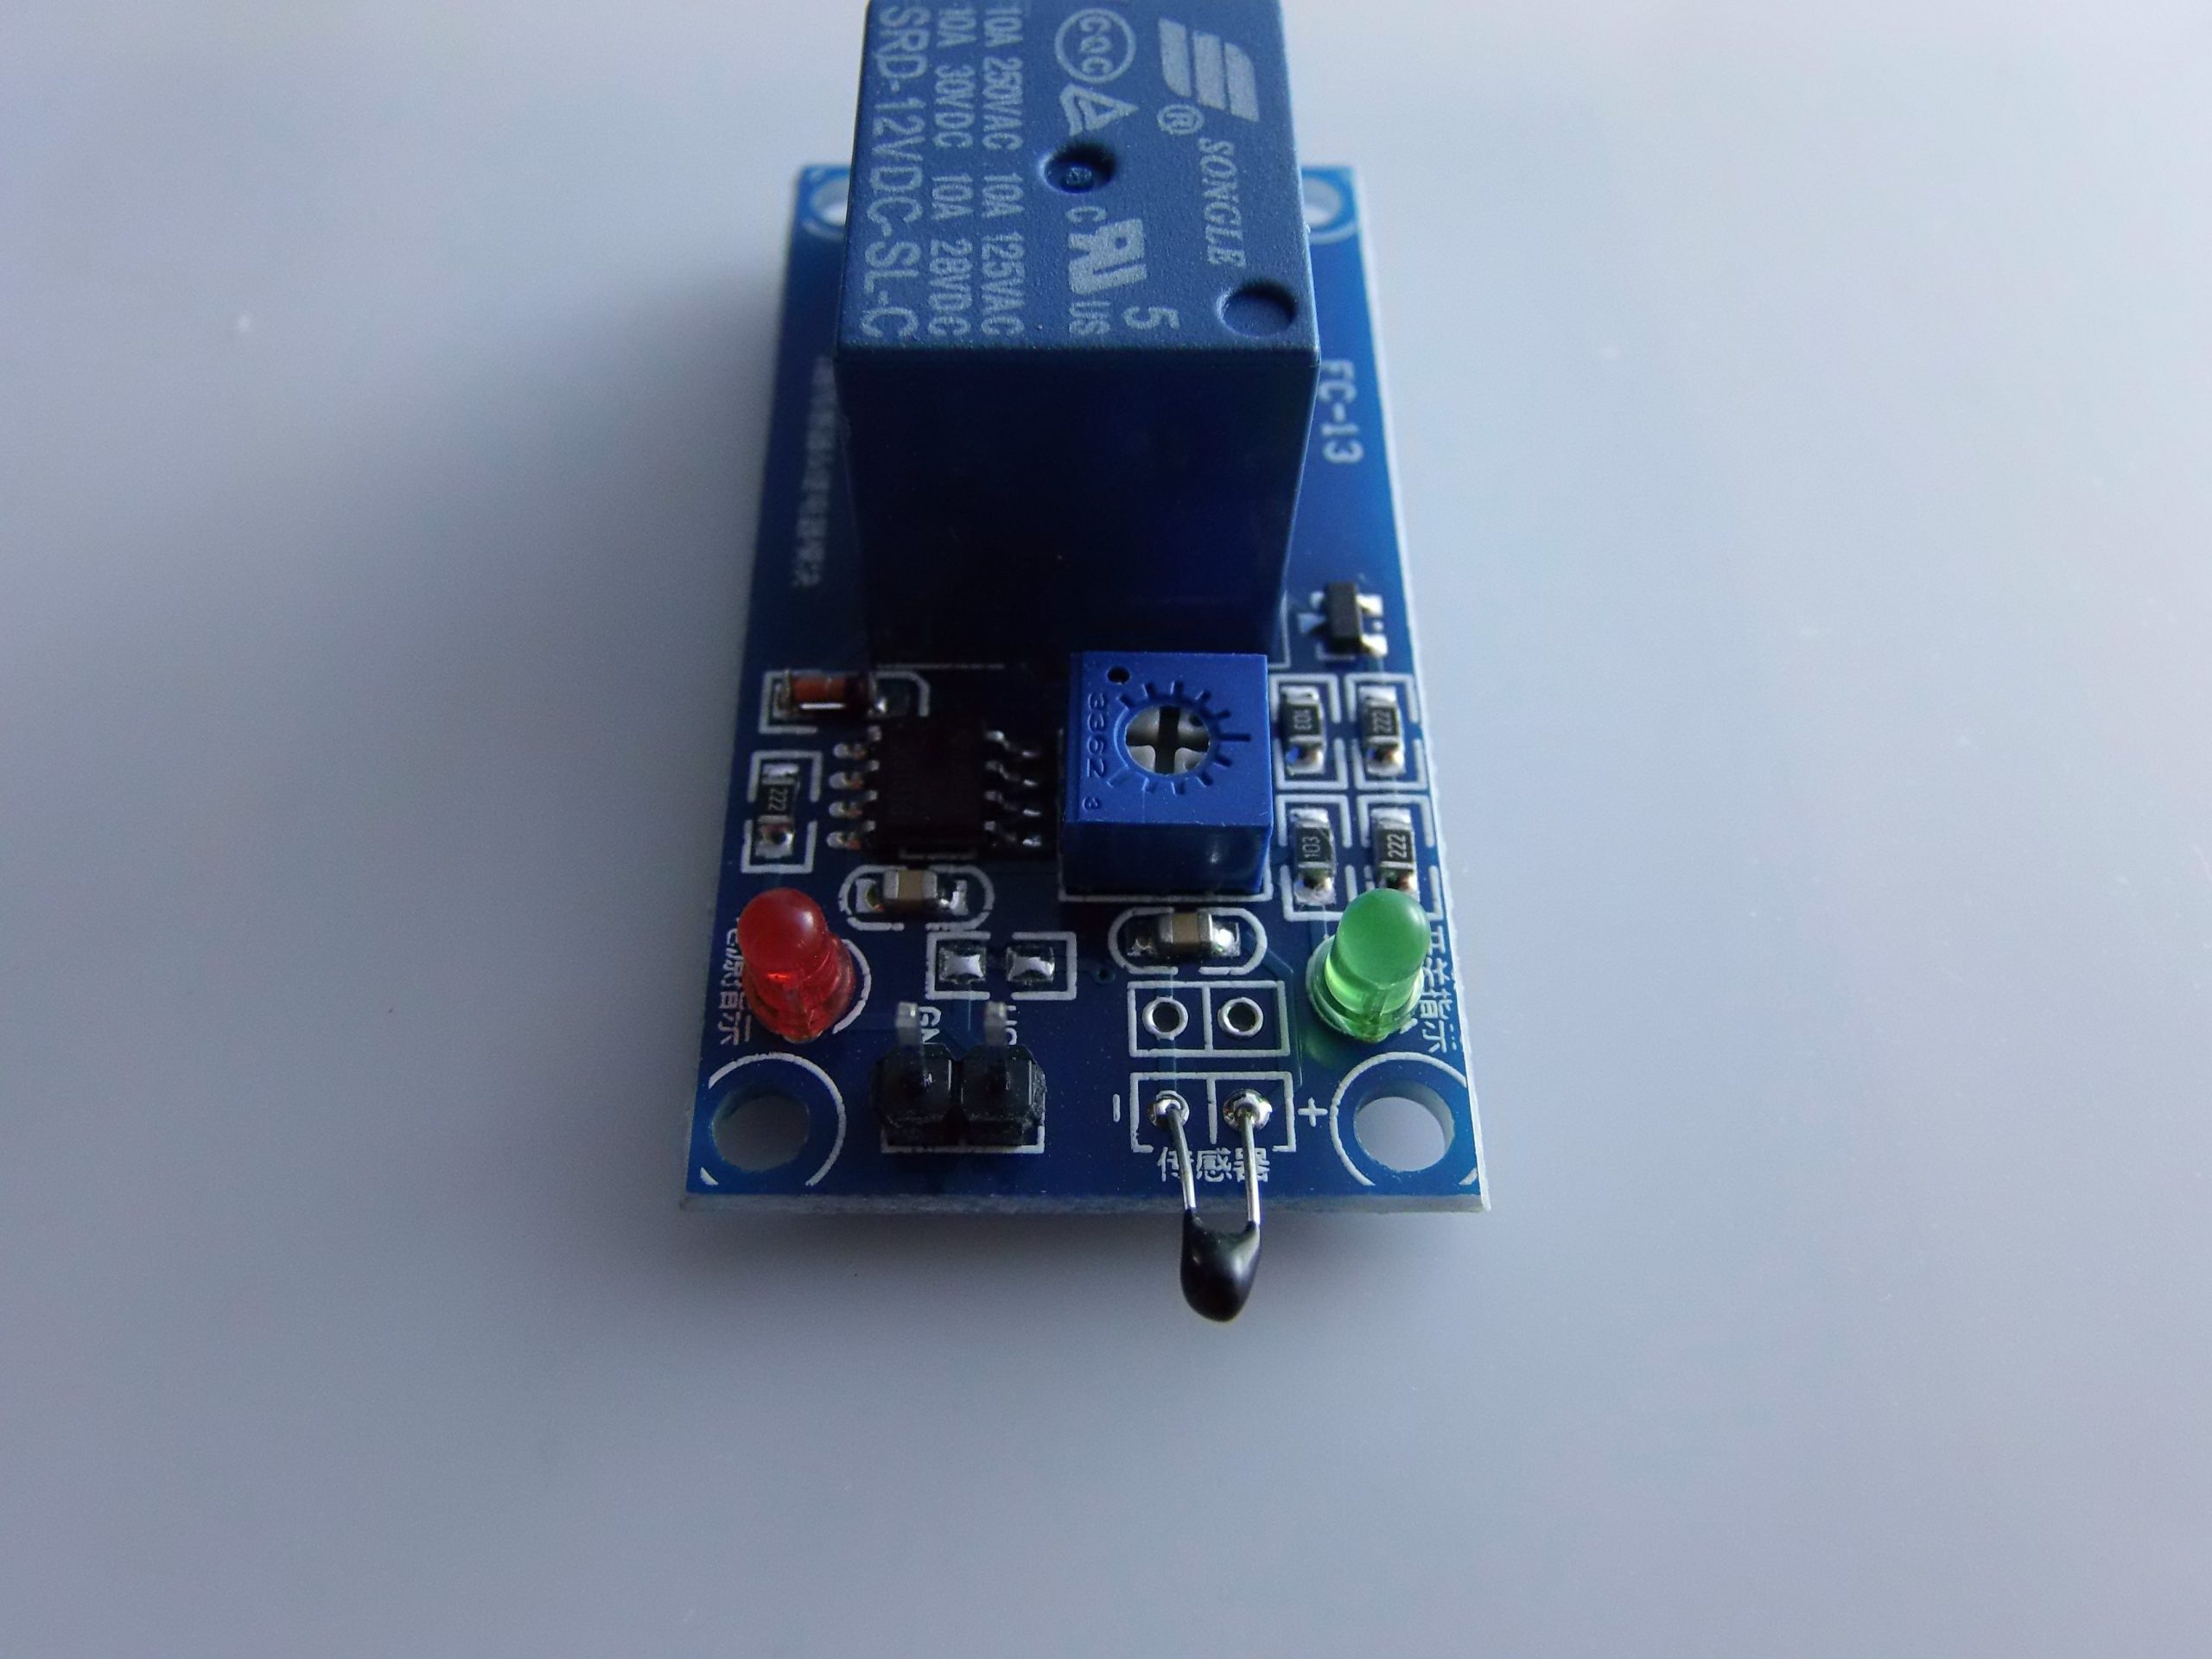
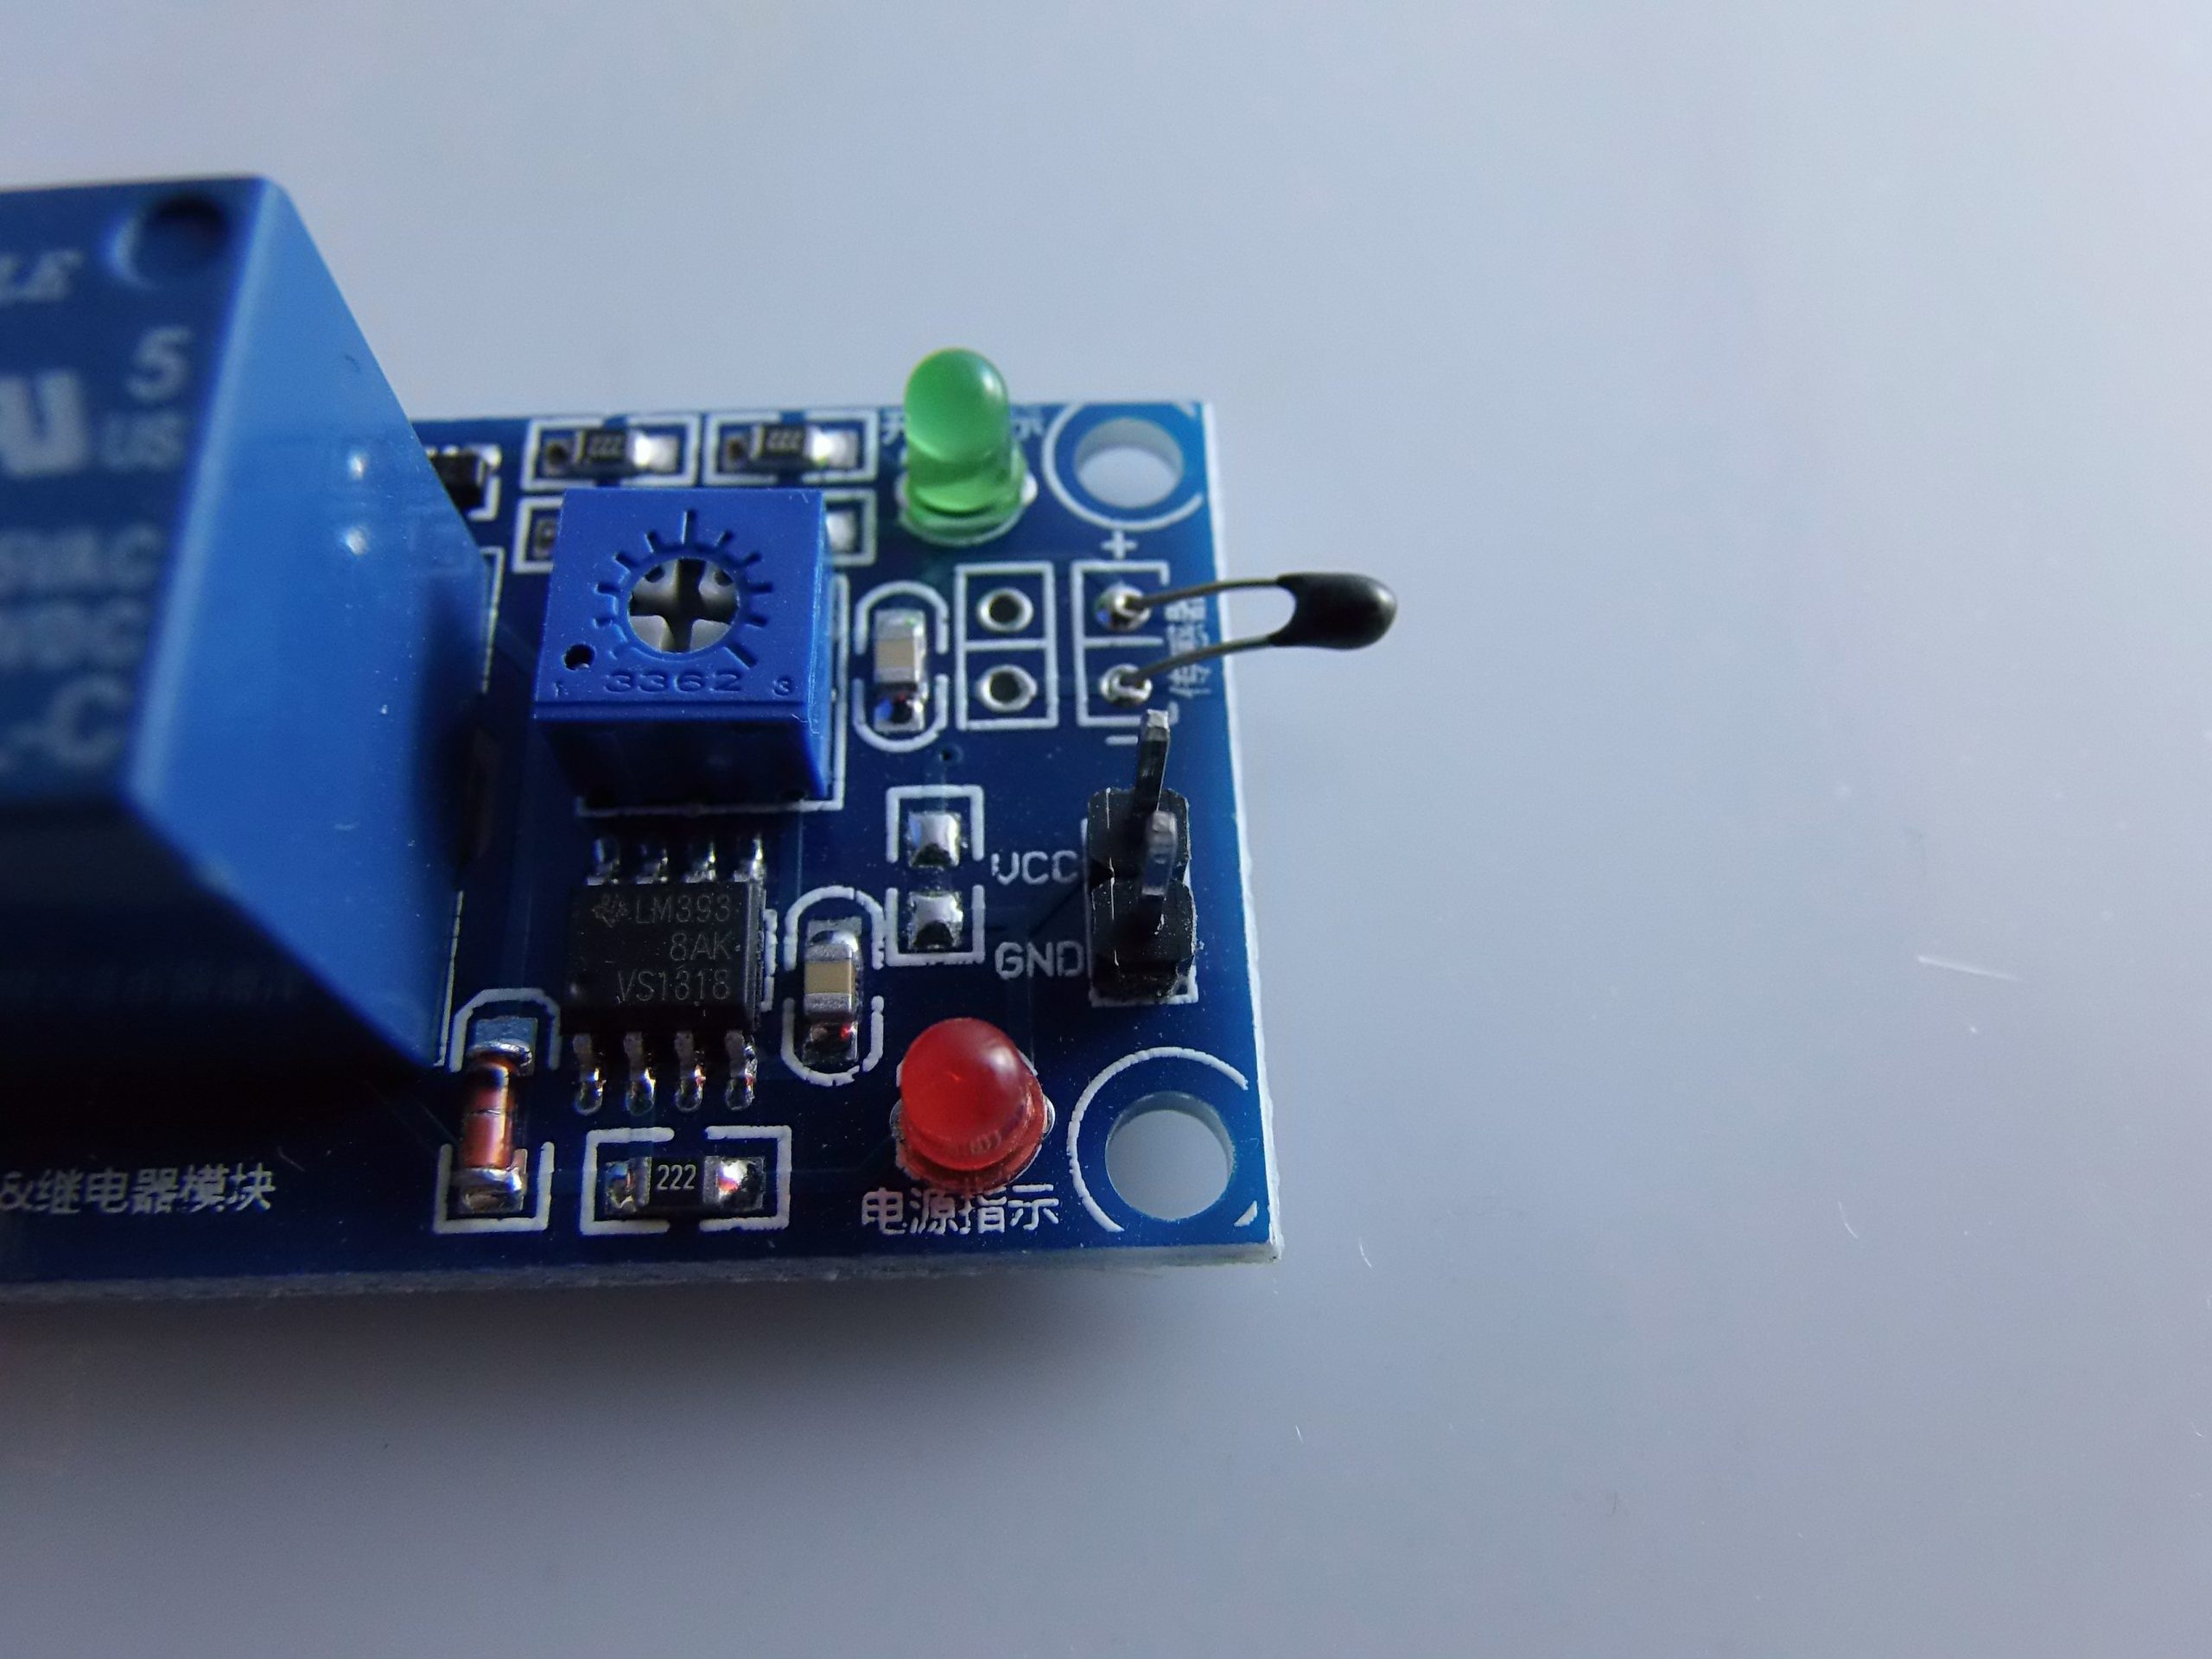
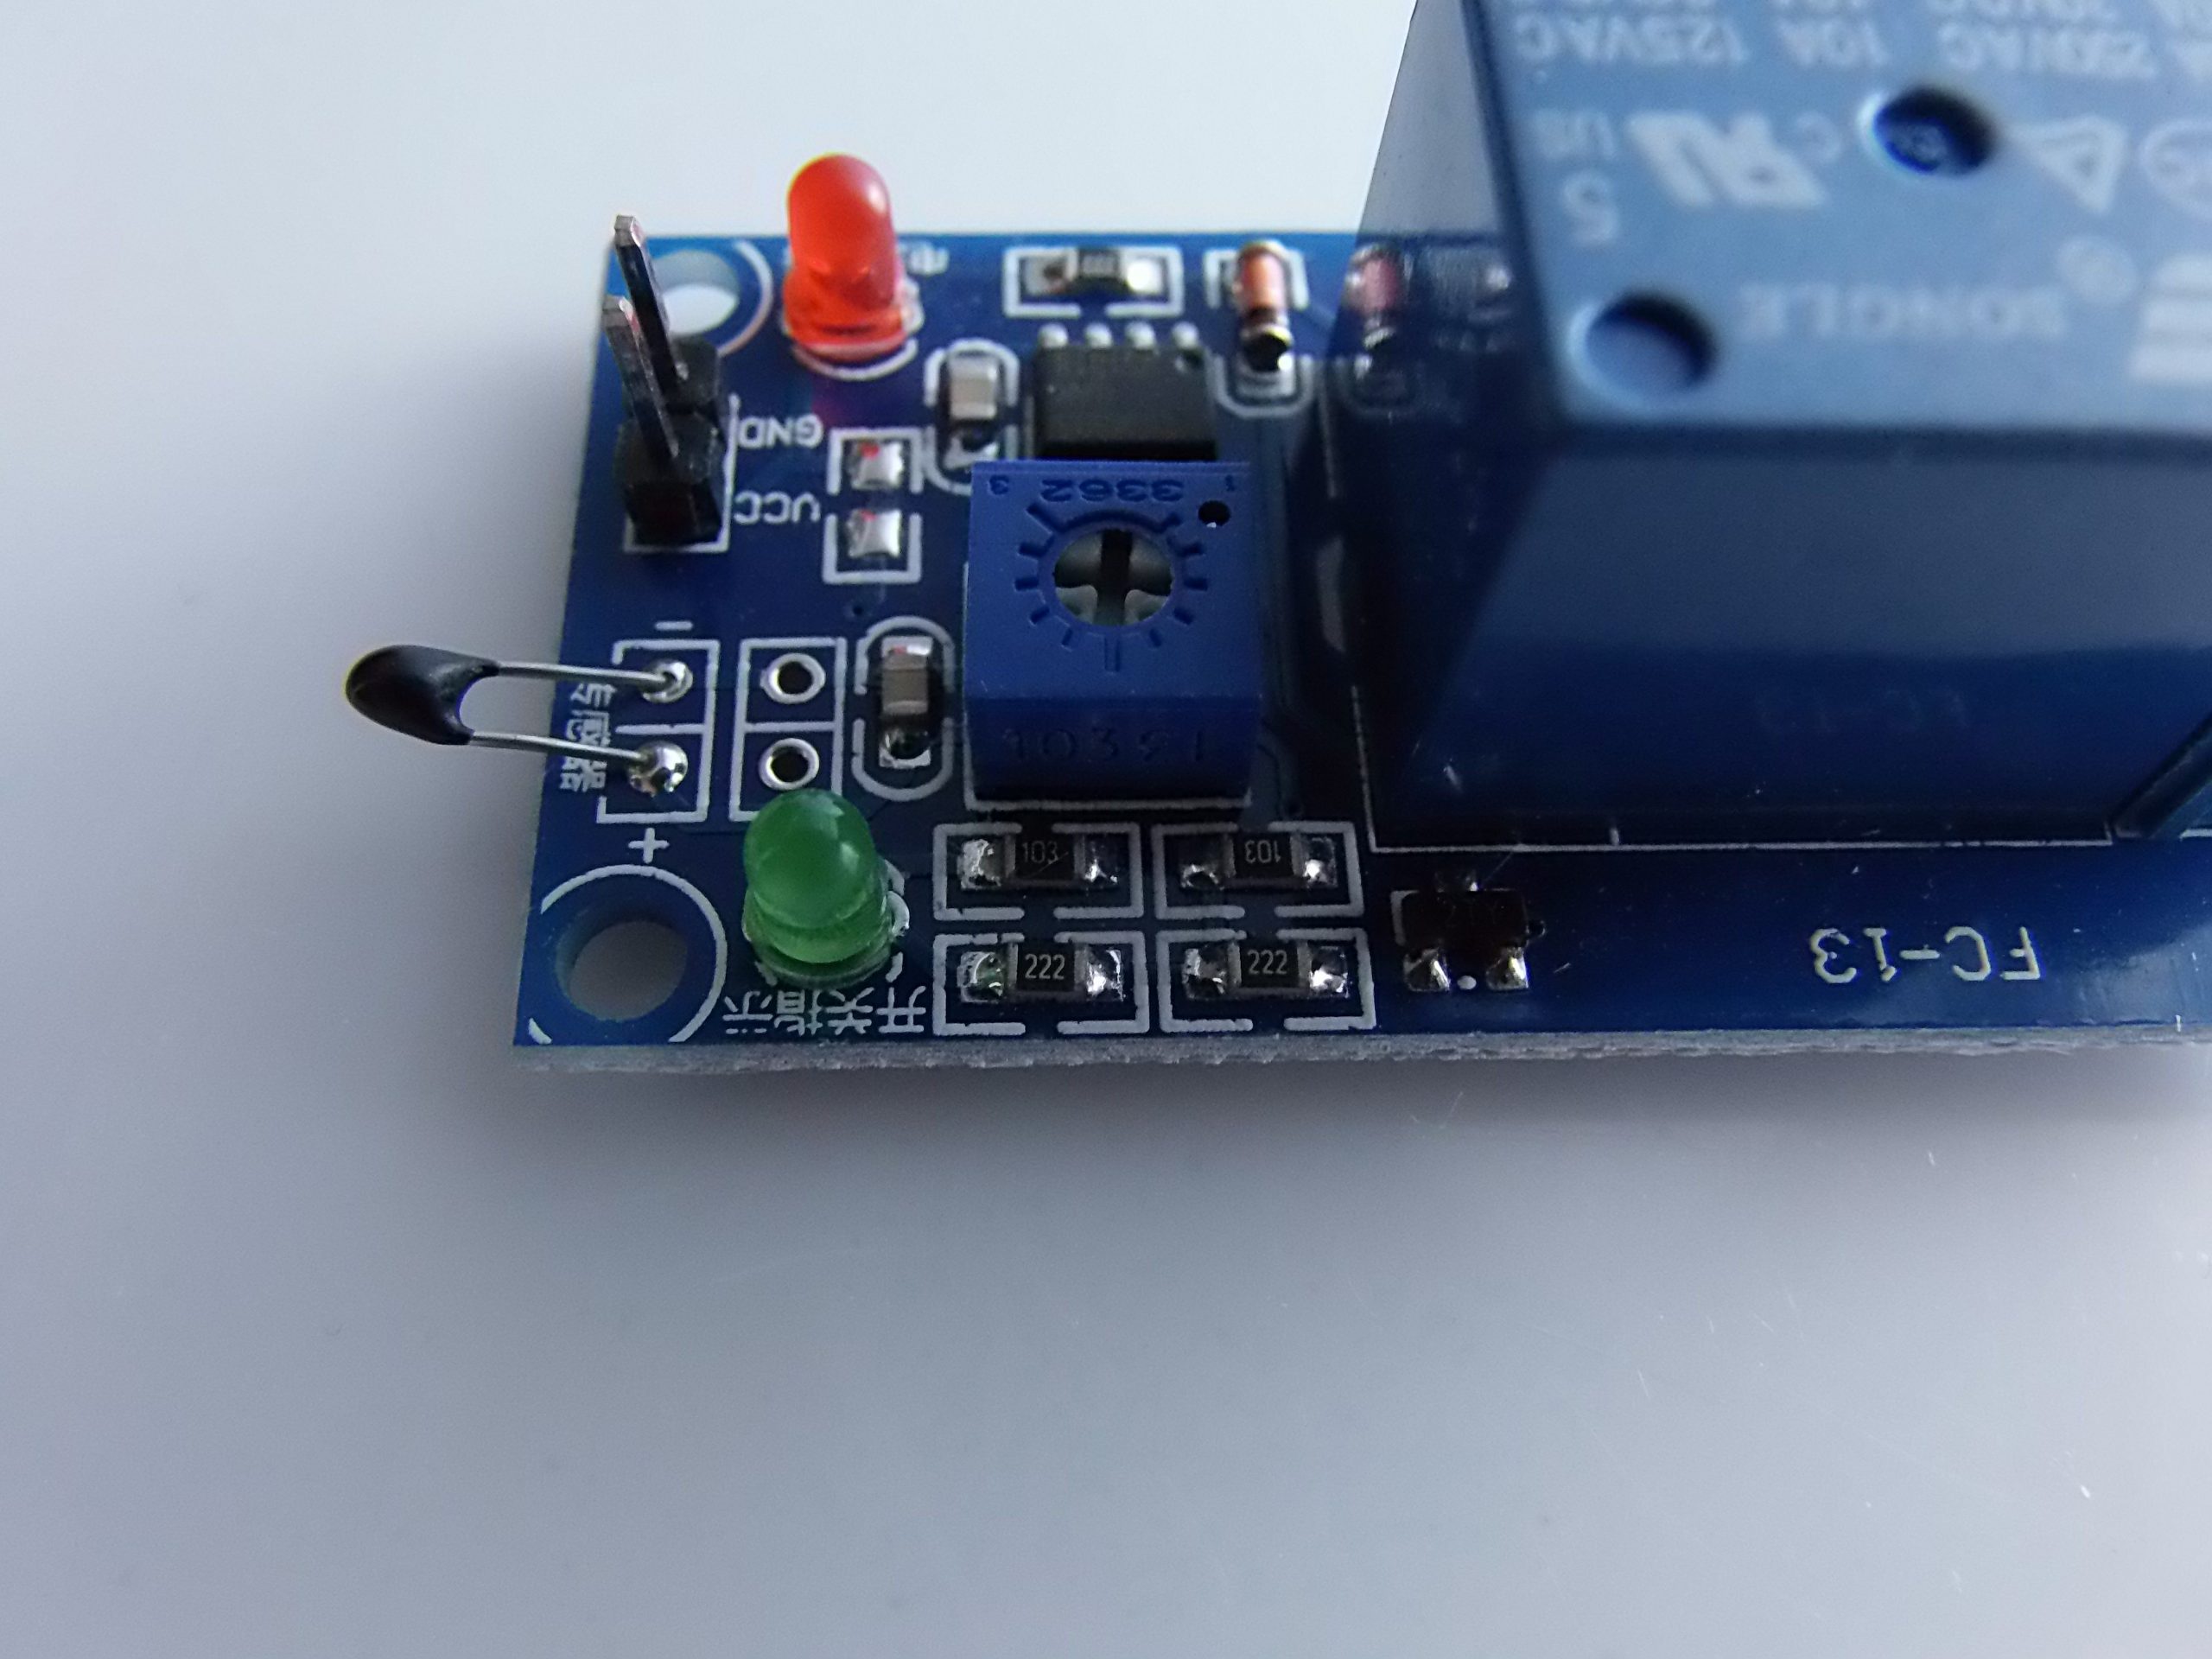
Description
✅ Description of the Relay Module with NTC Temperature Sensor
📦 Overview
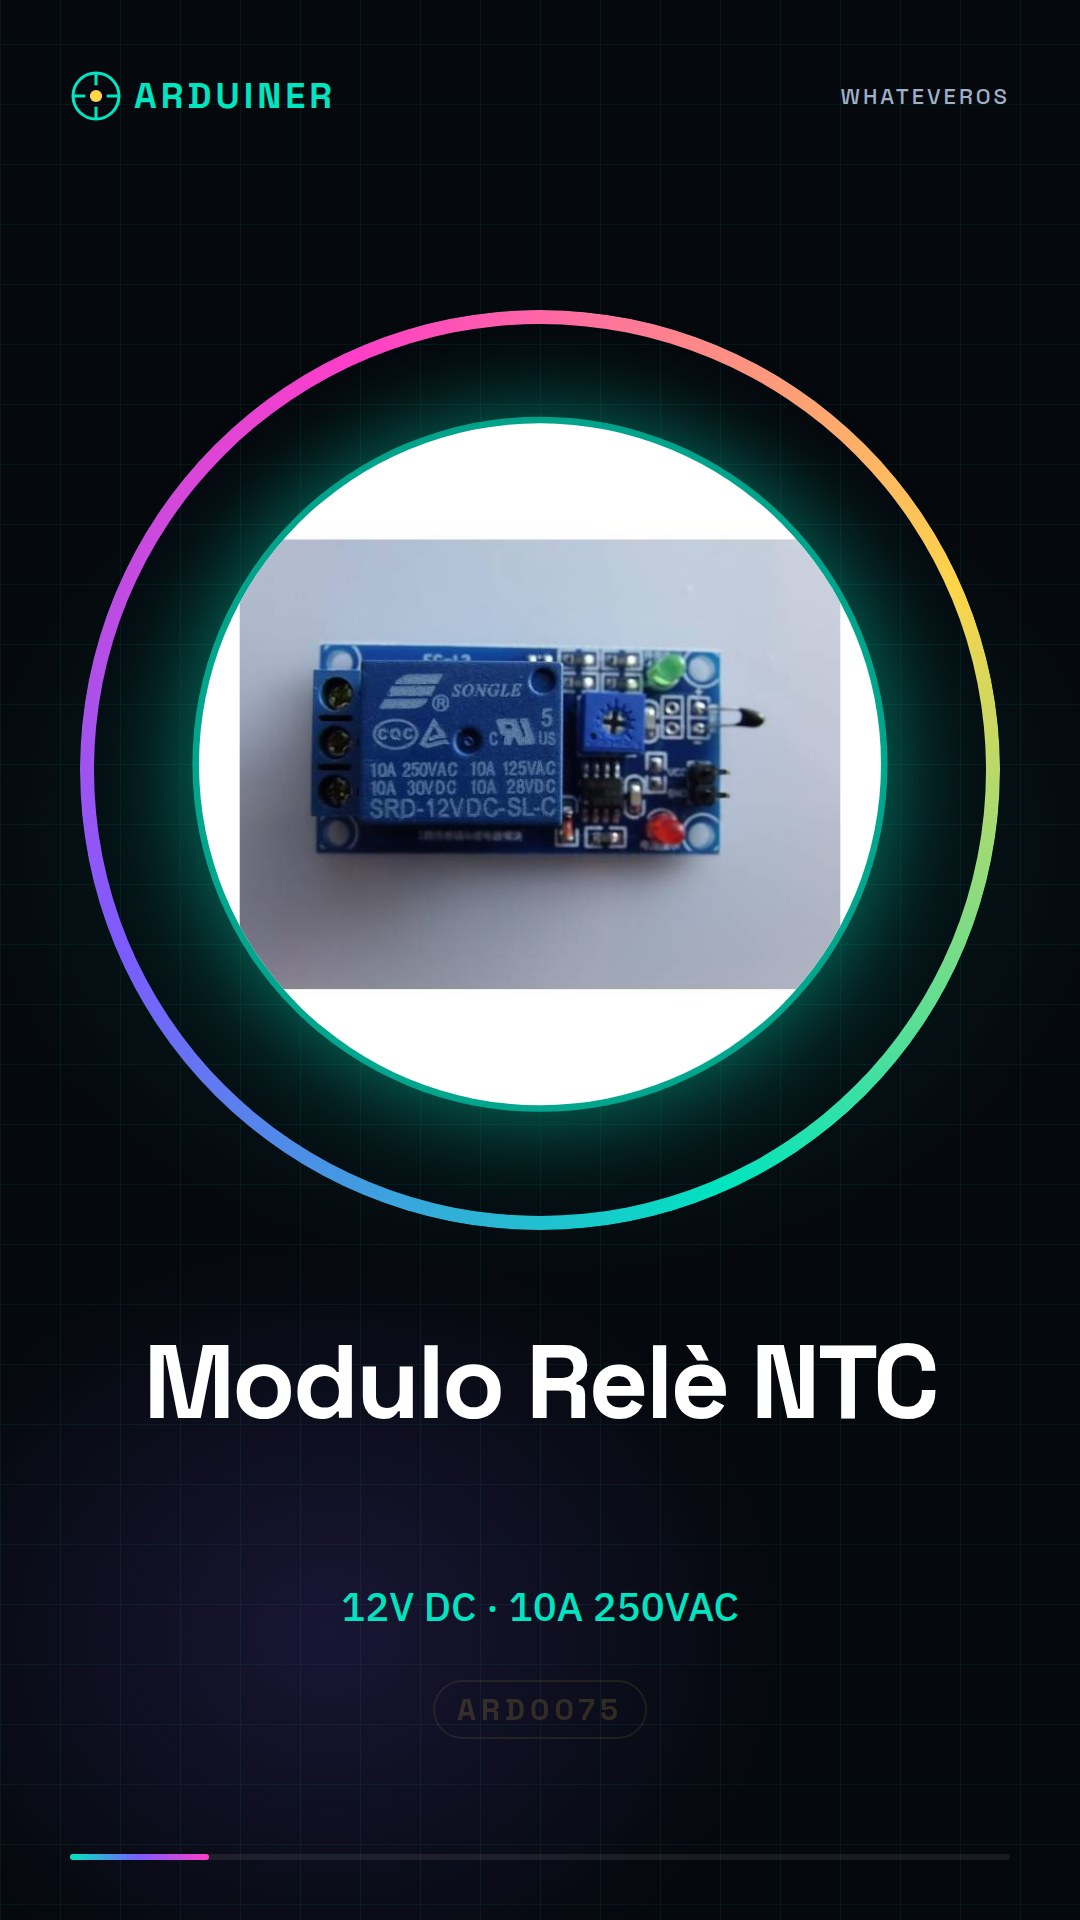
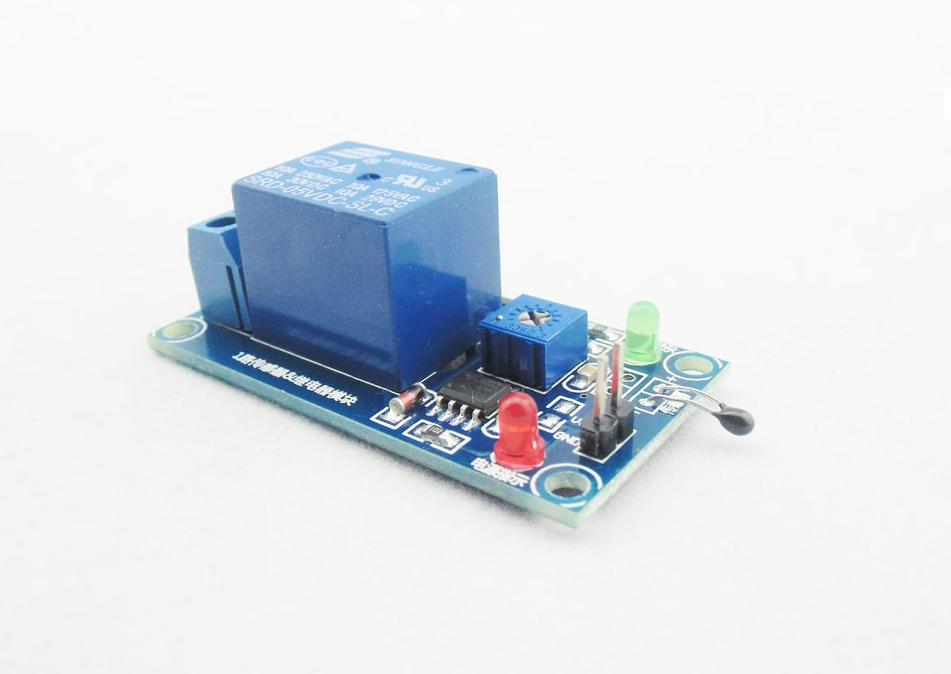
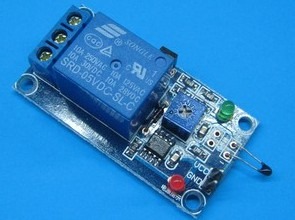
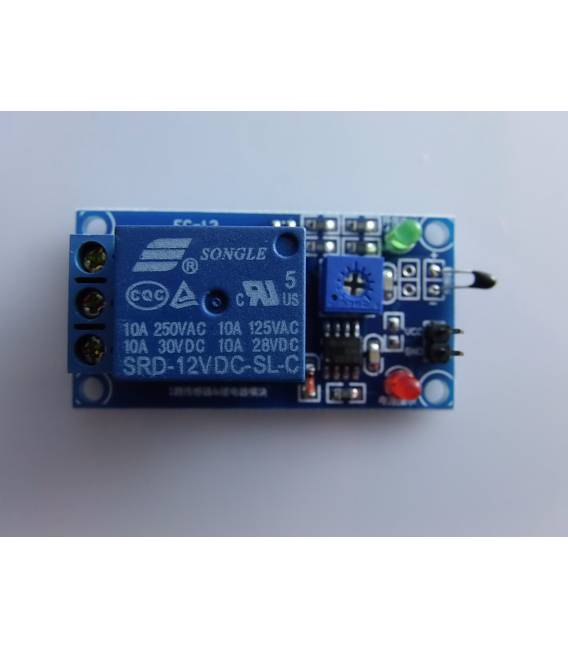
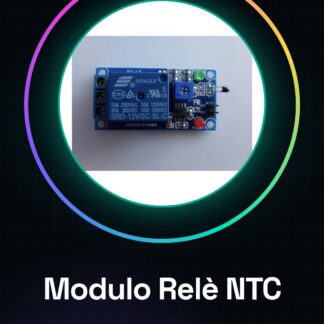
The Relay Module with NTC Temperature Sensor is an autonomous device that allows you to activate or deactivate an electrical load (e.g., fan, heater, alarm, etc.) based on the ambient temperature. It is equipped with:
- 1-channel relay (typically 10A, compatible with 230V AC or 30V DC)
- NTC temperature sensor (thermistor)
- Potentiometer/trimmer to adjust the activation threshold
- Comparator (LM393 or similar)
- LED for relay status
⚙️ Technical Specifications
| Feature | Value |
|---|---|
| Operating Voltage | 12V DC |
| Relay Type | 1 Channel, 10A @ 250VAC / 10A @ 30VDC |
| Sensor | NTC Thermistor 10kΩ |
| Threshold Adjustment | Mechanical Trimmer |
| Interface | OUT (relay signal), VCC, GND |
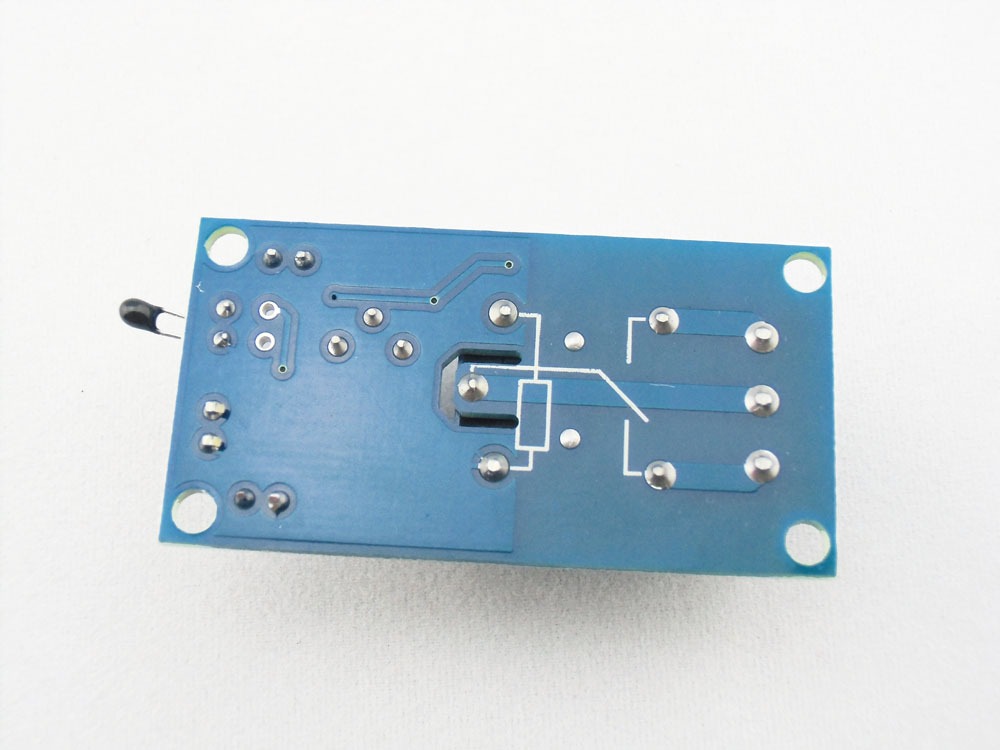
| Relay Output | NC (Normally Closed), NO, COM |
| LED Indicator | Relay Status (ON/OFF) |
🧠 Operation
- The NTC sensor reads the temperature.
- The module compares the reading to a manually set threshold via the potentiometer.
- When the temperature exceeds or falls below this threshold (depending on the module), the relay activates or deactivates.
- The onboard LED indicates the relay’s status.
🔁 Typical Behavior: The relay activates at higher temperatures than the threshold, useful for fans or coolers.
🧰 Guide to Using with Arduino
🔌 Basic Connections
⚠️ The module operates independently, but we can use Arduino to read the relay’s status o check other events when activated.
Recommended connections:
| Module Pin | Connection |
|---|---|
| VCC (12V) | 12V DC Power Supply (NOT from Arduino) |
| GND | Common GND with Arduino |
| OUT (signal) | Arduino Digital Pin (e.g., D2) |
| COM/NO/NC relay | Load to activate/deactivate |
🧪 Example 1: Reading the state of the relay with Arduino
In this example, Arduino detects if the relay is active (i.e., if the temperature has exceeded the threshold):
#define RELAY_SIGNAL 2
#define LED 13 // LED onboard

void setup() {
 pinMode(RELAY_SIGNAL, INPUT);
 pinMode(LED, OUTPUT);
 Serial.begin(9600);
}

void loop() {
 int stato = digitalRead(RELAY_SIGNAL);

 if (stato == HIGH) {
 Serial.println("Temperatura alta - Relè attivo");
 digitalWrite(LED, HIGH);
 } else {
 Serial.println("Temperatura bassa - Relè disattivo");
 digitalWrite(LED, LOW);
 }

 delay(500);
}
🧪 Example 2: Activation of another device from Arduino
You can use Arduino to activate a buzzer or send a message via serial or WiFi when the relay activates.
#define RELAY_SIGNAL 2
#define BUZZER 3

void setup() {
 pinMode(RELAY_SIGNAL, INPUT);
 pinMode(BUZZER, OUTPUT);
}

void loop() {
 int stato = digitalRead(RELAY_SIGNAL);

 if (stato == HIGH) {
 digitalWrite(BUZZER, HIGH); // Allarme
 } else {
 digitalWrite(BUZZER, LOW);
 }
}
🔧 Temperature Threshold Adjustment
- Rotate the trimmer on the module clockwise or counterclockwise to change the threshold.
- Use a lighter or the heat of your hand to test the sensitivity.
- The relay will automatically switch when the NTC sensor reaches the set temperature.
🧪 Practical Usage Examples
| Application | Description |
|---|---|
| Automatic Ventilation | Activates a fan if the temperature is too high |
| Heating Control | Turns on a heater if the temperature is too low |
| Overheating Alarm | Sends a signal to Arduino to notify critical temperature |
| Automatic Greenhouse System | Regulates window opening, fan activation, or pump operation |
| Electronic Protection | Deactivate loads in case of overheat |
📌 Final Considerations
- ✅ Advantages: simple, economical, reliable, autonomous
- ❌ Limitations: not as precise as a digital sensor (e.g., DS18B20)
- ⚠️ Do not power it with Arduino’s 5V: it requires a separate 12V DC power supply
- 🧩 Can be combined with Arduino, ESP32, or other microcontrollers for advanced projects
|
GENERAL |
MODEL |
Thermal sensor; combo module |
|
MATERIALS |
pcb + components |
|
|
COMPATIBILITY |
ARDUINO |
|
|
ELECTRICAL COMPONENTS |
INPUT VOLTAGE |
5V |
|
WEIGHT AND DIMENSIONS |
PRODUCT WEIGHT |
100g |
|
PACKAGE WEIGHT |
0.155 kg |
|
|
PRODUCT DIMENSIONS (L x W x H) |
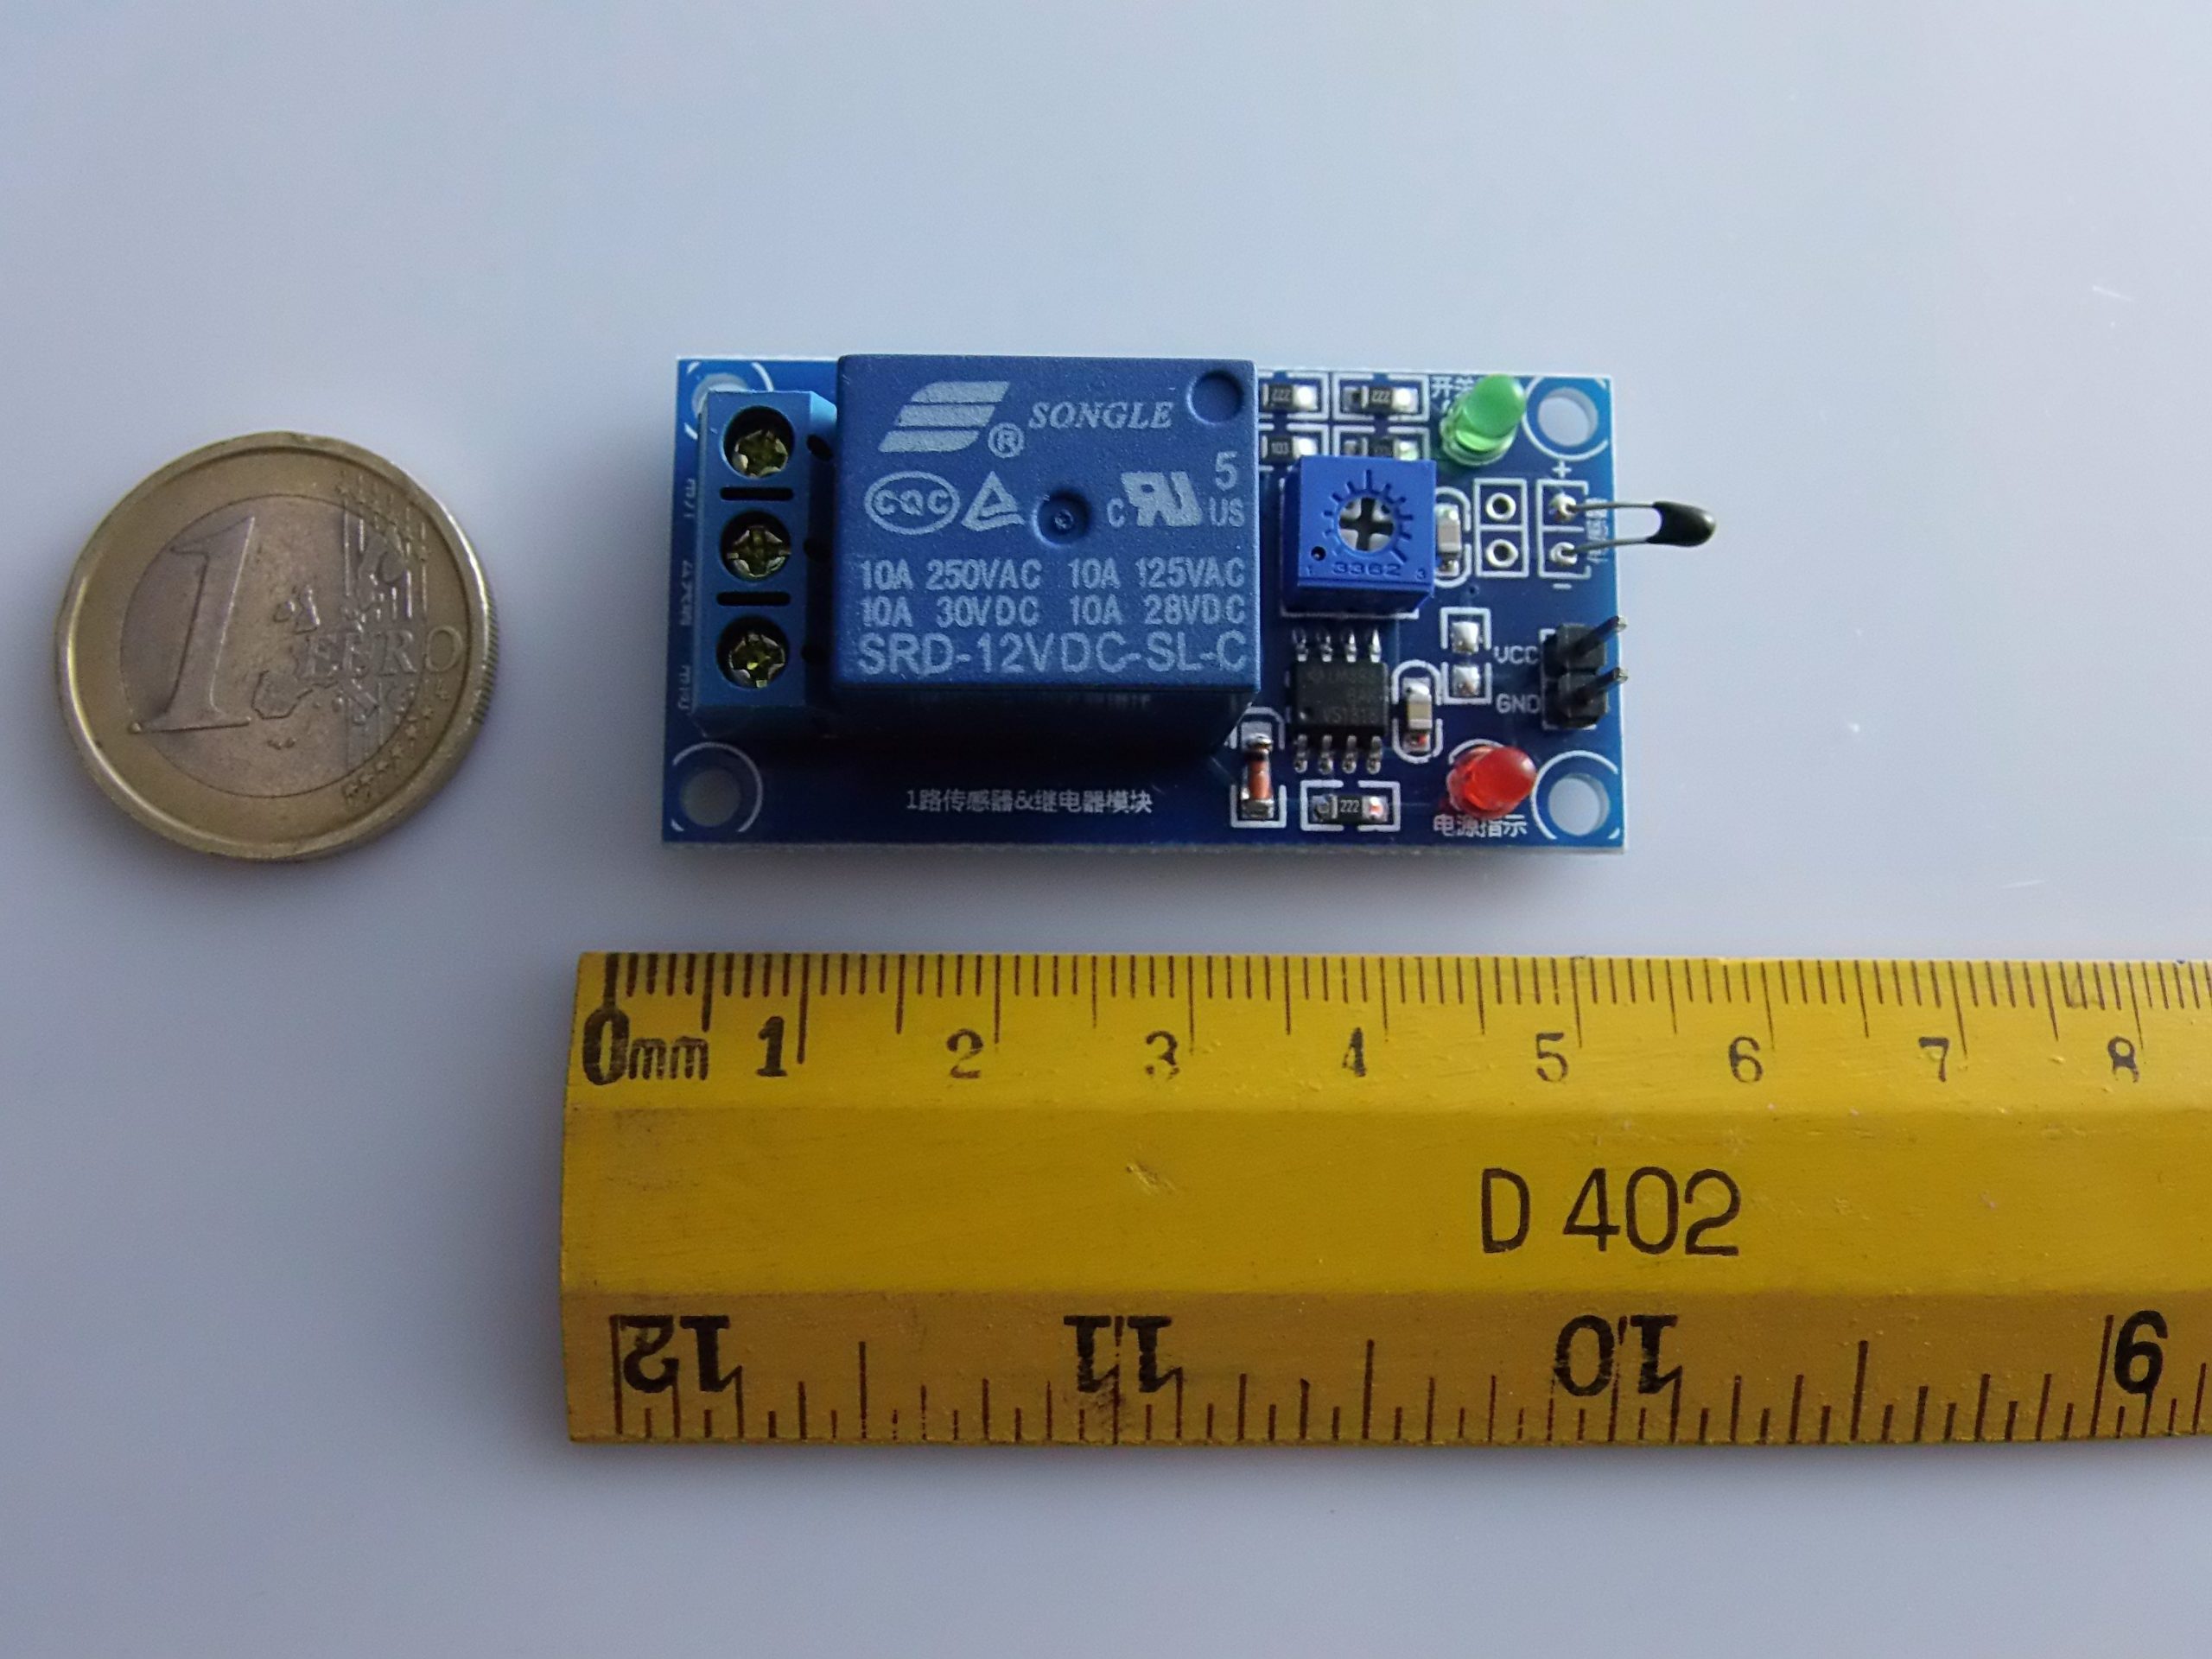
5.5 x 2.7 x 2.7 cm |
|
|
PACKAGE DIMENSIONS (L x W x H) |
5 x 10 x 5 cm |
|
|
PACKAGE CONTENT |
PACKAGE CONTENT |
1 x Module |
We have available the technical specifications of all components, if not present in the product download card, send us a message through the contact form and we will publish as soon as possible on our website.
Tutorial: How to Use the Relay Module with NTC Thermal Sensor
This module allows you to control electrical devices based on temperature. Useful for home and industrial automation projects.
What you need
- Arduino
- Connection Wires
- Multimeter
Steps
- 1. Module installation: Place the relay on the Arduino, ensure that the contacts fit correctly.
- 2. NTC connection: Connect pin A0 to the NTC sensor. Check the datasheet.
- 3. Relay connection: Connect pin 9 to the relay, check the datasheet.
- 4. Ground connections: Connect the ground to the relay and the Arduino.
- 5. Program the relay: Use a sketch to control the relay state based on temperature.
- 6. Module testing: Turn on the Arduino and observe the relay state.
- 7. Adjustment: Adjust the relay value for the activation temperature.
- 8. Test: Activate an electrical device with the relay.
Example code
int sensorPin = A0; int relayPin = 9; void setup() { pinMode(relayPin, OUTPUT); } void loop() { int sensorValue = analogRead(sensorPin); int relayState = (sensorValue > 512) ? HIGH : LOW; digitalWrite(relayPin, relayState); delay(1000); }Mini project
Create a thermal alarm system for a critical area.
Common mistakes
- Forget to ground the module.
- Incorrect pin connections.
- Not calibrating the relay properly.
- Failing to test the system.
Recommended accessories
- High current relay
- Digital thermometer
- Protective circuit
Frequently asked questions
The relay does not respond correctly.
Check the correct connection and the threshold value.
How can I calibrate the relay?
Adjust the relay value for the desired activation temperature.
What are the advantages of this module?
It allows automating temperature-based systems, optimizing resource usage.

Reviews
There are no reviews yet.