 EN
 IT Italiano
 ES Español
 FR Français
 DE Deutsch
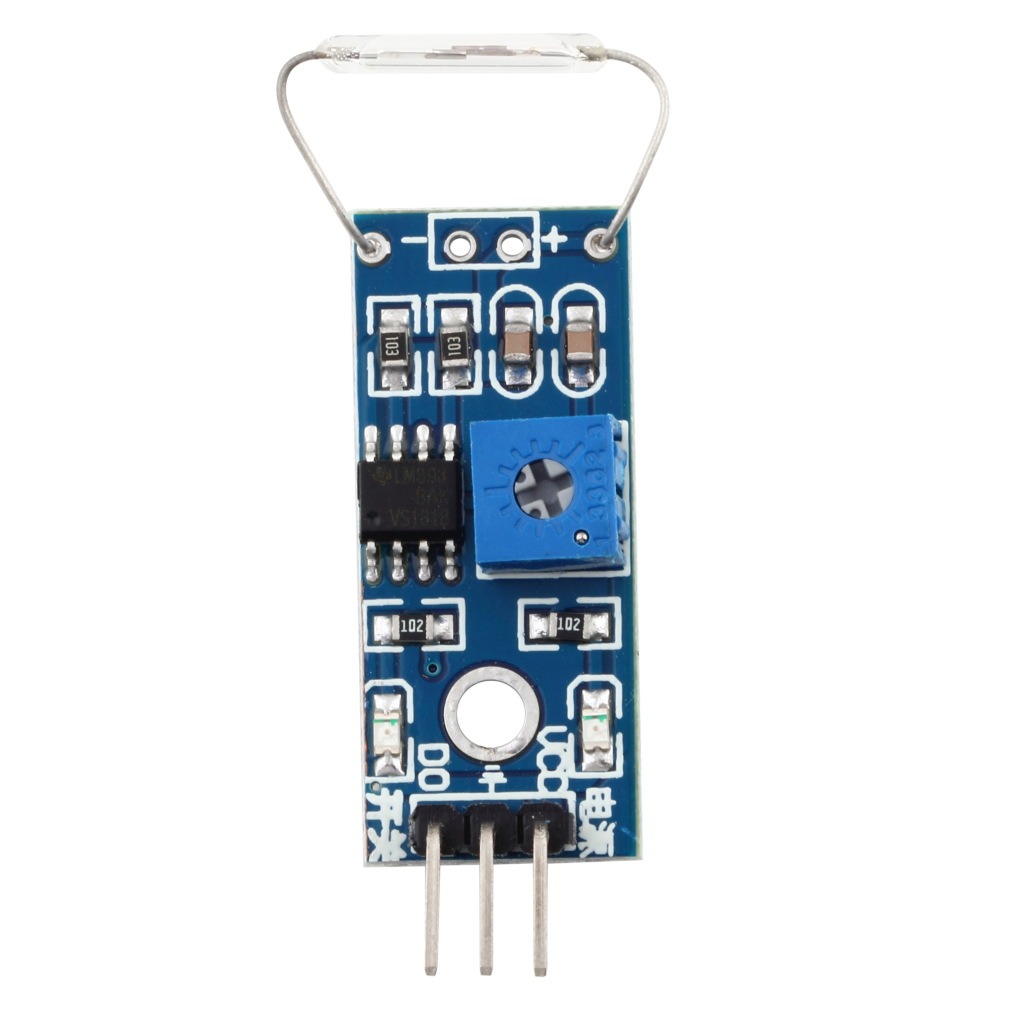
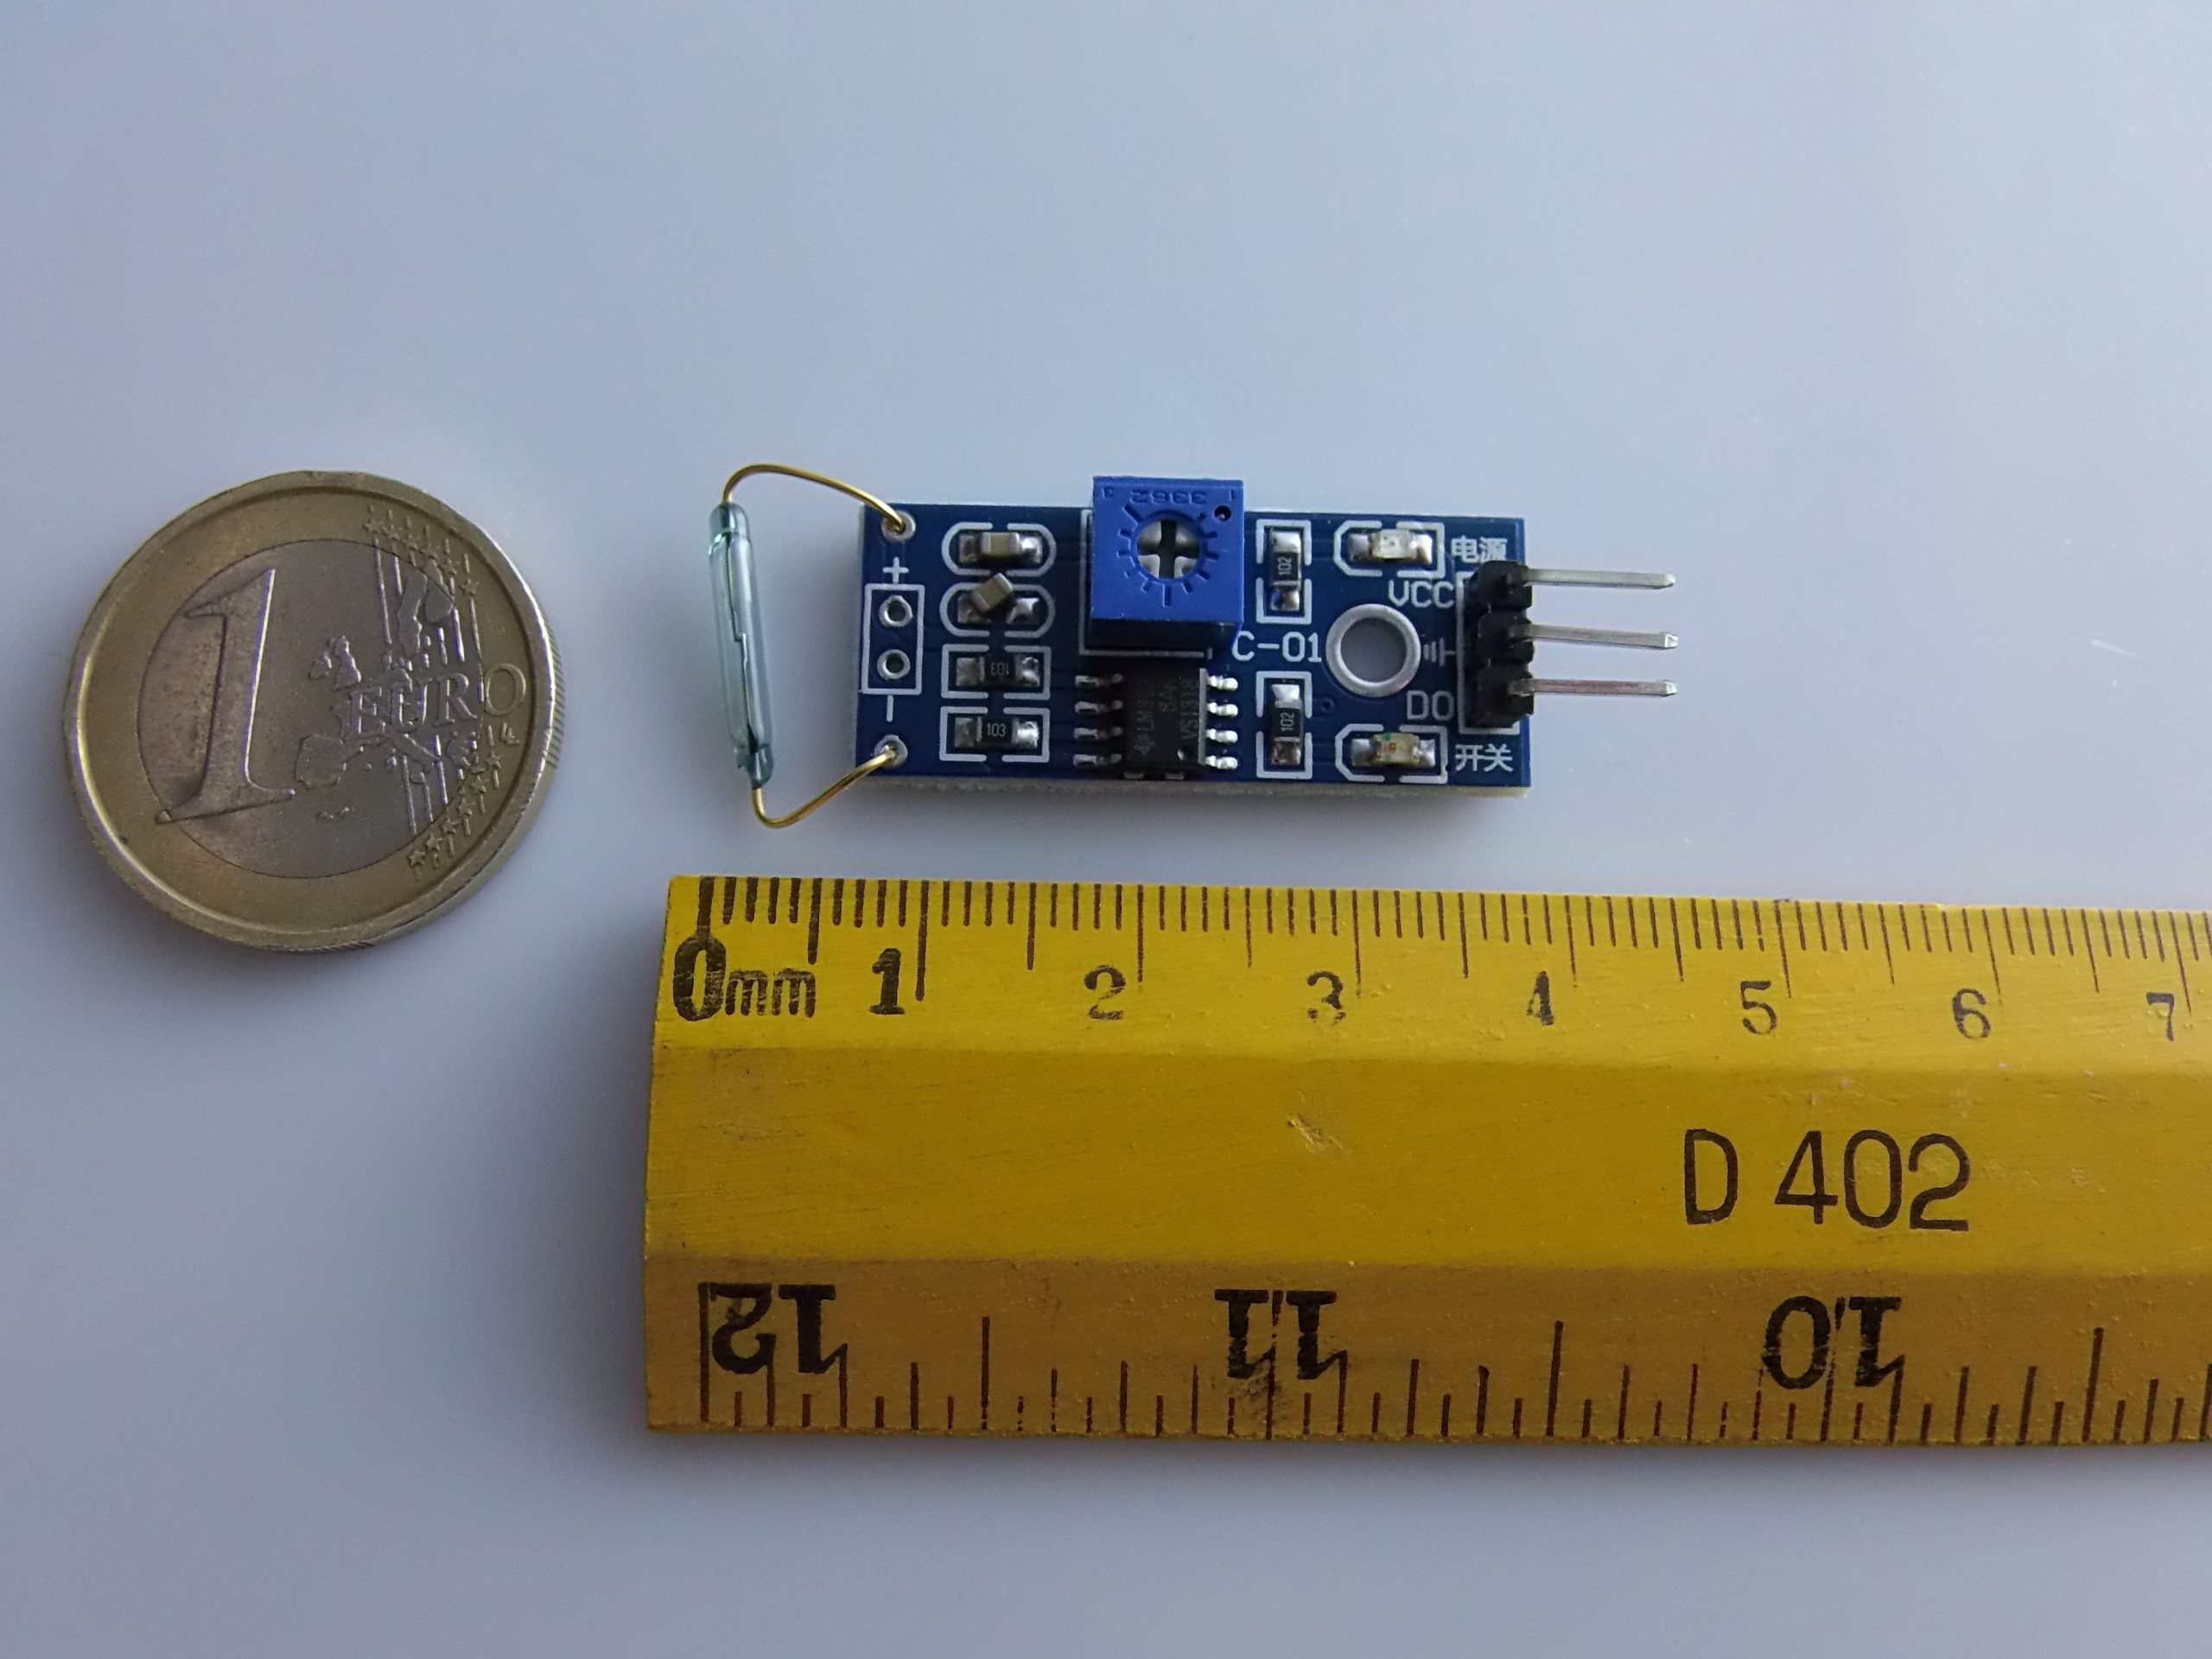
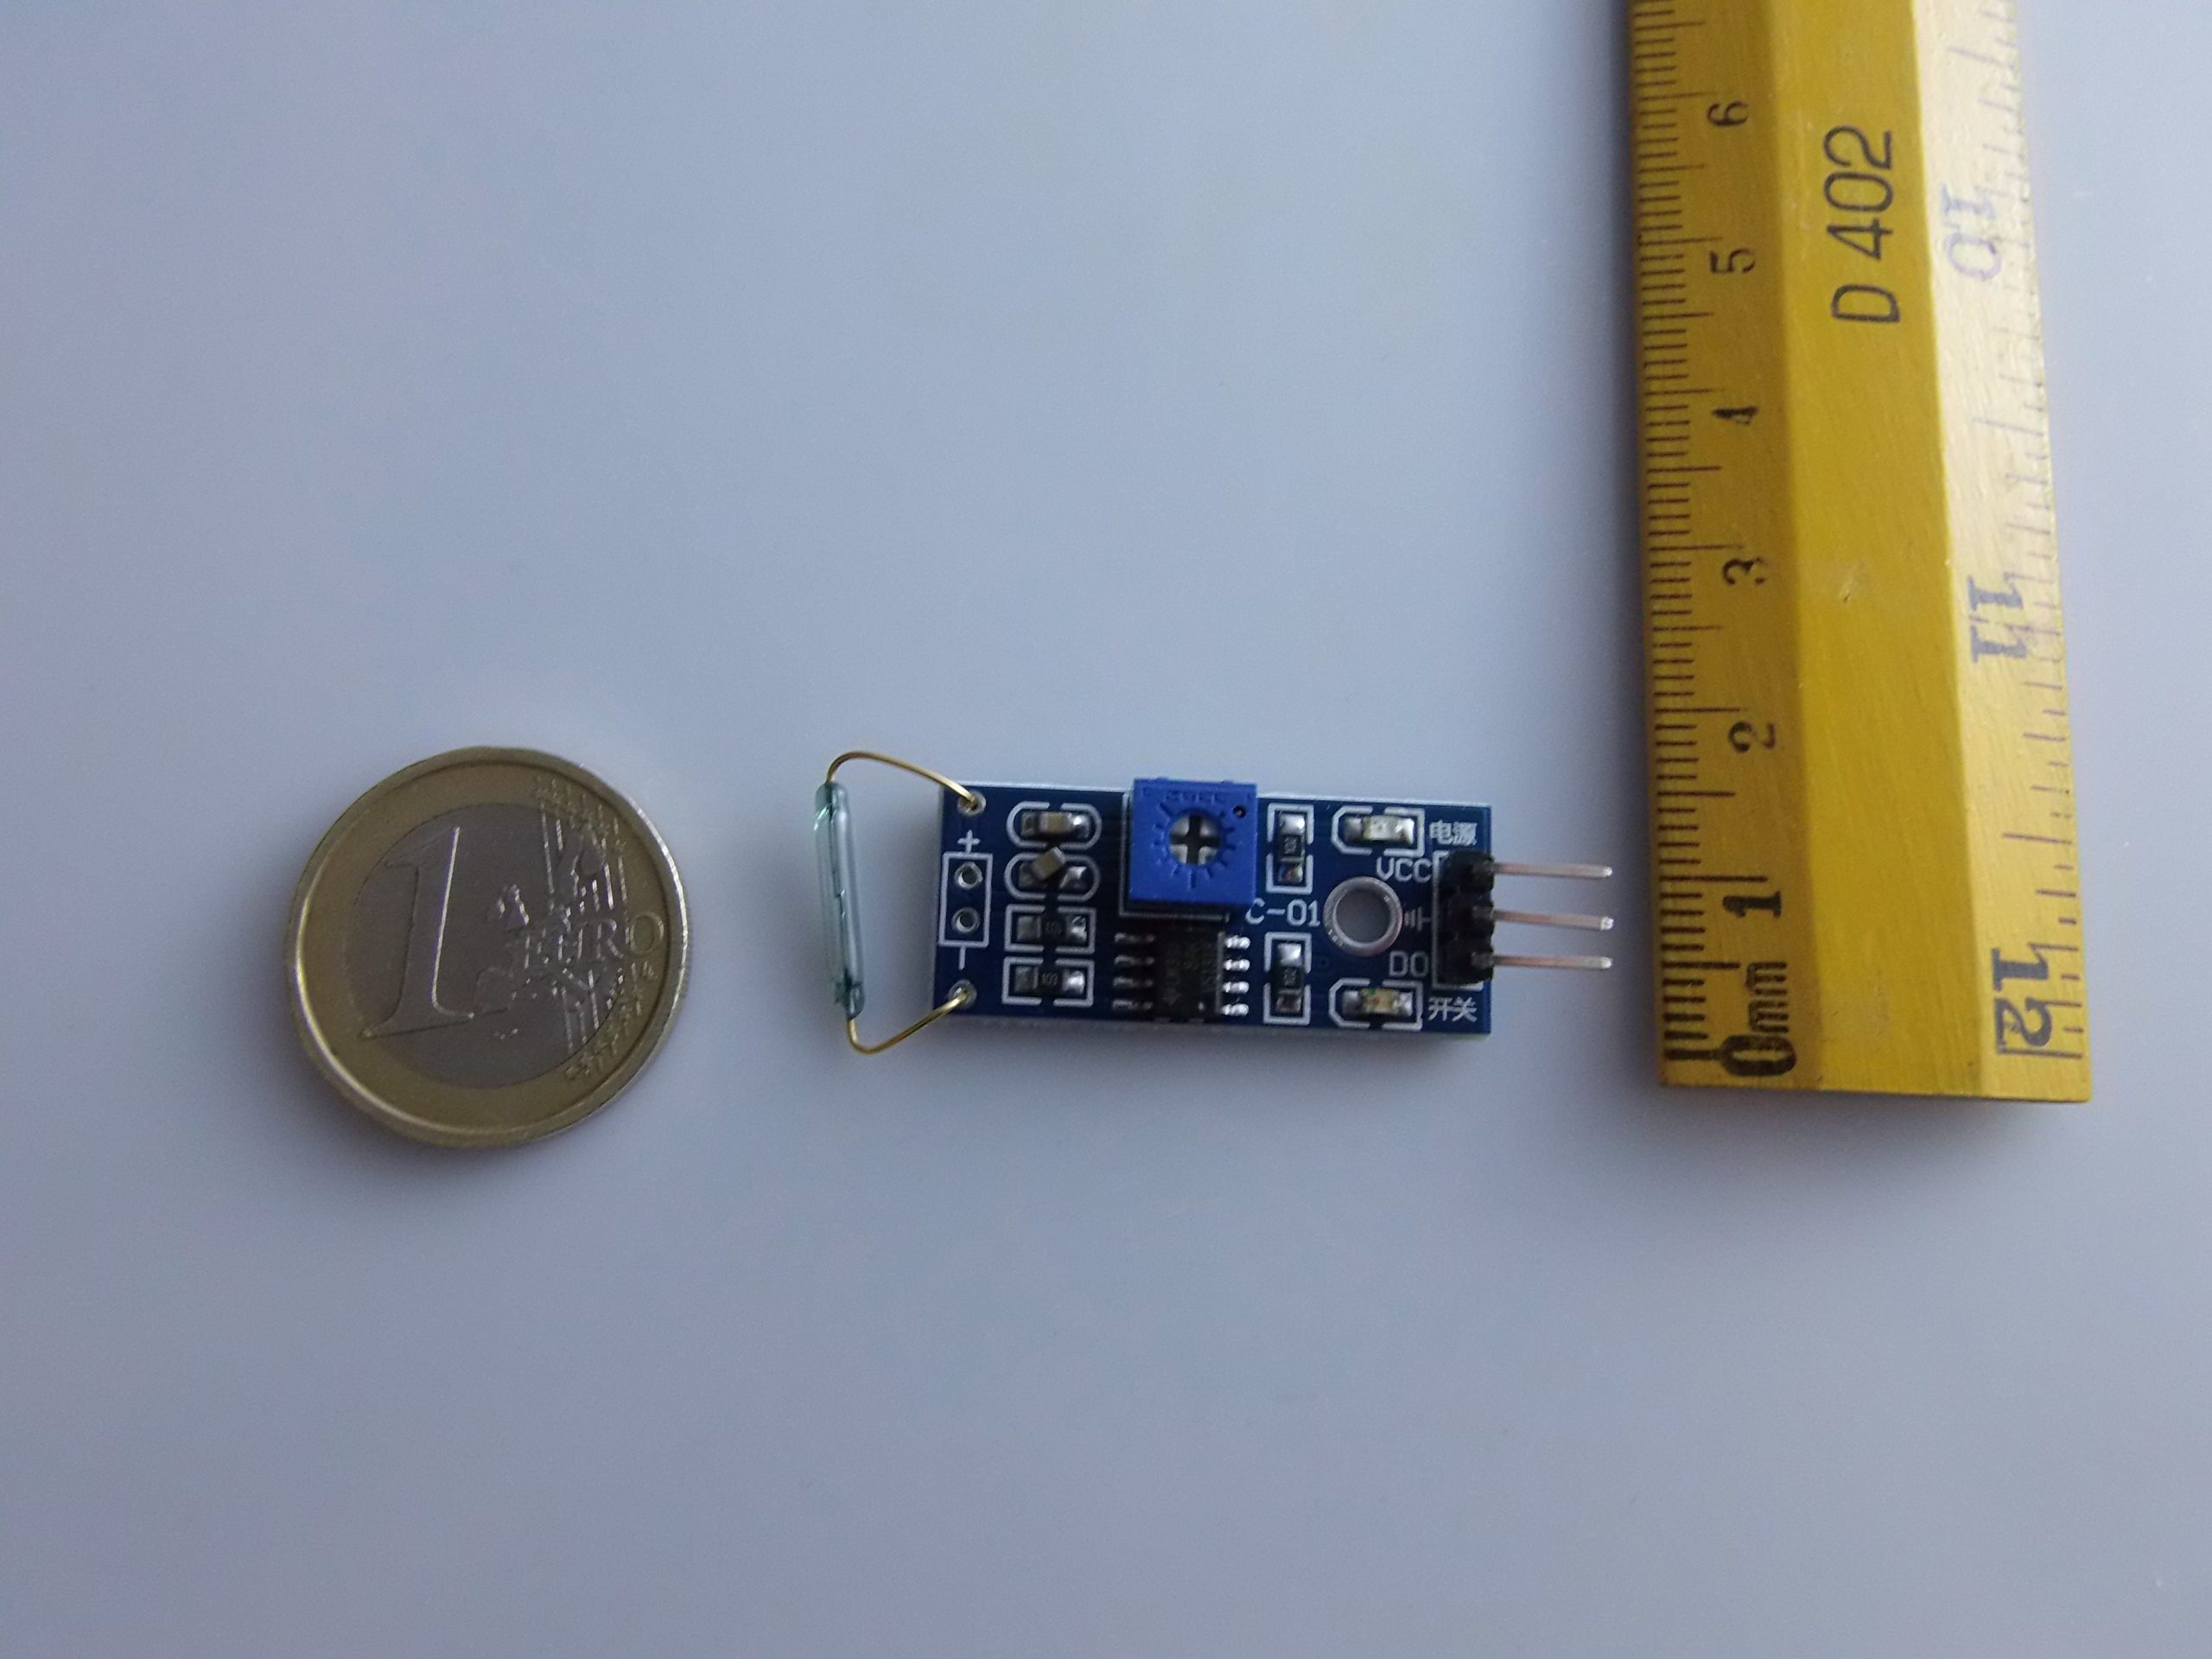
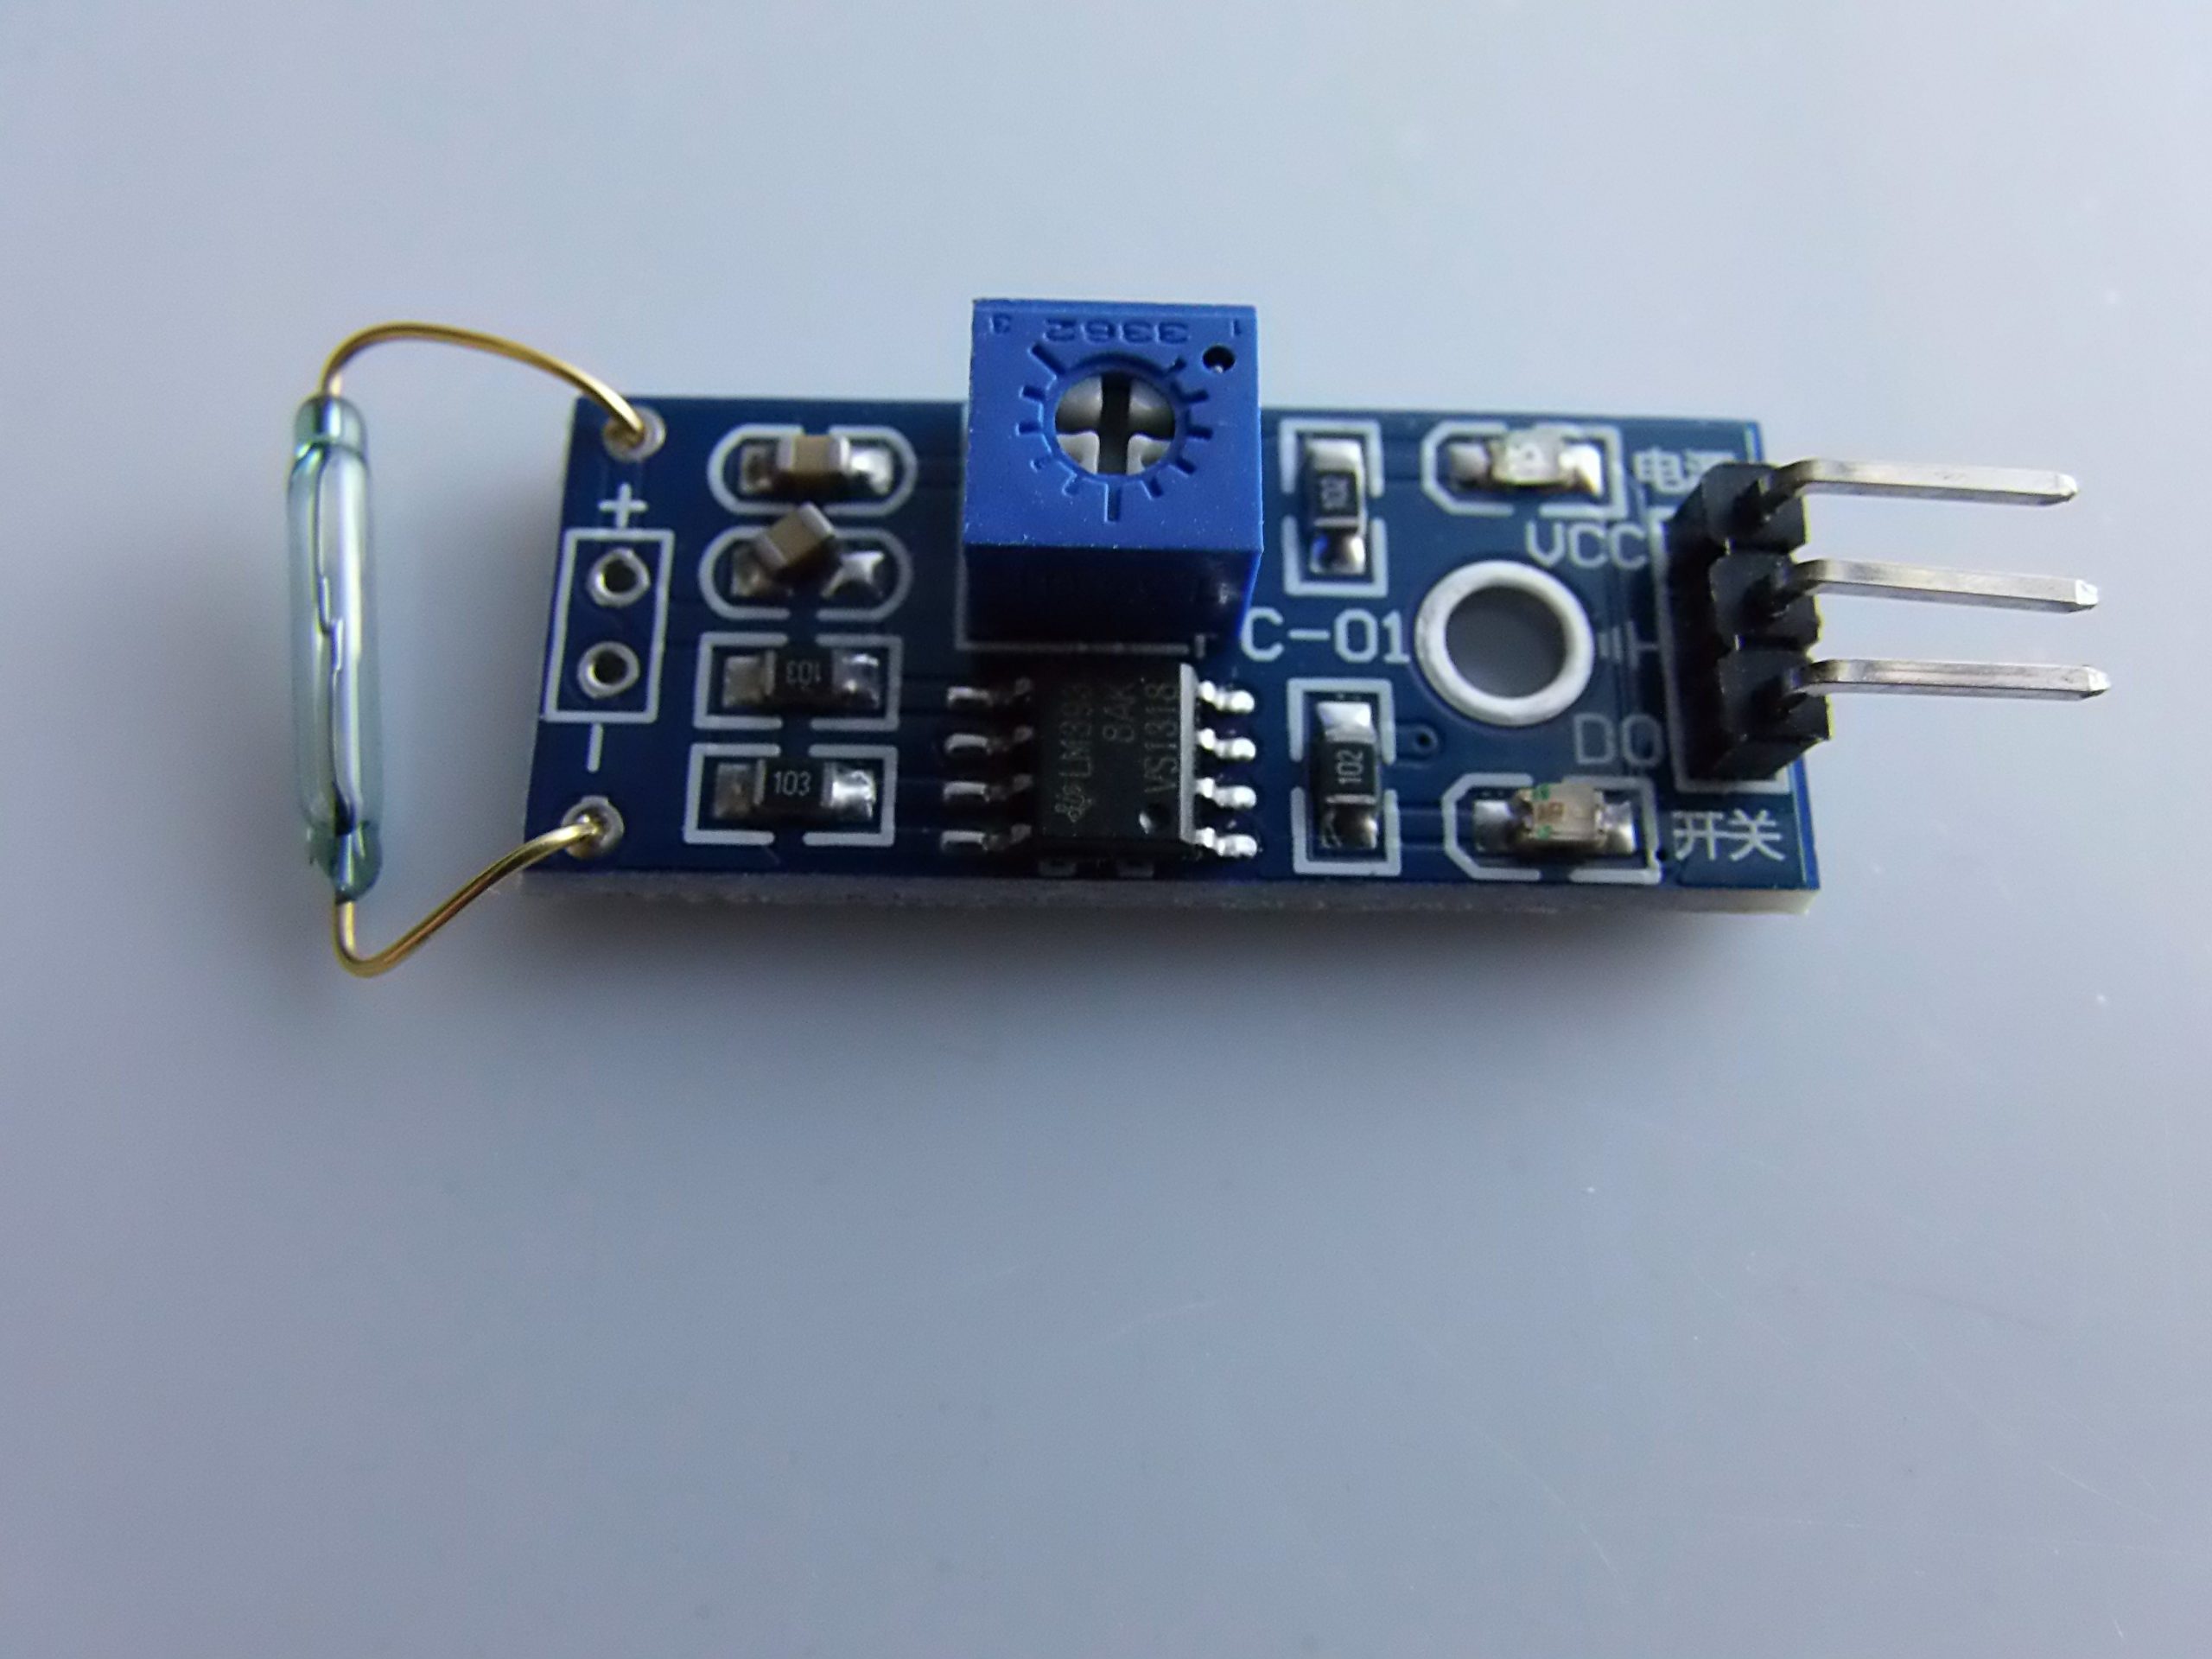
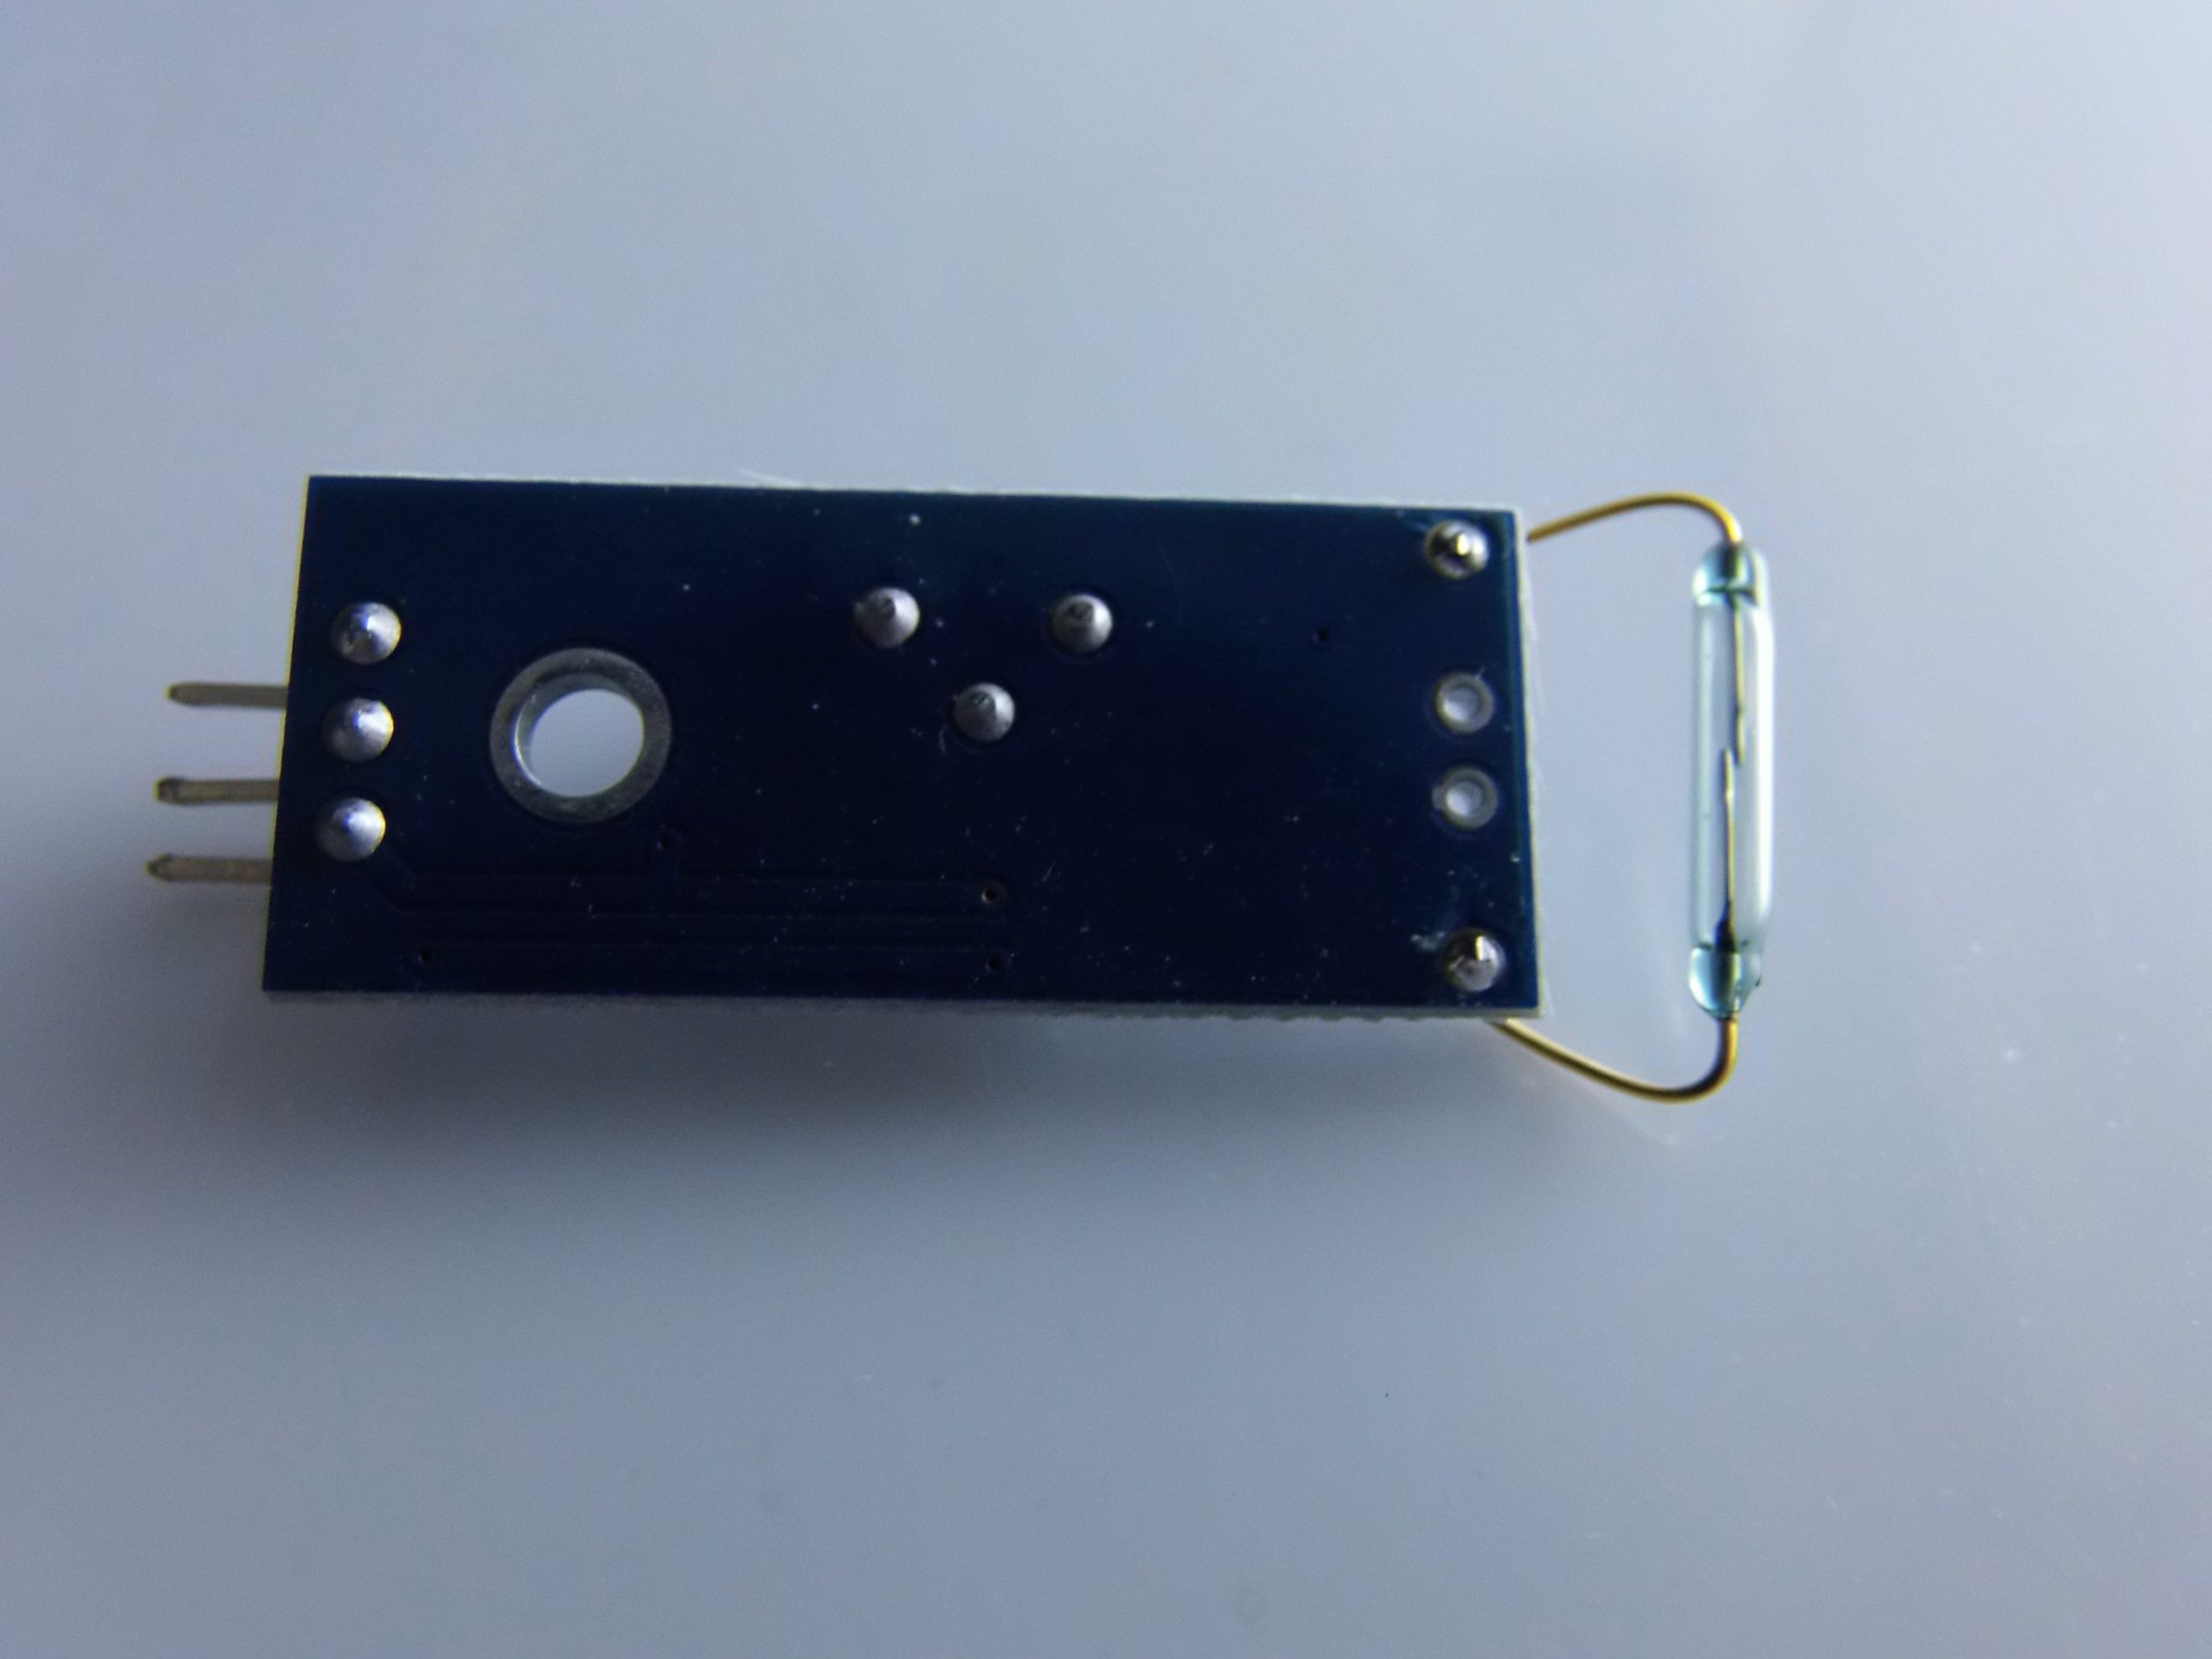
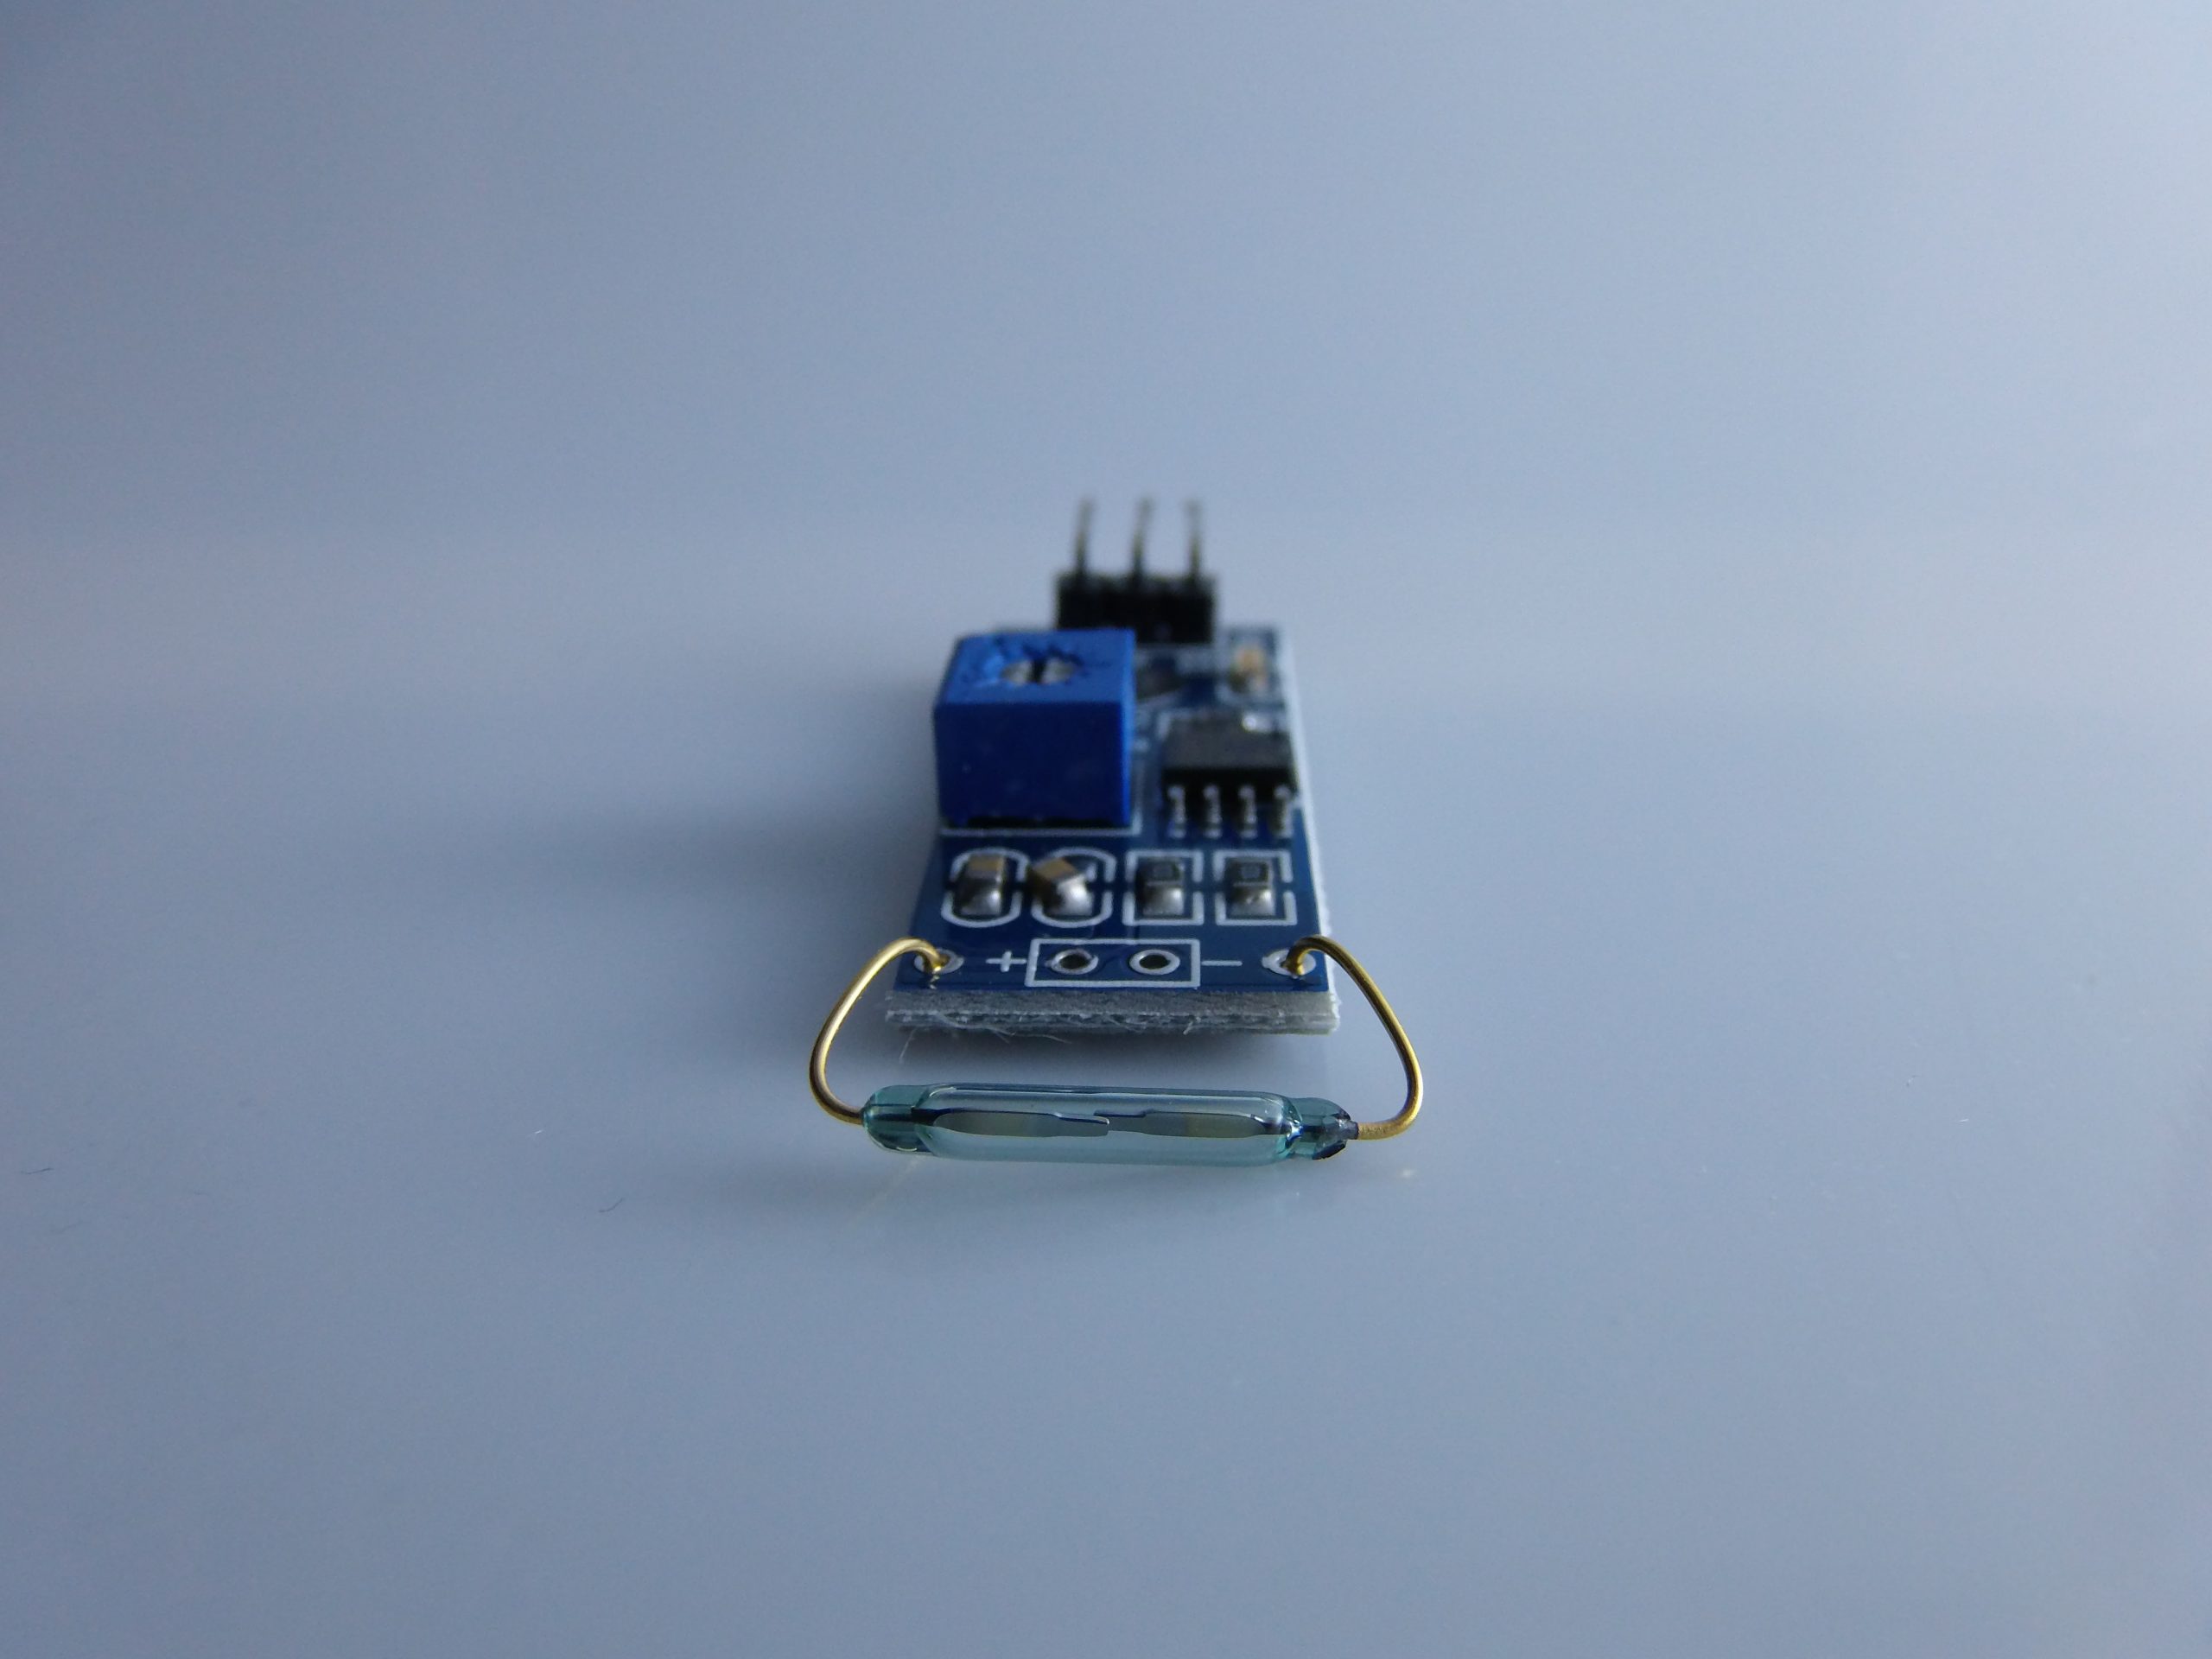
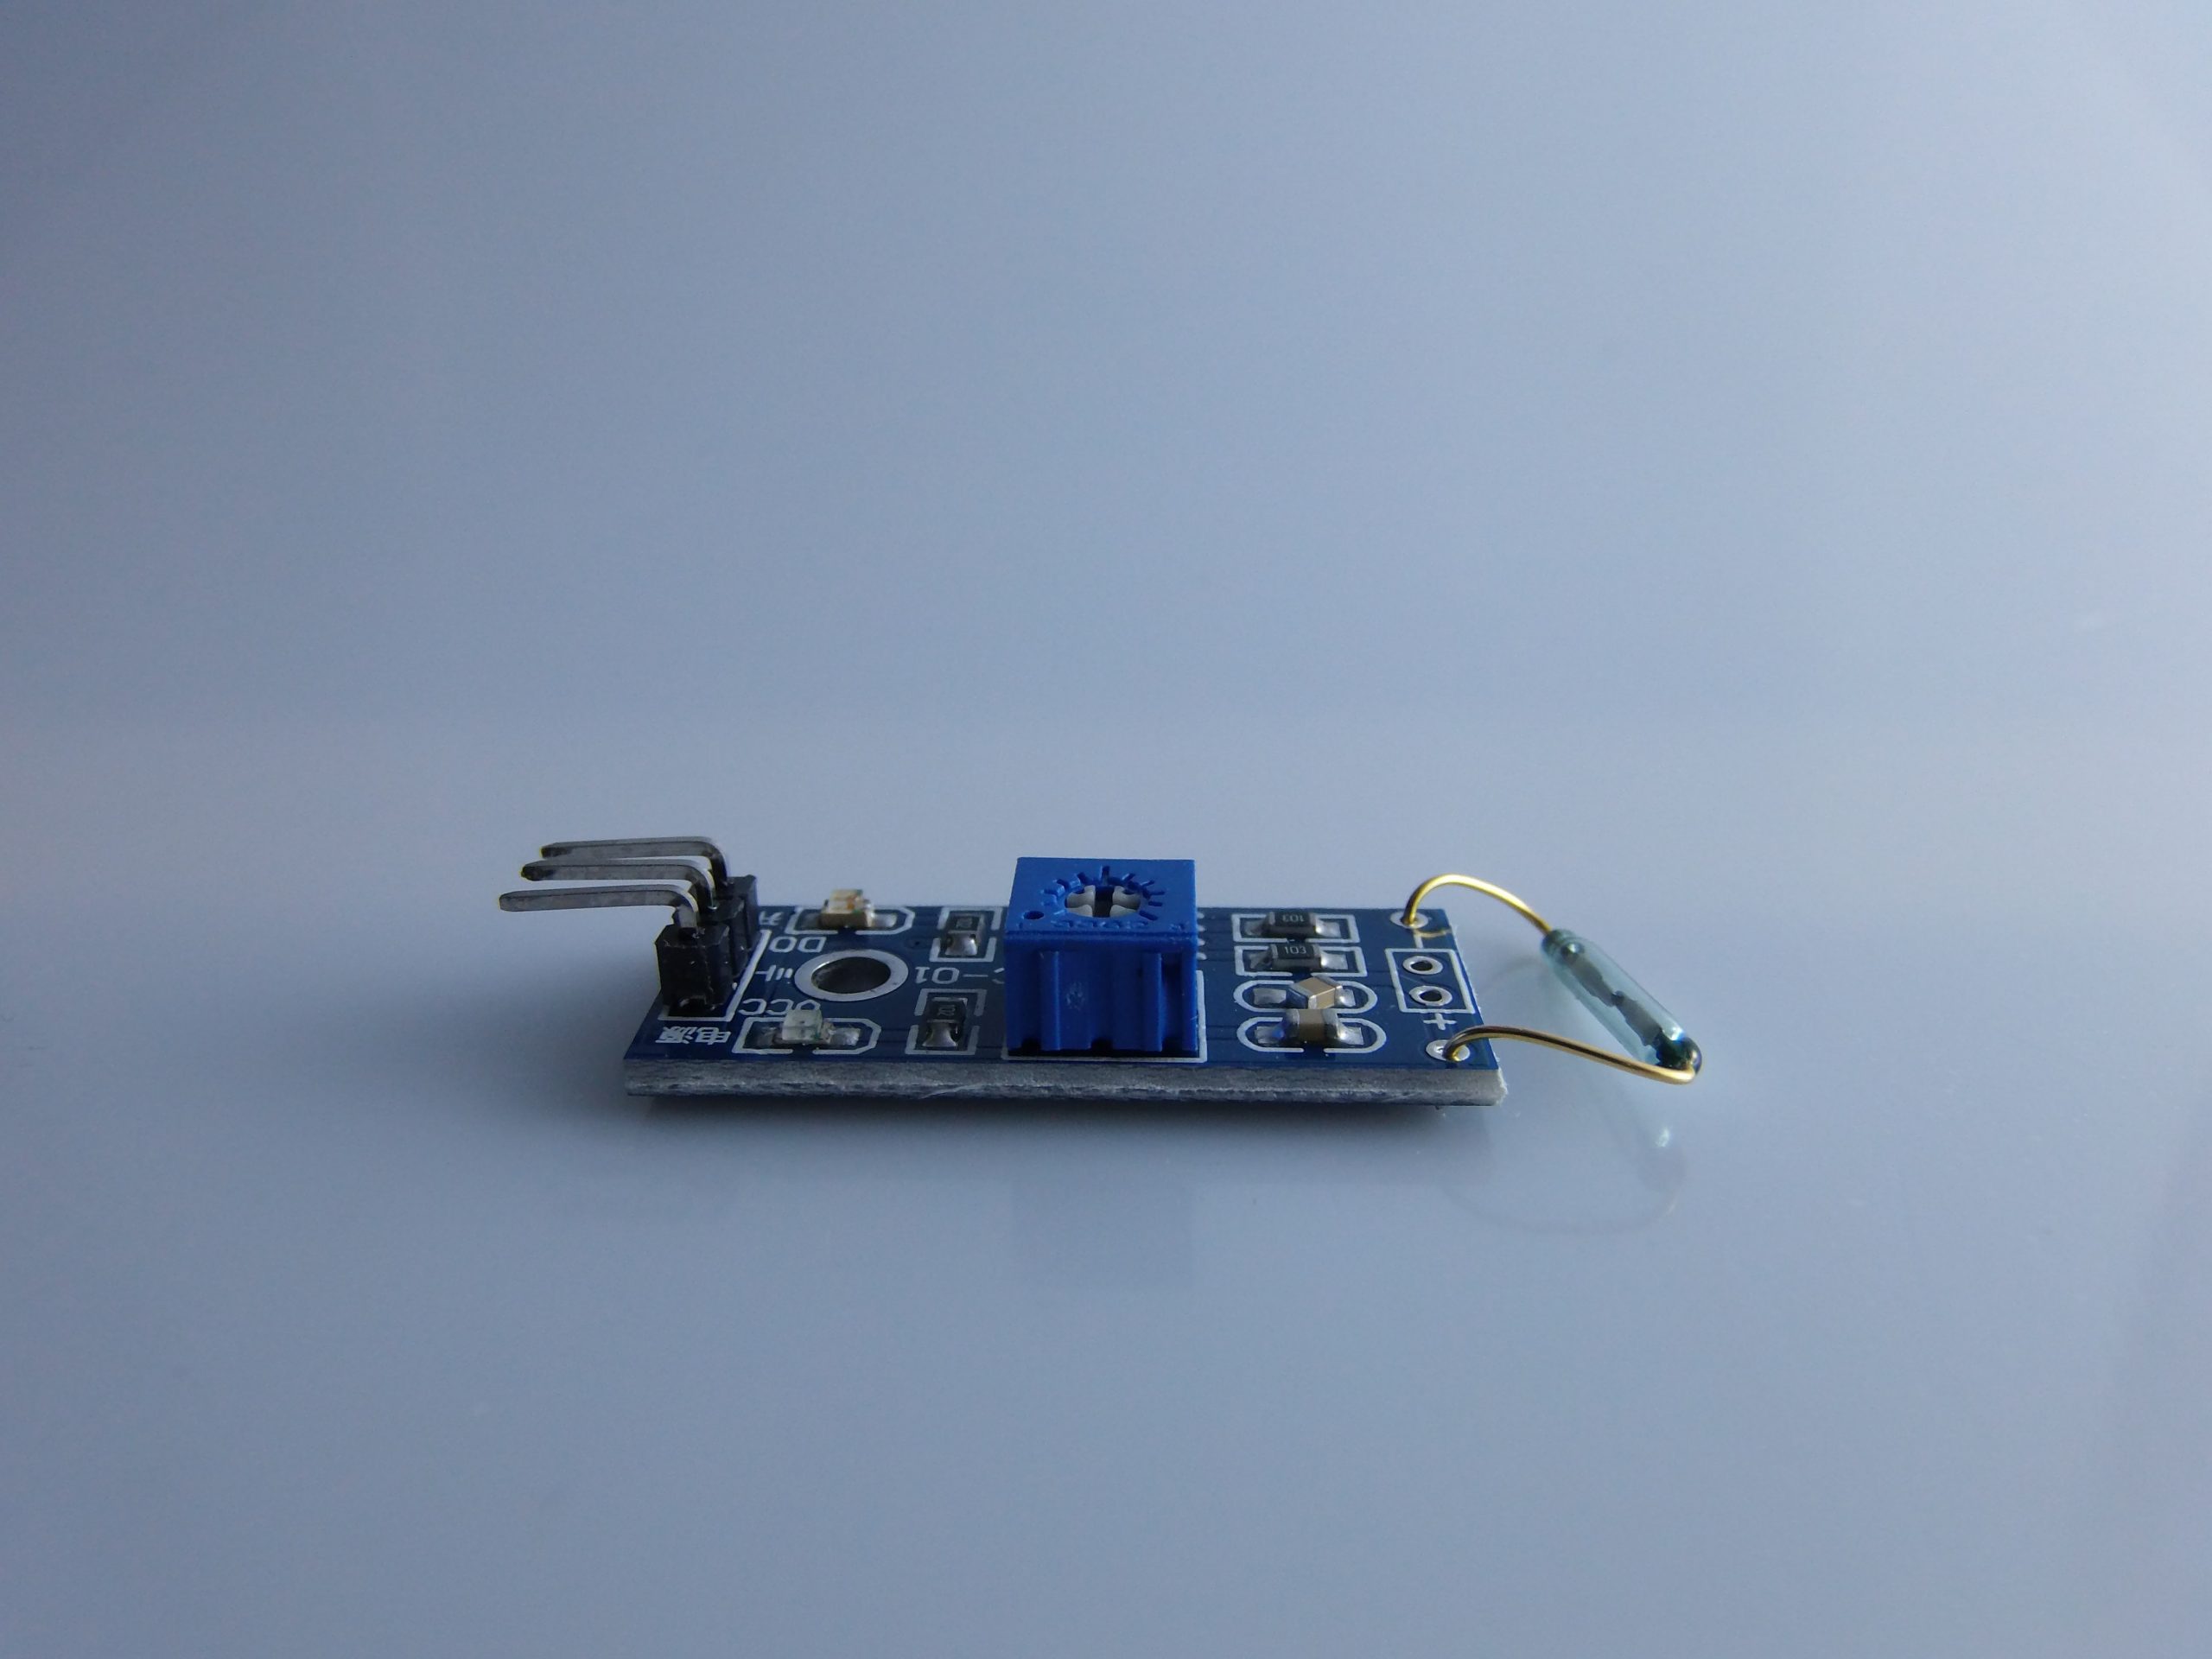
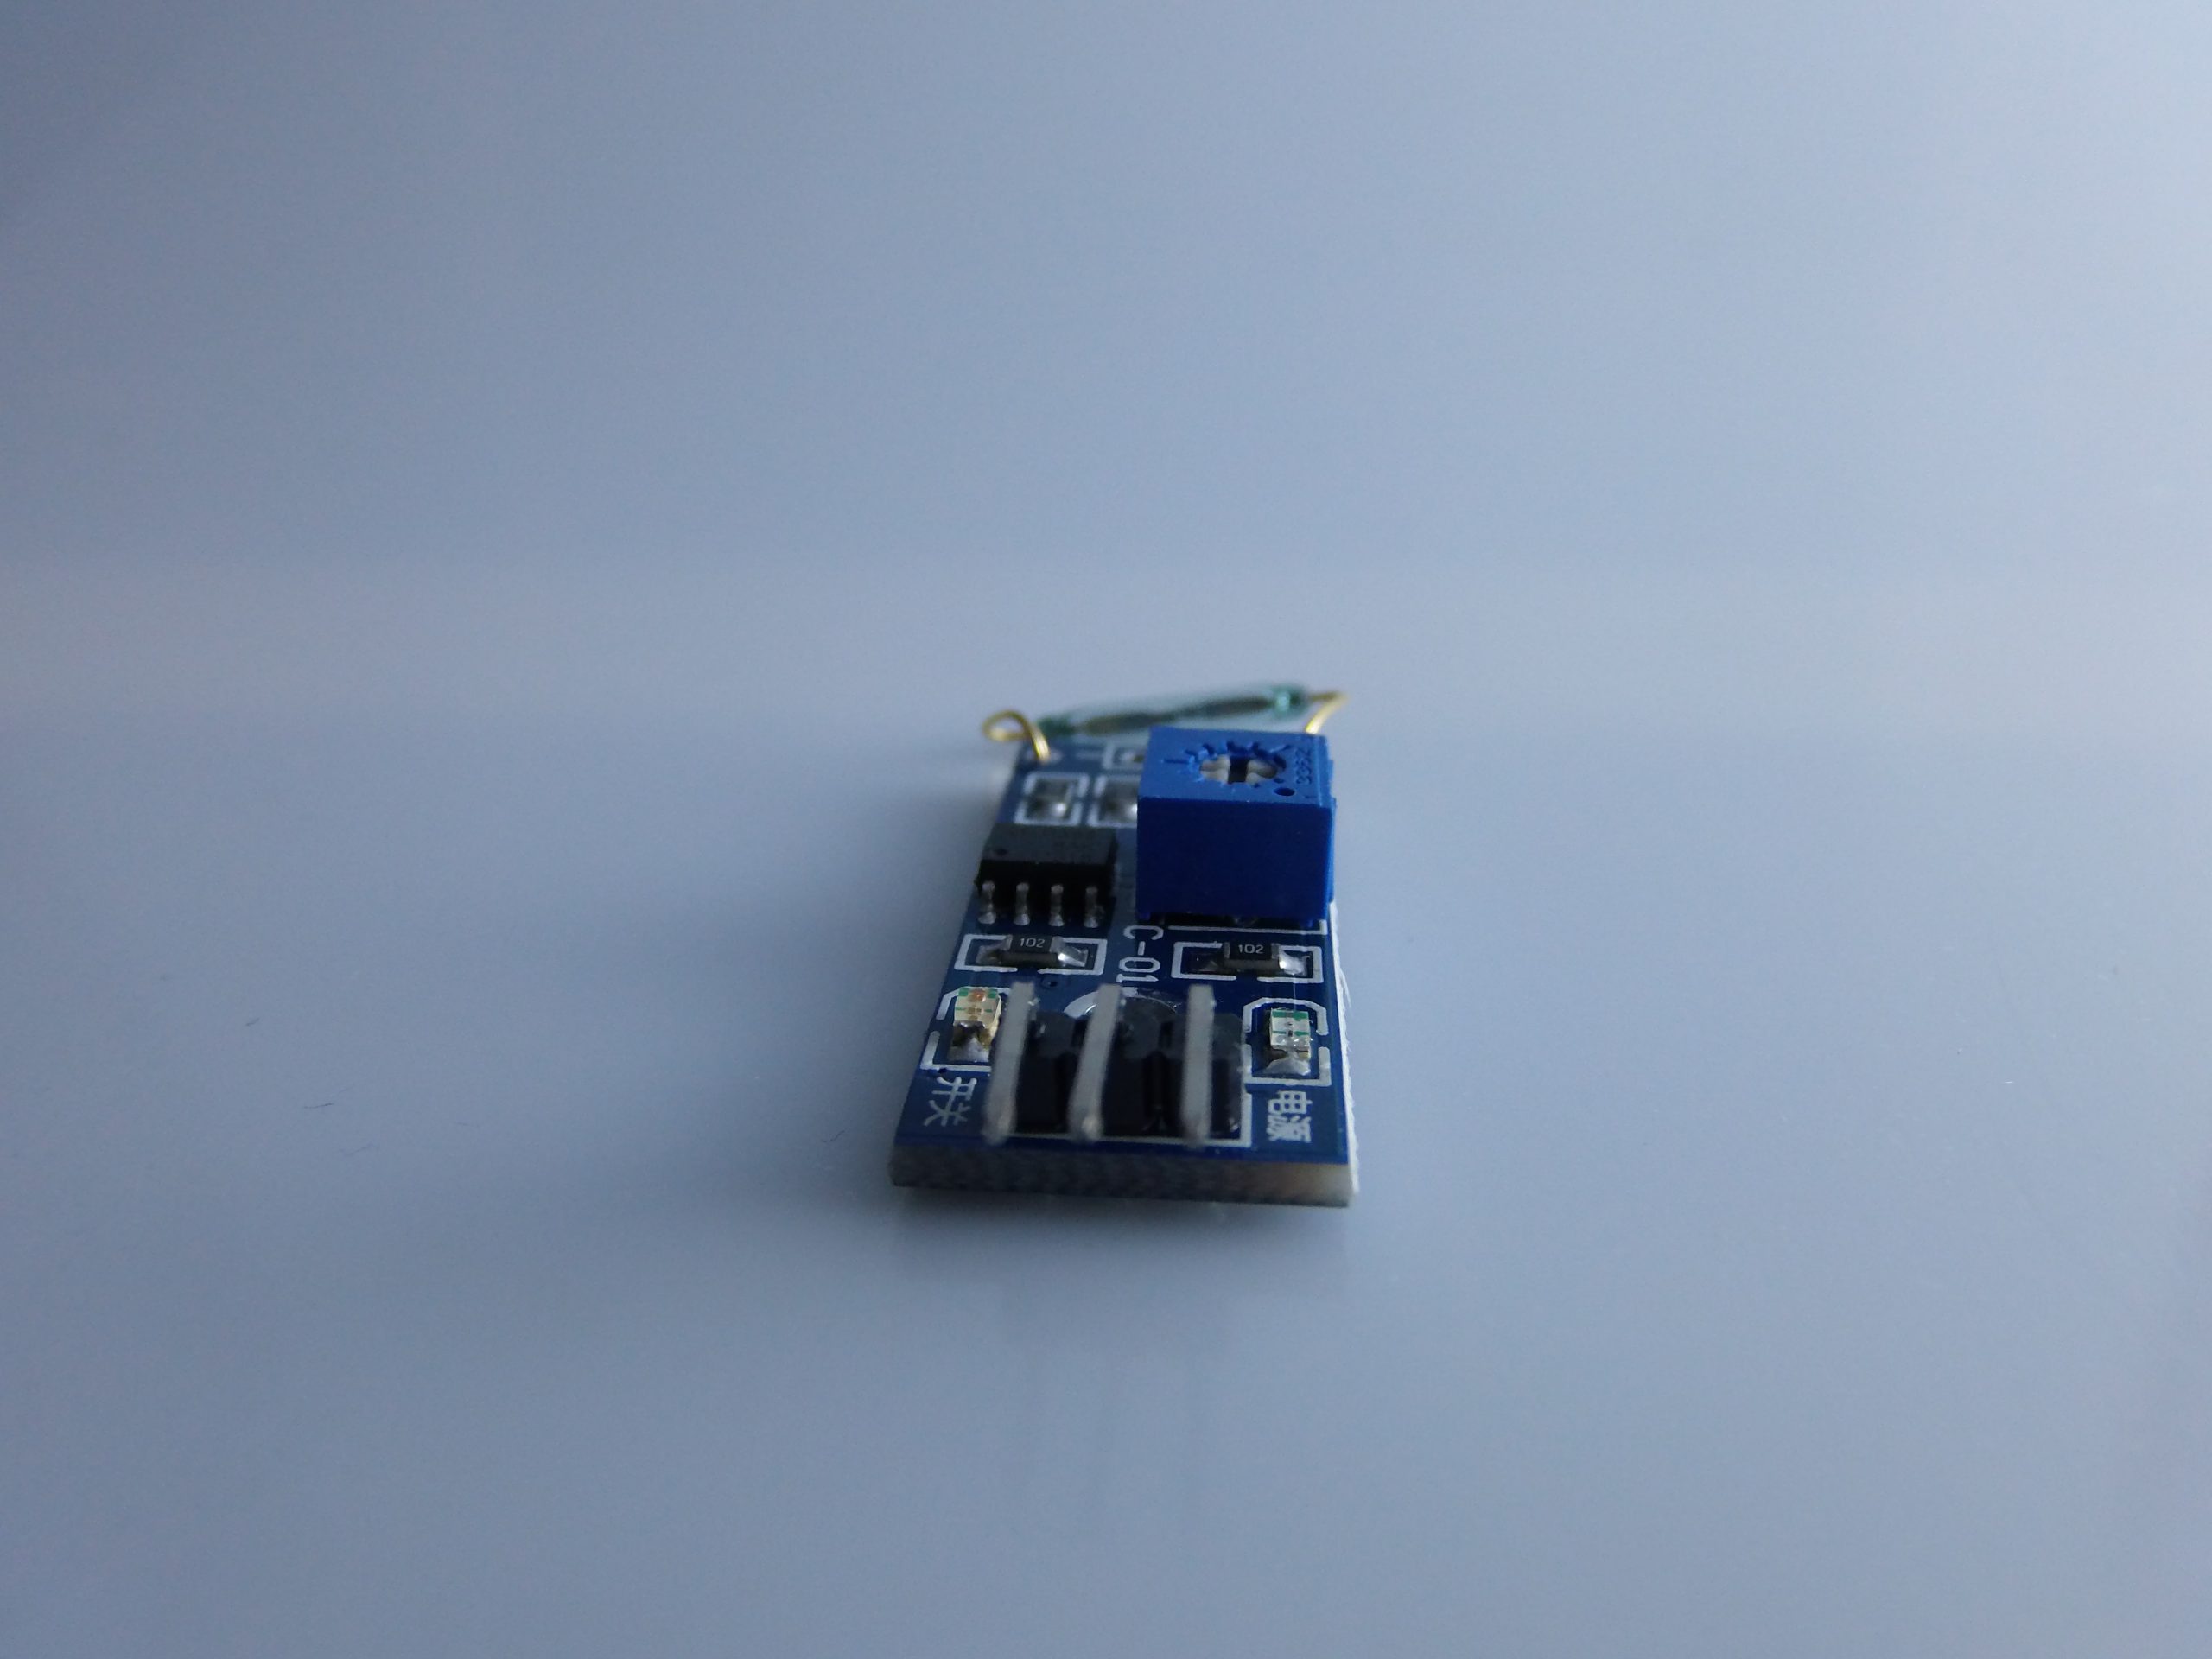
Description
Here is a complete description of the Reed Switch Magnetic Sensor Interrupter Switch FC-01 Module for Arduinofollowed by a practical guide to use with code examples for Arduino.
📦 Module FC-01 Description
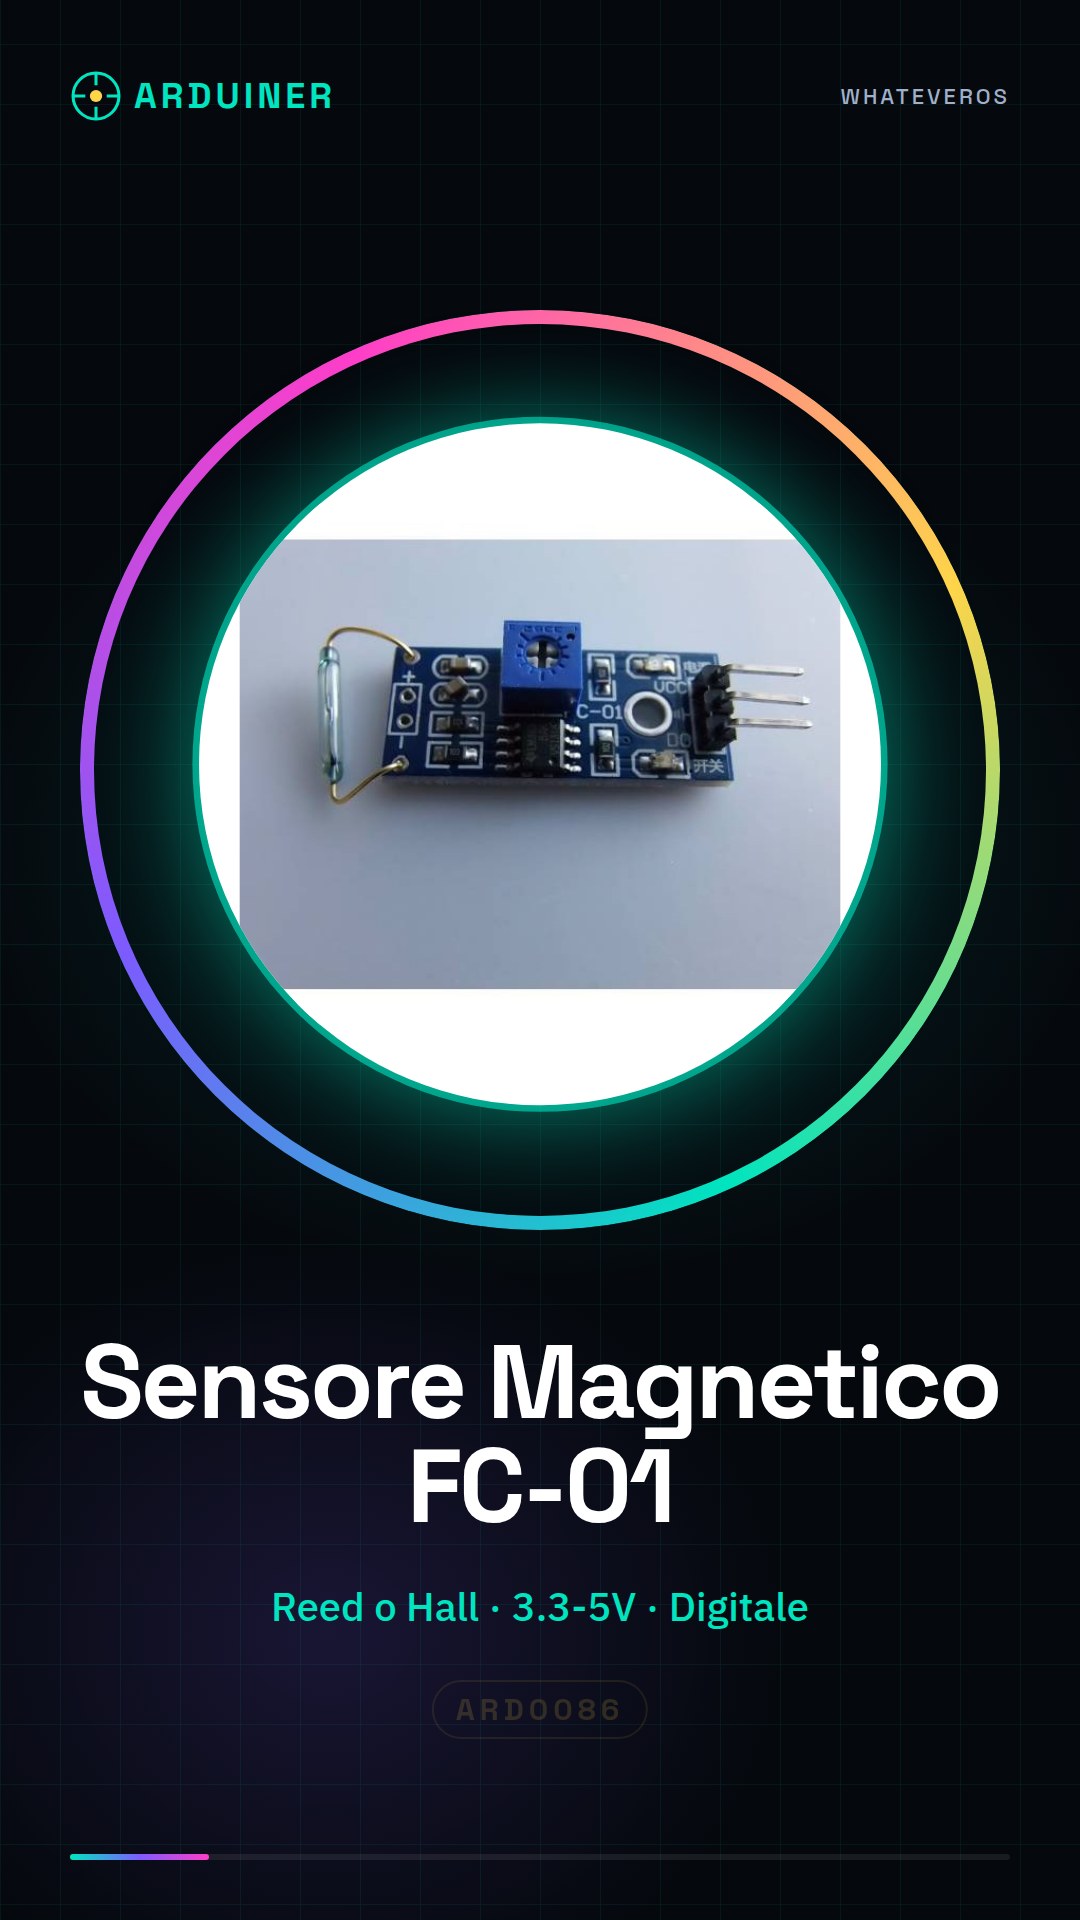
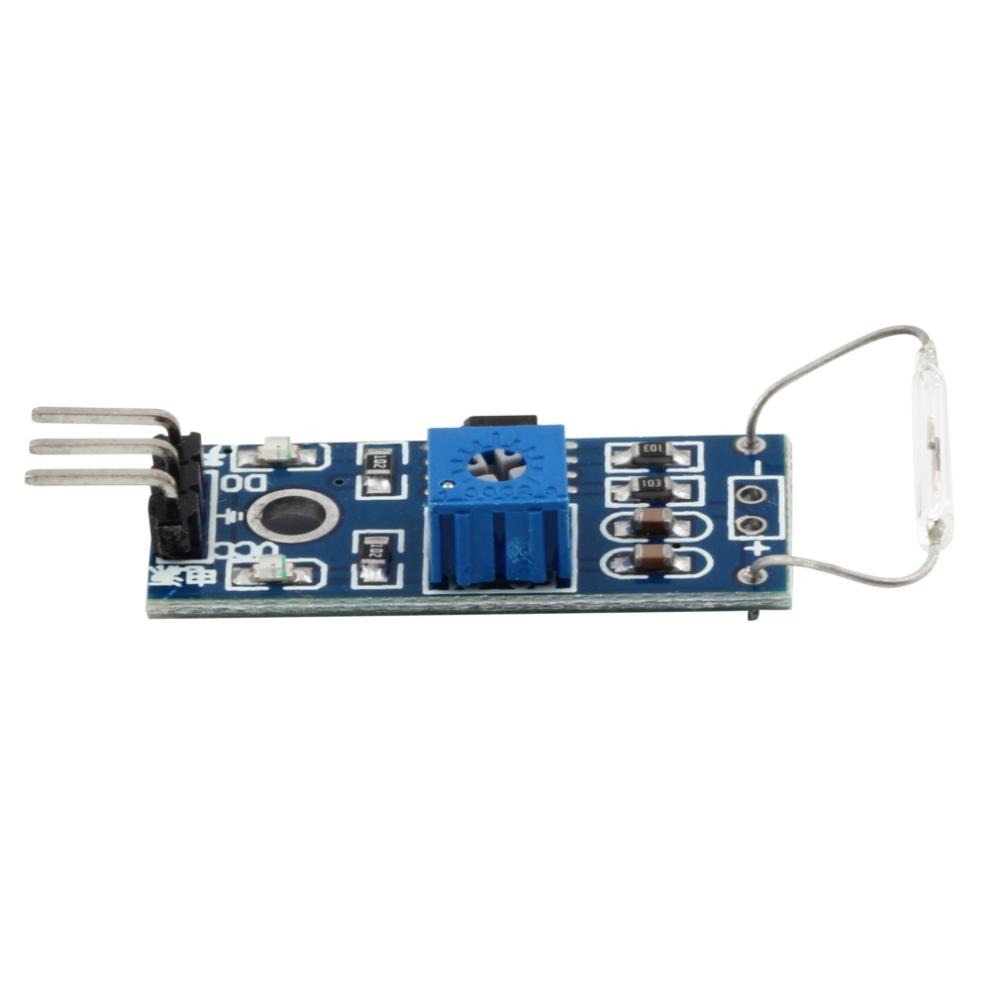
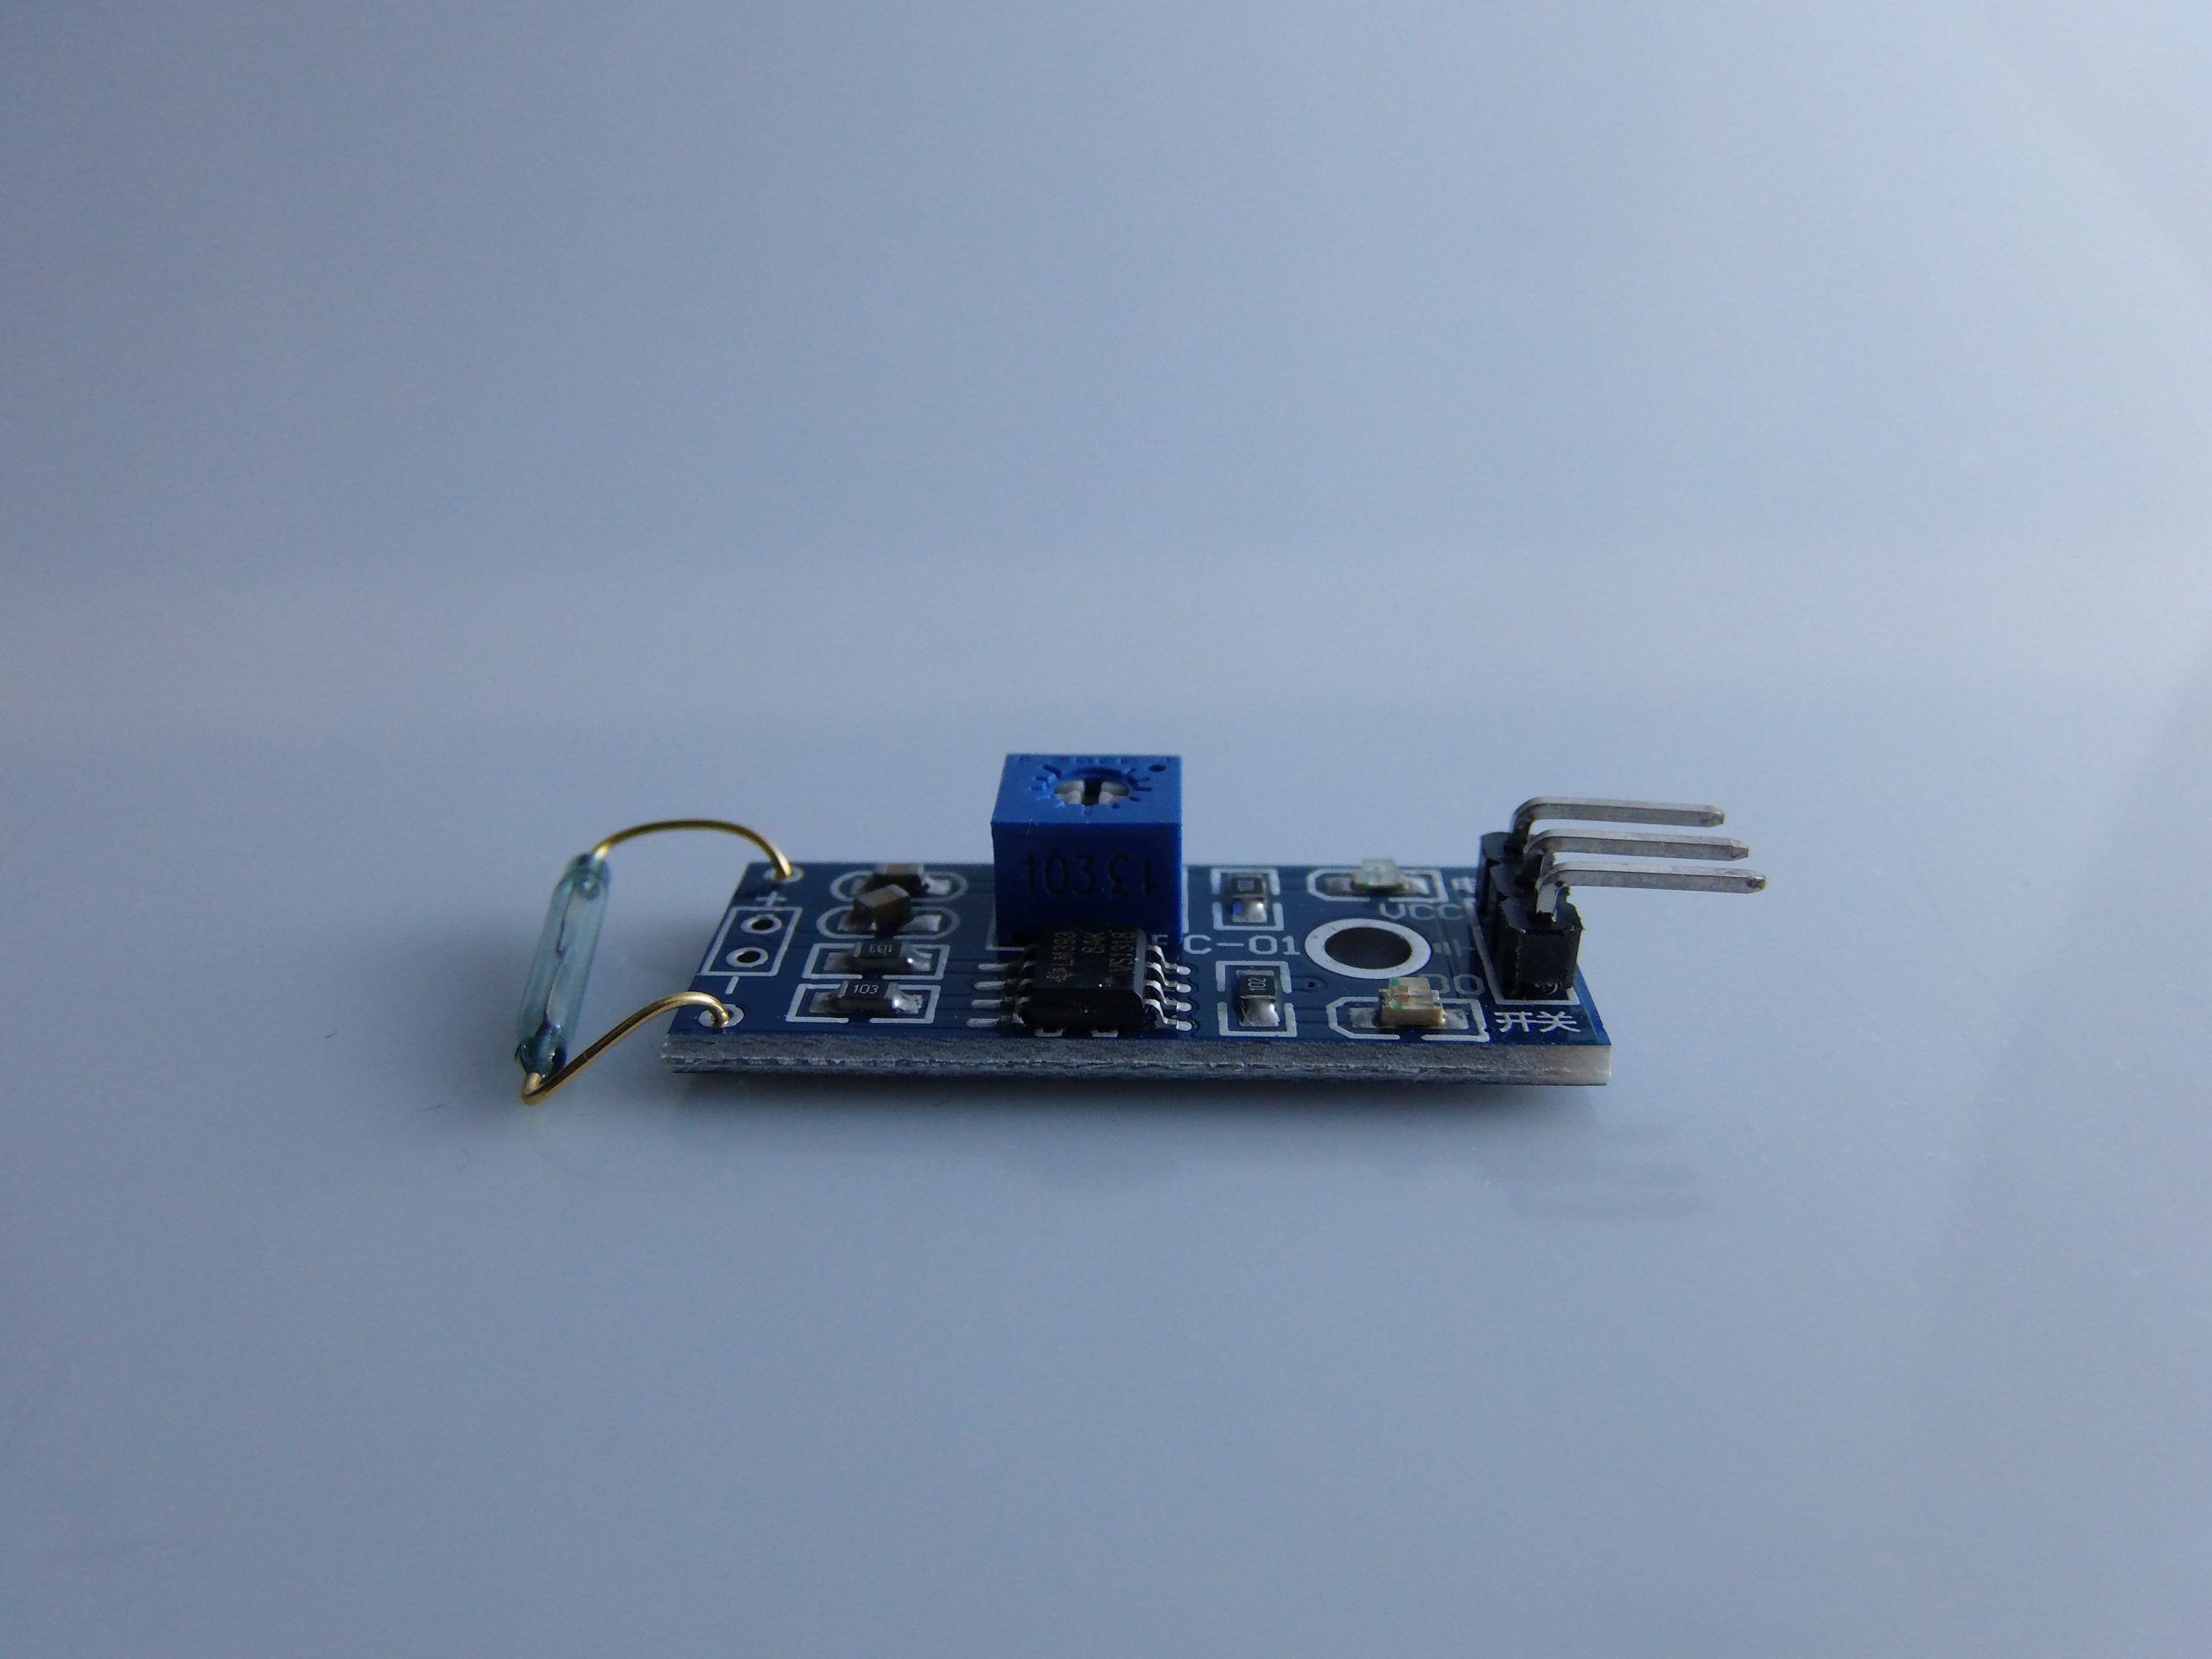
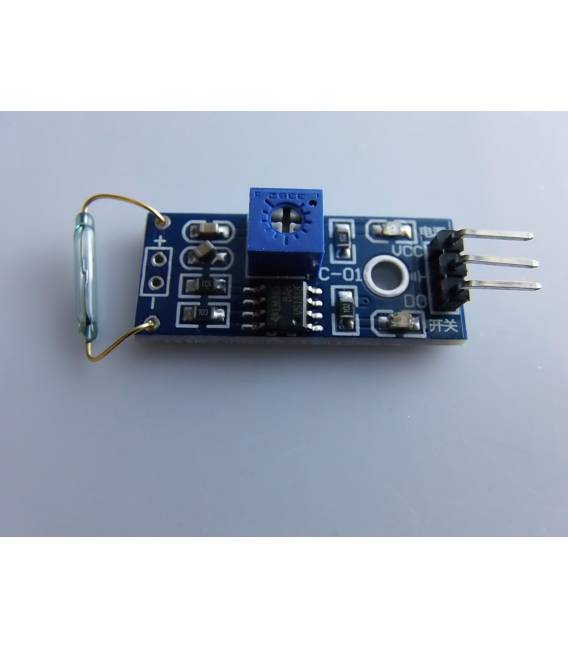
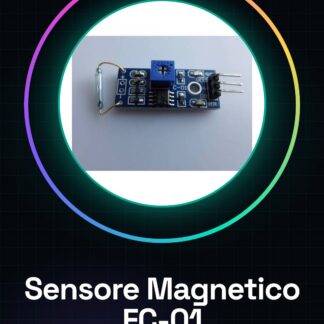
The Module FC-01 is a magnetic sensor based on a Reed Switch or a Hall Effect Sensor, used to detect the presence of a magnetic field. When a magnet is brought close to the sensor, it activates the internal switch, generating a digital output signal (HIGH or LOW).
🔧 Technical Specifications:
- Module Name: FC-01
- Main Sensor: Magnetic Reed Switch or Hall Effect Sensor
- Operating Voltage: 3.3V – 5V
- Output Type: Digital (0 or 1)
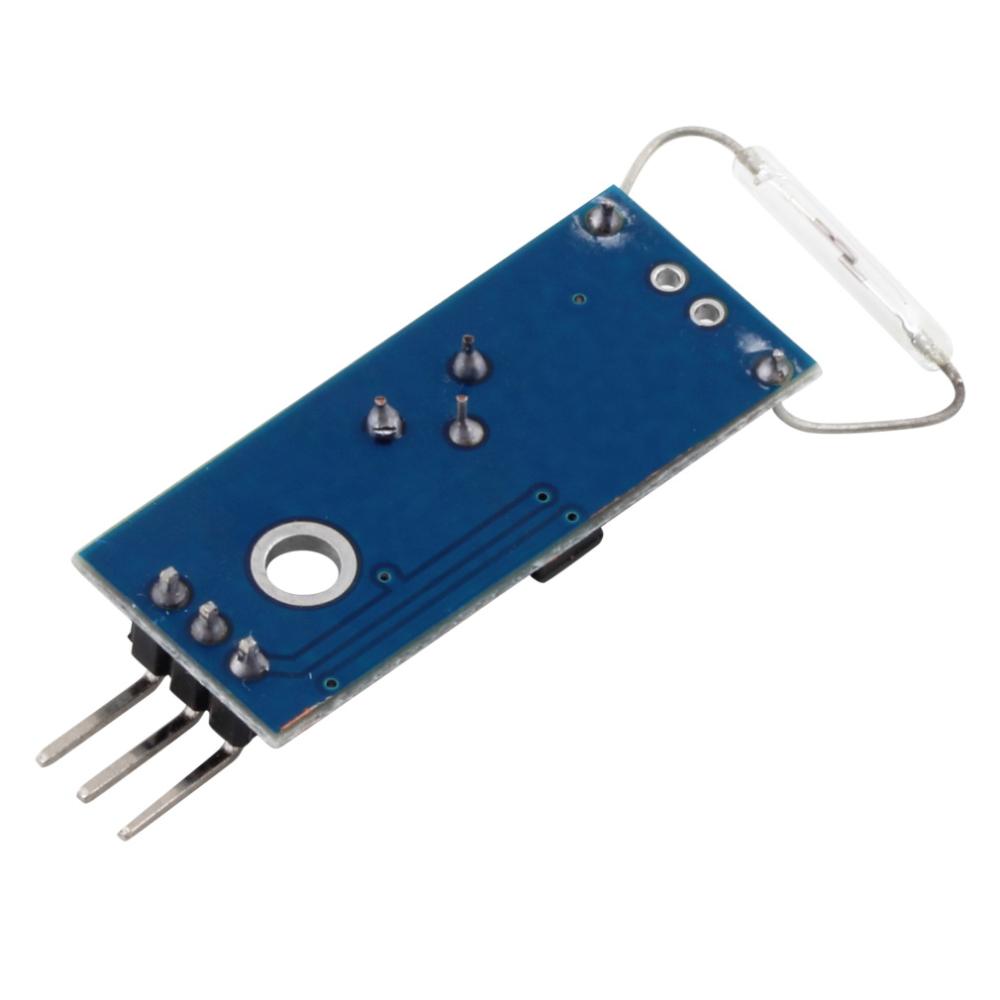
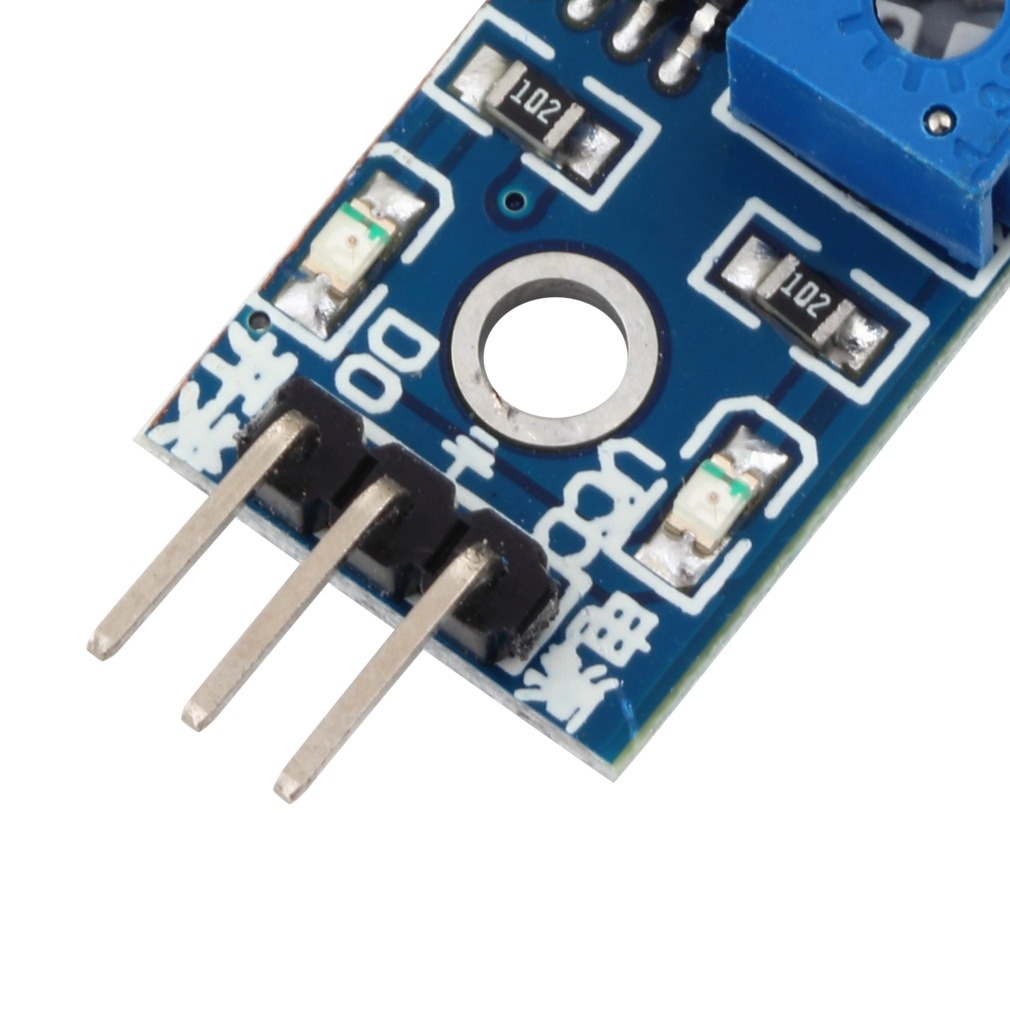
- Interface: 3 pin (VCC, GND, DO)
- Onboard LED: Visually indicates when the sensor detects a magnetic field
- Compact dimensions: Approximately 3.2 cm × 1.4 cm
- Sensitivity Adjustment: Some models include a potentiometer (for Hall Effect models)
⚙️ FC-01 Module Connections to Arduino
| FC-01 Pin | Arduino Pin |
|---|---|
| VCC | 5V |
| GND | GND |
| DO | D2 (or any digital pin) |
🧪 How it works
- When there is no magnetic field, the output DO is HIGH (value 1).
- When a magnet is near the sensor, the switch closes and the output DO goes LOW (value 0).
- The built-in LED turns on when the sensor is activated (magnet detected).
🧰 Guide to programming with Arduino
1️⃣ Base code to read the sensor state
const int sensorPin = 2;    // DO collegato al pin digitale 2
const int ledPin = 13;      // LED integrato su Arduino per segnalazione

void setup() {
  pinMode(sensorPin, INPUT);
  pinMode(ledPin, OUTPUT);
  Serial.begin(9600);
}

void loop() {
  int sensorValue = digitalRead(sensorPin);

  if (sensorValue == LOW) {
    Serial.println("Magnete Rilevato!");
    digitalWrite(ledPin, HIGH);  // Accende LED
  } else {
    Serial.println("Nessun magnete");
    digitalWrite(ledPin, LOW);   // Spegne LED
  }

  delay(200);
}
🧪 Usage examples
🔒 1. Door opening/closing detection
Connect the module to a port: when opened (magnet moves away), Arduino can trigger an alarm or send a notification.
💡 2. Count steps (rotations or objects)
By attaching a magnet to a wheel or rotating object, each pass near the sensor generates a pulse: can be used as a counter.
🎮 3. Invisible switch
A hidden sensor under a panel can serve as a magnetic switch without visible contact.
🔄 Code for magnetic counter (increments each pass)
const int sensorPin = 2;
int counter = 0;
bool lastState = HIGH;

void setup() {
  pinMode(sensorPin, INPUT);
  Serial.begin(9600);
}

void loop() {
  bool currentState = digitalRead(sensorPin);

  if (lastState == HIGH && currentState == LOW) {
    counter++;
    Serial.print("Conteggio: ");
    Serial.println(counter);
    delay(300); // debounce semplice
  }

  lastState = currentState;
}
🧯 Practical tips
- Debounce: the sensor can generate false pulses due to vibrations. Use a small
delay()or a software filter. - Stable power supply: if you use multiple sensors, make sure the 5V line is well powered.
- Compatibility: works well with all Arduino boards (Uno, Nano, Mega, etc).
📌 Conclusion
The FC-01 Module is economical, reliable and perfect for projects that require detecting the presence of a magnet. It is ideal for hobbyists and makers who want to create security systems, counters, or simple contactless magnetic switches.
Tutorial: How to Use the FC-01 Magnetic Sensor
The FC-01 magnetic sensor is ideal for projects that require magnetic field detection. Useful for beginners and intermediates, it is perfect for controlling the presence or absence of a magnetic object.
What you need
- Arduino UNO or compatible
- Power Supply Cable
- Ground Cable
- Signal cable
- Electronic tools
Steps
- 1. Have the Arduino UNO and the FC-01 sensor available.
- 2. Connect the sensor to pin A0 of your Arduino.
- 3. Connect the VCC of the sensor to the VCC of your Arduino.
- 4. Connect the GND of the sensor to the GND of your Arduino.
- 5. Load the following code onto your Arduino.
- 6. Verify the exact pin positions in the datasheet.
- 7. Try moving a magnetic object near the sensor.
- 8. Check that the LED on your Arduino lights up when the magnetic object is nearby.
Example code
```void setup() { Serial.begin(9600);}void loop() { int val = analogRead(A0); Serial.println(val); delay(100);}```Mini project
Build an alarm system based on a magnetic sensor. Connect the sensor to a relay and a bell. When the magnetic object is moved, the bell sounds.
Common mistakes
- Do not connect the sensor pins correctly.
- Do not verify the correct pin positions.
- Do not use a compatible Arduino.
- Do not test the sensor with a magnetic object.
Recommended accessories
- Relay
- Bell
- 5V power supply
- LED
Frequently asked questions
Does the sensor not react when I move a magnetic object?
Check the correct pin placement and orientation of the sensor.
What is the sensor’s ground pin?
The pin GND.
Can I use an Arduino Nano?
Yes, the Arduino Nano is compatible.
Does the sensor require external power?
No, the power is provided by the Arduino.
Reviews
There are no reviews yet.