 EN
 IT Italiano
 ES Español
 FR Français
 DE Deutsch
Description
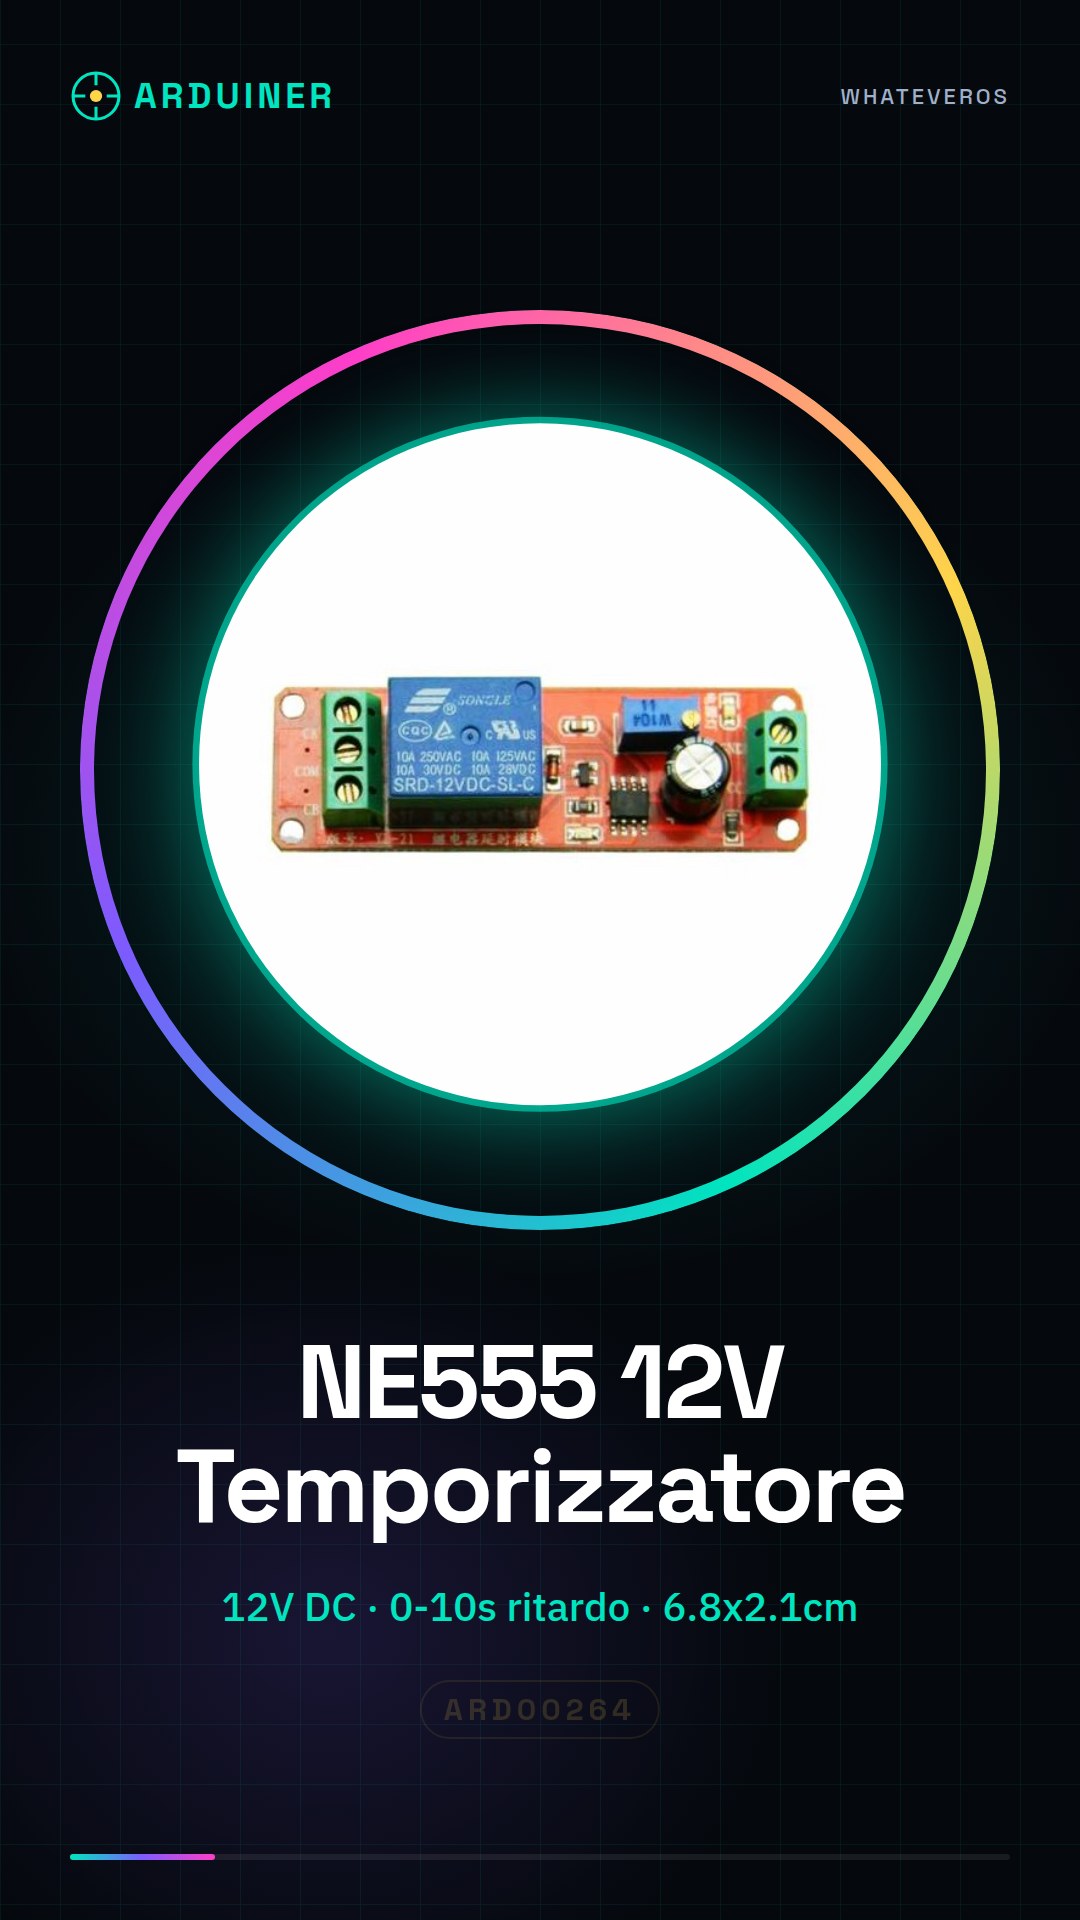
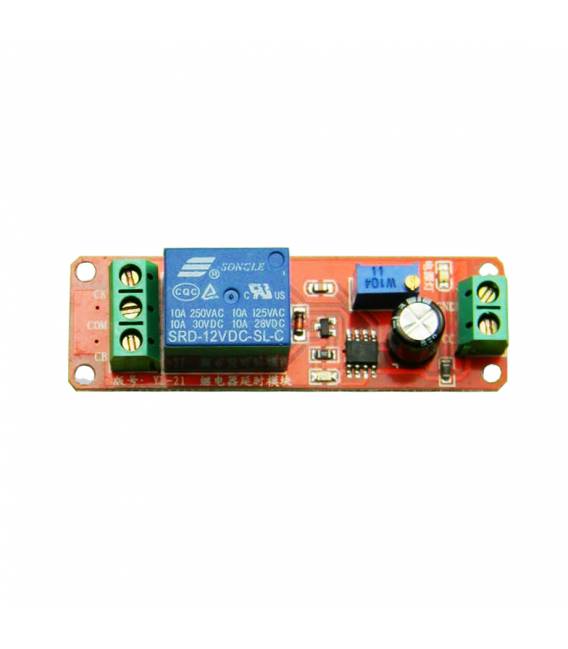
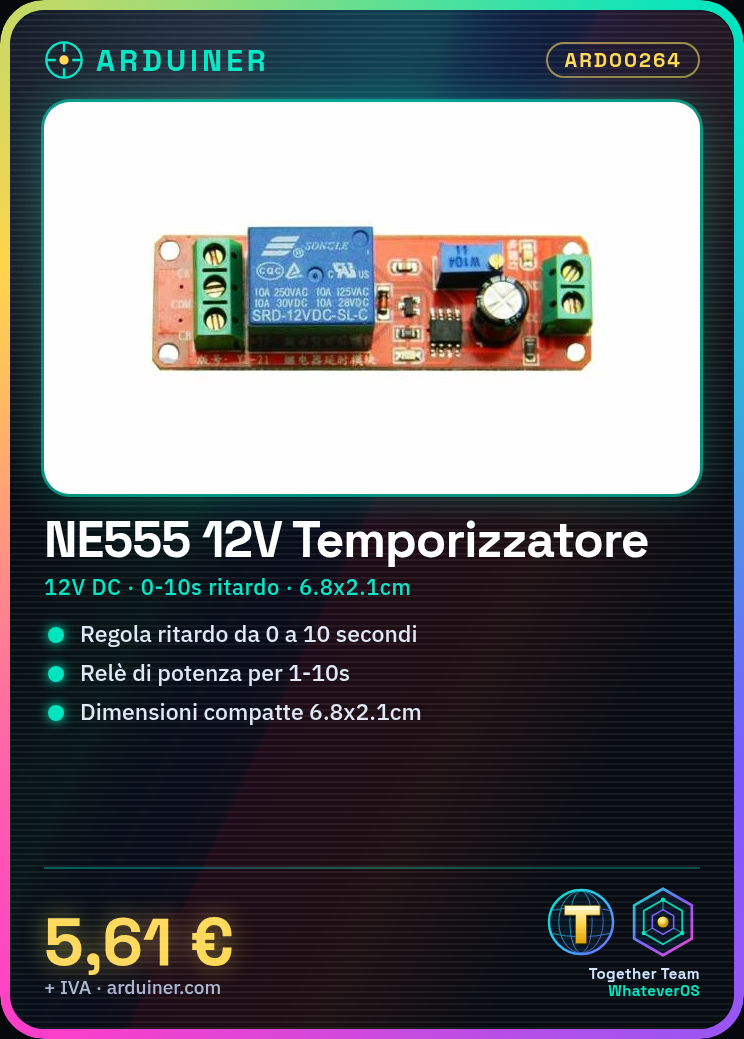
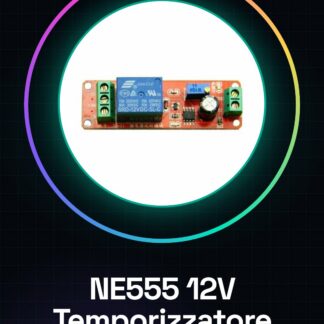
NE555 DC 12V Timer Module with Adjustable Relay from 0 to 10 seconds Adjustable
First, the size: 6.8CM * 2.1CM
Second, the main chip: NE555
Operating Voltage: 12 volts DC
IV characteristics:
1 power relay closing and opening for a fixed period of 1-10 s. Specifically: 12 V relay power supply, the relay will activate and immediately output relay: normally open and common pilot mode, disconnected from the public; wait for the delay-10s (adjustable), the relay will release, this time, the relay output state: normally open disconnected from the public, normally closed and common pilot mode passage; this state will remain fixed for 1-10s, until the module interrupts the on and off cycle.
2, adjustable delay time (0-10 seconds)
4, increasing the potentiometer can increase the delay time
5, increasing the capacitance C1 can increase the delay time
6, with power supply indicator at input
7, with the relay the light turns on
8 can control AC 220V / 10A equipment. (Maximum control equipment 2000W)
9, with a relay it continues the flow protection.
10, the delay time formula: T = 1.1RC. For example: capacitor 100uf resistor 100K T = 1,1 * 100000 * 0,0001 = 11 seconds
We have datasheets for all components, if not present in the product download sheet, send us a message from the contact us module and we will publish it as soon as possible on our website.
Tutorial: How to use NE555 Timer Module with Relay
The NE555 timer module is a versatile electronic component that allows you to regulate time to activate or deactivate devices connected to a relay. Ideal for projects such as automatic switches, home timers, or automation prototypes. This module allows you to create timing from 0 to 10 seconds in a simple and reliable way.
What you need
- Arduino Uno
- USB cable to connect Arduino
- Header connections
Steps
- Connect the module to the circuit with header wires.
- Configure the power supply voltage to 12V DC.
- Adjust the switch on the back of the module to set the desired time between 0 and 10 seconds.
- Connect a device (e.g., lamp) to the relay.
- Connect the GND, VCC, and TRIG pins of the module to Arduino.
- Write the sketch code and upload it to Arduino.
Example code
void setup() {
  pinMode(2, OUTPUT);
}

void loop() {
  digitalWrite(2, HIGH); // Attiva il relè tramite TRIG
  delay(5000);           // Aspetta per 5 secondi
  digitalWrite(2, LOW);  // Disattiva il relè
}
Mini project
Create an automatic switch that turns on a light for 1 minute every hour. Use Arduino to control the time and activate the NE555 timer module.
Common mistakes
- Do not connect the module to a voltage higher than 12V DC.
- Set the relay on a device that requires a current greater than what the relay supports.
- Forget to upload the Arduino sketch to activate the NE555 timer module.
Recommended accessories
- Arduino Uno
- USB cable
- 5V relay
Frequently asked questions
What is the maximum allowed voltage?
Check the NE555 module datasheet, but generally do not exceed 12V DC.
How to set the activation time?
Use the switch on the back of the module to set the time between 0 and 10 seconds.
Reviews
There are no reviews yet.