 EN
 IT Italiano
 ES Español
 FR Français
 DE Deutsch
Description
What it is
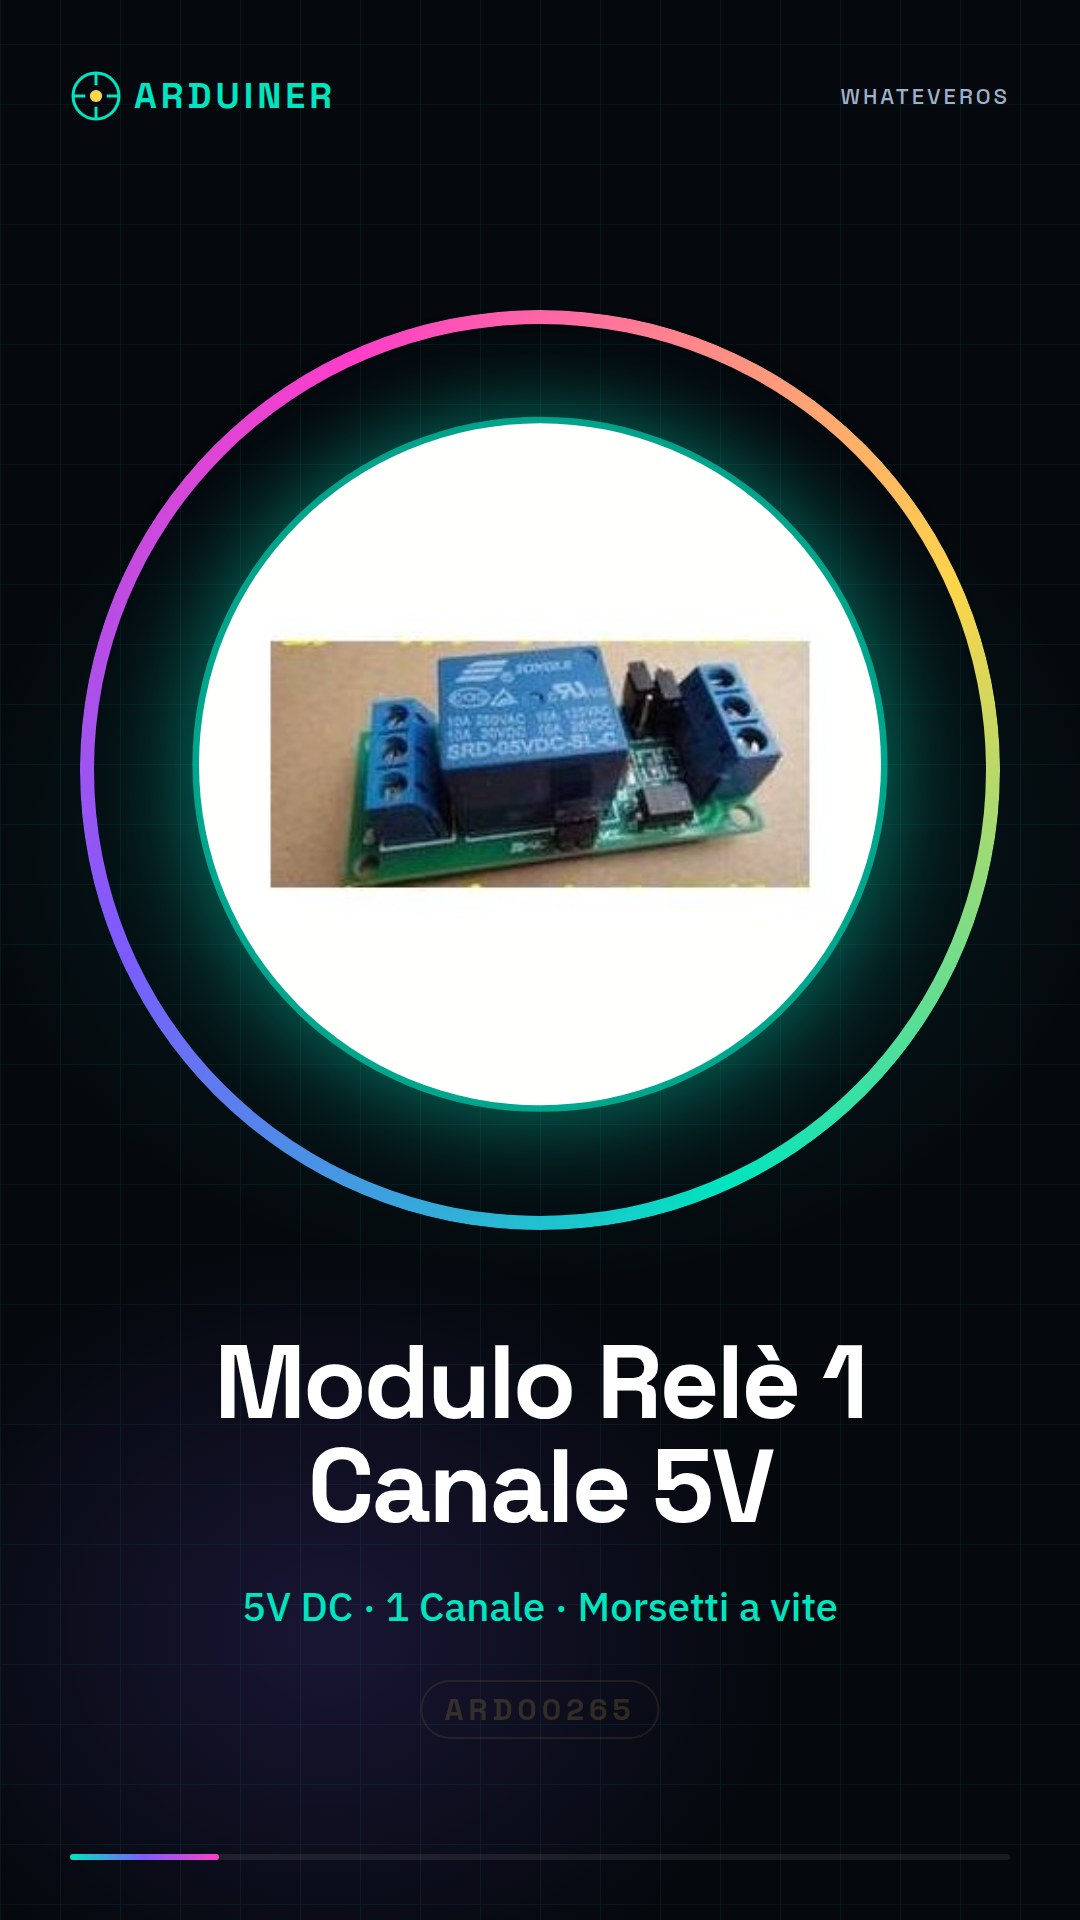
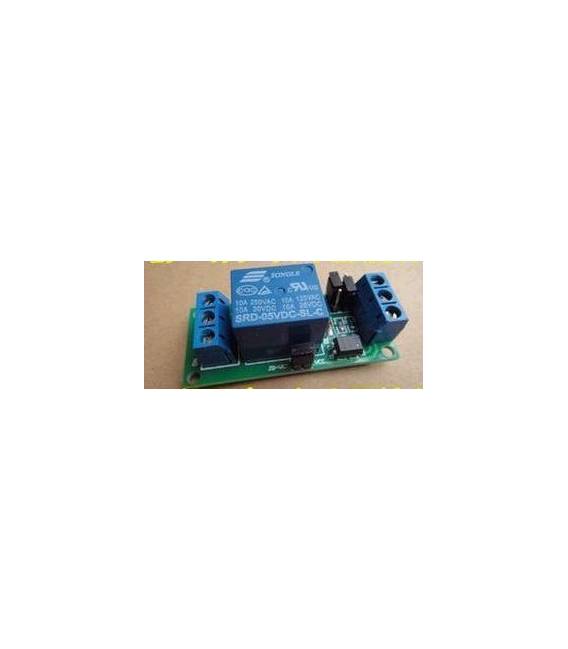
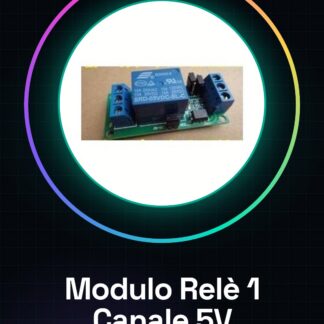
The 1 Channel 5V DC Relay Module is an electronic component that allows you to control electrical devices from an Arduino. It is designed to manage the flow of current to other devices, enabling you to turn on or off devices such as lamps or other electrical appliances.
Features
- 1 Channel Relay Module
- Vcc: 5V DC
- Supports high/low level
- Screw terminals for connection
What it is for
Relay modules are useful for creating automatic control systems. For example, you can use this module to control a lamp that turns on and off at regular intervals via a light sensor or other Arduino sensors.
Tutorial: How to use 1 Channel 5V DC Relay Module
The 1 Channel Relay Module is a fundamental component for controlling electrical devices from an Arduino. It is ideal for beginners who want to start designing small control systems.
What you need
- Arduino Uno or compatible
- USB cable to connect the Arduino to the PC
- External power supply for the relay module (check the datasheet)
- Electrical device to control
Steps
- Connect the VCC, GND pins of the relay module to the power supply.
- Connect the IN pin to the digital pin of the Arduino.
- Check the relay activation voltage (check the datasheet).
- If necessary, connect a pull-up or pull-down resistor to the IN pin to avoid interference.
- Connect the power supply and the device to control to the screw terminals of the relay module.
- Upload the provided sketch to the Arduino IDE.
- Compile and upload the code to the Arduino.
- Start the serial monitor to see if the relay activates correctly.
Example code
const int relayPin = 7; // collega questo pin al modulo relè
void setup() {
  pinMode(relayPin, OUTPUT);
}
void loop() {
  digitalWrite(relayPin, HIGH); // Attiva il relè
  delay(1000);
  digitalWrite(relayPin, LOW); // Disattiva il relè
  delay(1000);
}
Mini project
Create an automatic control system for a lamp that turns on and off at regular intervals. You can add a light sensor to control the ambient light intensity.
Common mistakes
- Do not check the relay activation voltage
- Connect the electrical device directly to the Arduino without going through the relay module
- Do not add pull-up or pull-down resistors to the IN pin
Recommended accessories
- Light Dependent Resistor (LDR) sensor module
- Portable battery for Arduino
- Insulating washers to protect electrical connections
Frequently asked questions
Can the relay control any type of device?
Yes, but make sure the device’s power consumption does not exceed the module’s capacity.
Can I use multiple relay modules with a single Arduino?
Yes, just connect them to different digital pins on the Arduino.
Reviews
There are no reviews yet.