 EN
 IT Italiano
 ES Español
 FR Français
 DE Deutsch
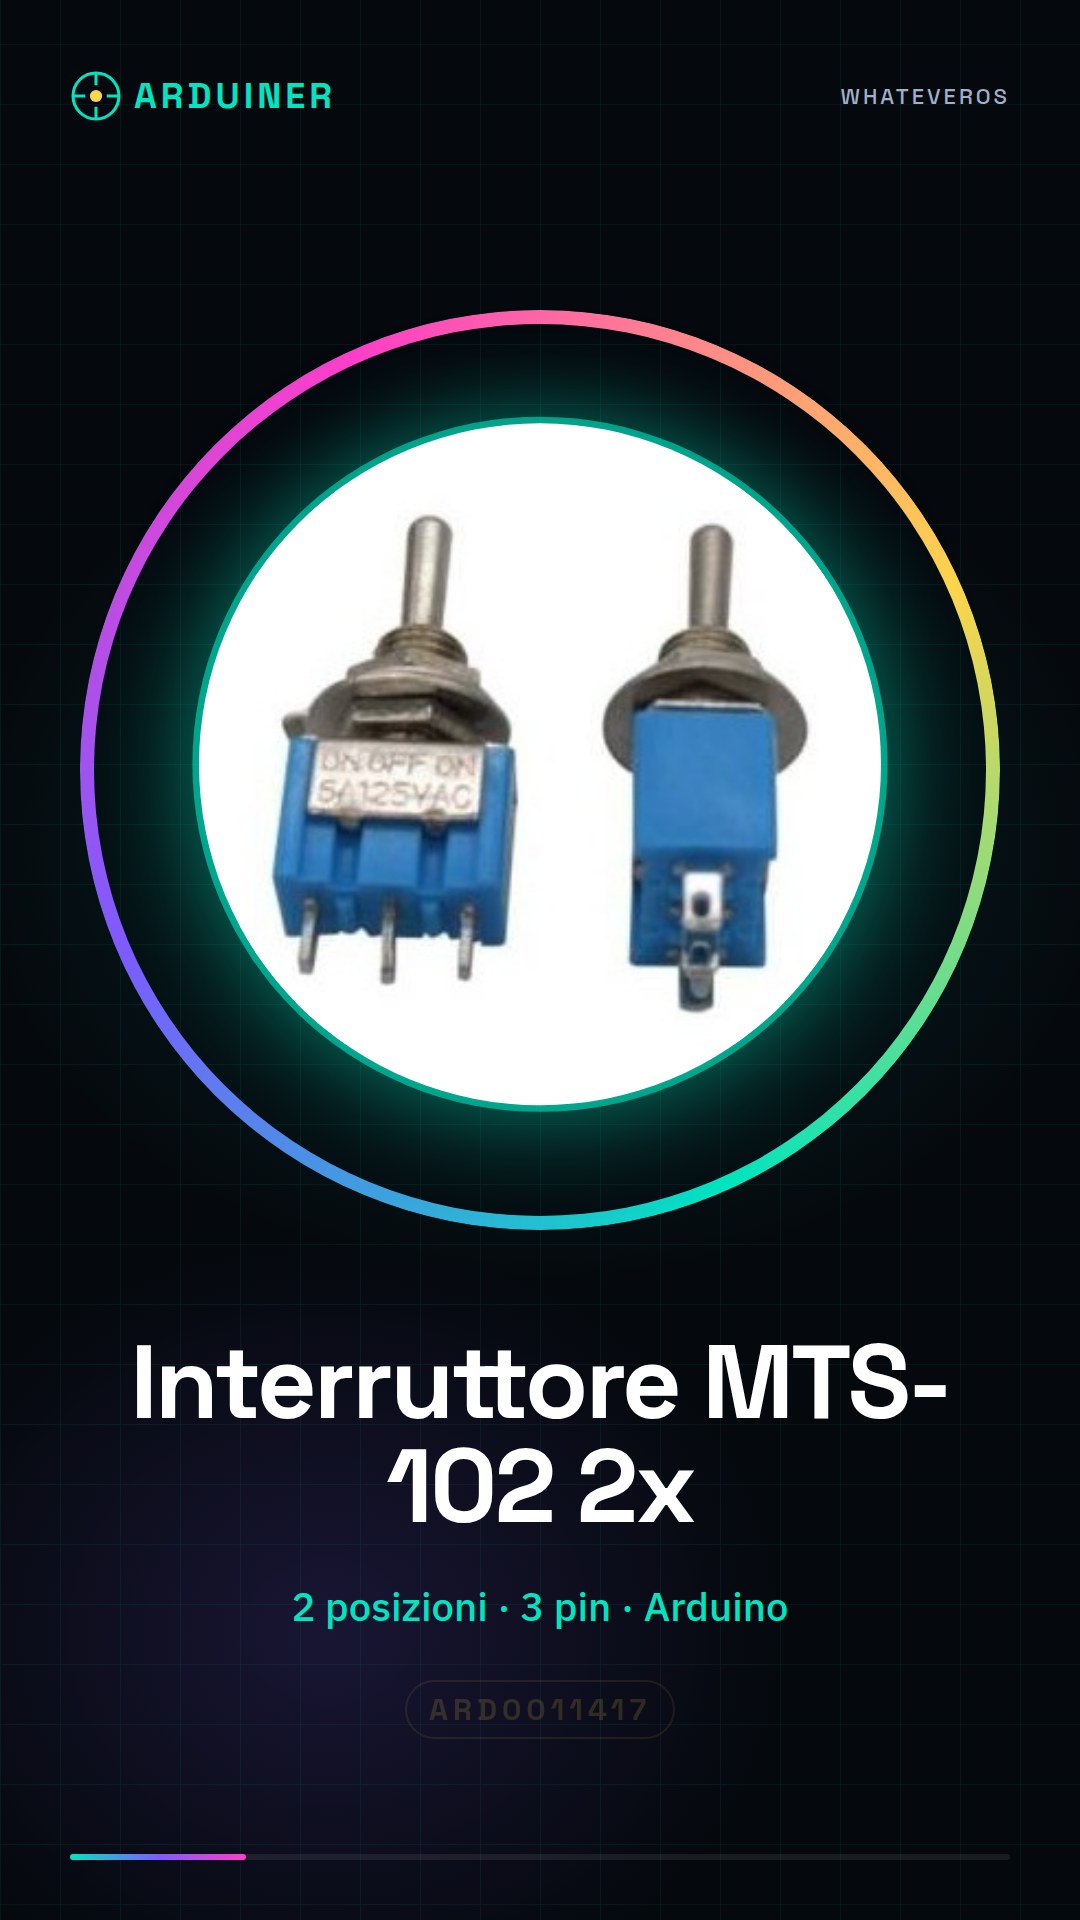
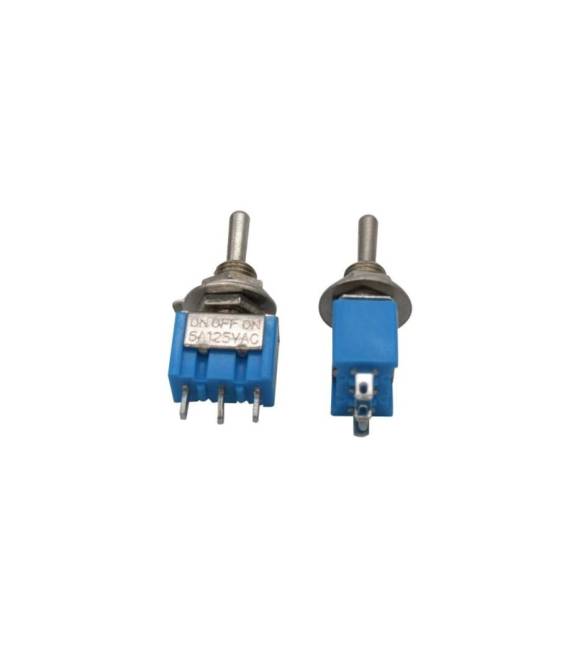
Description
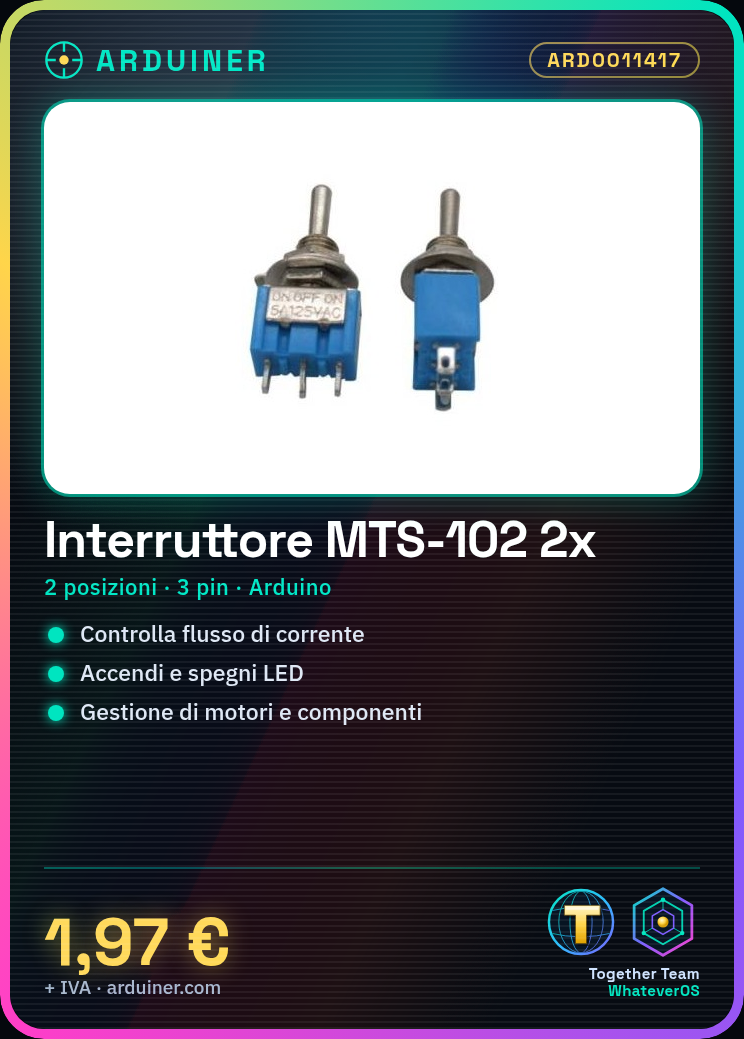
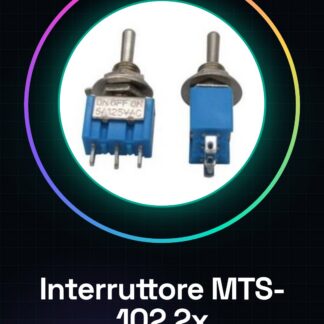
The MTS-102 lever switch is an electronic component that allows you to control the flow of current in a circuit. The lever can be positioned in two different positions, opening or closing the circuit. Features: 2 positions, 3 pins, Lever type SKU: ARD0011417 Price: €1.97 (2 pieces) What is it for? The MTS-102 lever switch is ideal for controlling the state of a device or activating specific functions in electronic projects. It can be used to turn LEDs on and off, control motors, or manage other electronic components. Compatible with Arduino and other microcontrollers. Tutorial: How to use MTS-102 Lever Switch The MTS-102 lever switch is perfect for controlling the state of a device or activating specific functions. Useful for beginner electronics and maker projects. What you need: Compatible Arduino or microcontroller Power cable (optional) Multimeter Prototype board Steps 1. Check that the switch has the compatible 3 positions. 2. Disconnect your Arduino or microcontroller. 3. Connect the lever of the switch to pin GND. 4. Connect the VCC pin of the switch to the power supply pin of the Arduino. 5. Connect the output pin of the switch to a free digital pin. 6. Check the datasheet for power specifications. 7. Download and upload the following code to Arduino IDE. 8. Test the switch with the loaded program. Example Code “`int lever = 2; void setup() { pinMode(lever, INPUT); } void loop() { int state = digitalRead(lever); if (state == HIGH) { Serial.println(“Lever in position 1”); } else { Serial.println(“Lever in position 2”); } }“` Mini-project Create a simple prototype of light controlled by a lever switch. Connect an LED to a digital pin and control the state of the switch to turn the LED on and off. Common mistakes Connecting the switch to a digital pin without setting it as input. Omitting verification of power specifications. Not testing the program before uploading it to Arduino. Disconnecting the Arduino’s power supply during connection.
Reviews
There are no reviews yet.