 EN
 IT Italiano
 ES Español
 FR Français
 DE Deutsch
Description
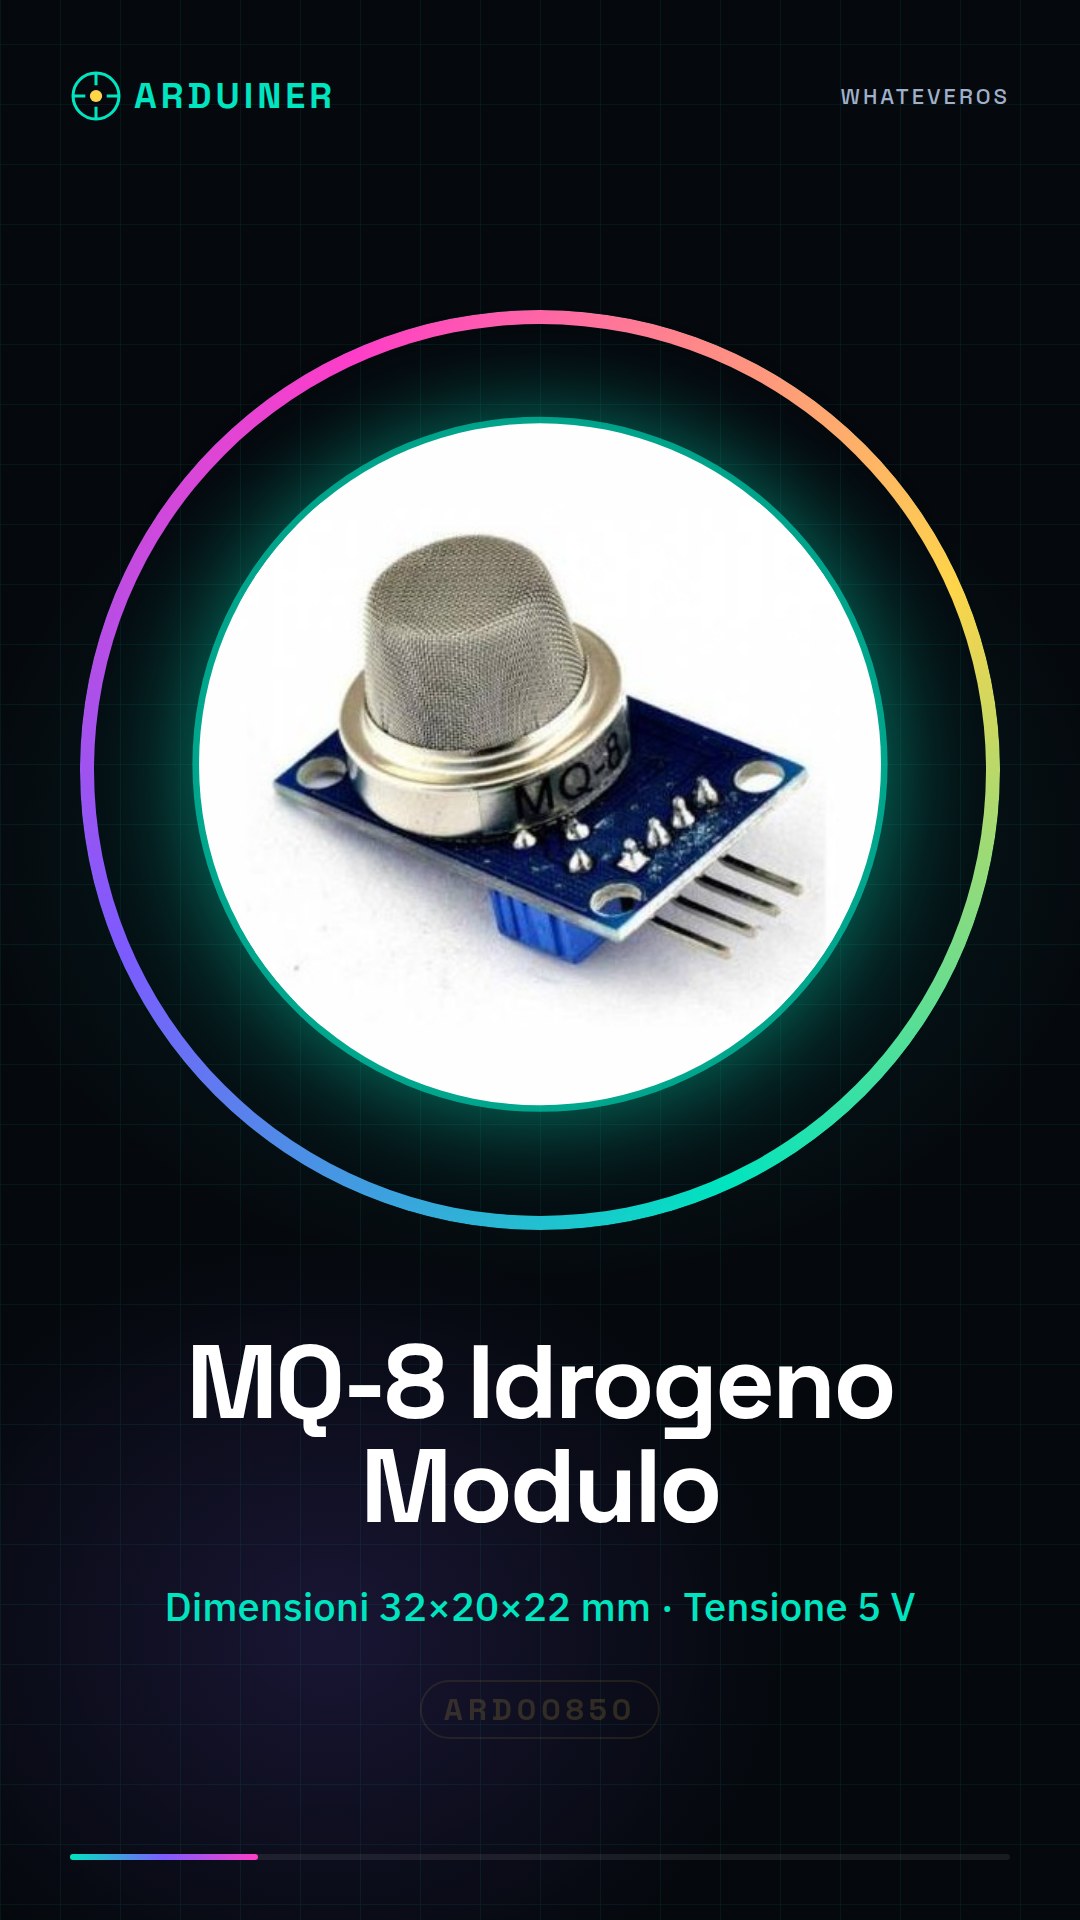
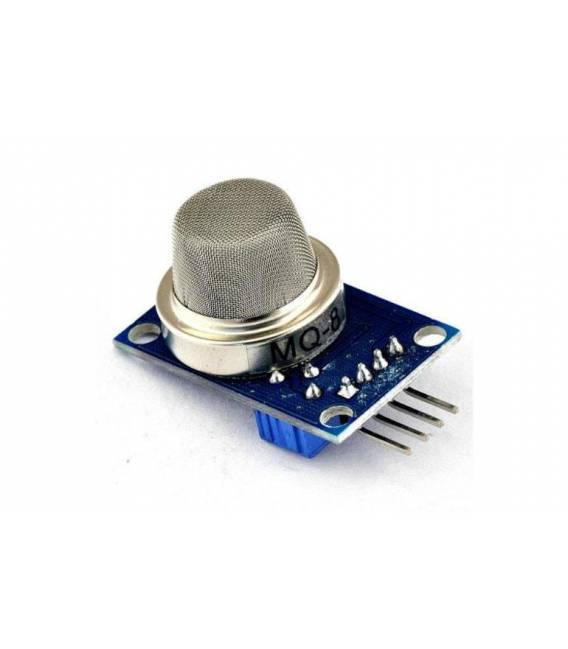
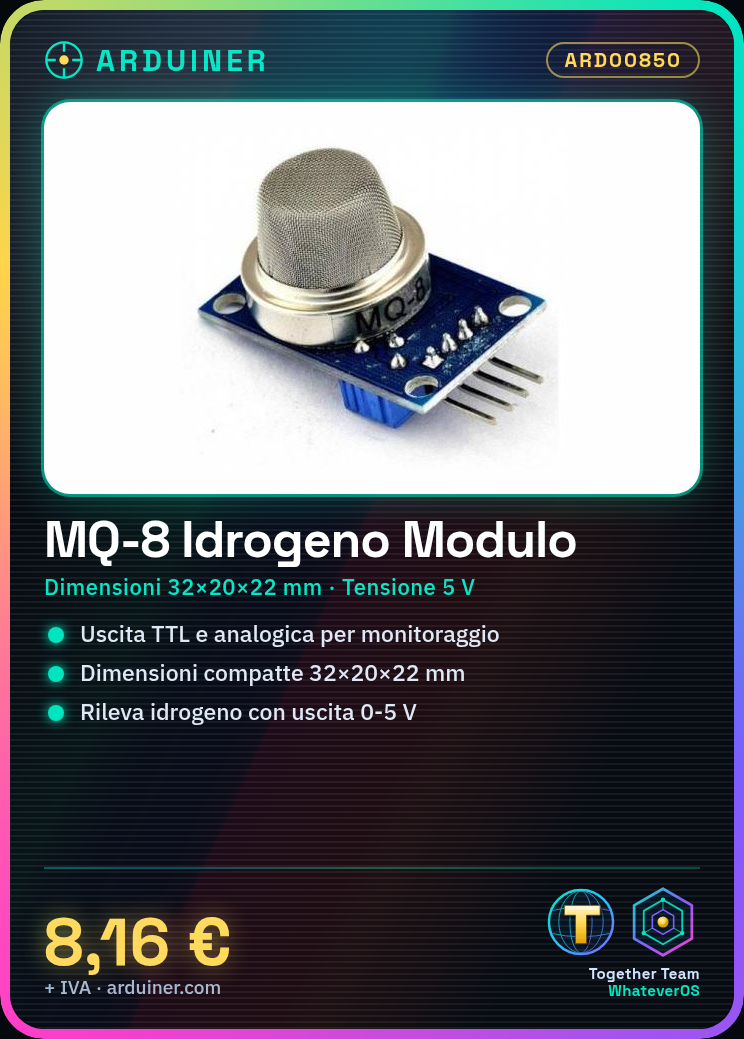
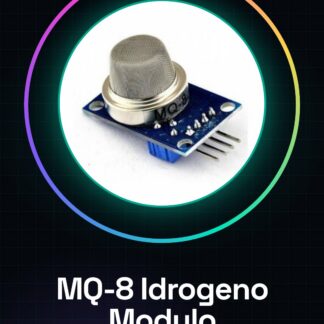
MQ-8 Hydrogen Gas Detection Sensor Module for Arduino
Description of the MQ-8 Sensor:
The MQ-8 gas sensor uses gas-sensitive materials with tin dioxide (SnO2) clean air base. When the sensor is in its environment, the presence of flammable gases causes the sensor’s resistance to increase with the rise in the concentration of combustible gases in the air. Variations in resistance can be converted into the corresponding output signal of gas concentration using a simple circuit. The MQ-8 hydrogen gas sensor is also very desirable for monitoring other hydrogen-containing gases. This sensor is capable of detecting a variety of hydrogen-containing gases and is a low-cost sensor suitable for a wide range of applications.
Applications of the module:
Suitable for home or industrial monitoring of hydrogen loss. Vapor of ethanol, soot, carbon monoxide and other gases from interference.
Features of the module:
1, using a high dual-panel design with a power supply indicator and TTL output signal instructions;
2, with DO (TTL) switch output signal and AO analog output signal;
3, valid low TTL output signal. (When the low output signal light is directly connected to the microcontroller or module
4, 0 ~ 5 V analog output voltage, the higher the concentration, the higher the voltage.
5, hydrogen gas detection with better
6, there are four holes for screws for easy positioning;
Product dimensions: 32 (L) * 20 (W) * 22 (H)
8, with long-lasting and reliable
9, fast response and recovery characteristics
10, operating voltage: 5V
Module using instructions:
Explanation: Use Preheat 20S
Step 1: Power the module with 5 V DC (note that the positive and negative do not reverse, otherwise the chip will easily burn out).
Step 2: If the DO output high and low is selected, the TTL output signal is directly connected to an IO port of the microcontroller or connected to the potentiometer used to adjust the transition level threshold of the output.
Phase three: If AO, analog output, is chosen, then there are no AO pins of the control potentiometer directly connected to the ADC input or the microcontroller with CAN. According to our experience: In a normal environment, that is: the environment of the gas being measured, setting the output voltage of the reference voltage sensor, At this point, the AO end voltage is approximately 1 V, when the sensor detects that the measured gas when the voltage of each 0.1 V increased, the actual measured gas concentrations are 200 ppm (simply: 1 ppm = 1 mg/kg = 1 mg/L = 1 10-6 commonly used to indicate the concentration of gas or the concentration of the solution.), based on this parameter, the microcontroller converts the measured analog voltage value into concentration values. Note: if you are accustomed to making a precision instrument, please purchase a standard calibration instrument from the market, or an error, the ratio between the output concentration and the linear voltage relationship, but tends to be linear.
Special Note: The Prework 20S powered sensor provides stable measurement data, the sensor’s fever phenomenon is a normal occurrence, the internal heating wire, if abnormally hot.
Test Procedure:
Function: This version supports test program
Using the chip: AT89S52
Crystal: 11.0592MHZ
Baud Rate: 9600
Compilation environment: Keil
Disclaimer This program is used only for study and reference, please specify copyright and author information!
************************************************** ******************* /
/ ************************************************* *******************
Description: 1, single-chip IO output low when the measured concentration is greater than the set concentration
************************************************** ******************* /
# Include / / library files
# Define uchar unsigned char / / macro definition unsigned char
Unsigned int # define uint unsigned int / / macro definition.
/ ************************************************* *******************
I / O definition
********************************************************************* /
sbit LED = P1 ^ 0; / / definition of SCM P1 (P1.0) port to indicate the end
sbit DOUT = P2 ^ 0; // microcontroller P2 port 1 (P2.0) definition for sensor input
/ ****************** ******************************* *******************
Delay function
******************** ****************************** ******************* /
procedure void delay () // delay
{
uchar m, n, s;
for (m = 20; m > 0; m -)
for (n = 20; n > 0; n -)
for (s = 248; s > 0; s -);
}
/ ****************************** ******************* *******************
Main function
******************************* ******************* ******************* /
void main ()
{
while (1) // infinite loop
{
LED = 1; // turn off P1.0 port lights
if (DOUT == 0) // function when concentration exceeds set value, execution condition
{
delay (); // anti-jamming delay
if (DOUT == 0) // determines that concentration exceeds set value, execution condition function
{
LED = 0; // turn on lights for P1.0 port
}
}
}
}
/ ***************** ******************************** ****************** *
End
******************** ****************************** *******************
We have the technical specifications of all components available, if not present in the product download sheet, send us a message from the contact us module and we will publish as soon as possible on our website.
Tutorial: How to Use MQ-8 Hydrogen Detector Sensor
The MQ-8 sensor is ideal for monitoring hydrogen levels in industrial or domestic environments. This Arduino module is perfect for DIY and maker projects that want to add a safety feature.
What you need
- Arduino Uno
- USB cable
- 5V power supply
- LCD screen (optional)
Steps
- Connect the MQ-8 sensor to the VCC and GND pins of the Arduino for power.
- Connect the sensor signals to the Arduino’s analog pin A0.
- Install the LiquidCrystal.h library if you are using an LCD screen (optional).
- Upload the sketch to your Arduino.
- Check the readings on the digital pins or through the LCD display.
- Adjust the sensor limits based on the datasheet specifications.
- Test the sensor with various hydrogen concentrations to obtain accurate data.
- Implement an alarm system if the concentration exceeds a certain value.
Example code
// Esempio di codice Arduino
int sensorPin = A0;
float gasLevel = 0;
void setup() {
 Serial.begin(9600);
}
void loop() {
 int sensorValue = analogRead(sensorPin);
 gasLevel = map(sensorValue, minVal, maxVal, 0, 1023); // verifica sul datasheet i valori di calibrazione
 Serial.println(gasLevel);
}
Mini project
Create a home alarm system that sends an email or SMS notification when a high concentration of hydrogen is detected.
Common mistakes
- Do not check the sensor limits before use.
- Omit the adjustment of the pull-up resistor.
- Ignore environmental conditions that may affect readings.
- Use an inadequate power supply for the sensor.
Recommended accessories
- LCD Module
- Control Relay
- Temperature and Humidity Sensors
- Home Alarm Kit
Frequently asked questions
How do you calibrate the MQ-8?
Calibrate the sensor by exposing it to a known concentration of hydrogen and adjusting the minimum and maximum values.
Can it detect other gases?
The MQ-8 is specifically designed for hydrogen; check the datasheet for other applications.
How long does it take for the sensor to respond?
Response time may vary; consult the datasheet for specific details.
Reviews
There are no reviews yet.