 EN
 IT Italiano
 ES Español
 FR Français
 DE Deutsch
Description
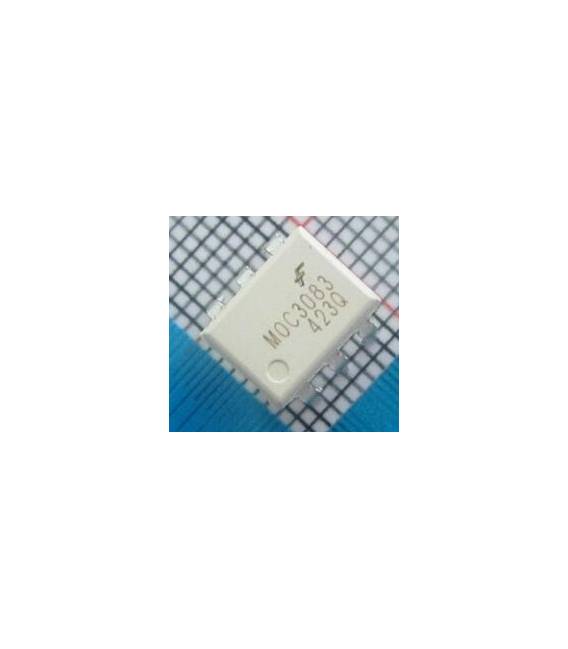
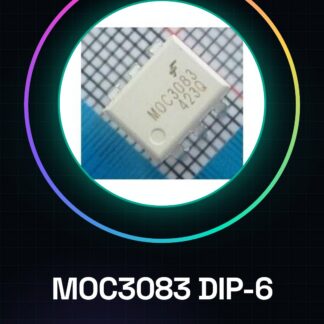
MOC3083 DIP-6
Tutorial: How to Use MOC3083 DIP-6
The MOC3083 is a current-sensing optocoupler used to protect and control AC circuits. It is ideal for makers who want to integrate light or motor control into Arduino devices.
What you need
- Arduino Uno
- Insulated Wire
- 24V Relay
- Test Lamp
Steps
- Check the application’s electrical voltage to ensure it is compatible with the MOC3083.
- Connect the anode of the internal LED (pin 1) to the control signal from Arduino through an appropriate resistor.
- Connect the cathode of the internal LED (pin 2) to ground.
- Connect the relay or controlled device to the TRIG and GATE pins of the MOC3083 (pins 5 and 6).
- Refer to the datasheet for the current specifications of the TRIG and GATE pins, then connect a resistor between Arduino and TRIG.
- Ensure the controlled device is protected with an appropriate fuse.
- Load an Arduino sketch to send PWM pulses to the MOC3083.
- Test the interaction between Arduino, MOC3083, and the relay or device.
Example code
void setup() {
  pinMode(9, OUTPUT);
}

void loop() {
  digitalWrite(9, HIGH); // Accendi per un istante
  delayMicroseconds(1000);
  digitalWrite(9, LOW);   // Spegni
}
Mini project
Create a smart lamp that turns on and off with hand movement or app command.
Common mistakes
- Do not verify voltage compatibility.
- Connect the Arduino output directly without resistance.
- Ignore the datasheet specifications for TRIG and GATE.
- Omit the protective fuse for the controlled device.
Recommended accessories
- Variable resistors
- PIR sensors
- Arduino Nano
- 12V relay
Frequently asked questions
What is the minimum supply voltage for the MOC3083?
Check the datasheet.
How much power can the relay connected to the MOC3083 handle?
Maximum power depends on the relay, check its specifications.
Can I use an Arduino Mega instead of the Uno?
Yes, but make sure to adapt the pins in the code.
Reviews
There are no reviews yet.