 EN
 IT Italiano
 ES Español
 FR Français
 DE Deutsch
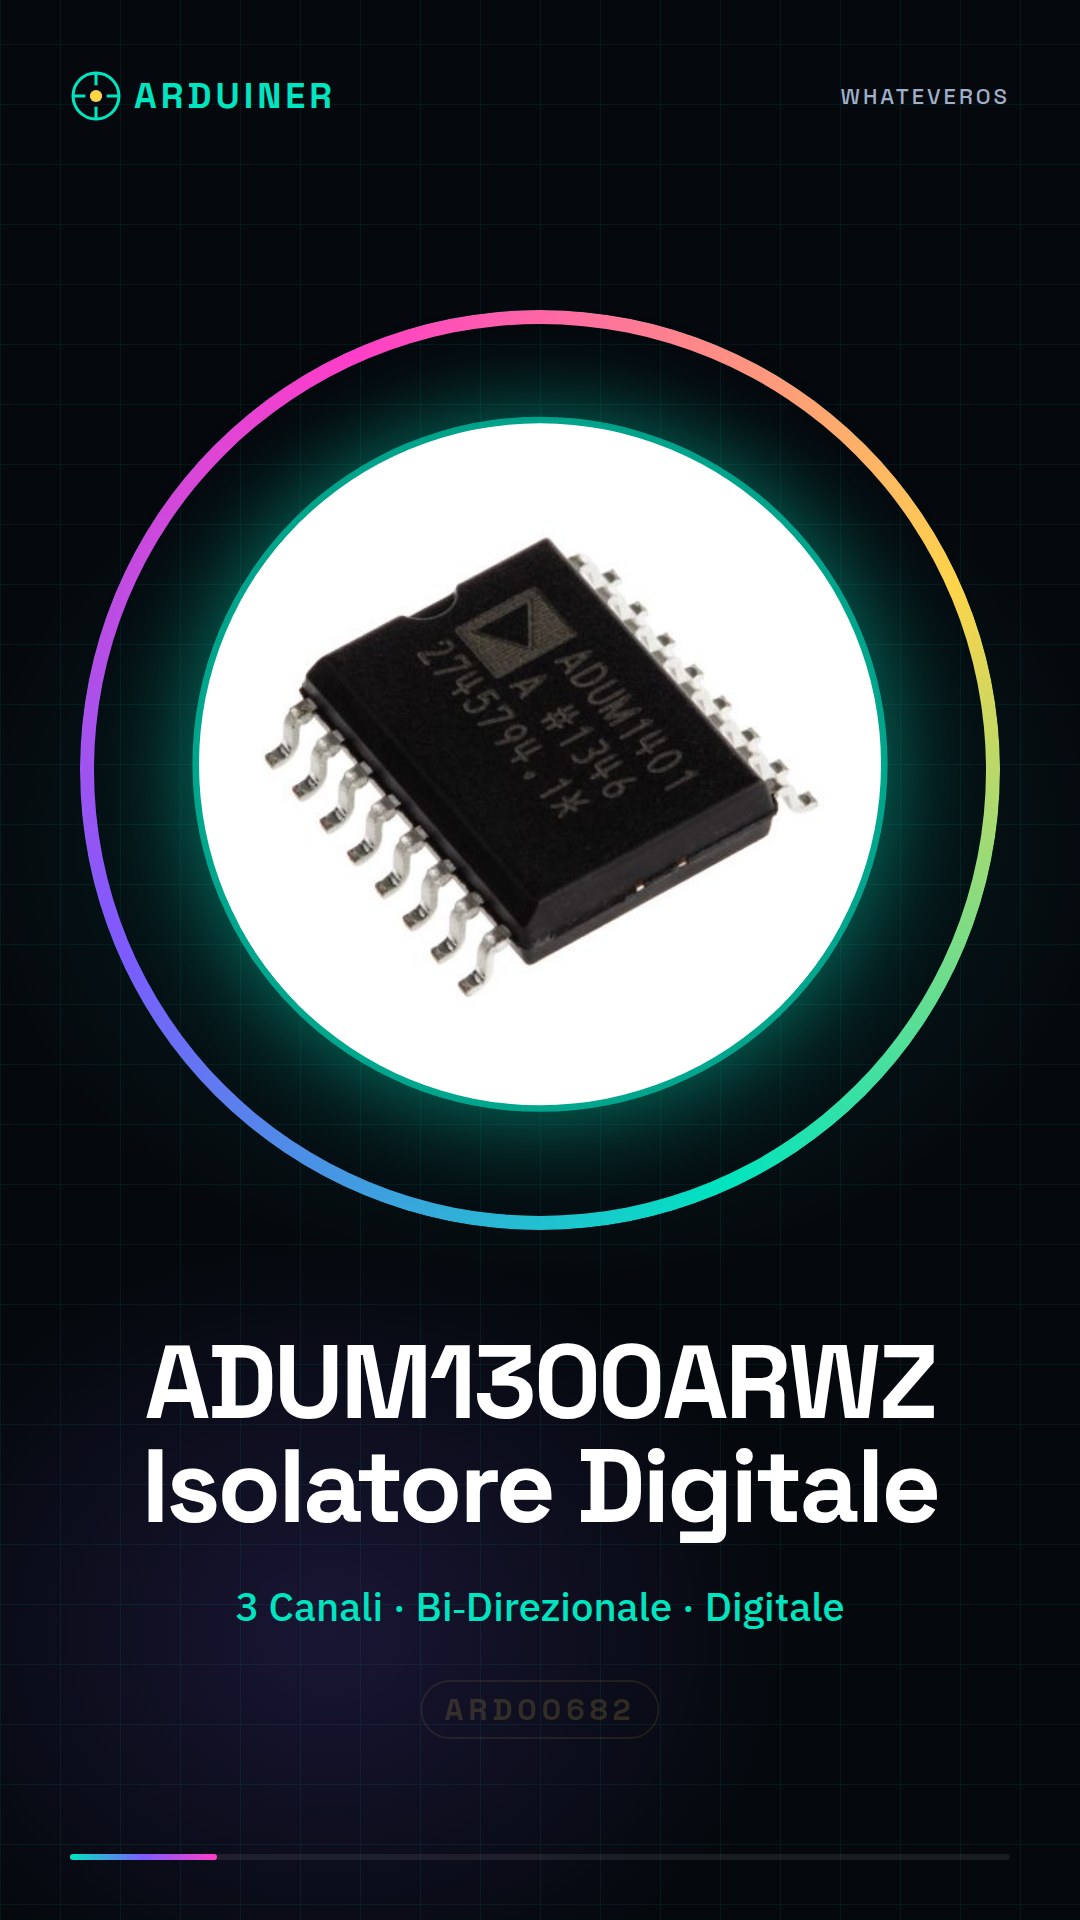
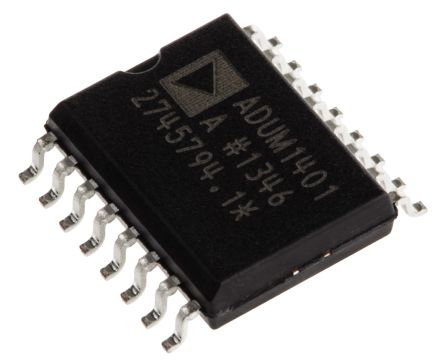
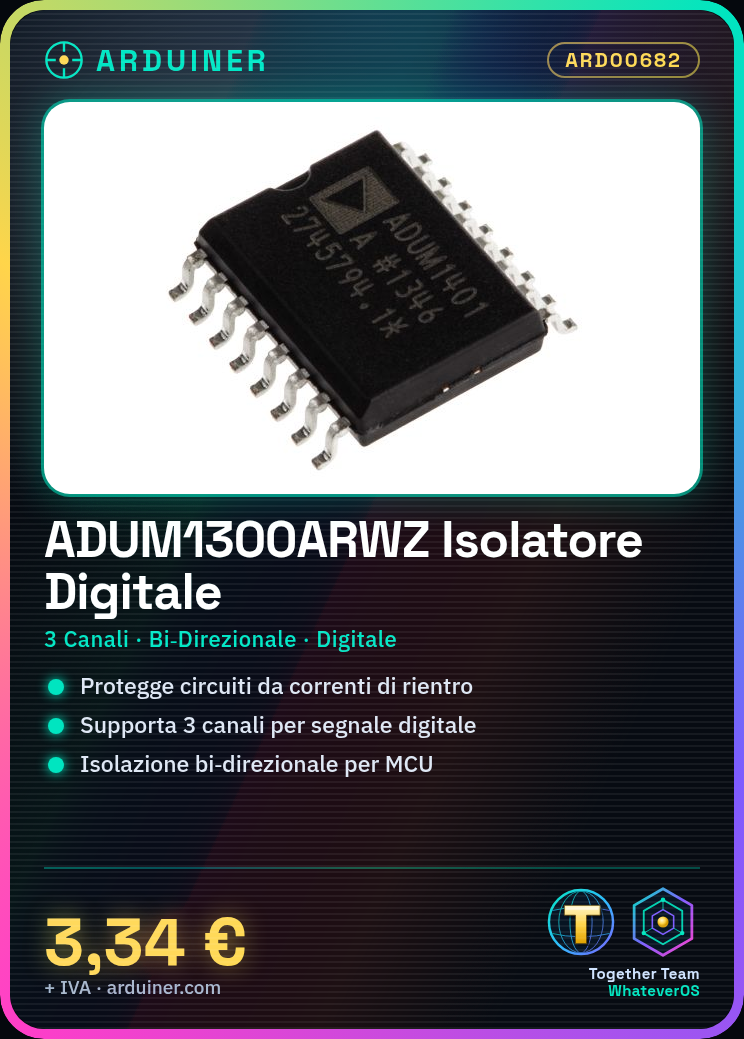
Description
Tutorial: How to Use ADUM1300ARWZ
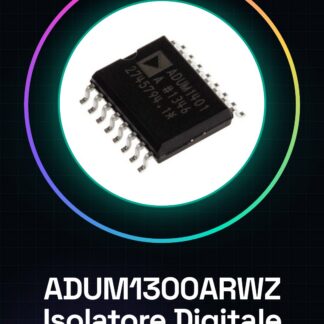
The digital isolator ADUM1300ARWZ is ideal for protecting your circuits from electrical backflow currents. Useful for beginner and intermediate makers.
What you need
- ADUM1300ARWZ
- Arduino or microcontroller
- 10kΩ resistor
- Power cable
- Multimeter
Steps
- 1. Check the specifications on the datasheet.
- 2. Connect the VCC and GND of the ADUM1300ARWZ to the microcontroller.
- 3. Connect the input and output pins to the microcontroller.
- 4. Set the pull-up with a 10kΩ resistor between the input pin and VCC.
- 5. Write an Arduino code to control the input and output pins.
- 6. Load the code onto the microcontroller.
- 7. Check the signals with a multimeter.
- 8. Test the bi-directional isolation.
Example code
```void setup() { pinMode(2, INPUT); digitalWrite(3, HIGH);}void loop() { int value = digitalRead(2); digitalWrite(4, value);}Mini project
Create a simple digital signal interceptor using the ADUM1300ARWZ as an isolator.
Common mistakes
- Do not use output pins without pull-up.
- Do not check signals with a multimeter without proper configuration.
- Do not connect the input pins directly to the microcontroller.
- Do not forget to check the correct power supply.
Recommended accessories
- Arduino Uno
- 10kΩ Resistor
- Digital Multimeter
- USB Cable
Frequently asked questions
How can I verify the bidirectional insulation?
Measure the resistance between the input and output pins with the multimeter.
Which pins should I use for the connection?
Use the input and output pins specified in the datasheet.
Can I use a different power supply?
Check the supported voltage range in the datasheet.
What should I do if it doesn’t work?
Check the connections and specifications in the datasheet.
Reviews
There are no reviews yet.