 EN
 IT Italiano
 ES Español
 FR Français
 DE Deutsch
Description
What it is
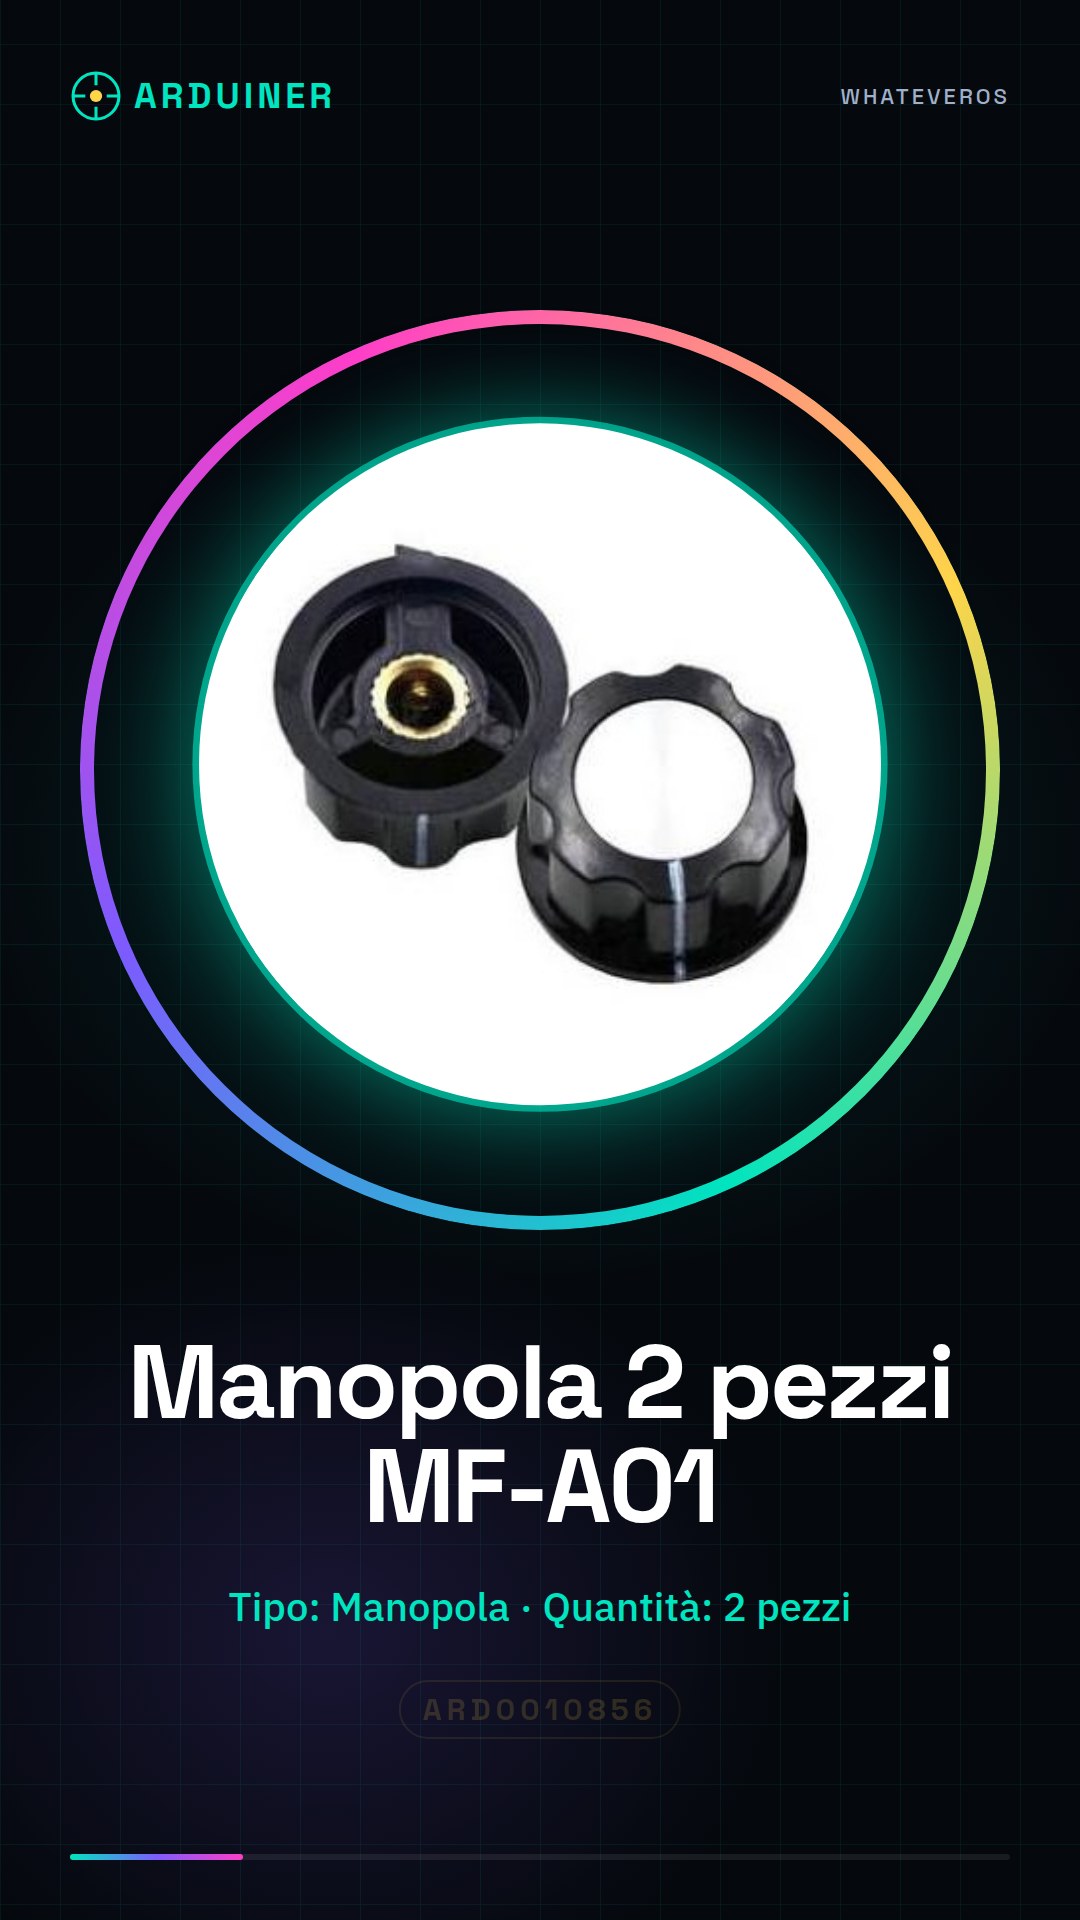
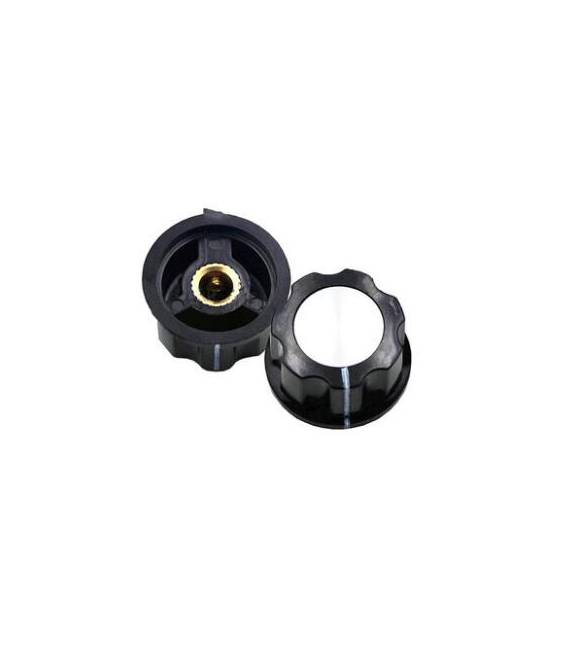
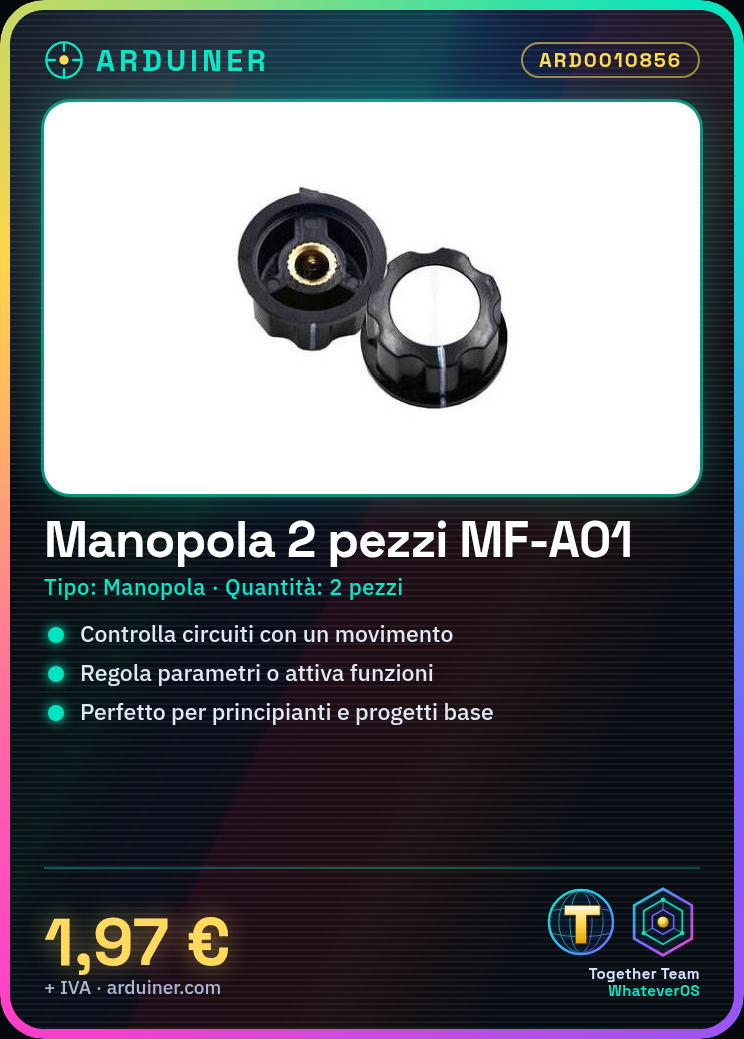
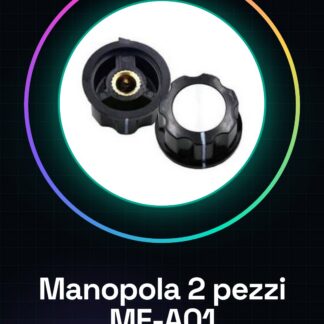
The MF-A01 knob is an electronic component that allows circuits to be controlled with a simple movement. It is sold in a pack of 2 pieces.
Features
- Type: Knob
- Quantity: 2 pieces
- SKU: ARD0010856
- Price: 1.97 €
What it is for
The MF-A01 knob is ideal for adding interactivity to electronic projects, allowing parameters to be adjusted or functions to be activated. It can be used to control LEDs, motors, or other components in simple circuits. Its simplicity makes it perfect for beginners and basic level projects. Compatibility with Arduino and ESP32 can be verified in the datasheet.
Tutorial: How to use 2 pieces MF-A01 Knob
The MF-A01 knob is an ideal component for controlling actions in electronic circuits, perfect for beginner level projects and for those who wish to integrate simple human interfaces into their projects.
What you need
- MF-A01 Knob 2 pieces
- Arduino or compatible microcontroller
- Power Connections (5V)
- Test Lead for Testing
Steps
- 1. Check that the potentiometer is functioning. Verify on the datasheet.
- 2. Connect the potentiometer to the microcontroller using the contacts.
- 3. Power the microcontroller with 5V.
- 4. Load the provided Arduino code.
- 5. Verify operation with the potentiometer.
- 6. Connect the potentiometer to a test circuit.
- 7. Test the potentiometer at various angles and positions.
- 8. Adjust the potentiometer sensitivity if necessary. Verify on the datasheet.
Example code
```
int pinManopola = 2;
void setup() {
  pinMode(pinManopola, INPUT);
}
void loop() {
  int statoManopola = digitalRead(pinManopola);
  if (statoManopola == HIGH) {
    Serial.println("Manopola pressata");
  }
}
```
Mini project
Create a simple circuit that turns on an LED when the potentiometer is pressed. In 30 minutes you can have a working project.
Common mistakes
- Connect the potentiometer to a non-dedicated input pin.
- Power the microcontroller with voltages different from 5V.
- Omit checking the potentiometer’s operation before use.
- Do not use a test lead to test the potentiometer.
Recommended accessories
- LED
- 220 Ohm Resistor
- Test Lead
- Arduino UNO
Frequently asked questions
Does the potentiometer work with voltages different from 5V?
Check the datasheet. The potentiometer works with different voltages, but it may behave differently.
Can I use the potentiometer with microcontrollers other than Arduino?
Check the datasheet. The potentiometer is designed for microcontrollers compatible with GPIO.
What are the pressure positions of the potentiometer?
Check the datasheet. The potentiometer offers various pressure positions, but the exact specification needs to be verified.
Reviews
There are no reviews yet.