 EN
 IT Italiano
 ES Español
 FR Français
 DE Deutsch
Description
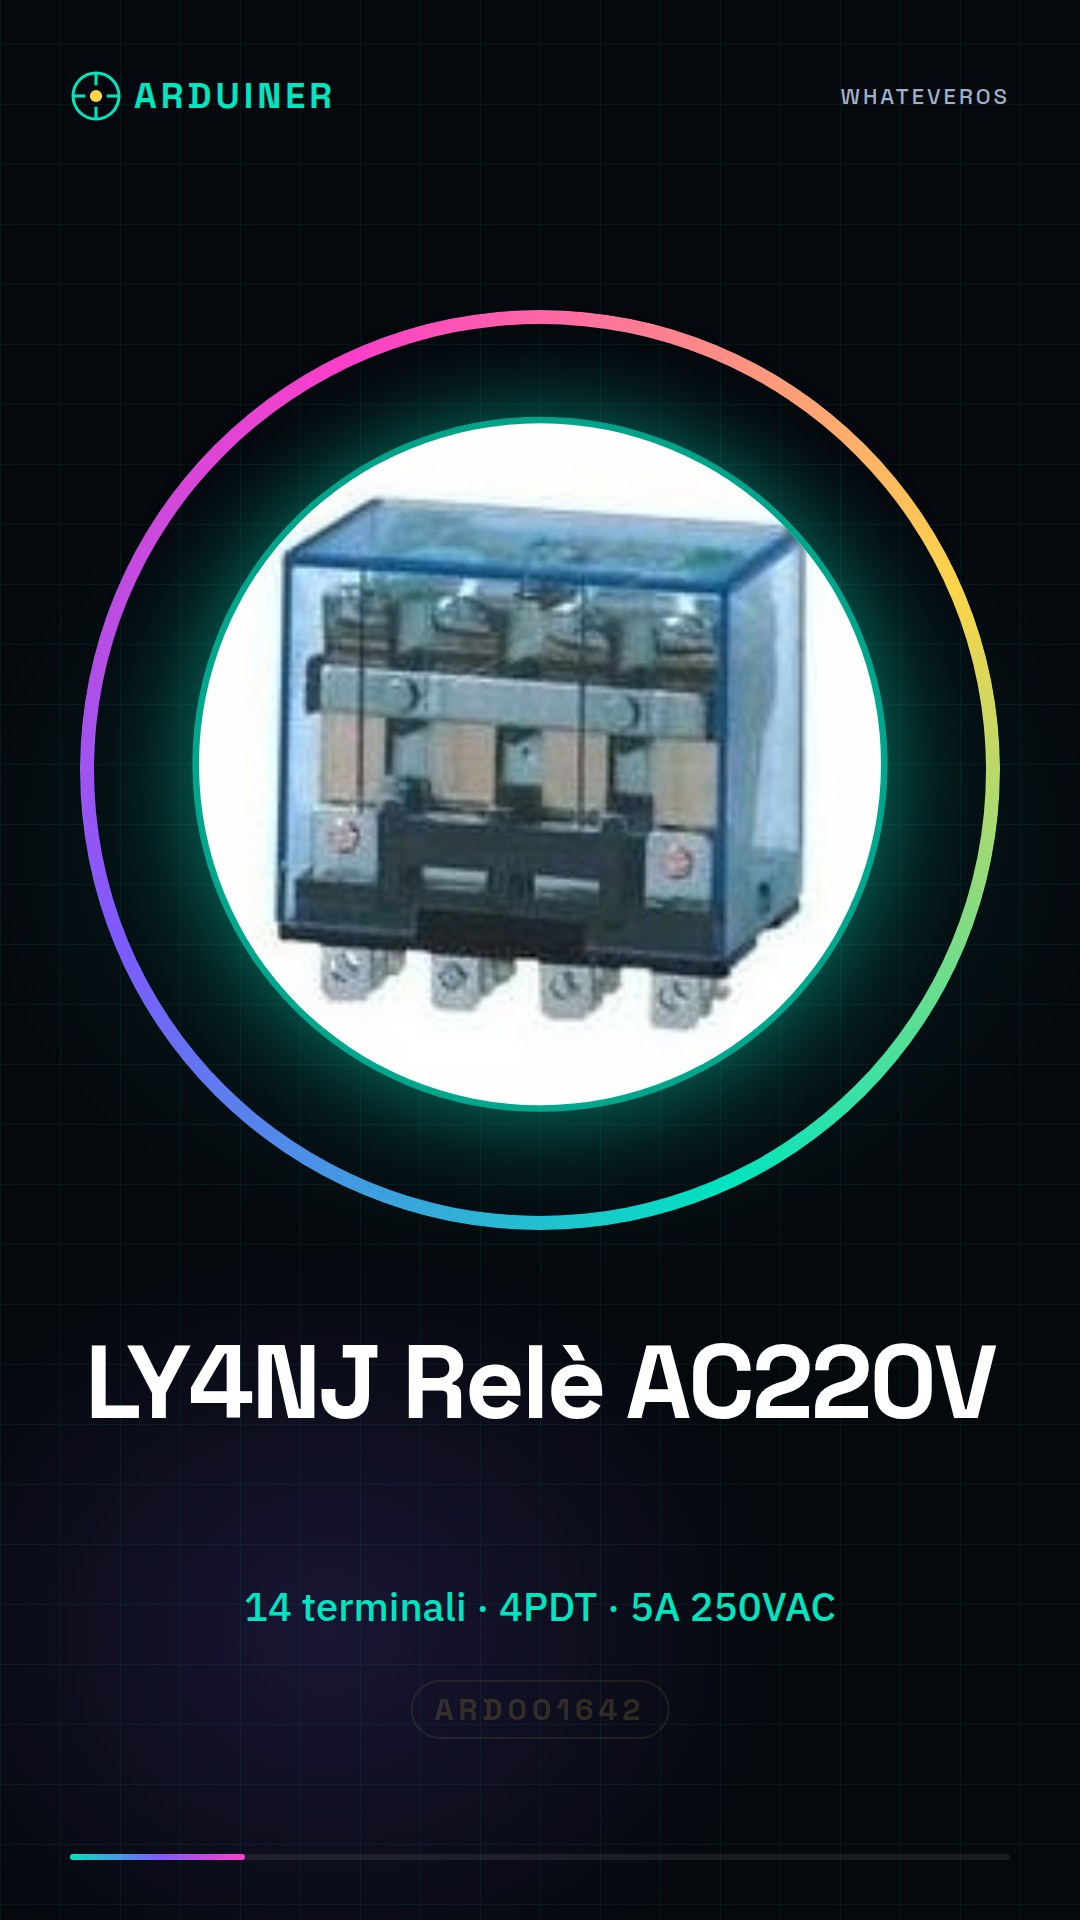
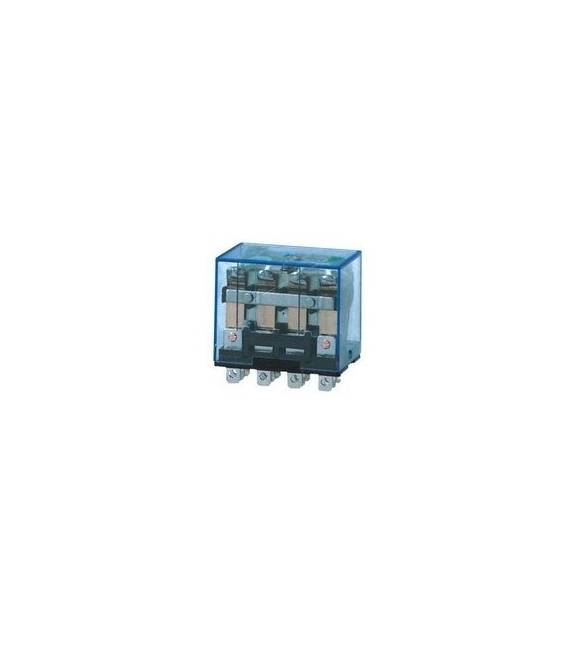
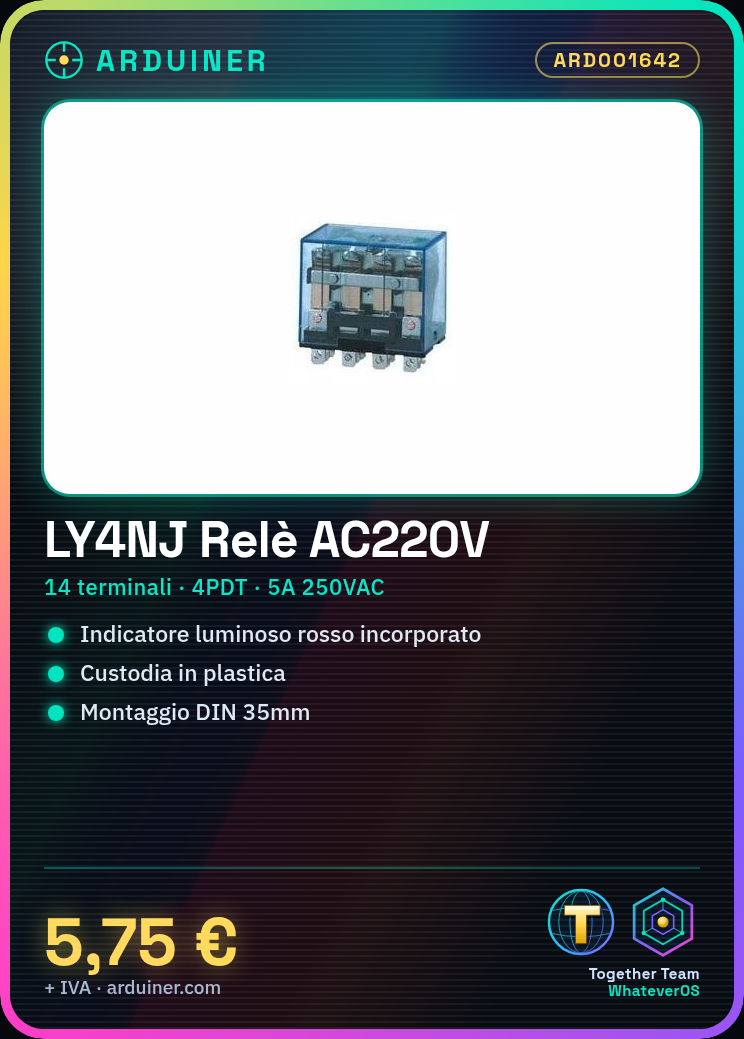
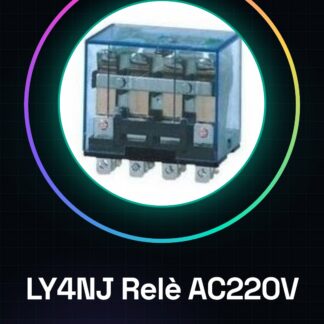
LY4NJ AC220V Coil 3PDT 11P Power Relay for General Use 5A 250VAC / 28VDC
Product Description
- 14 terminals, type 4PDT 4NO 4NC, plastic housing, built-in red LED indicator.
- Can automatically regulate, protect and transform the electric circuit.
- Widely used in remote control, communication, automatic control system, electronic equipment, etc.
- Product name: electromagnetic relay;
- Model number: LY4NJ;
- Coil voltage: AC 220 V
- Contact capacity: contact capacity; 10 A 240 V AC / 28 V DC: 10 A 240 V AC / 28 V DC;
- Type: 4PDT
- Number of Terminals: 14;
- Mounting rail type: 35 mm DIN rail guide;
- Mounting hole dimensions: 6 x 4 mm / 0.24 “x 0.16” (L * W)
- Overall dimensions (approx.): 75 x 45 x 65 mm / 2.7″ x 1.3 “x 2.6” (L * W * H);
- S Material: plastic;
- Main Color: Black, Light Blue
- Net weight: 139g;
- Contents of the package: 1 x electromagnetic relay
We have available the technical sheet of all components, should it not be present in the product download card, send us a message from the contact us form and we will publish it as soon as possible on our website.
Tutorial: How to use LY4NJ AC220V
This relay is ideal for controlling electrical devices from 5A to 250 V AC or 28 V DC. Useful for beginners and intermediates in electronics.
What you need
- LY4NJ AC220V
- Arduino
- Power cable
- Resistor
Steps
- Check the datasheet specifications for current and voltage.
- Connect the coil to the Arduino control pin.
- Connect the relay contacts to the devices to be controlled.
- Use a resistor to protect the coil.
- Write a simple sketch to control the relay.
- Test the relay with a button for manual control.
- Check the stability of the relay in various activation cycles.
- Adapt the relay to a specific project.
Example code
```void setup() { pinMode(2, OUTPUT);}void loop() { digitalWrite(2, HIGH); delay(5000); digitalWrite(2, LOW); delay(5000);}```Mini project
Build an automatic lighting system. Connect a relay to a light sensor and an LED.
Common mistakes
- Do not use voltages higher than 250 V AC or 28 V DC.
- Do not connect the coil directly to the Arduino without a resistor.
- Do not use currents higher than 5A.
- Do not use the relay to control devices that exceed 250 V AC or 28 V DC.
Recommended accessories
- Light sensor
- LED
- Power cable
- Resistor
Frequently asked questions
Can I use this relay to control devices with voltages different from those specified?
Check the datasheet for voltage and current specifications before use.
Which resistor to use for the coil?
Use a 1 kΩ resistor to limit the current.
Can I use this relay to control AC and DC voltage devices?
Yes, but make sure the voltage is within the specifications.
Which Arduino pin to use for the relay?
Use a digital pin such as D2 for control.
Reviews
There are no reviews yet.