 EN
 IT Italiano
 ES Español
 FR Français
 DE Deutsch
Description
What it is
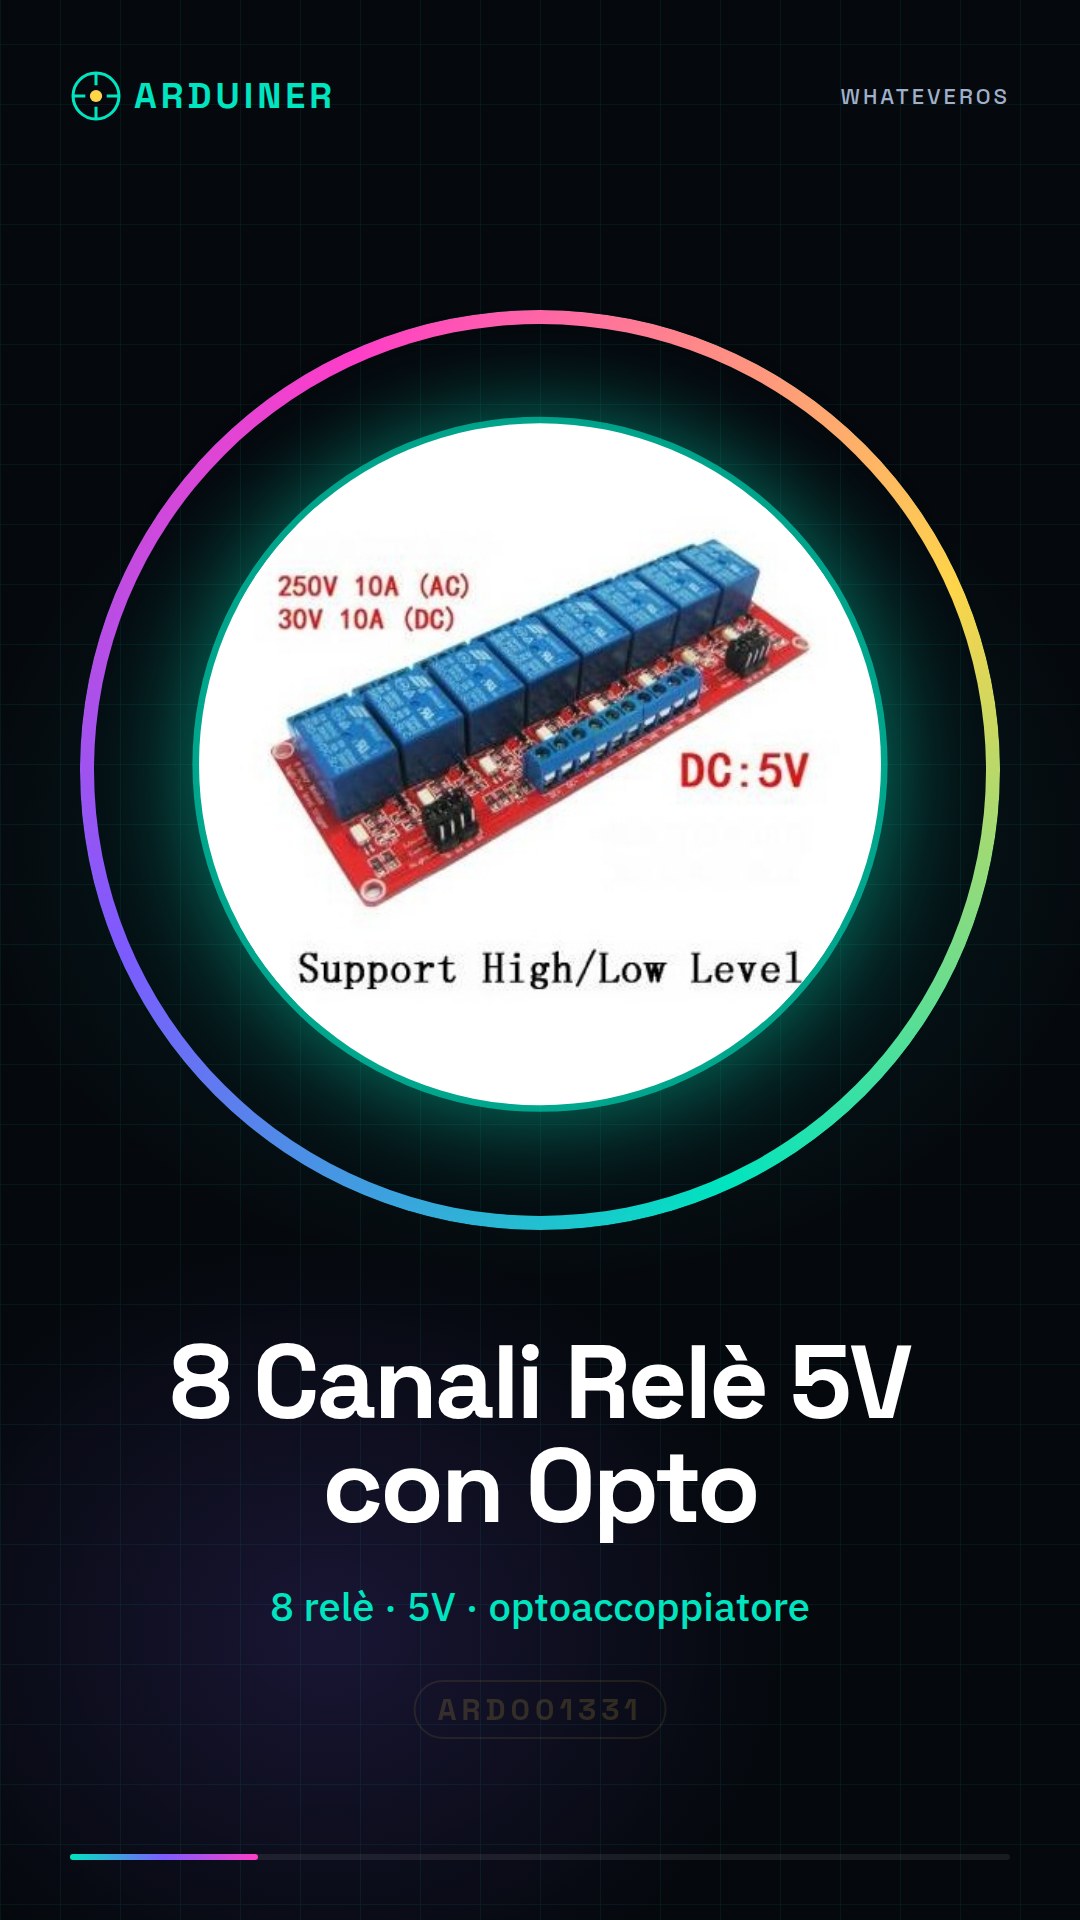
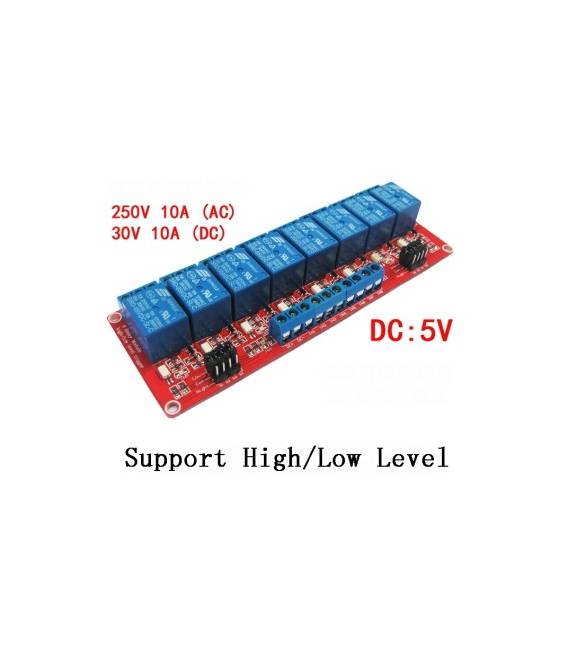
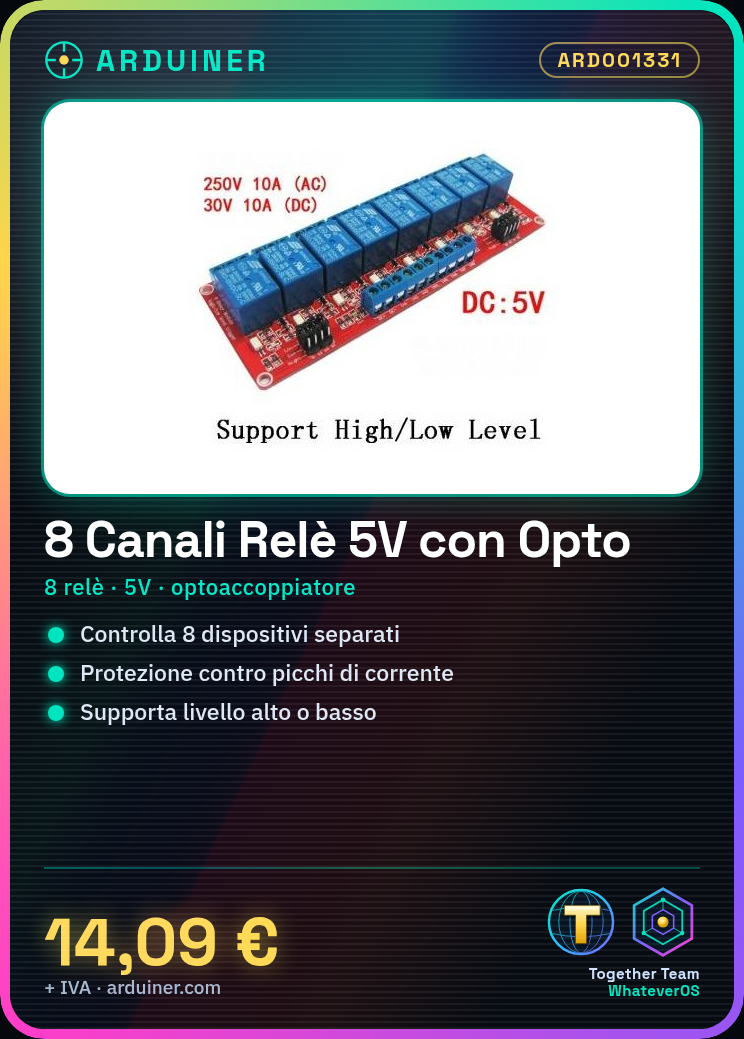
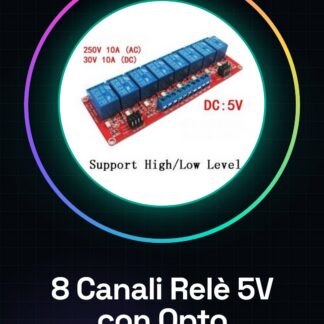
The 8 Channel 5V Relay with Opto-isolator ARD001331 is an electronic control module designed to be used in conjunction with Arduino or other microcontrollers. This device allows for the control of electrical devices via digital signals, offering additional protection against current spikes thanks to the integrated opto-isolators on each channel.
Features
- 8 independent relays with opto-isolator for each
- Operating voltage: 5V
- Control level: supports high/low level on each channel
What it is for
This relay is ideal for projects that require the activation or deactivation of electrical devices based on specific conditions. Here are some examples of usage: automatic control system for external lights, activation of household or industrial equipment based on digital signals from Arduino.
Tutorial: How to Use 8-Channel Relay with Optocouplers
This relay module is ideal for anyone who wants to control electrical devices from an Arduino circuit. With excellent protection against current spikes thanks to the optocouplers, it is suitable for both home and industrial projects.
What you need
- Arduino Uno or compatible
- Jumper male-female cable
- 5V potential to power the module
Steps
- Connect VCC and GND of the relay to the +5V and GND of the Arduino respectively.
- For each channel, connect IN1 to a digital output pin of the Arduino (e.g., 7).
- Check the correct power supply of the devices to be controlled with the COM and NO terminals of the relay.
- Write the Arduino sketch to activate/deactivate the relay as desired.
Example code
const int relayPin = 7; // collega IN1 al pin 7 dell'Arduino
void setup() {
  pinMode(relayPin, OUTPUT);
}
void loop() {
  digitalWrite(relayPin, HIGH); // attiva il relè
  delay(2000);
  digitalWrite(relayPin, LOW); // disattiva il relè
  delay(2000);
}
Mini project
Create an automatic control system for external lights based on light conditions.
Common mistakes
- Do not check the correct power supply of the module.
- Connect the relay power directly to the 5V pin of the Arduino without protection.
- Use an electrical device that requires more than 5A per channel.
- Swap the terms COM and NO during connection.
Recommended accessories
- Light sensors
- Temperature control modules
- 24V relays
- Rechargeable batteries
Frequently asked questions
Can the relay control devices with power supply above 5V?
Yes, but only up to the maximum rating of the relay for each channel. Check the datasheet.
What is the difference between COM and NO?
COM (Common) is the fixed connection point, while NO (Normally Open) opens when the relay is activated.
Reviews
There are no reviews yet.