 EN
 IT Italiano
 ES Español
 FR Français
 DE Deutsch
Description
What it is
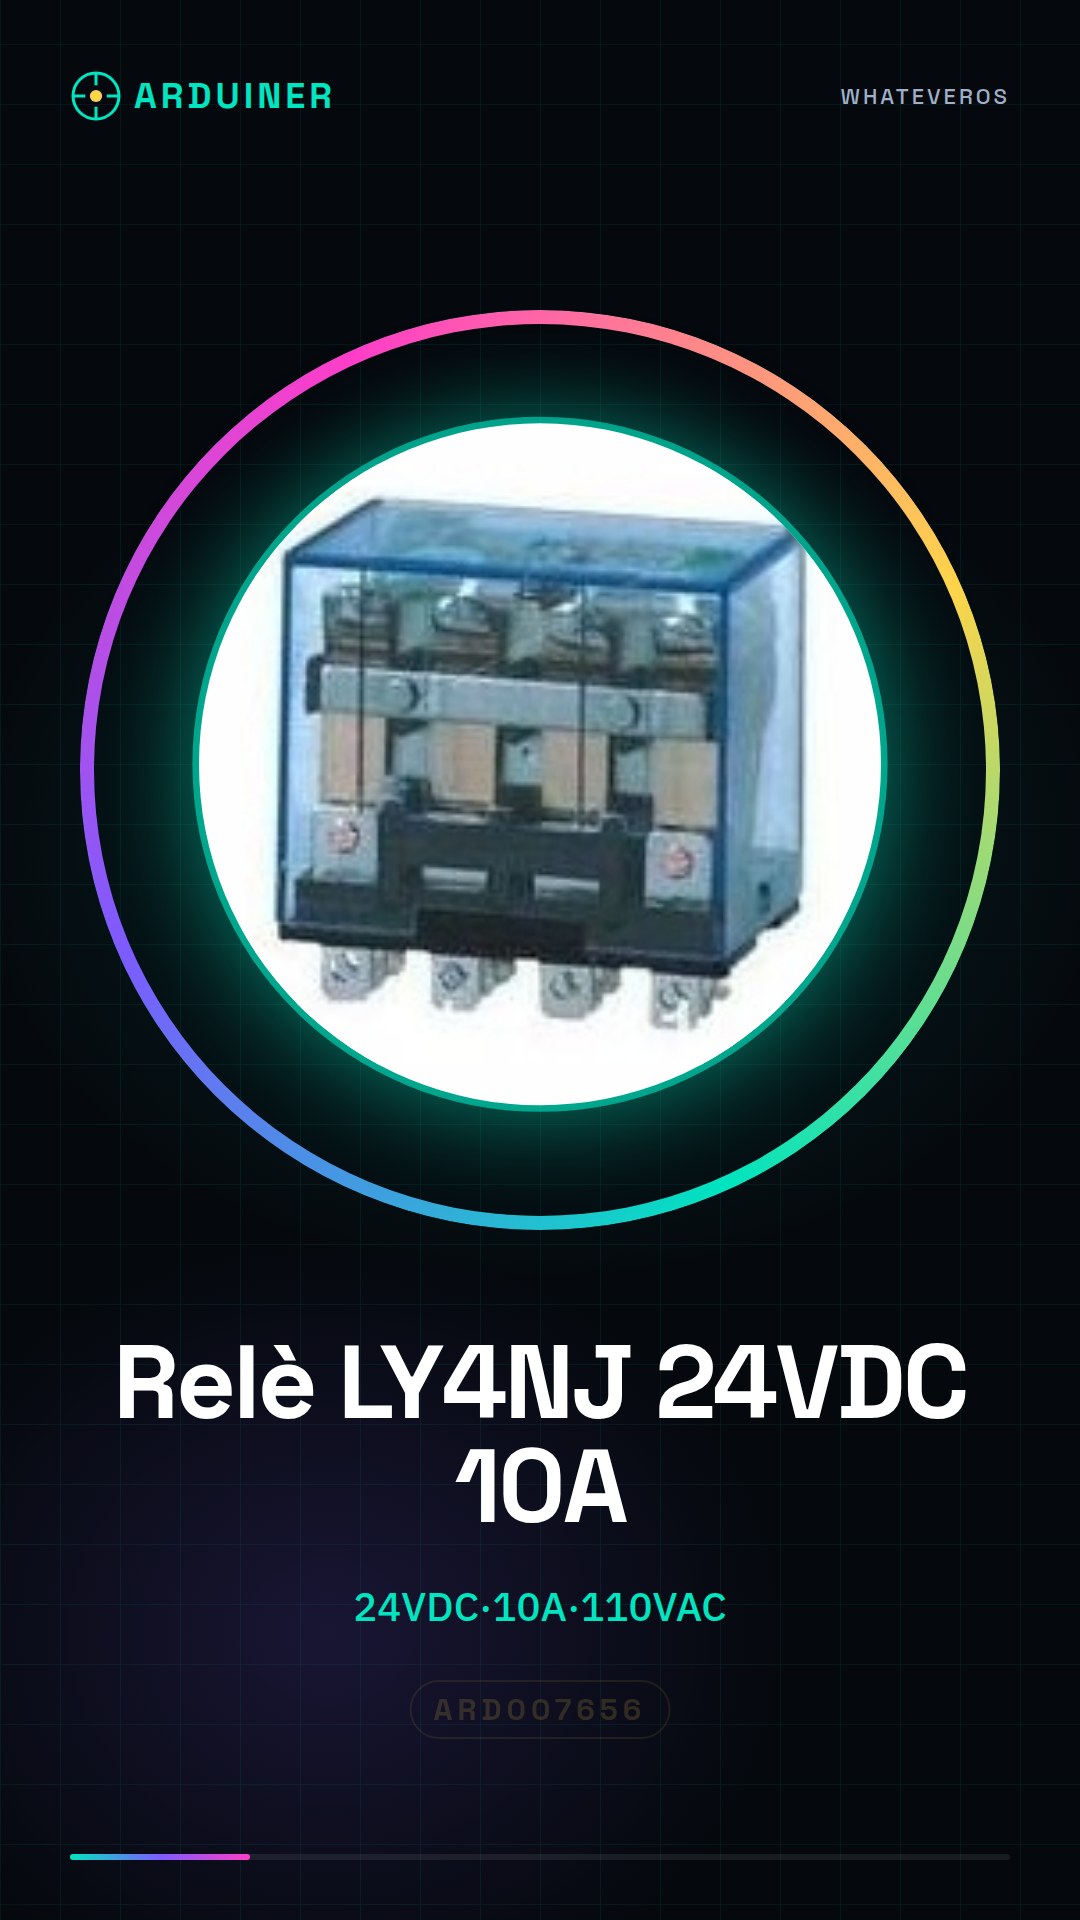
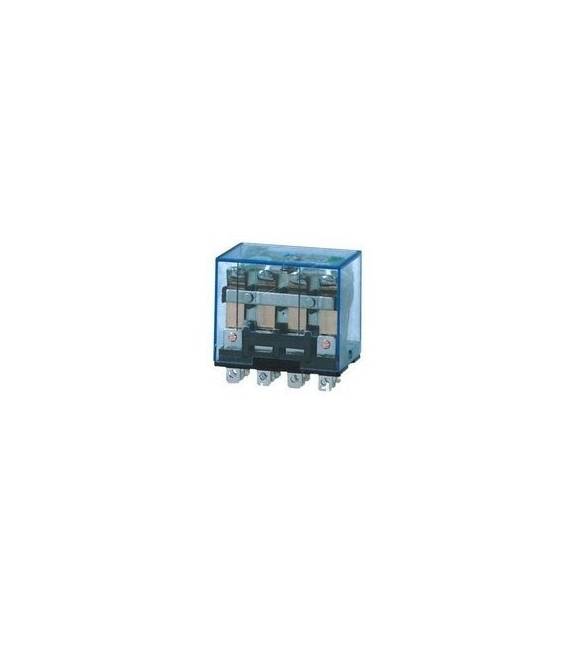
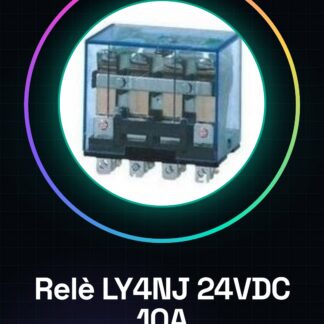
The LY4NJ relay is an electromagnetic device that allows controlling high voltage or current circuits from low-consumption devices like Arduino.
Features
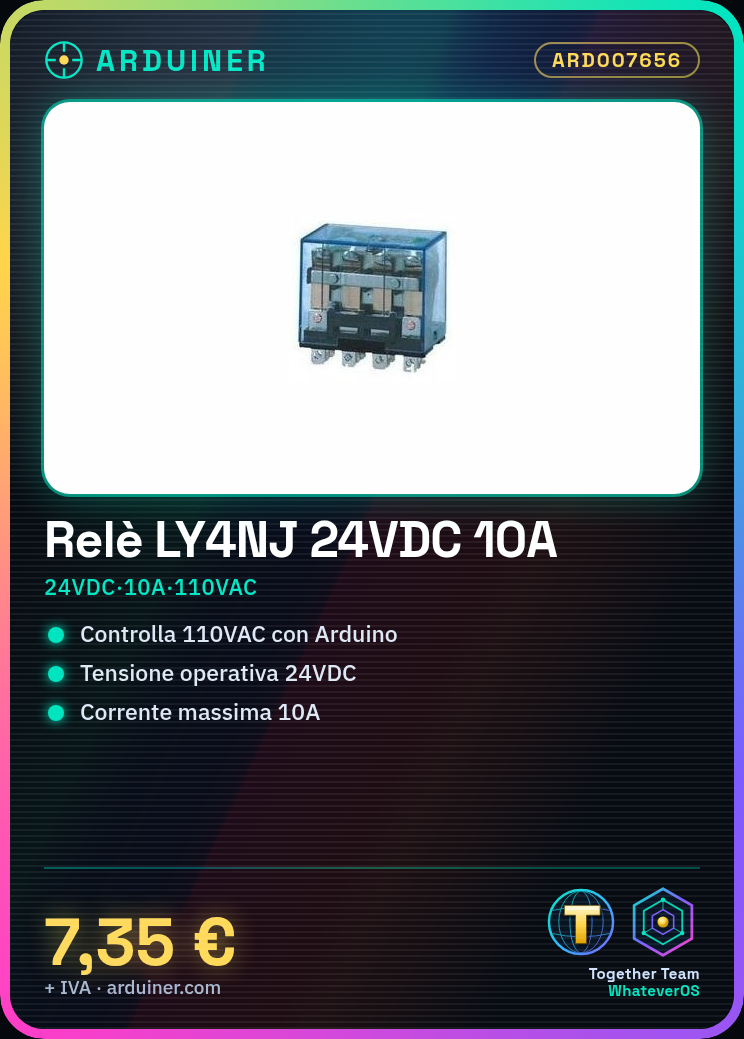
- Operating voltage DC: 24VDC
- Maximum current: 10A
- Control voltage AC: 110VAC
What it is for
Relays like the LY4NJ are useful for controlling electrical devices from an Arduino or other microcontrollers. Ideal for home projects that require the activation or deactivation of circuits based on predefined conditions.
Tutorial: How to use LY4NJ Relay 24VDC 10A
The electromagnetic relay LY4NJ is a fundamental component for controlling DC or AC circuits from low-consumption devices like Arduino. Ideal for beginner and intermediate makers who want to create smart home projects.
What you need
- Arduino Uno
- Various connectors (molex, banana plug)
- Insulated wire
- Current limiting resistor (check datasheet)
- 24VDC Battery or Power Supply
Steps
- Connect the control circuit of the relay to the 5V/GND of the Arduino.
- Check the operating voltage of the relay and connect it correctly (24VDC).
- Install a limiting resistor between the digital output of the Arduino and the control circuit of the relay (check the datasheet for specific details).
- Connect the 110VAC power line to the relay’s load side.
- Ensure there are no short circuits or electrical overloads.
- Write the Arduino sketch to control the relay (see below).
- Test the relay with the Arduino, making sure the 110VAC power line is off during initial tests.
- Once functionality is verified, proceed with more complex projects.
Example code
const int relayPin = 7;

void setup() {
pinMode(relayPin, OUTPUT);
digitalWrite(relayPin, LOW); // Mantieni spento inizialmente
}

void loop() {
delay(5000);
digitalWrite(relayPin, HIGH);
delay(5000);
digitalWrite(relayPin, LOW);
}
Mini project
Create an automatic control system for a home electrical installation that activates or deactivates based on predefined conditions (e.g., ambient temperature).
Common mistakes
- Do not verify the operating voltage of the relay.
- Omit the limiting resistor.
- Connect the 110VAC power circuit directly to the relay without preliminary tests.
- Ignore the instructions in the datasheet for precise technical specifications.
Recommended accessories
- Variable resistors
- Temperature sensors
- WiFi ESP8266/ESP32 modules
- Magnetic interrupters
Frequently asked questions
Can the relay handle DC circuits?
Yes, but make sure the circuit voltage is compatible with the relay specifications.
Can I connect 110VAC directly to the relay?
No, it is necessary to test it safely and check the load before using it.
What are the advantages of using this relay with Arduino?
It allows controlling high-power circuits from low-consumption devices like Arduino.

Reviews
There are no reviews yet.