 EN
 IT Italiano
 ES Español
 FR Français
 DE Deutsch
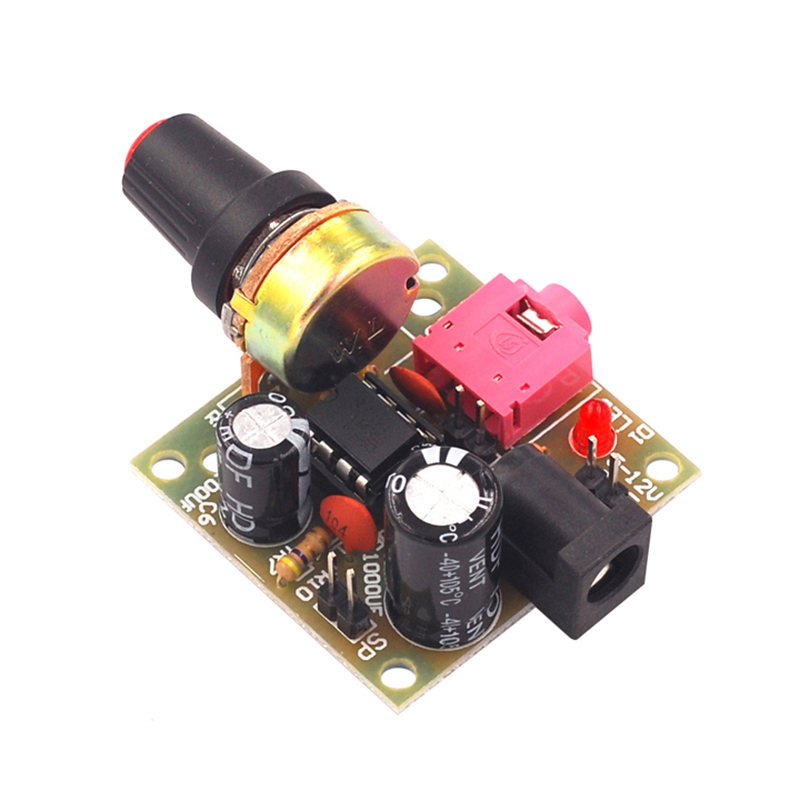
Description
What it is
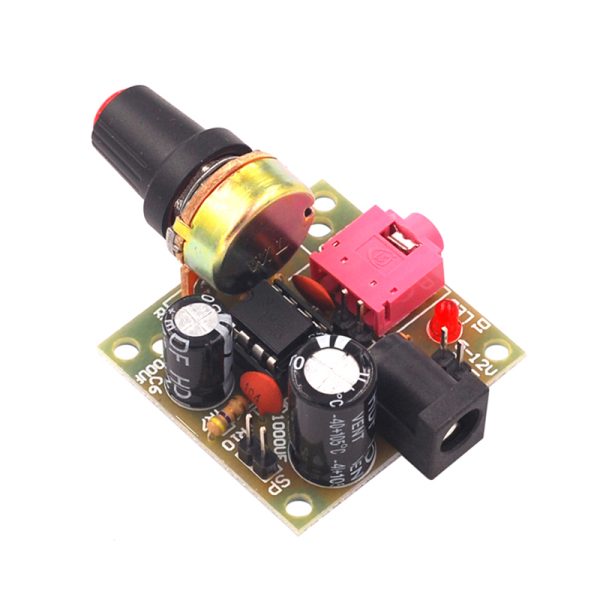
The LM386 mini amplifier board is an electronic component designed to amplify audio signals from sources such as microcontrollers or computers. This board is ideal for anyone who wants to integrate an audio amplification system into electronic projects.
Features
- LM386 Compatible Amplifier
- Power Supply 3-12V
- Power Handling for Speakers 0.5W to 10W
What it is for
The LM386 mini amplifier board can be used to create home alarm systems that emit an audio signal when triggered. It is compatible with Arduino and can be easily integrated into electronic projects that require an audio amplification system.
Tutorial: How to Use LM386 Amplifier Board
The LM386 amplifier is an ideal component for anyone looking to amplify audio signals from sources such as microcontrollers or computers. This tutorial will guide you through the steps to connect and use the LM386 mini amplifier board with a speaker.
What you need
- LM386 Amplifier Board
- Speaker
- Arduino or other microcontroller
- 3-12V DC Power Supply
- Jumper Wires
Steps
- Connect the DC power supply to the amplifier board according to the instructions in the datasheet.
- Connect the audio output of the microcontroller to the audio input of the amplifier board.
- Connect the audio output of the amplifier board to the speaker.
- Verify the correct configuration of the amplifier according to the datasheet specifications.
- Test the system with a test audio signal.
- Adjust the volume if necessary following the instructions in the datasheet.
- Check the amplifier functionality with a real audio signal.
- Optimize the volume and sound quality according to your needs.
Example code
void setup() {
  // Imposta i pin di output audio
}

void loop() {
  // Genera un segnale audio di prova
}
Mini project
Create a home security system that emits an audio signal when triggered.
Common mistakes
- Do not verify the correct power supply voltage.
- Connect the audio input to the wrong pin.
- Do not adjust the amplifier volume.
- Do not test the system before using it in a real project.
Recommended accessories
- Speaker with appropriate impedance
- Arduino Uno
- 5V DC power supply
- Microphone
Frequently asked questions
What is the maximum power of the amplifier?
Check the datasheet.
Can I connect a microphone directly?
No, use a preamplifier for low-level signals.
How can I increase the volume?
Adjust the potentiometers or volume resistors on the datasheet.
Reviews
There are no reviews yet.