 EN
 IT Italiano
 ES Español
 FR Français
 DE Deutsch
Description
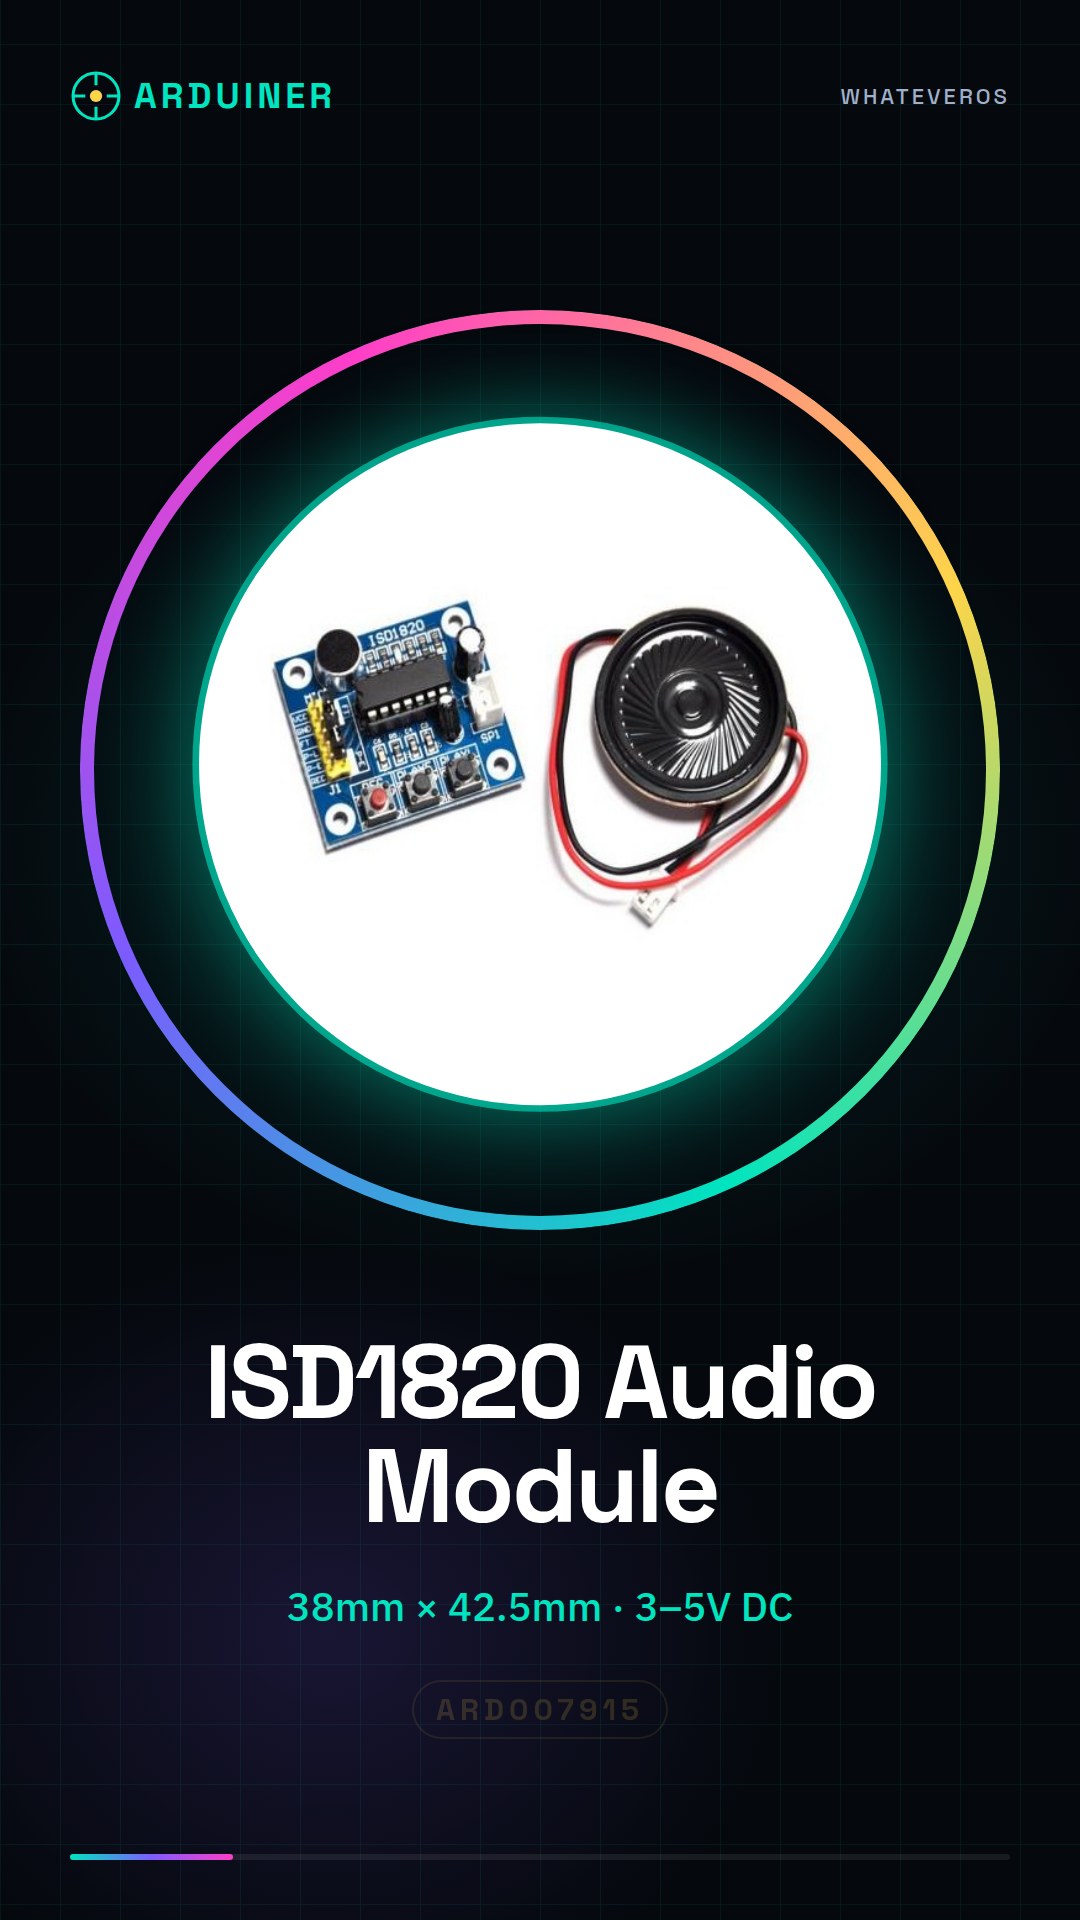
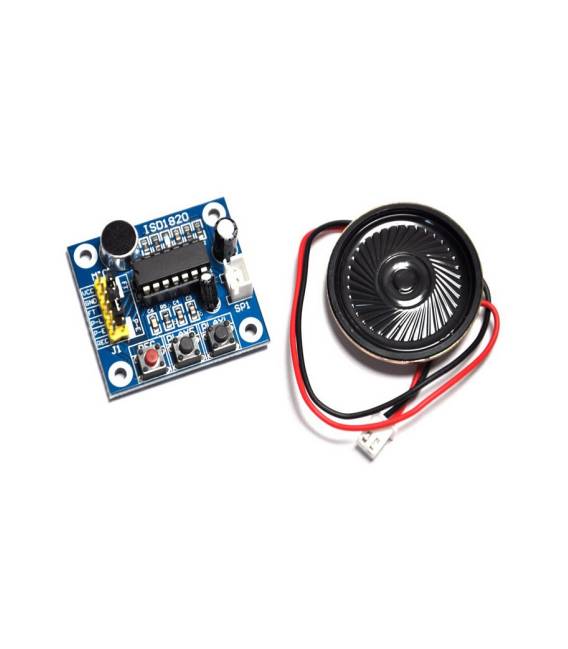
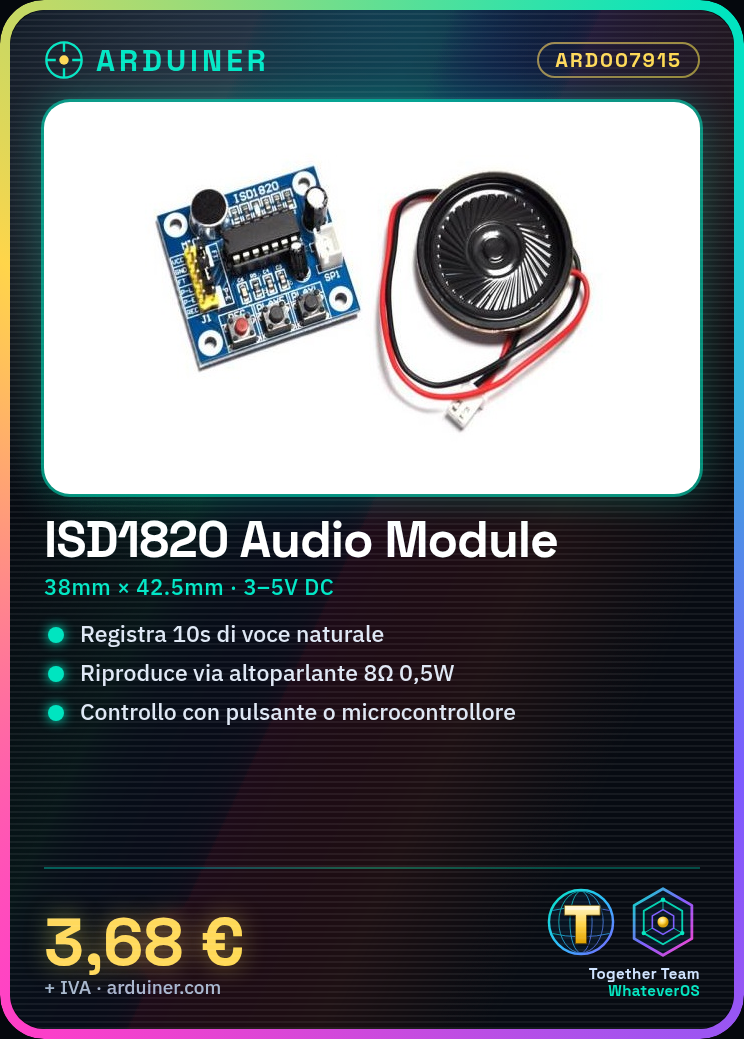
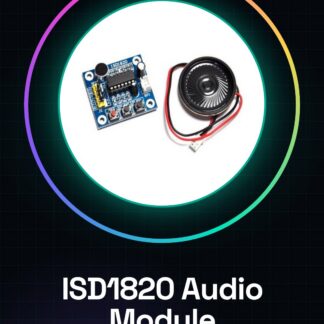
ISD1820 Audio Playback Recording Module for Arduino
Product Description:
First, the main chip: ISD1820
Two, dimensions: 38mm * 42.5mm
Third, operating voltage: DC 3 ~ 5V
Fourth, main features of
1, easy to use 10 seconds of voice recording
2, high-quality natural voice to restore
3, can be used as a propaganda module
4, belt clip, jog playback, single-step playback
5, can be used microcontroller control
6, the module can directly drive a small speaker 8 ohm 0.5 W
Power supply: 3-5 V, can access the electricity of the needle discharge;
Sound recording control: button or microcontroller control, the control lines have been drawn IO;
Voice recording button control methods:
REC button: recording button, hold down to record, release the button to stop recording;
RLAYE button: trigger playback mode, click to play the current voice message in full;
PLAYL button: jog playback mode, press to play, release to stop playback;
RPL Jumper: loop mode control, loop;
FT Jumper: direct access control, the microphone allows direct access to the speaker’s voice playback;
Tutorial: How to use ISD1820 Voice Sound Recording Module
The ISD1820 is an audio module for Arduino that allows recording and playing back voice messages. Ideal for interactive projects such as home alarms or voice guidance.
What you need
- Arduino
- microphone
- USB power supply
Steps
- Connect the GND, VCC, and SPK pins of the ISD1820 module to the corresponding Arduino power supply.
- Connect the microphone to the MIC input of the ISD1820 module.
- Download the ISD1820 library for Arduino from the official website or GitHub.
- Open a new sketch in Arduino IDE and include the installed library.
- Insert the provided code in the tutorial, making sure to correctly configure the ISD1820 module pins.
- Save the sketch as ‘ISD1820_Example’ in Arduino IDE.
- Upload the sketch to your Arduino connected to the computer.
- Press the PLAY button on the card to listen to the recording.
Example code
// Includi la libreria ISD1820
#include <ISD1820.h>

// Definisci i pin del modulo ISD1820
#define ISD1820_RESET_PIN 9
#define ISD1820_RECORD_PIN 10
#define ISD1820_PLAYBACK_PIN 11

ISD1820 isd;

void setup() {
 // Inizializza i pin del modulo ISD1820 come uscita
 pinMode(ISD1820_RESET_PIN, OUTPUT);
 pinMode(ISD1820_RECORD_PIN, OUTPUT);
 pinMode(ISD1820_PLAYBACK_PIN, OUTPUT);
}

void loop() {
 // Inizia la registrazione premendo il pulsante RECORD sulla scheda ISD1820
 isd.startRecording();
 delay(5000); // Registra per 5 secondi
 isd.stopRecording();

 // Riproduci il messaggio registrato premendo PLAY sul modulo
 isd.playMessage();
}
Mini project
Create a voice alarm that records and plays a warning message when triggered by a motion sensor.
Common mistakes
- Make sure the microphone is properly connected.
- Check the pin configuration in the Arduino code.
- Check the power supply of the ISD1820 module.
- Respect the duration limits during recordings.
Recommended accessories
- Omni-directional microphone
- PIR motion detector
- External speaker
- 3D printing of the protective box
Frequently asked questions
How can I increase the recording duration?
Check the ISD1820 module datasheet to know the maximum recording limits.
The module does not record or reproduce sounds.
Check all electronic connections between Arduino and the ISD1820 module.
Reviews
There are no reviews yet.